Sunday, October 27, 2013

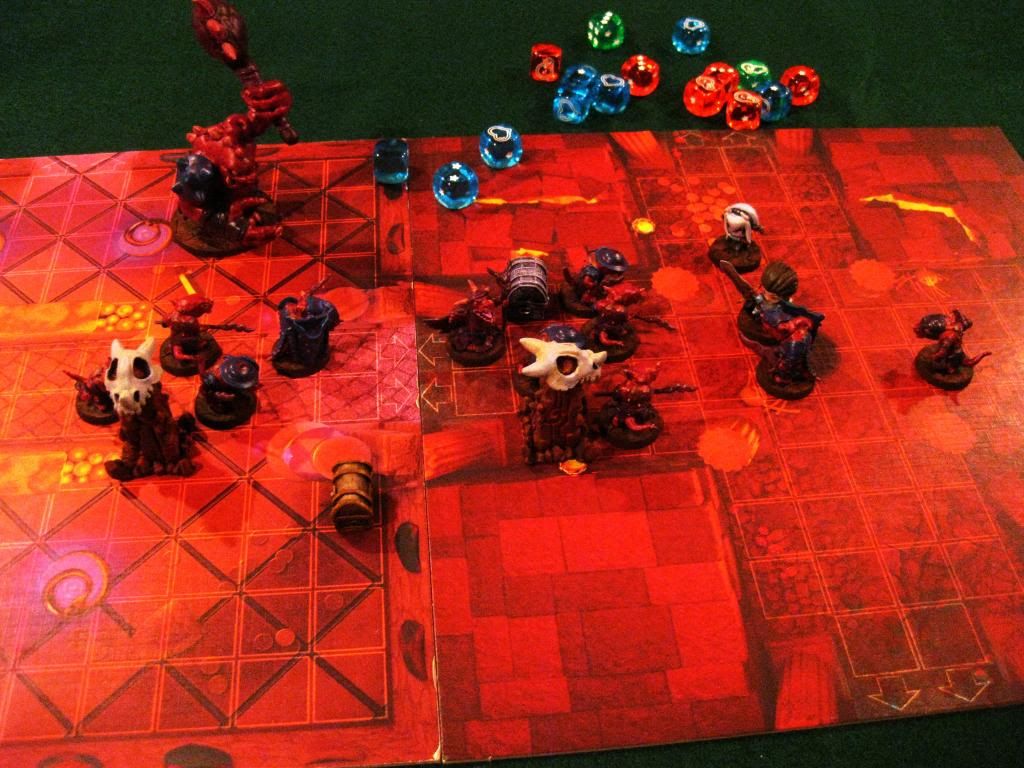
Super Dungeon Explore: 2 Hero Game's Worth of Painting Finished


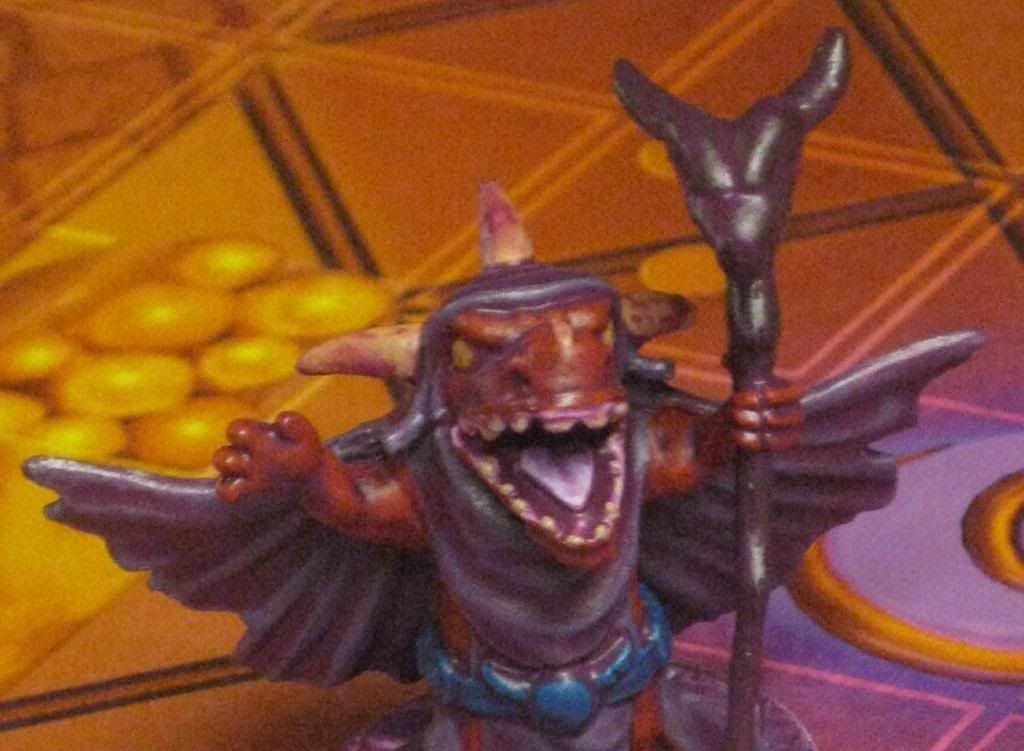
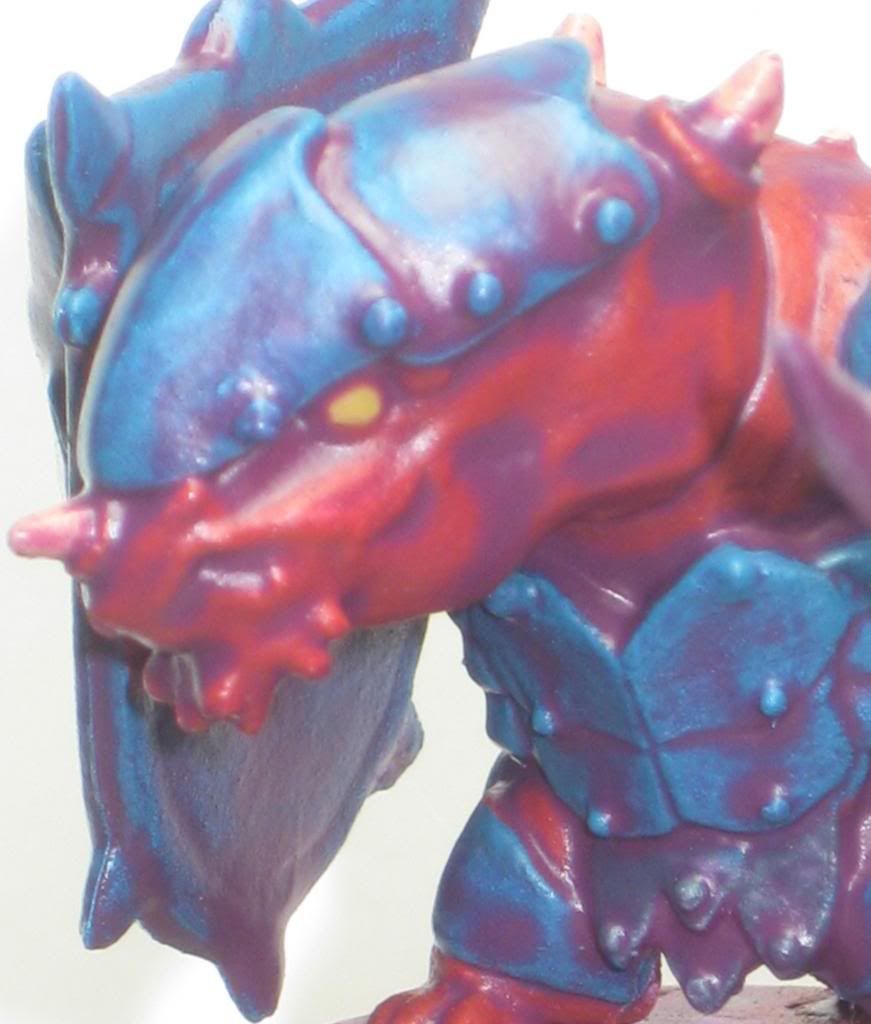
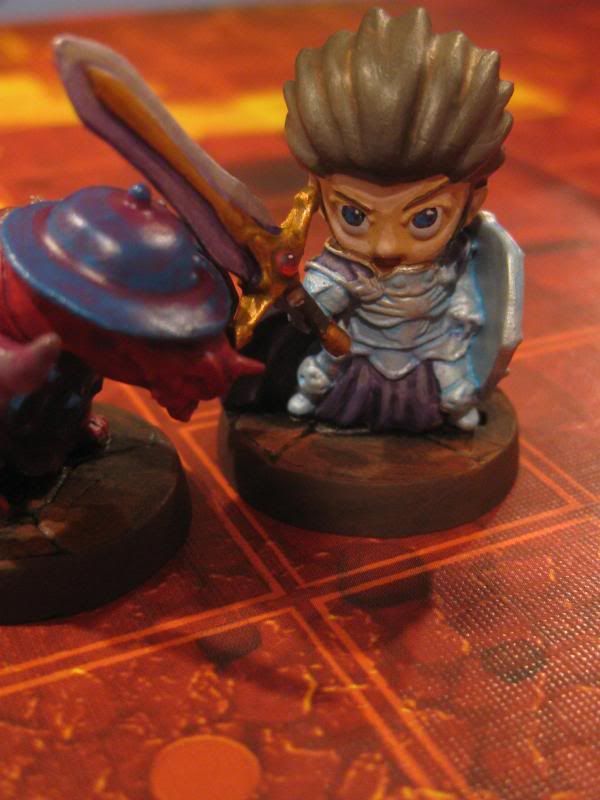
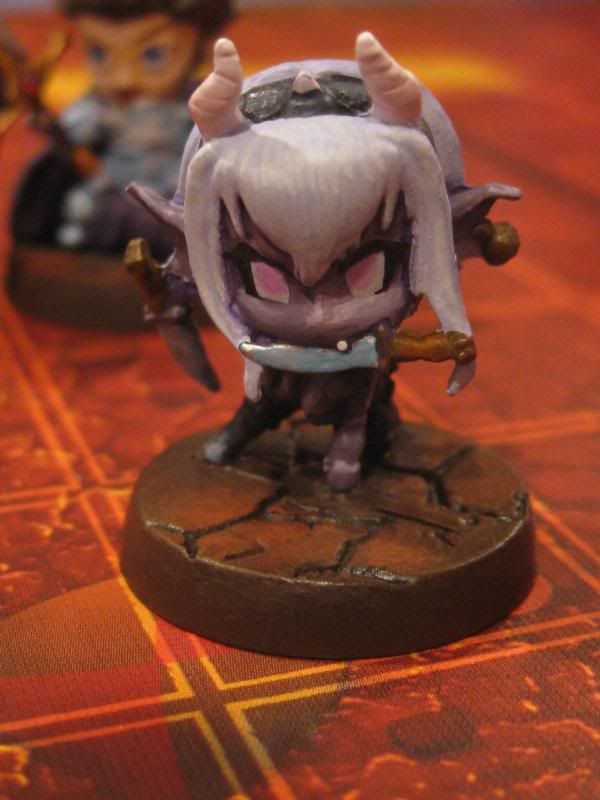
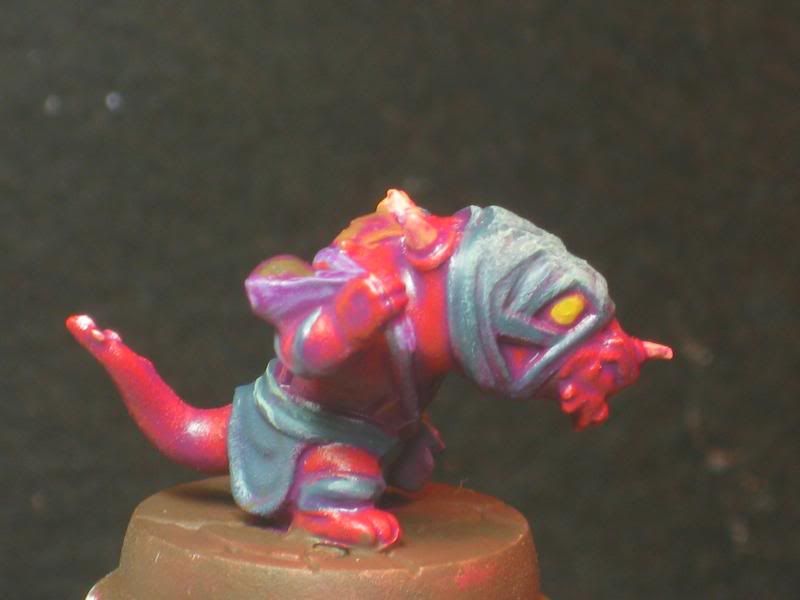
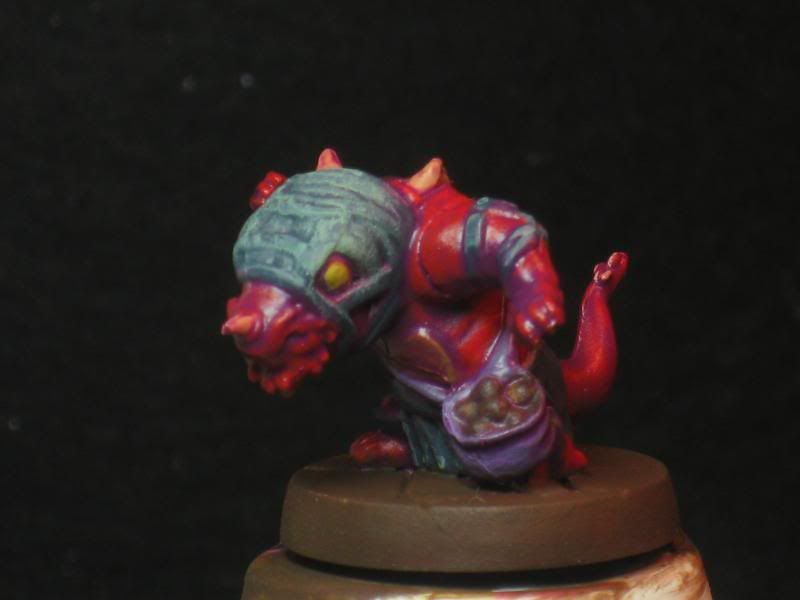
I finished what was needed for the basic version of Super Dungeon Explore, a 2 hero game.
  1. 2 Heros, Royal Paladin and Riftling Rogue
  2. 1 Kobold Shaman
  3. 2 Iron Scales
  4. 3 Knuckle Heads
  5. 2 Flingers
  6. 2 Treasure Chests
  7. 2 Kobold Warrens 
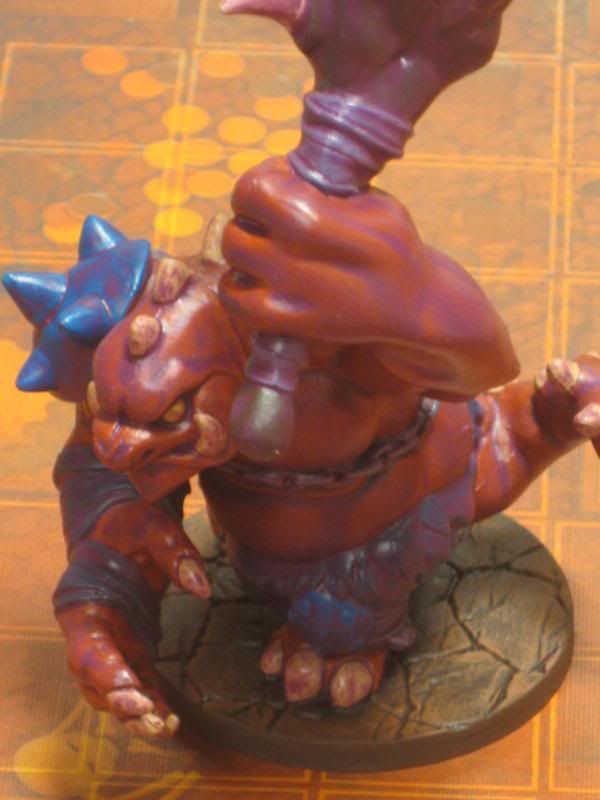
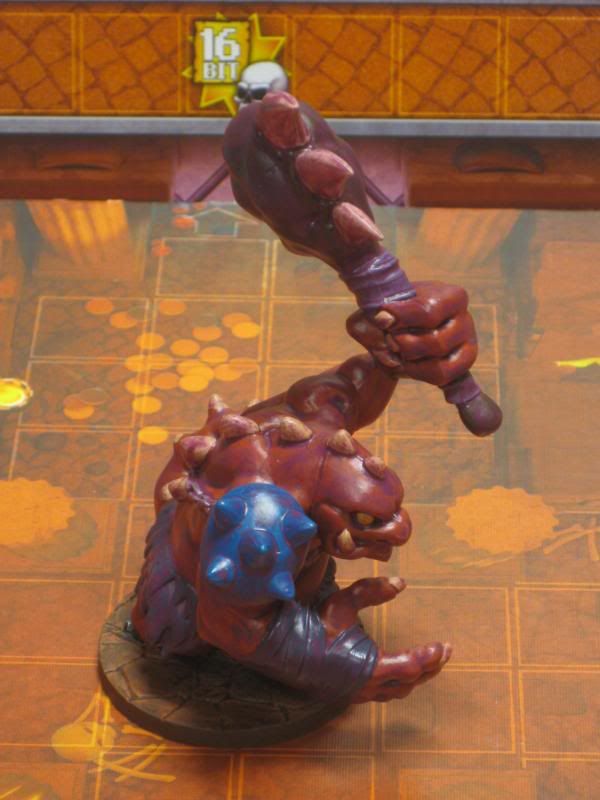
  8. Rex the Ogre

Up next for paint (and black primed just today) is the Dragon's Clutch stuff, comprised of the dragon Starfire and all his chillen, plus Egg Clutch Spawn, as well as treasure chests, Boo Booties and another hero, Ember Mage.

THUNK!
Riftling Rogue
Rex the Ogre

Wednesday, October 23, 2013

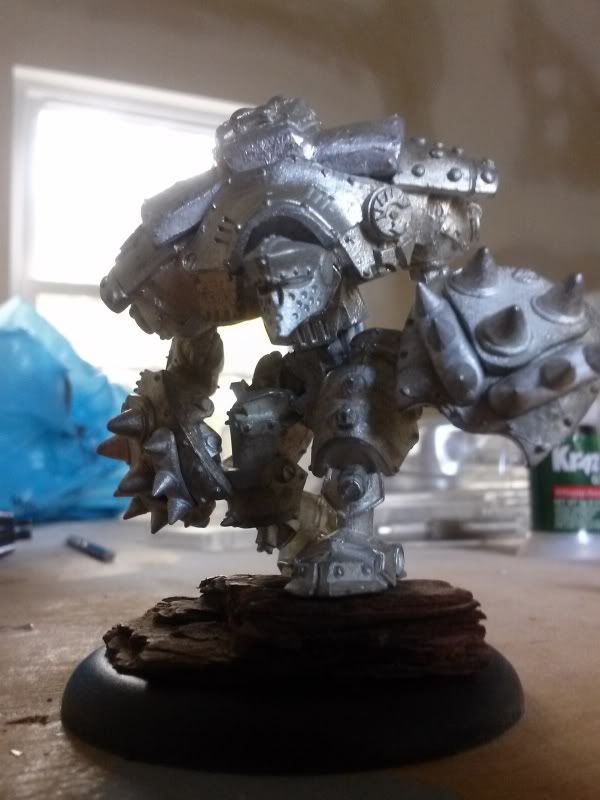
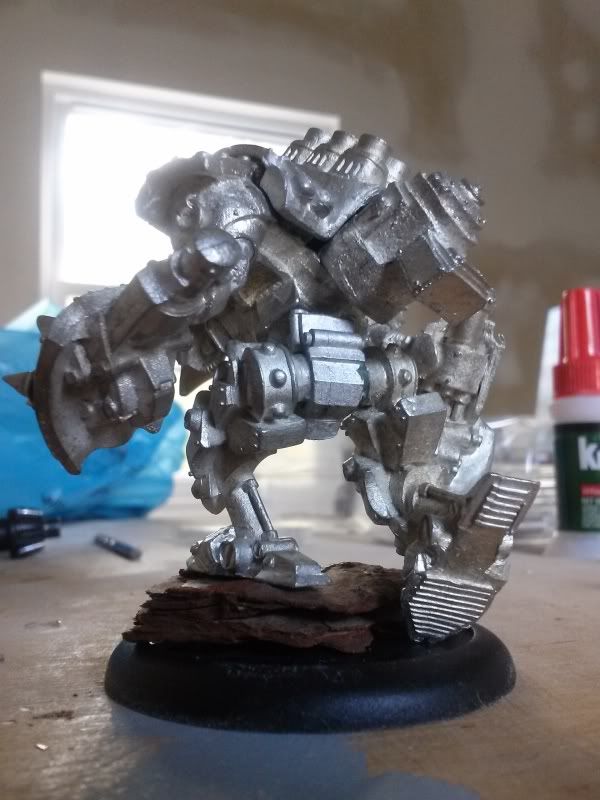
Warmachine: Khador Kodiak Conversion


Since I am in a campaign and could be facing my first game this week, I figured I better build the one 'jack in my list that I didn't have built. How's that for campaign strategy? Build the models you tell everyone you'll use? That's me, the winner.

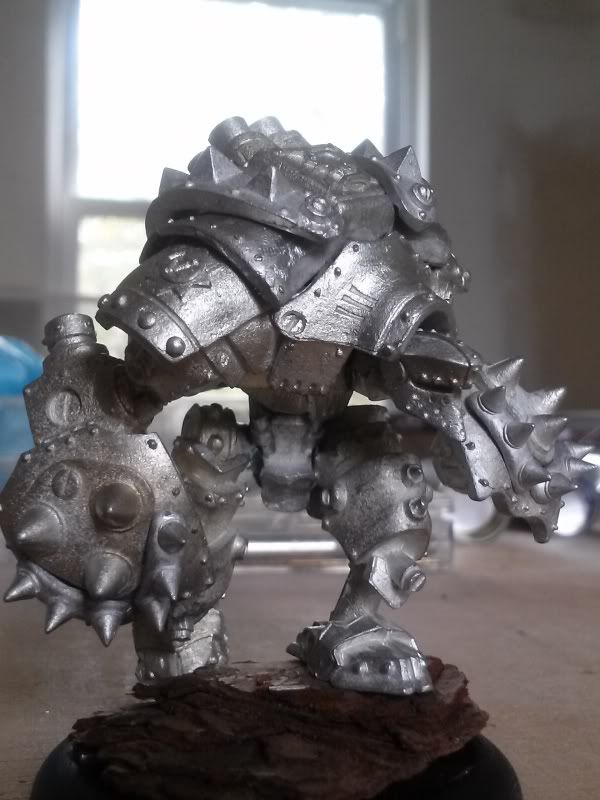
With the advent of larger warjacks by way of updated models and the fact I am 1) cheap 2) unmotivated to trade up to new models 3) loathe to use my favorite warjack as-is (Answer: all) I decided to upgrade the "classic" metal kit.


I added Behemoth legs to a Devastator/Spriggen metal waist. I also added original Kodiak hull spikes to his fists for yup, you guessed it, MORE SPIKES. I just remember when he had Hammerfist and sorta want to honor that tradition. Good old Hammerfist.

I ordered Beast 09 Black Ivan shoulder pads too (seen in pic one before final fitting). I canted the pose a bit and cut/tilted his head. All told I think it is a good "Pathfinder" pose and while he is a bit taller and more dynamic than the original model, it isn't crazy overt. He's just more spiky and hulky while looking more mobile. Yeah, I left his right foot up, wanted to keep that tread detail visible.

More after paint.


Tuesday, October 8, 2013

So This Happened...


 Strange Aeons

Been busy traveling for work lately so I’ve tended to come home, kiss everyone in the house, cuddle and when they all sleep, attempt to glue things onto things or smear paint onto other things.
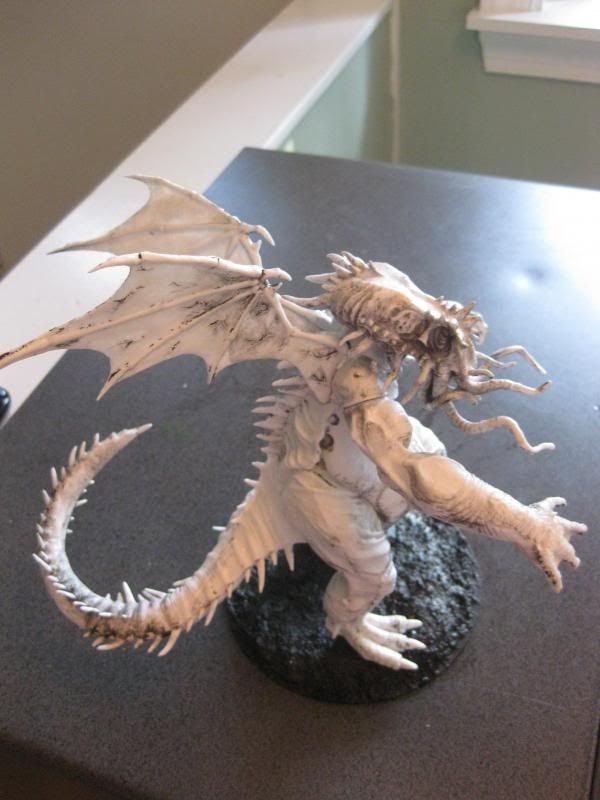
First, my buddy Finn got me the BONES Cthulhu… wicked fierce, that. I reposed it slightly, or really, just tidied up the pose so it wasn’t canted so forward. I’ll be using him as a Godling in Strange Aeons so I mounted his base onto a CD, which is the fashion for many things in Strange Aeons.

It gets bad from here.

Knowing that my BONES Werewolf took GW black primer but it remained the slightest bit tacky (remedied by normal layers of paint) I went to use a plastic-friendly black spray. I bought the wrong thing, used it and ended up with a permanently tacky, wet dust collector.
It gets better from here. Reading up in these here interwebnets I come find the consensus that Simple Green will do the trick. It totally did. The only paint it didn’t remove was what had properly dried and had stained into the plastic. Did not attack the BONES plastic and cleaned up really well.
A few coats of GW Black and we were back on schedule. I’ll post up a How-To for old squiddy when he’s painted.


Star Wars X Wing Miniatures

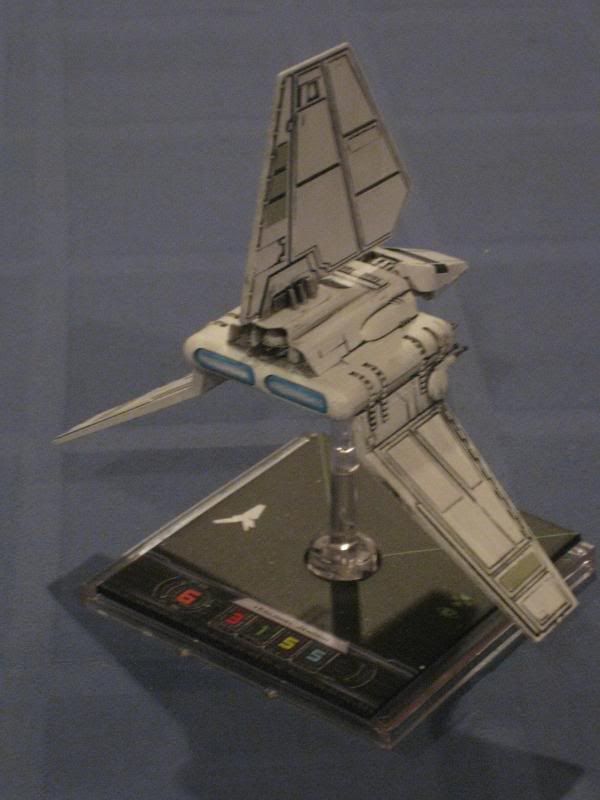
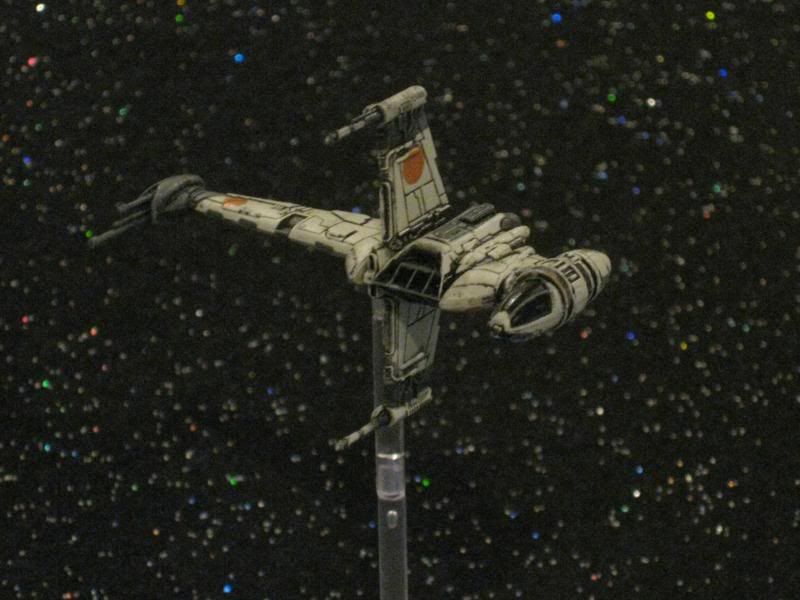
I’ve spent weeks to months on individual miniatures and terrain and never once did those posts come close to the tally-crushing popularity of a post about me chopping and regluing a pre-painted plastic space ship for 20 minutes. So I did it again. Now there are 2 B Wings in the stable. Also, picked up the Imperial Shuttle and yes, painted the engine glow. And straightened the top wing, factory glued wrong. And painted the guns. Cough.


Super Dungeon Explore

Concocted another water based stain to help speed paint the Dark Counsel for Super Dungeon Explore. Here is WIP, just need some highlights on the kobold skirt and to finish the basing.

Khador

Totally stuck with my Khador. A lot to paint and I’m not doing it. Built a ton of models recently, including 3 warjacks, two of which are Kodiak conversions and the last, a modified Devastator. More soon.


Sunday, September 22, 2013

Star Wars X Wing Miniatures: B Wing Redux


I picked up the B Wing on Friday. Love the ship, stats, cards and what it brings to the game. Don’t like the pose. Nothing wrong with it really, it does make sense as a production pose for the game. Still, I prefer the asymmetrical pose, so I decided to re-do the B Wing.

In all, this was a 20 minute task, most of that time was spent going slow and making sure that I did not put undue stress on any wings, cannon barrels or anything else. I did not break a thing.

Materials List:
  1. 1/8" drill bit & 1 smaller bit for a pilot hole
  2. X-Acto blade
  3. Super Glue
  4. Small detail brush
  5. Black paint
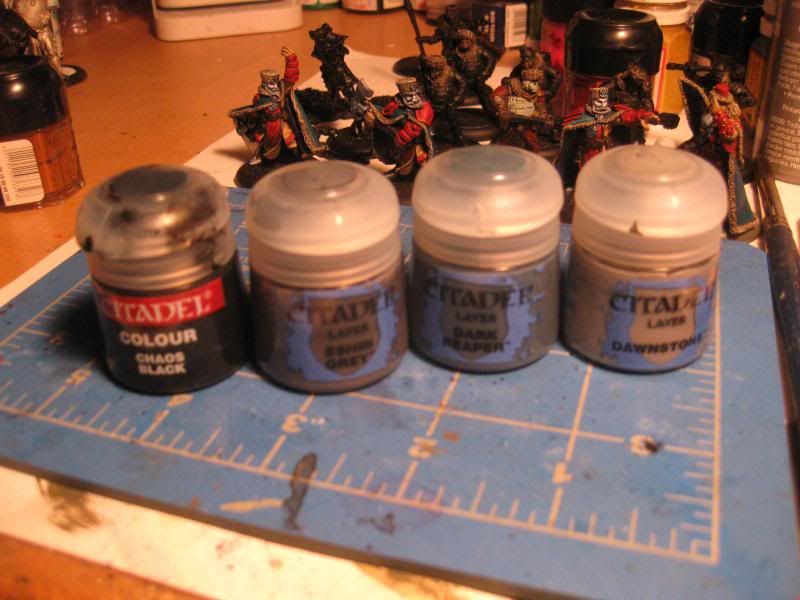
  6. Grey paint like GW Eshin Grey, Dark Reaper or Dawnstone
  7. Thin file


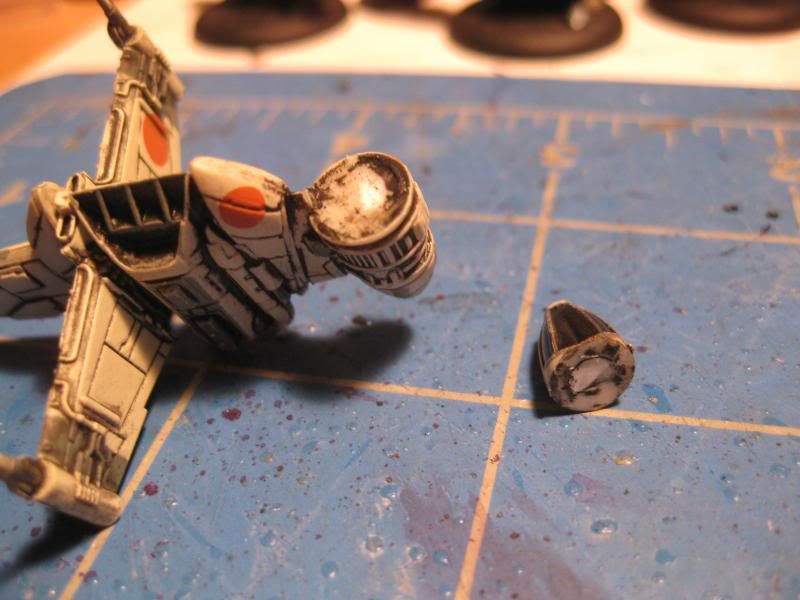
First, pop off the cockpit. It seems like this piece was a glued part with a peg so you’ll just need a sharp X-Acto to break the paint layer and chop that peg. Trim the surfaces back to flat and dry-fit in the position you want. Don’t glue it yet, set it aside.


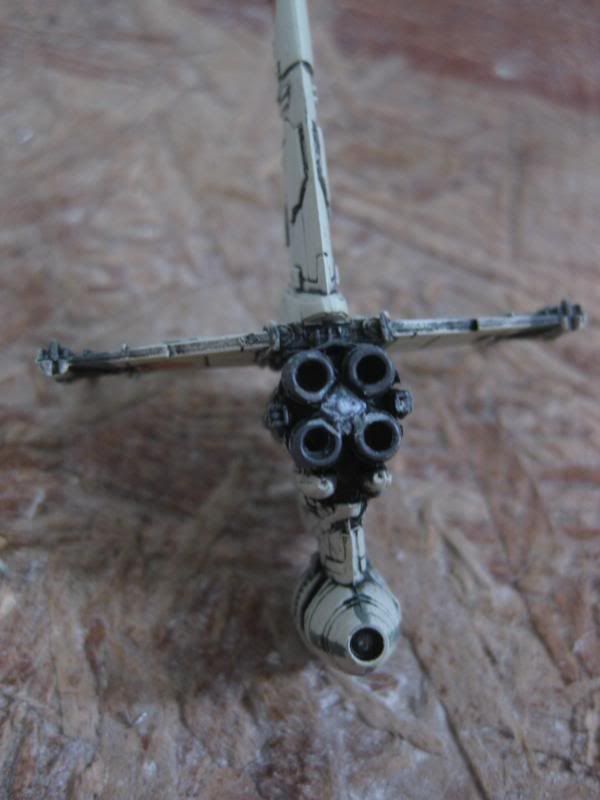
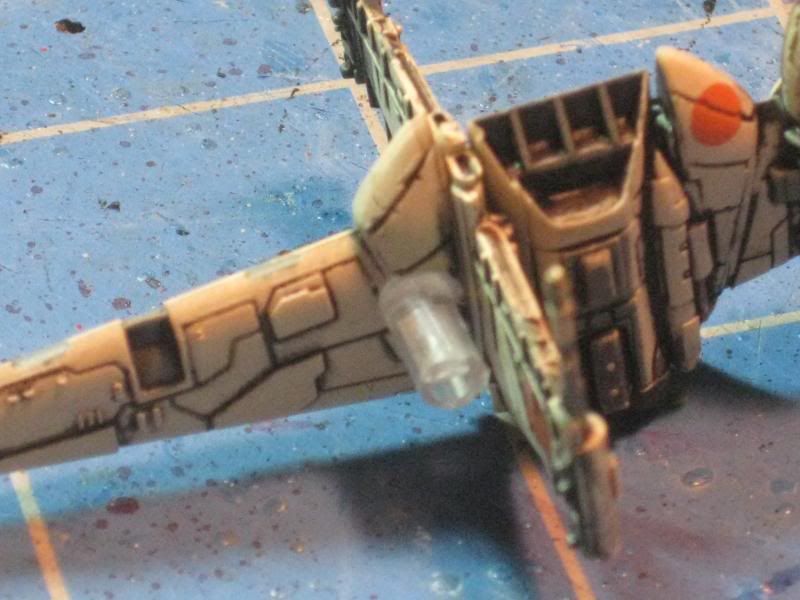
 Second, remove the female peg for the flight stand. I just slowly rocked it back and forth until I was able to pop it off. It did leave a clear piece of peg between the four engines but I smoothed that back down with the thin edge of a file. Just get it smooth. Once done, hit it with some black paint or wait until after everything is together. 


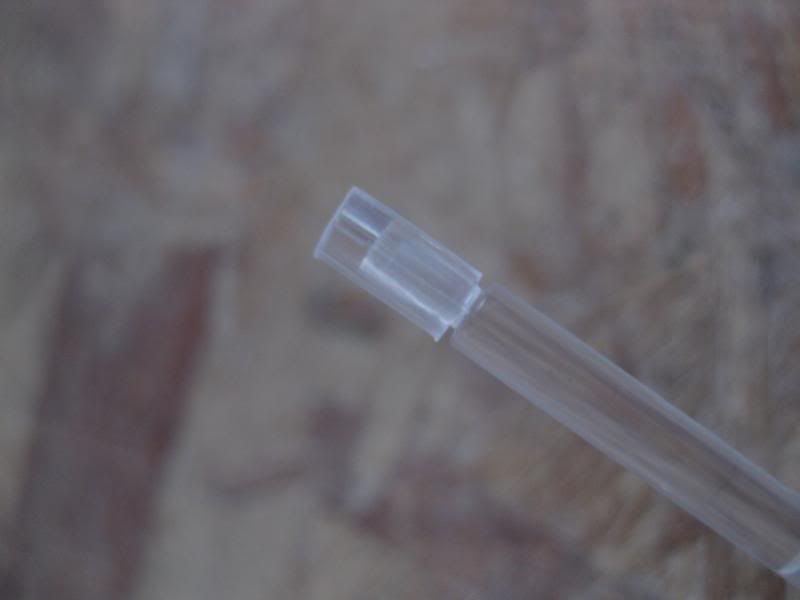
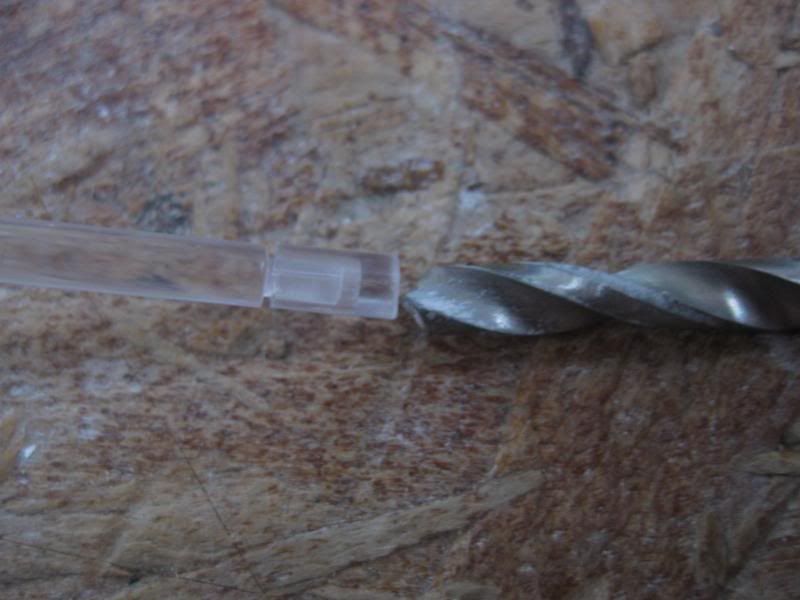
Take the female peg and insert a male peg, seeing where the male tab shows though, when seated. Make a cut on the female peg at least 1/8" away from the top of the male tab inside (yeah, I know, mine was less). Clean it up after you cut it. Make sure you set the trimmed female flight peg aside, you’ll need it.


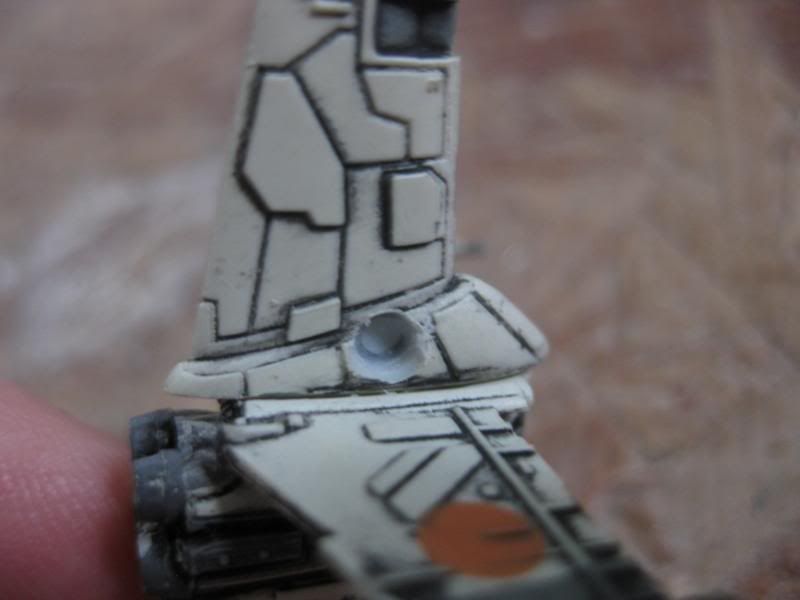
Third is the trickiest part. You’ll need to be sure that the male flight pegs are centered on the B Wing ribs. True, the ship doesn’t weigh a lot but you want it right over the flight base footprint. The cleaner you make the hole for the female flight peg, the easier the ship will come on and off… the pose is better IMHO but you may find yourself pulling the ship off the base in heavy table traffic. So, look at where the main “sail” or wing attached to the engine cluster. You’ll see fairing that looks like 4 ribs. The 2nd rib from the front of the ship is where you put the hole for the female peg, that is center. Mark it with a pen or just go for it. Use a smaller bit than 1/8" for the pilot hole. DO NOT GO DEEP OR YOU WILL GO OUT THE OTHER SIDE of the ship. I suggest tapping the pilot hole by hand, skip the drill. After that, use the 1/8” bit to make the hole for the female flight peg, being mindful of your bit: make sure you are drilling as vertical as possible. Again, DO NOT GO DEEP. You may get frustrated at the cut speed. The ship material is like cold plastic or vinyl and so, it won’t cut fast. If you use a drill, don’t be tempted to give the drill more juice or you’ll pop a hole out the other side or worse, it’ll grab the model, spin it like mad and you’ll break wings or cannon grabbing it. Test the fit and work it so it can press fit or hold with glue. Once the hole is ready, put the female peg on the flight stand, MINDING THE DIRECTION ARROW on the stand. Take a minute to practice putting the B Wing on the female peg. Once you know which way is forward and you are ready, add a bit of Super Glue to it and attach the B Wing, making adjustments as necessary for flush vertical and horizontal if that is what you want. DO NOT PRESS HARD or you may snap the flight pegs or worse. Let dry for a few minutes.


Almost there. Glue on that cockpit. Remember the cockpit? Yeah, find it again and glue that on, making it level, remembering the cockpit was supposed to move and stay level as the ship barrel rolled around.


 Finally, re-touch the paint. Put some black over the trimmed peg at the engine clusters, grey on the engines. I'm gonna add some engine glow to mine sometime soon. Maybe you are more ambitious than me.

Attach your B Wing to the flight stand and enjoy!

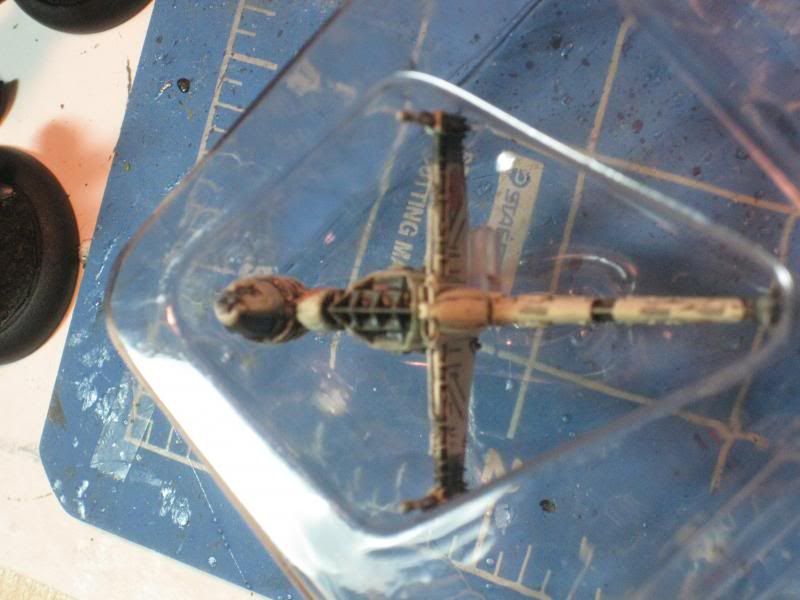
Look ma, no change in how you store it in the blister. If you are into that sort of thing.

Monday, September 9, 2013

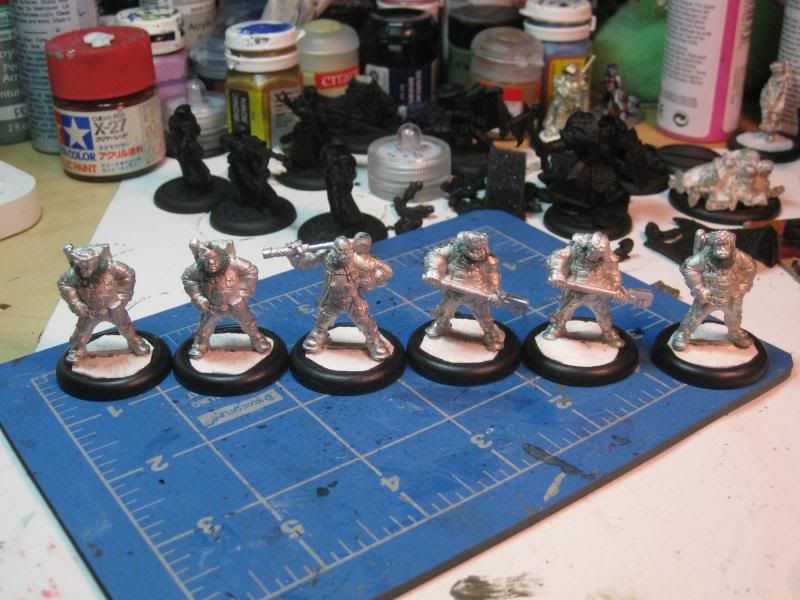
Warmachine: Khador Mechaniks WIP


So, campaign starts October. I'm betting mechanics will finally be useful enough to warrant taking them in many campaign games. Starting a damaged warjack in a game because you have no choice and having mechanics rushing to fix it while the game starts sounds like the level of stress I enjoy in my games. Not kidding.

Anywho, thanks to the generosity of my buddy Finn, I now have a unit of Khador Mechaniks. Thanks Finn!


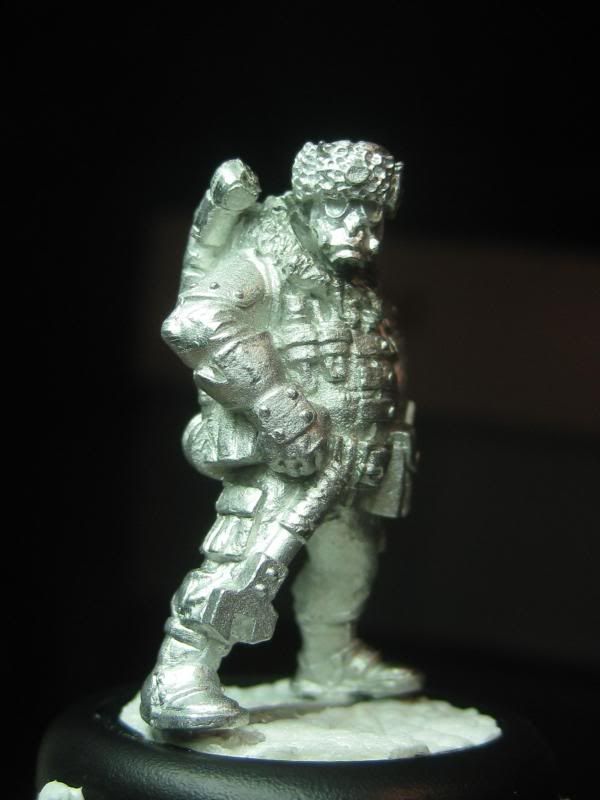
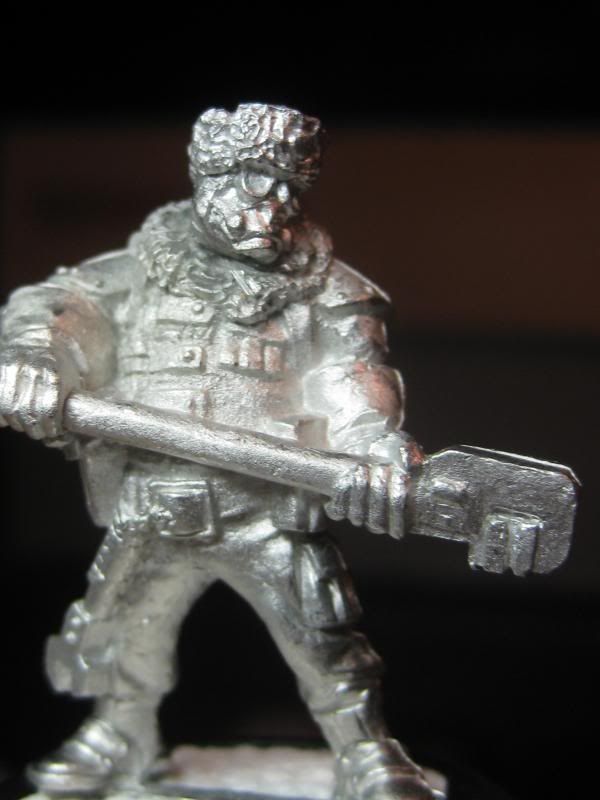
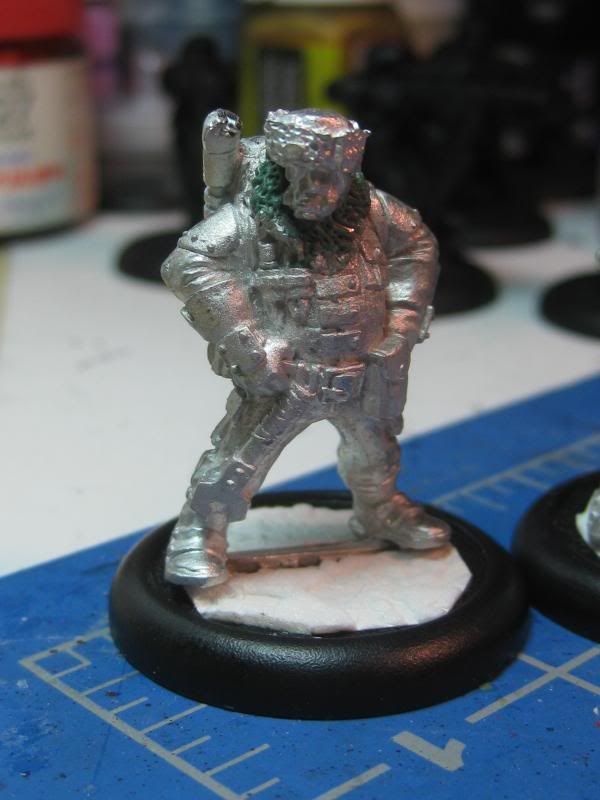
Yes, I converted them. And yes, I actually like the sculpts a lot but not the repetition. So, I lopped off their heads (save the leader, who is awesome) and replaced them with Maxmini heads I had laying around for my Valhallen IG. Adds just enough visual variety to make them more interesting and still let me get it all done in one sitting.

I'm planning on trying some urban camo on them. We'll see how that goes.


With greenstuff blending around the neck...

Saturday, September 7, 2013

Warmachine: Practice Games

Got in a pre-campaign practice game with my Khador today. I hosted, playing Trish's Menoth while Pete had Cryx, who played Finnegan's Skorne. All games were 35 points. I think we're all committed to our present forces except for Finnegan, who said he'd bring Retribution to the campaign but may now be considering Skorne. It might be useful to be the only Hordes army in the campaign.

The Jugger on my left flank takes a drubbing by the Menoth 'jacks and Bastions. A turn later, Butcher feats and everything here dies to the almost-wrecked Khador 'jack. Jugger eventually goes down. Butcher comes in to free up some engaged Widowmakers, gets over extended and is caught and killed by Amon Ad-raza's forces.

Pete's Denegrah list hits Jon's Skorne list. If I heard right, Cryx caught Skorne with a feint and sealed the deal.

Sunday, September 1, 2013

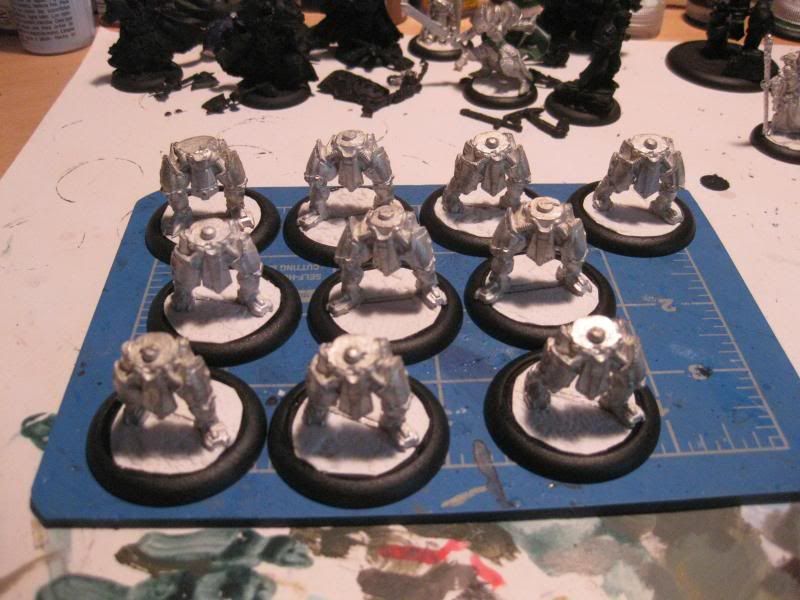
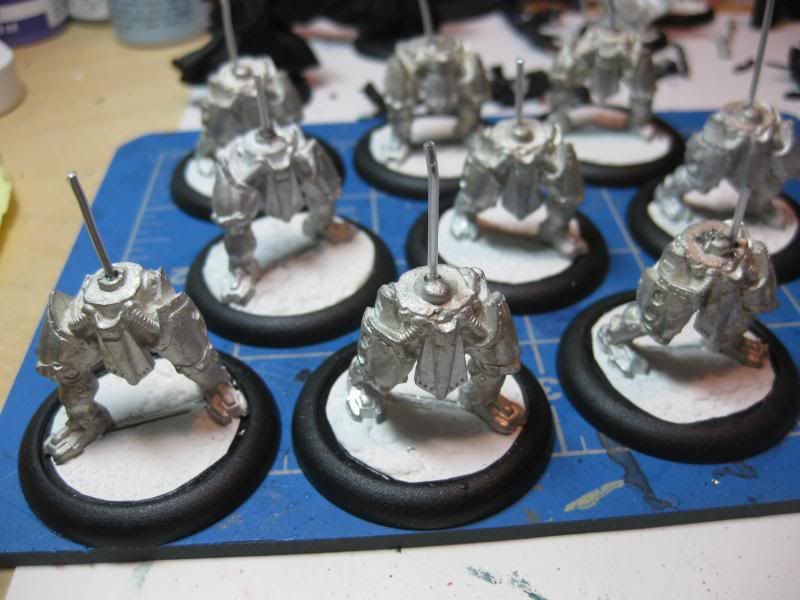
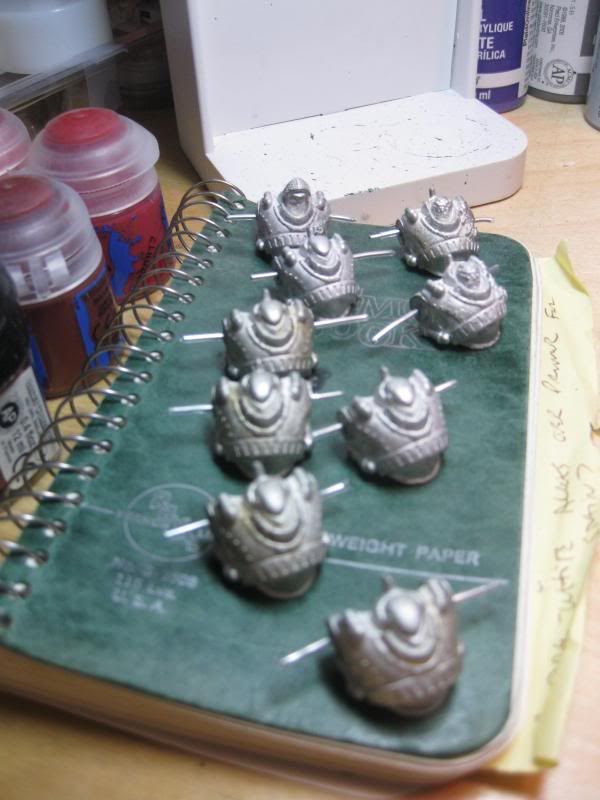
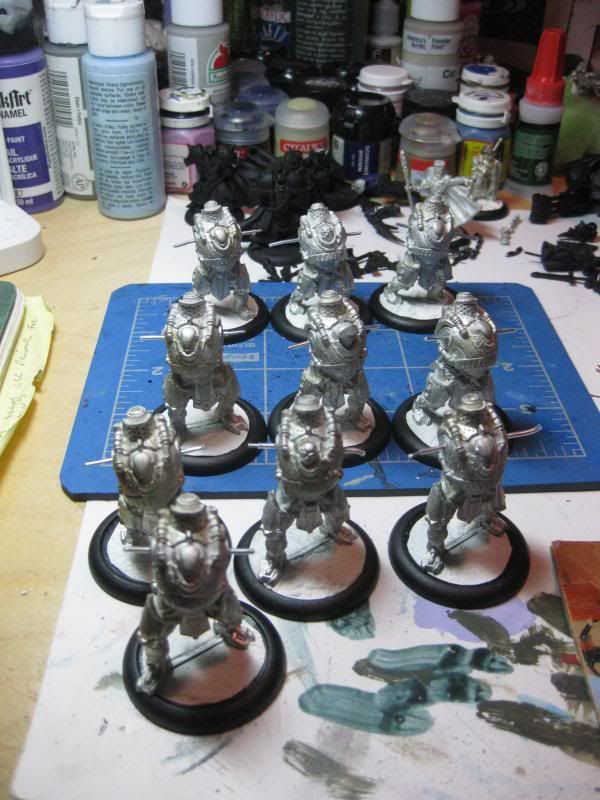
Khador: Man O War WIP

More work done today on the Man o Wars...

Added textured wallpaper to bases. Leg pieces glued in and back filled with greenstuff 
Added pins to leg pieces
Trimmed shoulder nubs and tapped holes. Added 1 piece wire straight through holes. Glued both torso halves around green stuff core, pressed together.
Glued torso onto lowers, smoothed greenstuff overflow.