Sometimes you paint the engine glow on a new ship just in time to see your 10 year old son get inspired by that, take your new ship, run it against you and proceed to destroy you with it.

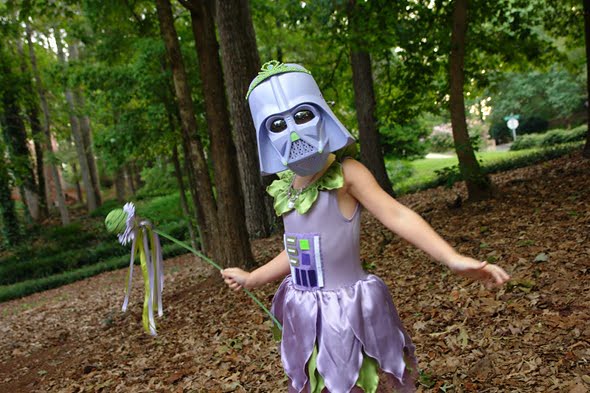 |
| The Force is strong with my online X Wing dream journal! Wheeee!! |
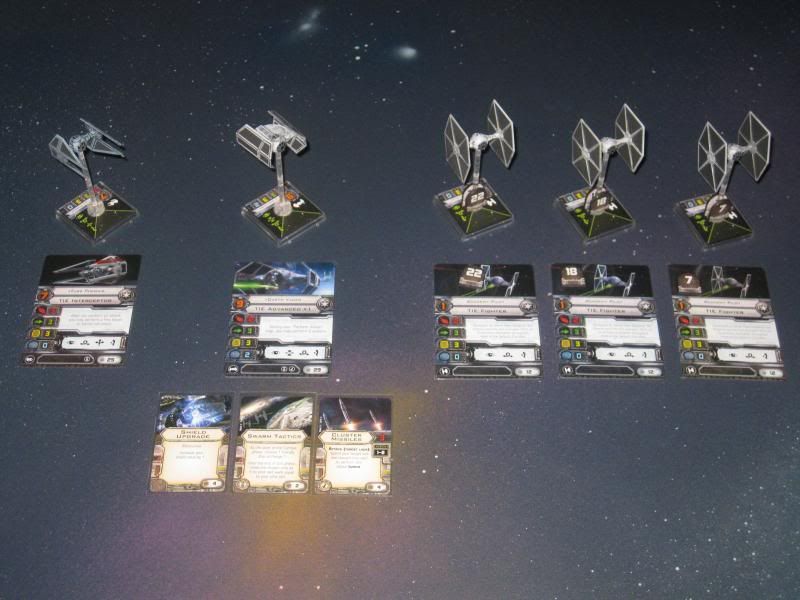
39 points
Darth Vader PS 9
 2 2 3 3 3
3  3
3 


Unique
During your "Perform Action" step, you may perform 2 actions.
Darth Vader/TIE Advanced (29)
Cluster Missiles (4)
– Attack [Target Lock]: Spend your Target Lock and discard this card to perform this attack twice. Attack value: 3. Range: 1-2.
Swarm Tactics (2)
– At the start of the combat phase, choose 1 friendly ship at Range 1.
Until the end of this phase, treat the chosen ship as if its pilot skill
were equal to your pilot skill.
Shield Upgrade (4)
– Increase your shield value by 1.
|
25 points
Turr Phennir PS7
3
3
3
0

Unique
After you perform an attack, you may perform a free boost or barrel roll action.
|
12 points
Academy Pilot #1 PS 1
2
3
3
0
|
12 points
Academy Pilot #2 PS1
2
3
3
0
|
12 points
Academy Pilot #3 PS 1
2
3
3
0
|
 |
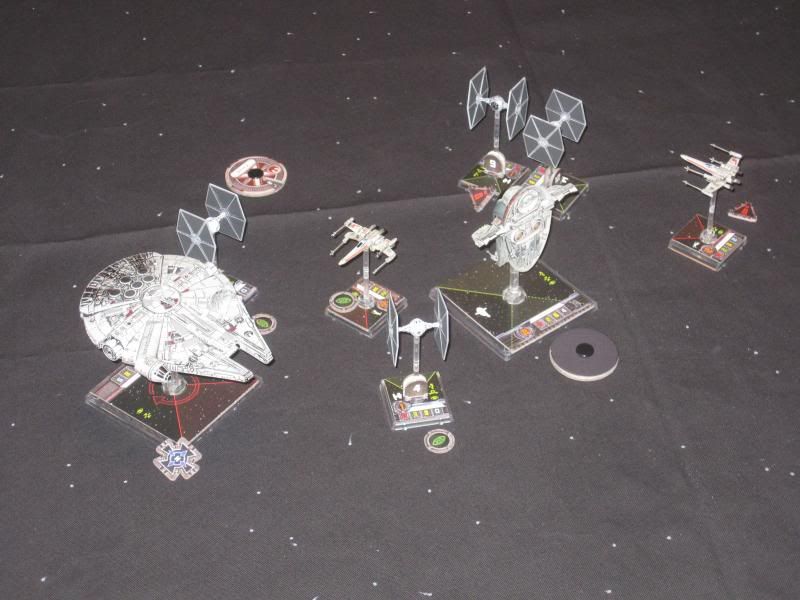
| As I learn the game, it has helped to fly TIE's in formations and letting pilots like Vader and Turr do their own thing. This keeps Action-robbing bumps to a minimum, makes planning moves less baffling and lets you learn where the turns actually get your ships before you tackle more complex flight patterns later. |
 |
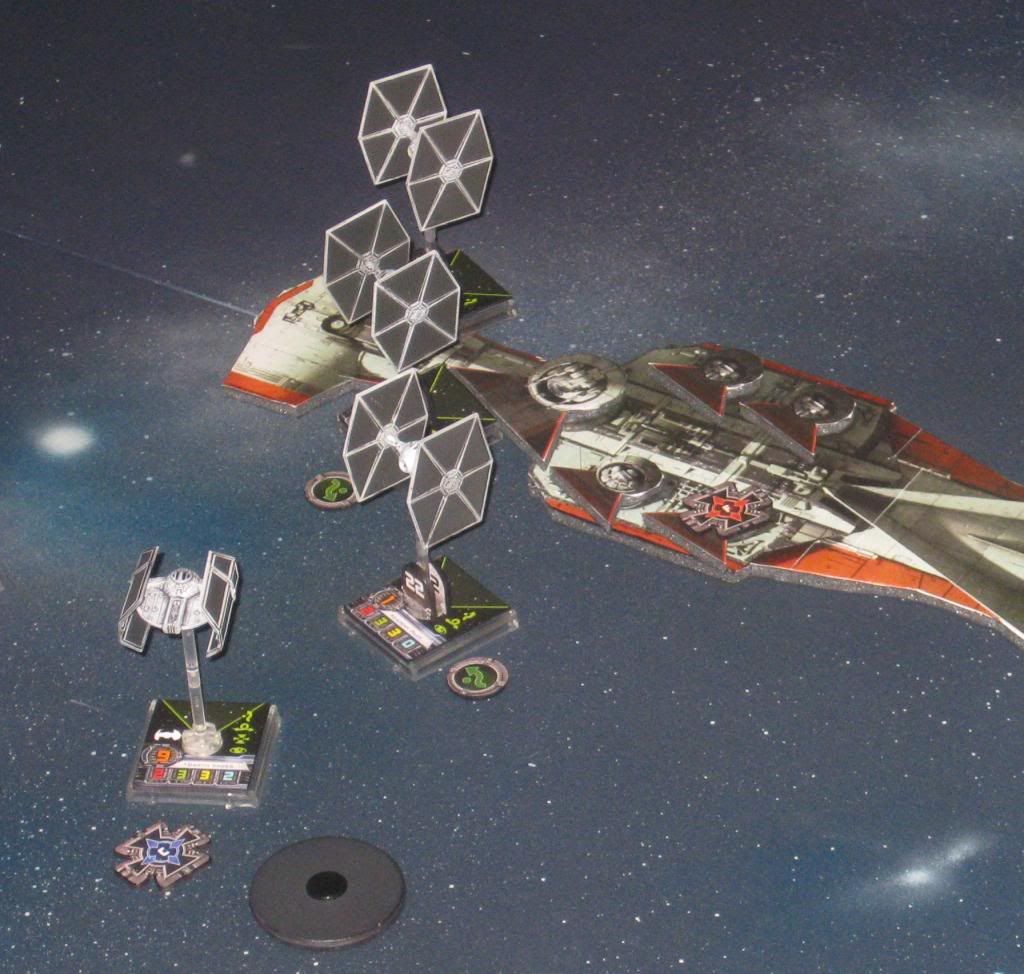
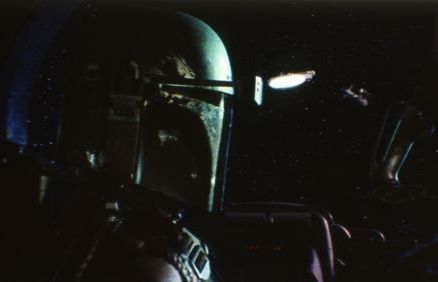
| OH MY GOD KILL HIM!!! DO IT!!!! |
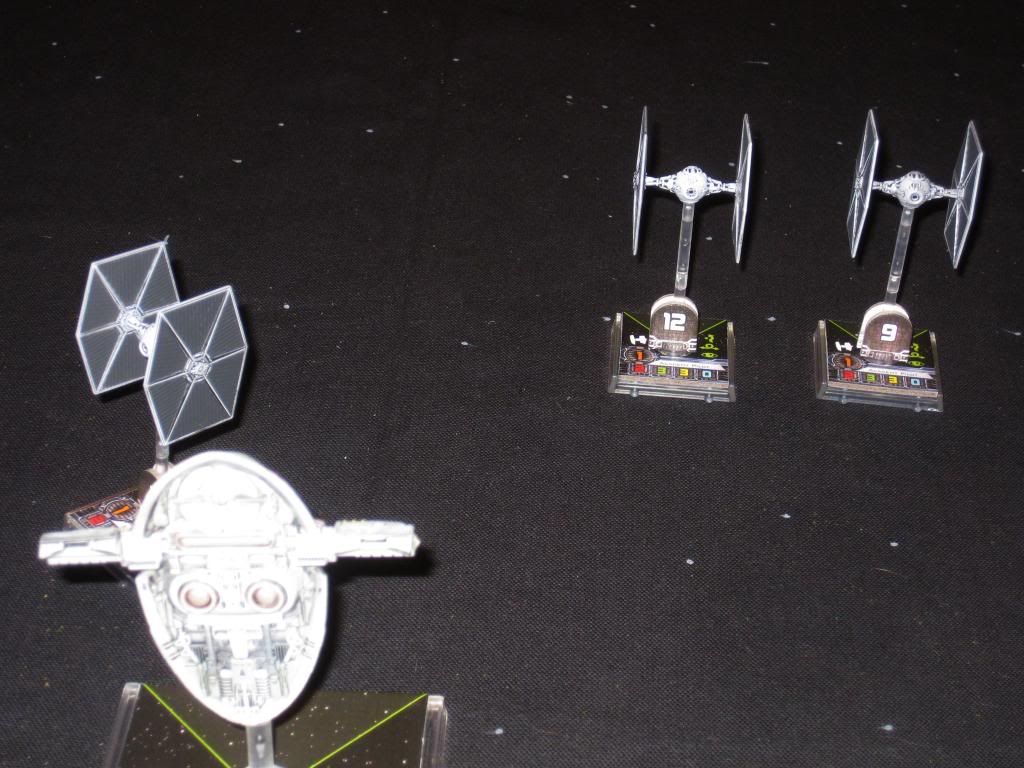 |
| Starboard TIE's move straight ahead, port TIE group sets up the rearguard slot. Slave 1, at pilot 8, moves last, right into the slot. |
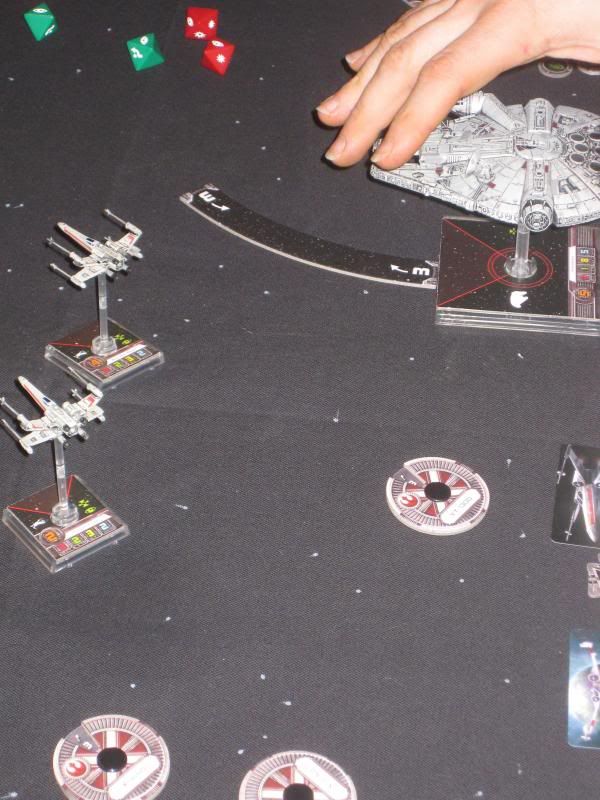 |
| Chewie's group stabbed around counter-clockwise while Fett matched the move, circling. |
 |
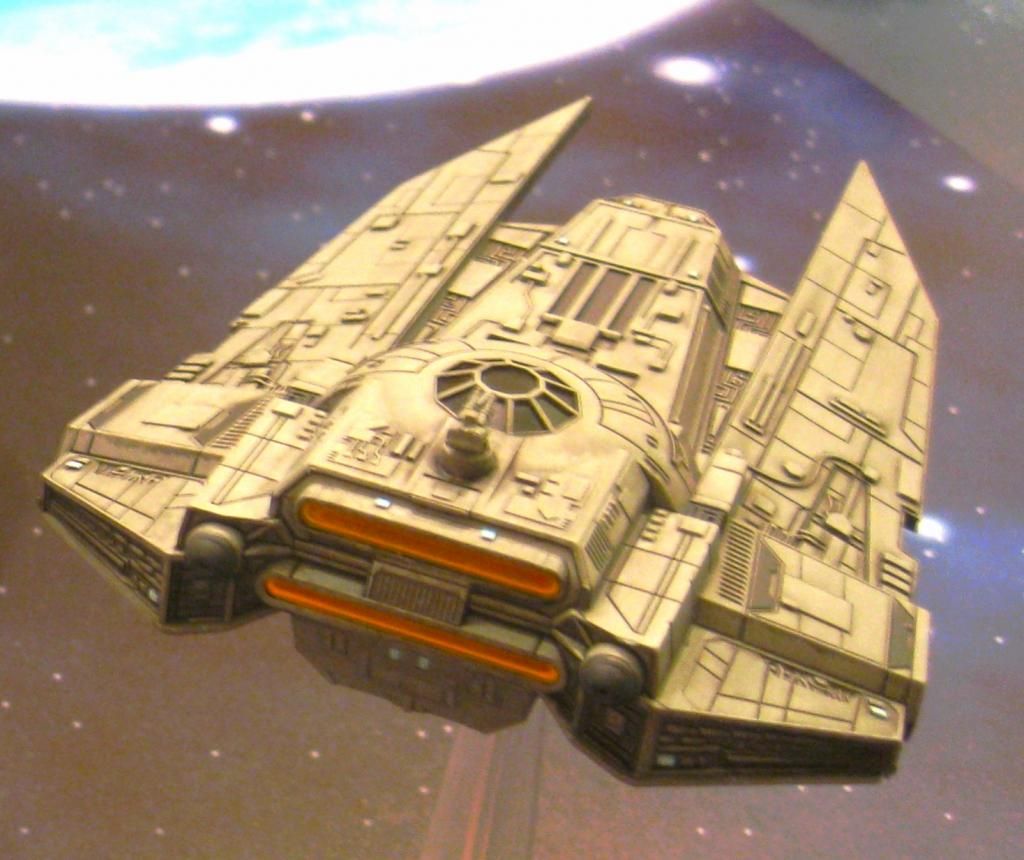
| http://www.happinessismandatory.com/misc/Models/AMT_Slave_I/Reference_Pictures/Slave_I_Reference_1.jpg |
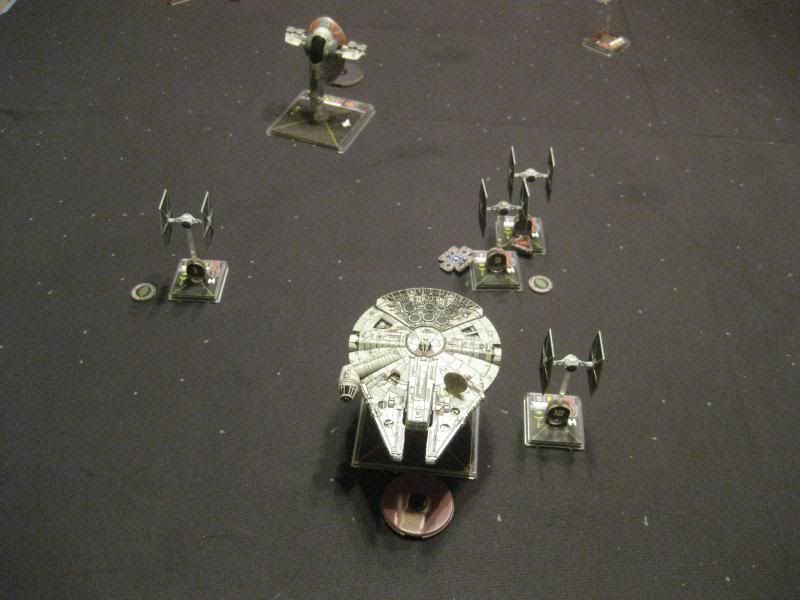 |
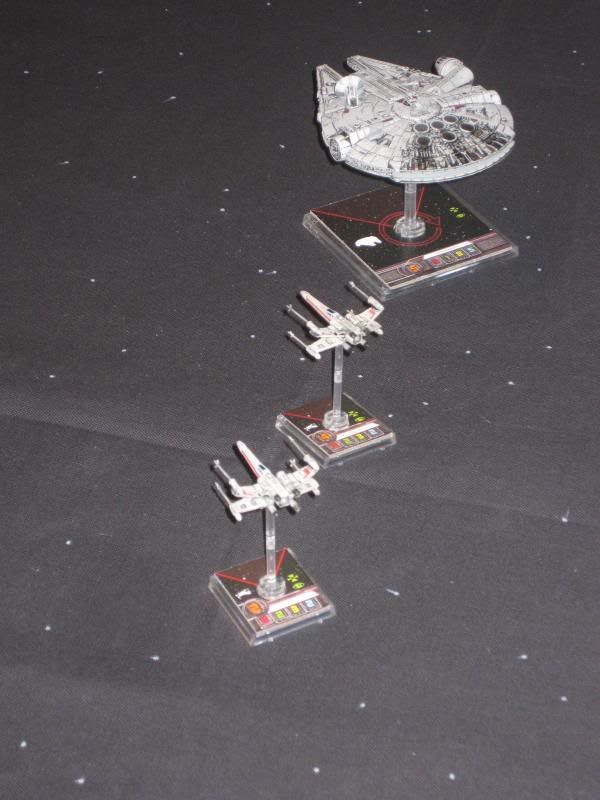
| The swarm comes about and tries to run down the Falcon. |
 |
| Red Squadron pilot (upper right) overshoots the fight and is left behind as Chewbacca evades the incoming Empire. |
 |
| http://www.dub273.com/RevsFolio/16_TIE_fires_thumb.jpg |
 |
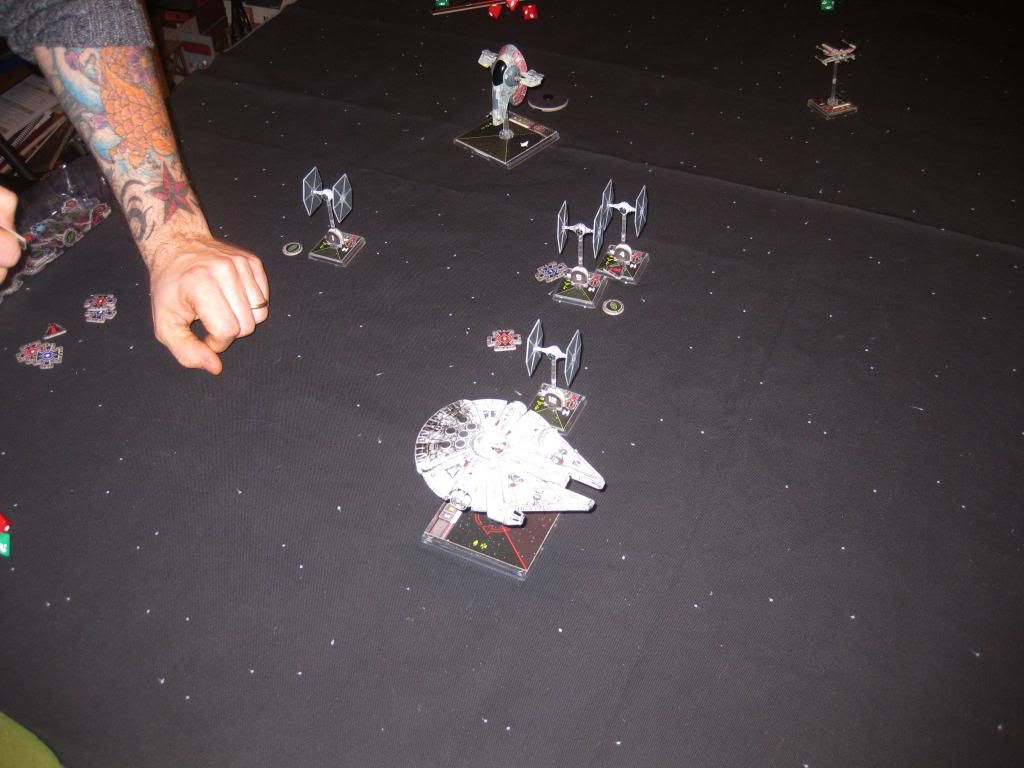
| I wanted to force Pete into a hard starboard turn to avoid the board edge and Proximity mine. The TIE's needed room to regroup, now that the Falcon just barreled right through them, leaving a bunch of action-less Empire pilots fighting controls to regain formation. He was probably going to do that anyway but it was fun to drop a bomb in his glidepath. |
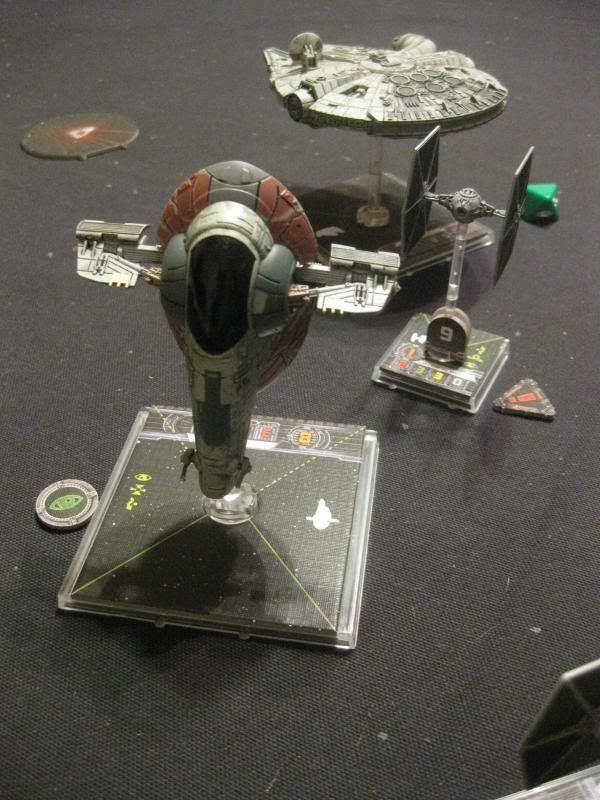 |
| Just kick-ass models, who cares if we didn't paint them. |


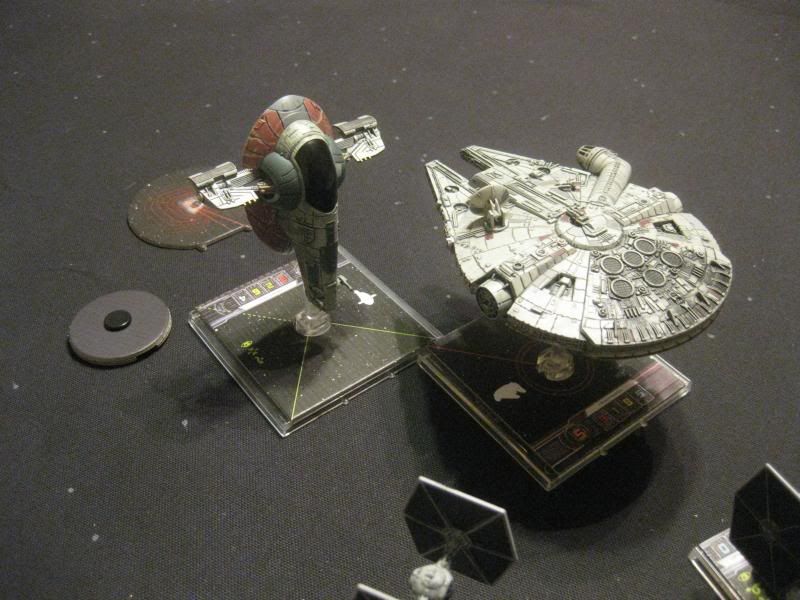
 Fett's Ability in Slave 1: Fett can order banking turns to one direction and after revealing it on the dial, change it to the same banking turn in the opposite direction, if he wants. While it didn't come in handy every turn, it did allow him to squeeze through the dogfight and stay open for his Action at least once. If that works once a game you'll be grateful you have that.