So I built a flat Bushido
board and took the chance to try out a new feature I have been thinking about, raised wood trim.
Parts List:
1.
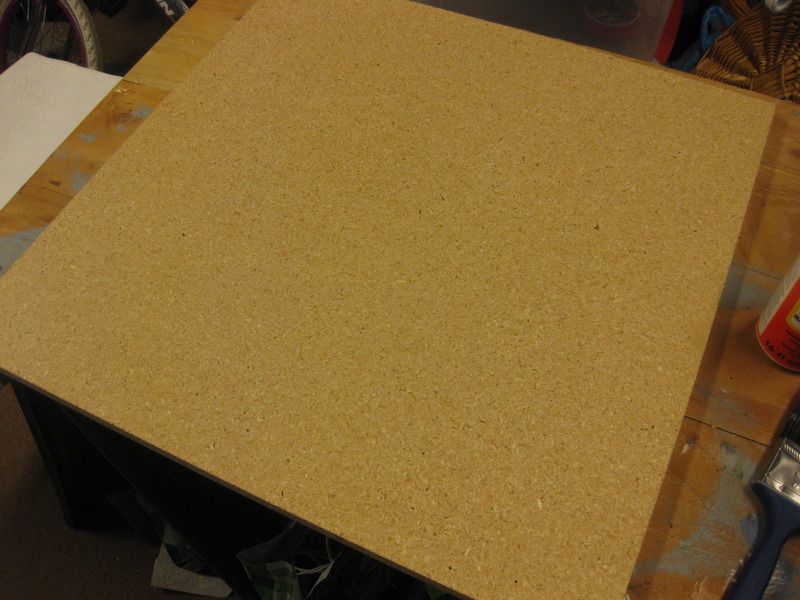
One 2’x2’ piece of MDF
2.
Textured wallpaper
3.
Oil based slow-drying primer/sealer
4.
Mod Podge
5.
Cutting implements and tools of destruction
6.
Paints
7.
Flocks
8.
Assorted Paint brushes
9.
Trim (optional but recommended)
Stain (try water based)
Granted, most of the time spent on this build is drying
time. Looking at the parts list you will see a few decisions were made ahead of
time. Some explanation is in order.
MDF: Normally I avoid MDF. It can be finicky with glues and
paints. It can warp when stored improperly in locations like the average basement;
humidity can have its way. That said, the local DIY had them on sale for
US$1.88 which is a tremendous deal, so there it is.
Textured Wallpaper: I had a huge stockpile of this stuff
from a decade ago when I worked for paint and wallcoverings company (I made the
huge batches of paint that trucks delivered to large companies like Amtrak. I
also made the house paint for the movie M. Knight Shyamalan movie,
Signs.) This stuff is basically paper
with some foam texture embossed onto it. I think it was supposed to look like…
well, I have no idea. I only see dirt and rocks. I use this on everything from
miniature bases to large terrain projects. It has served me well but it has a
fatal flaw. The foam can tear up when gamers drag miniature bases across the
features relentlessly, because at it's heart, it's just light foam. I learned this the hard way when a terrain board I had
built for a local game store started being stripped of the texture. So I went
back to my roots and solved the issue with the right coating as a base, which is up next.
Oil Based Slow-Drying Primer: There is always somebody who
is confused about oil primers and acrylic paints. I will get into that if
anybody asks in the comments section below. Suffice it to say, it works no
problem. The beauty of slow-drying primer is that it penetrates everything
(like
Carlor)
and that means the foam features are soaked to the core by grey primer, which
makes it rigid and durable when it dries. If it was not slow-drying it would dry down before
it soaked all the way through. I have been in the habit of using this primer on all
foam features I build with. It has a modest capillary filling action for the
micro features of foam, which is great to seal up foam from spray solvents. But
it treats detail very well too. The only issue is clean up, since it is oil
based. Buy a good disposable brush (called a chip brush here in the US) and
skip the mineral spirit clean up. Just watch for shed bristles drying in the primer from the cheap chip brushes.
Mod Podge: I have also been using this stuff for everything.
I used this to glue the wallpaper to the MDF and used it to glue the flock down. Just be sure to use Matte Mod Podge. It really does dry clear and
non-shiny.
 |
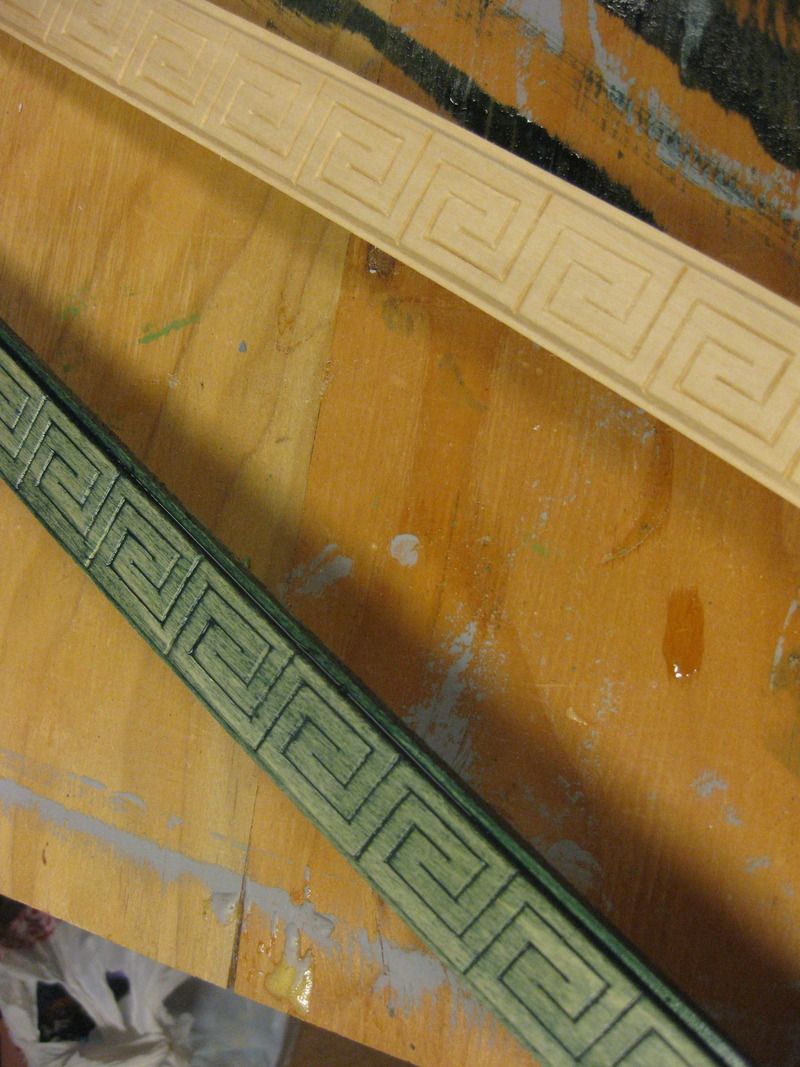
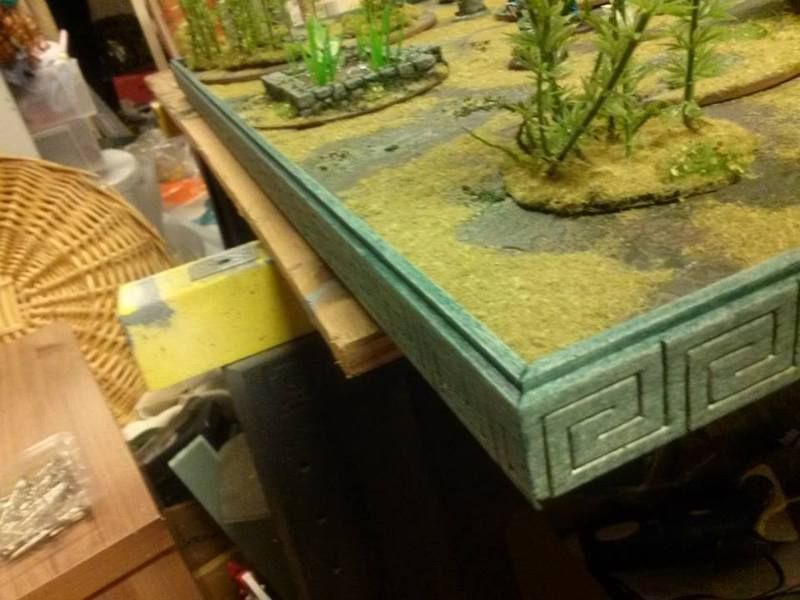
| Stained and "Nude" trim. This is also my new band name. |
Trim: For smaller boards like this one I find they tend to
need a few points for presentation. Something that lends a classy finish. So I
tend to trim my boards where I can; it isn’t always practical, especially when
building out in foam, but it is usually worth it if your board will see lots of
handling and God help me, storage on its side. Trimming assumes you know your
way around a mitre saw, can make a clean join and you can swing a tack hammer or
fire a finishing nail gun. Before you even think about attaching the trim you
should lightly sand off the shop finish, burrs, spars and stickers. Then stain
with your favorite stain. I work in water based stain so I can avoid clean up
with explosive liquids in my basement. Once the trim is dry you’ll have it on
hand to make your cuts for the board.
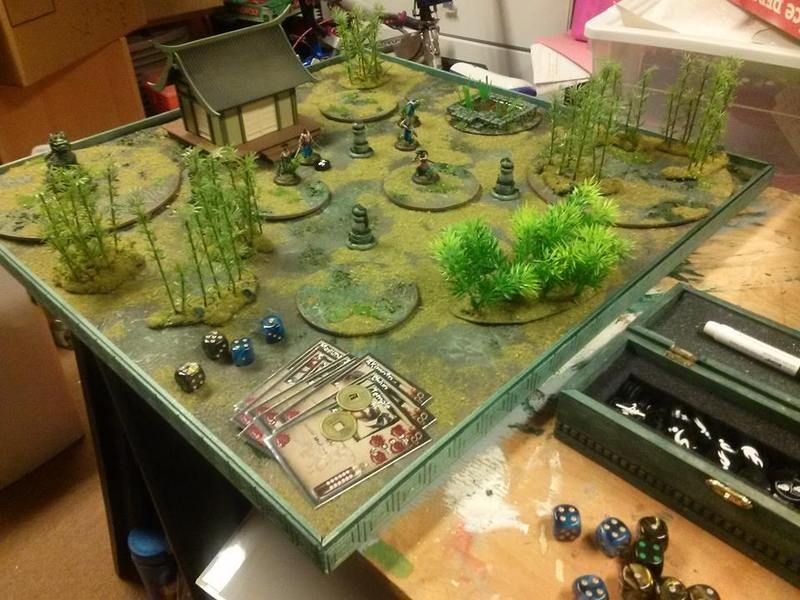
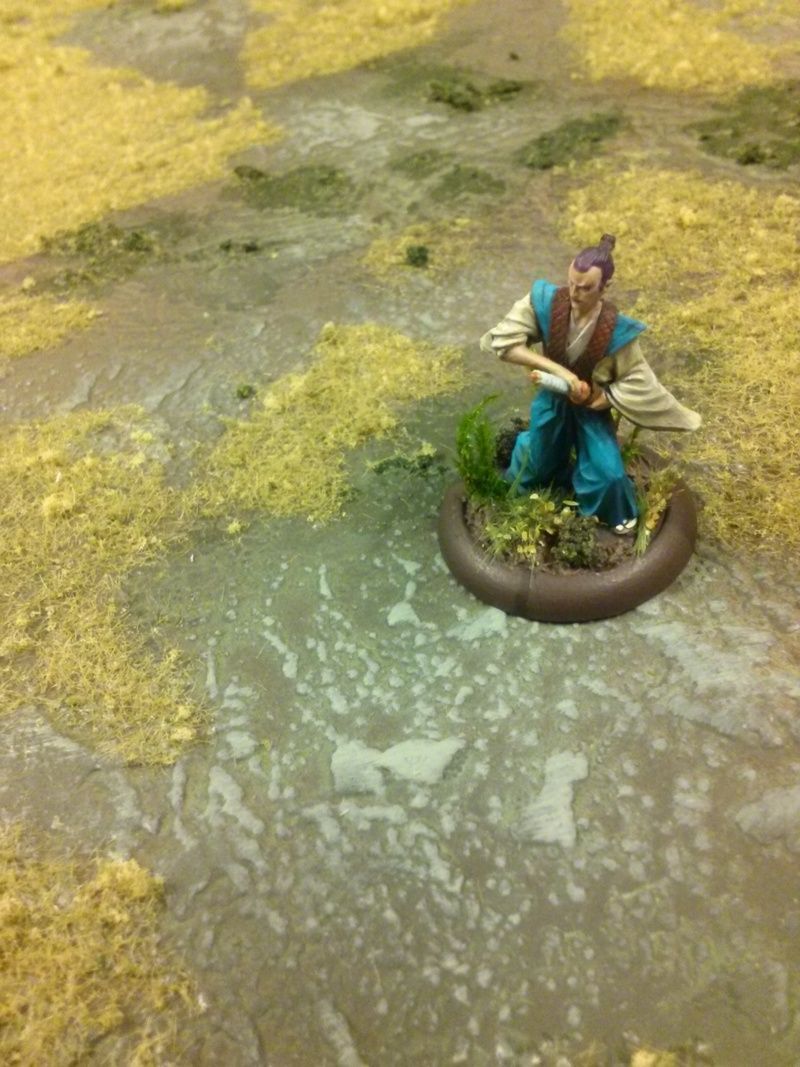
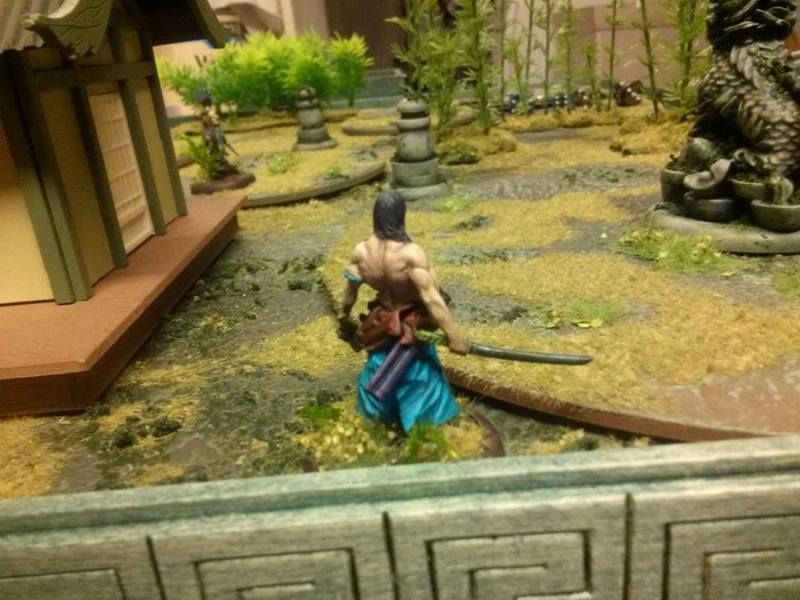
Assembly: Assembly on this is exactly what you'd expect. Mod Podge glue coating over MDF, textured wallpaper on top. Oil based primer, let dry 24 hours. Stain the trim in the meantime; I use water based stain for the easy cleanup, in a Verdigris finish. Once primer is dry, I spray primed with Army Painter colors. Then I got some paint layers on there with acrylic wet brushing and dry brushing to pull out detail. Once the detail was dry I added on some "moss" mix to some exposed stone areas to tie in with the scatter terrain and objectives I made earlier, which also has moss.
 |
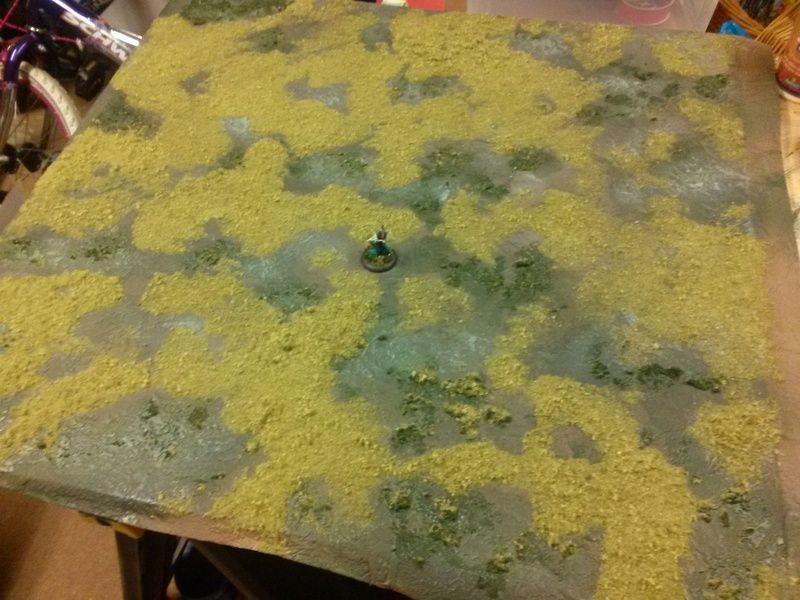
| Without Zone Control templates. |
 |
| With Zone Control templates down. |
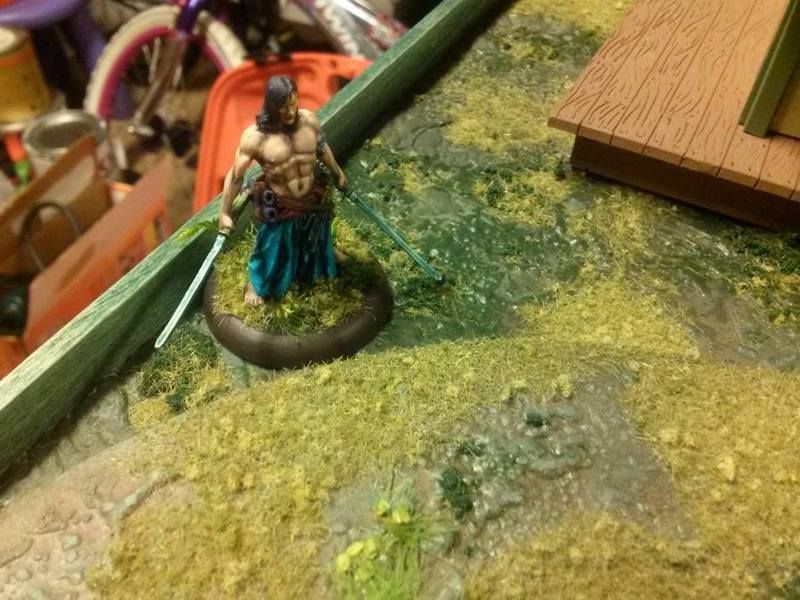
I used Matte Mod Podge for all the flocking, using a mix of Woodland Scenics static grasses and sponge material for variety. Once dried and brushed to catch loose flock, I used a mite saw to make my cuts in the trim and a bastard rasp to smooth the joints. Note that I kept some stain on hand for touching up the trim after I made my saw cuts and passes with the rasp. Just re-stain the bare wood before you attach the trim with a finishing nailer. That's it.
The raised edges really help placing models and terrain. Trim also helps keep models and dice on the board too. Finally, it matches my token and dice caddy, finished in the same stain. I think the trim is functional and actually adds a nice visual appeal. I am not sure the visual appeal would work for all games of all genres, but in this case I deliberately picked out a design that seemed Asian enough to pass. More pics later when we get a game on it!