Showing posts with label Work in Progress. Show all posts

Wednesday, April 26, 2017

TTCombat: Yu Pagoda Build Log 3


Part 2 can be found here.

At this point, the Pagoda is very sturdy, mostly together and I admit that I wasted one night moving figures around on it making ninja noises in the basement. Pretty damn exciting for me. The wife probably died a little inside.

The instructions have the doors either glued open or closed. The doors themselves are 2 parts, a front detail layer of laser cut grey board and a backer to make it rigid. I wanted two things with these doors: 1. keep the detail to let light through and 2. Make them movable.


First I tackled the detail/light issue. That was fairly easy, I simply backed the painted detail layer pieces with parchment, glued with matte Mod Podge and left the original second backer off. Sorta flimsy but ok and beautiful with lights showing through.

Then I spent another night finding a way to make the doors move. I prefer a more forgiving design when it comes to making 6 sets of doors movable.


I finally settled on a design where the door hangs via a metal track on the wall, and a magnet attached to the door, allowing the doors to move around and also simply detach when gamer hands smack around inside the buildings.


My design was mostly because I could source all the parts from what I had laying around and reproduce it over 12 doors. The tracks were size 2 jeweler's saw blades, tooth-down, which happen to perfectly span the width of the walls, sorta like a lintel. I used Mineral Spirits to de-grease the blades and then used, you guessed it, matte Mod Podge to glue down the tracks.


I cut a length of the backer to lag over the top of the door and leave a space for a flexible magnet. Getting them all together only needed some trimming by eye to get the magnets on top of the door flush and square. Flexible magnet ribbon is best for this, about US$3.00 from the DIY. I just had to use Mineral Spirits to get the adhesive off for the super glue to adhere.

So that's it for the doors! The lights are simply flickering LED yellow lights from Amazon placed around the inside of the Pagoda, keep it simple.

Then I weathered the roof but you see it too much in the pics. It warms the grey sufficiently so it looks good next to the trees and such.


I then set about making some planters of flowers using wooden bobbins primed grey and weathered a bit after drybrushing greys to off-white, Woodland Scenics green sponge and flower flock.

So that is pretty much it for now. I plan on detailing the inside of the pagoda at some point, especially after I get a few games in with it.


Up next: GLAMOUR SHOTS and final thoughts

Wednesday, January 21, 2015

Bushido: Lit Pagoda Terrain


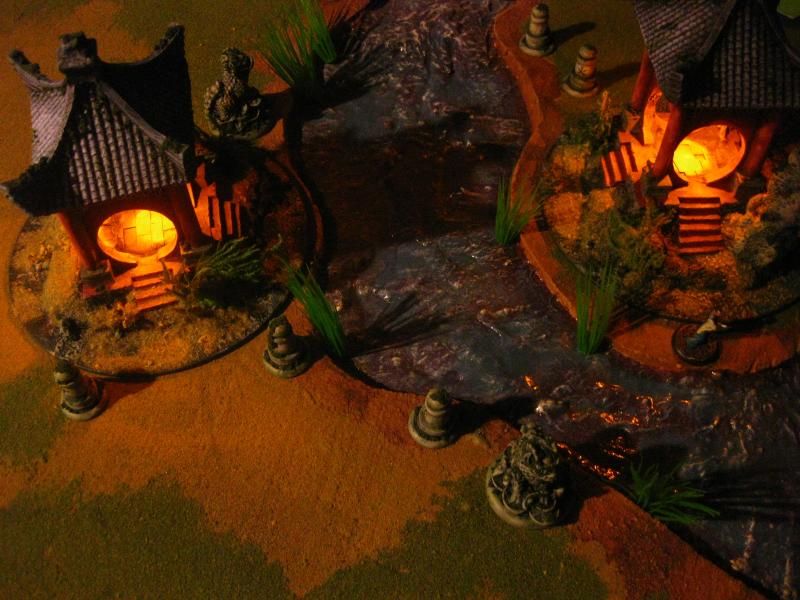
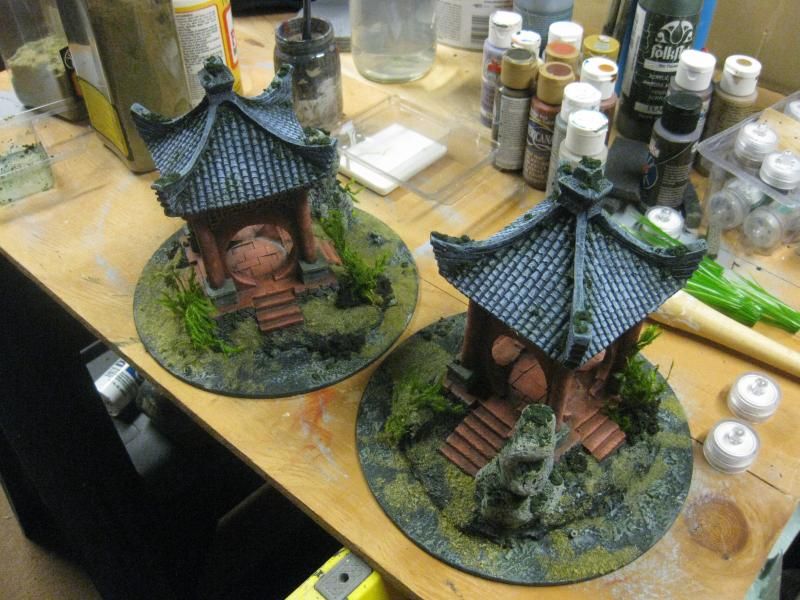
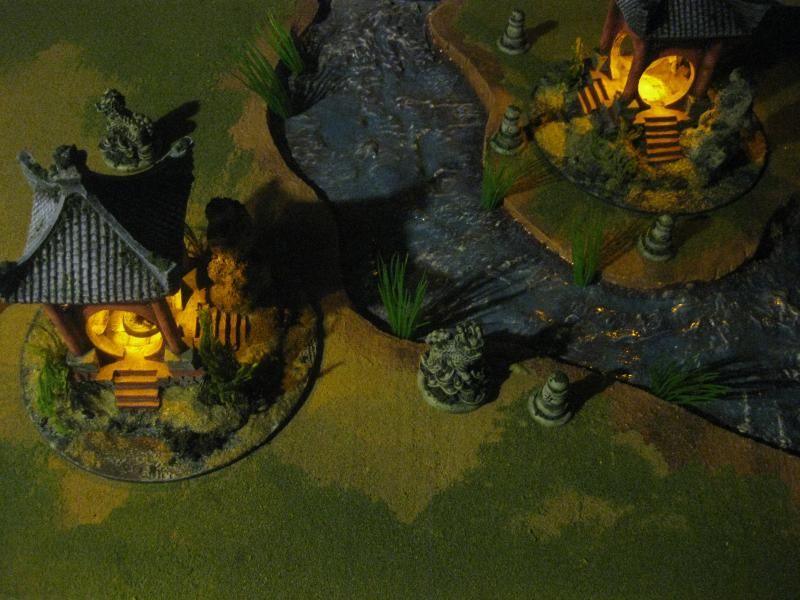
I used 2 Petco aquarium decorations as the basis of some terrain for the Bushido miniatures game. Looking back, I was sorta bummed I couldn't make them more playable than they are but the next round with a few more should get me a bit further with accommodating the various bases used in the game. All told, there were a few solid nights of working on these and figuring out what to let go and what needs addressing. These are powered by battery-operated tea lights, which have batteries that the magnet mounts you add grab on to. Let's let the pics tell the story.
How'd they get like this? Read on. Note the battery operated tea lights to the right, used up in the roofs of the pagodas.

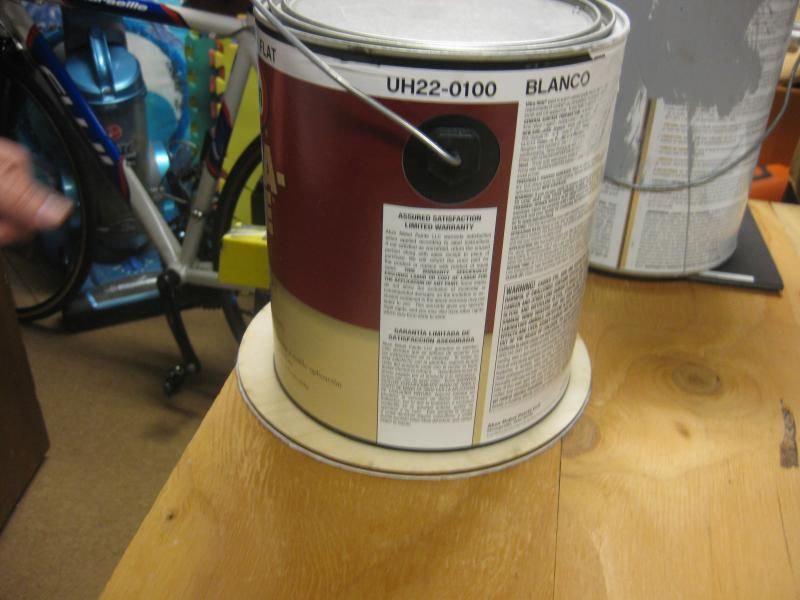
Bushido uses objectives both small and large as well as two different areas of control (per Bushido Tournament pack). I wasn't sure if this piece would work as a large area of control but figured I may as well base it on the 8" circle the game uses. I sourced the 4" and 8" from a great company, Woodcrafter.com. Good prices, great service, give them a try.

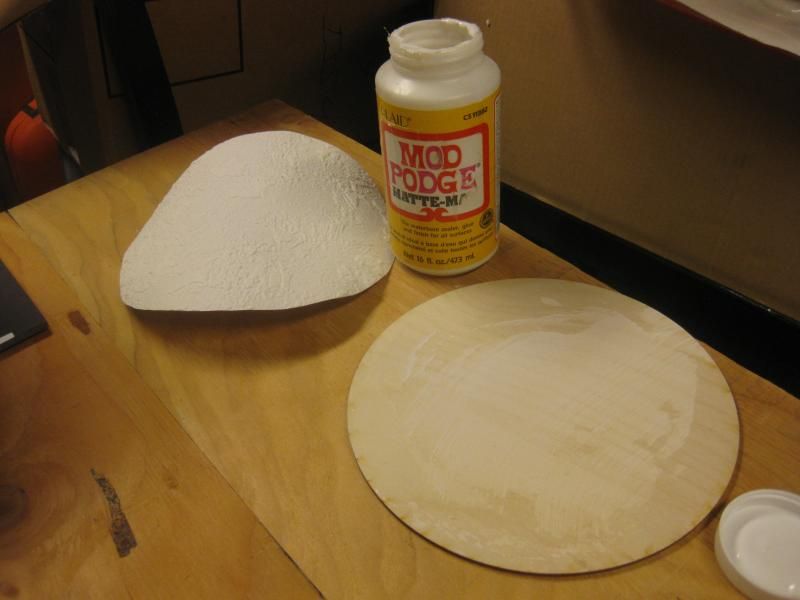
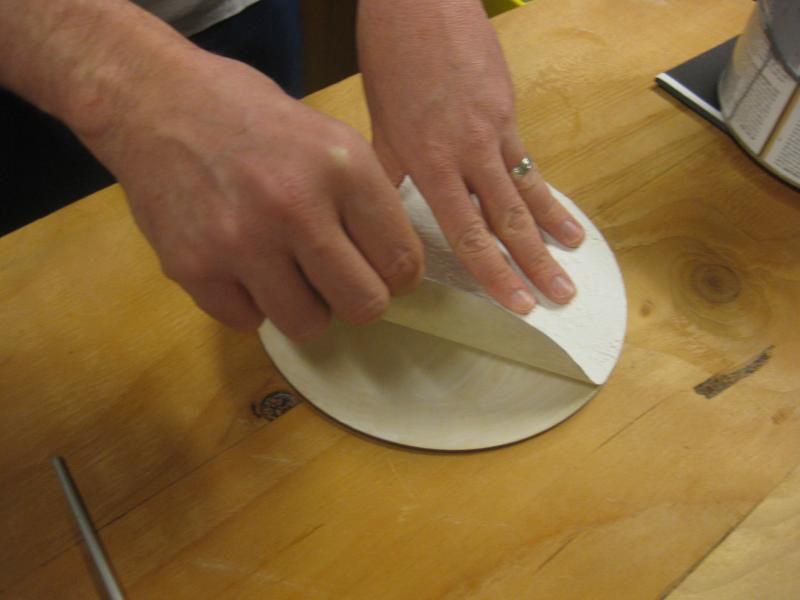
I glued textured wallpaper to the circle.
Weight it to dry it flat. Afterwards, sand edge with sanding wedge. Then prime with oil primer. Use oil primer on paper and sponge because the oil penetrates deeper and sets up better once inside. That makes a better barrier against warping, makes the material more resilient and works better for paint in general. I use grey oil based primer.
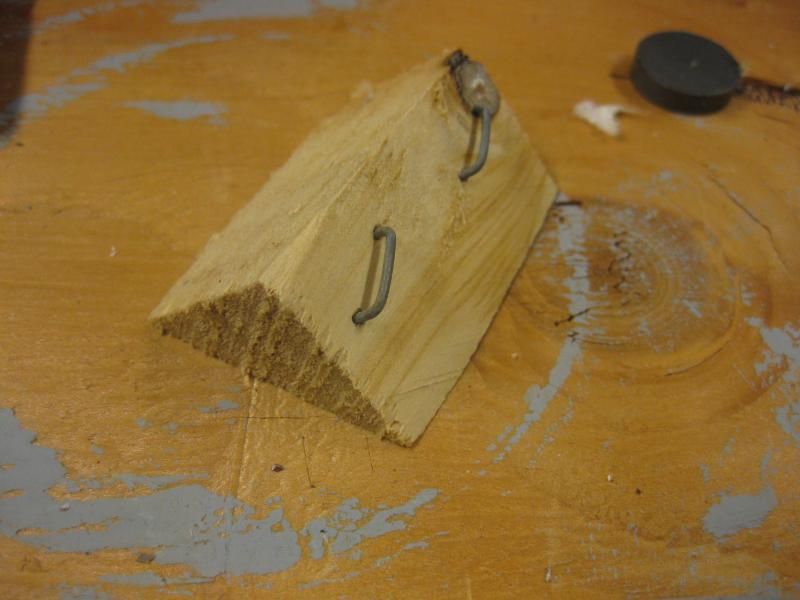
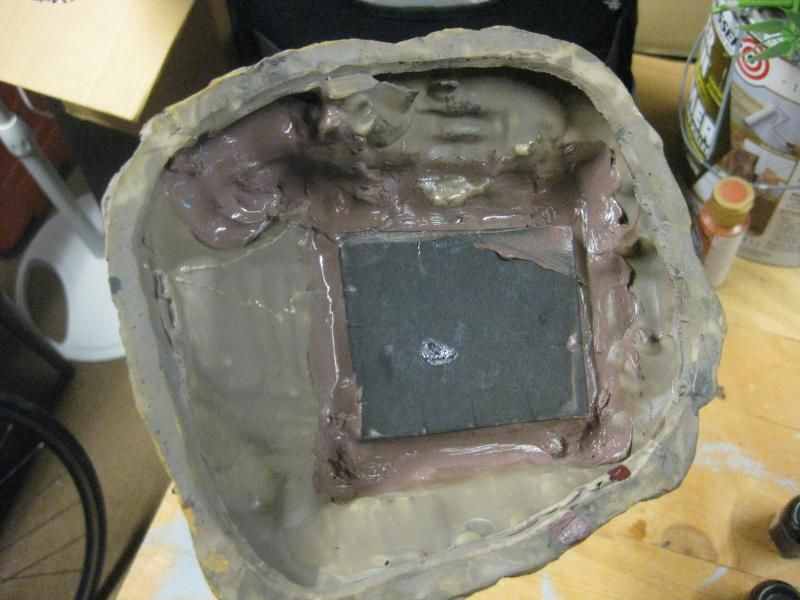
I cut to fit a wooden wedge to go up into the top of the pagoda. I seated it with Gorilla Glue, which totally fills voids and dries rock hard. After that dried, I glued the magnet to the wedge as a mount for the battery operated tea light.
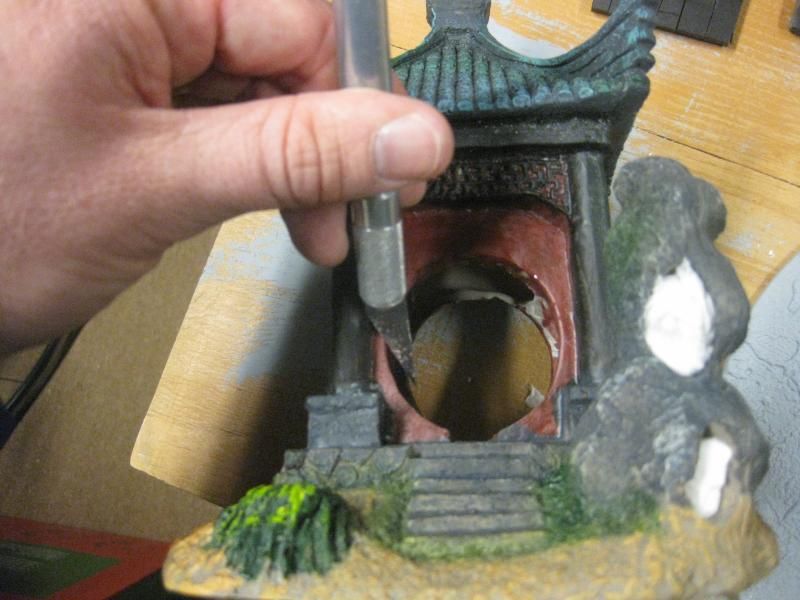
Once the glue is dry I cleaned up all the mold lines, flash and junk I could find. I knew I'd be sponge painting this so I wanted it as smooth as possible. Note that I started to backfill the rock.
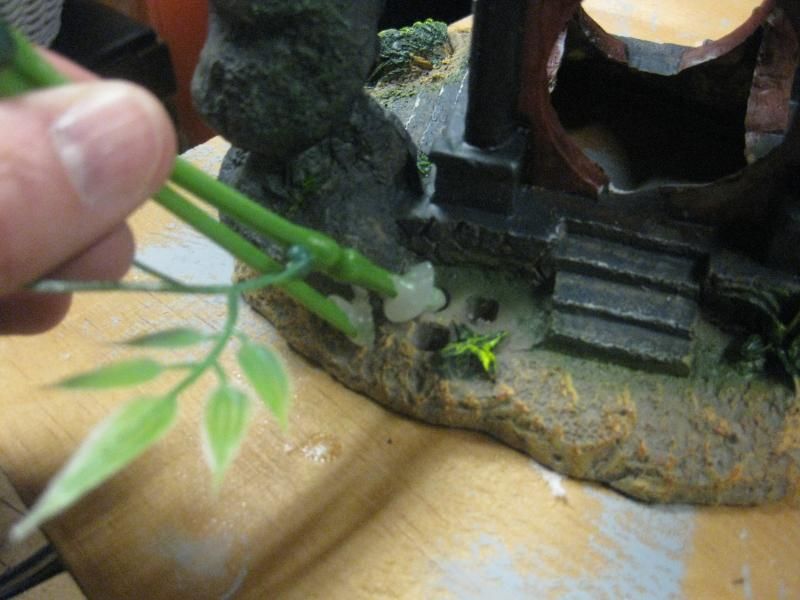
Pull up the included bamboo. Keep it for something later like oh I don't know, a koi pond.
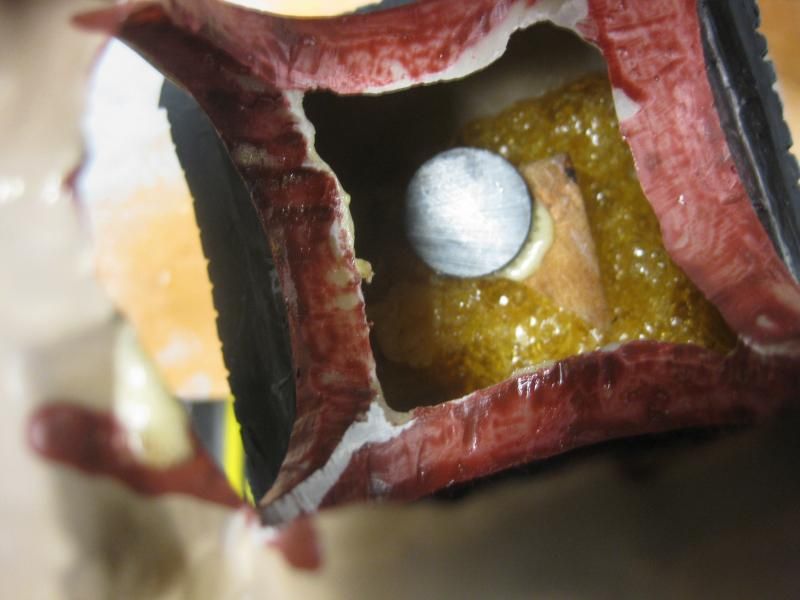
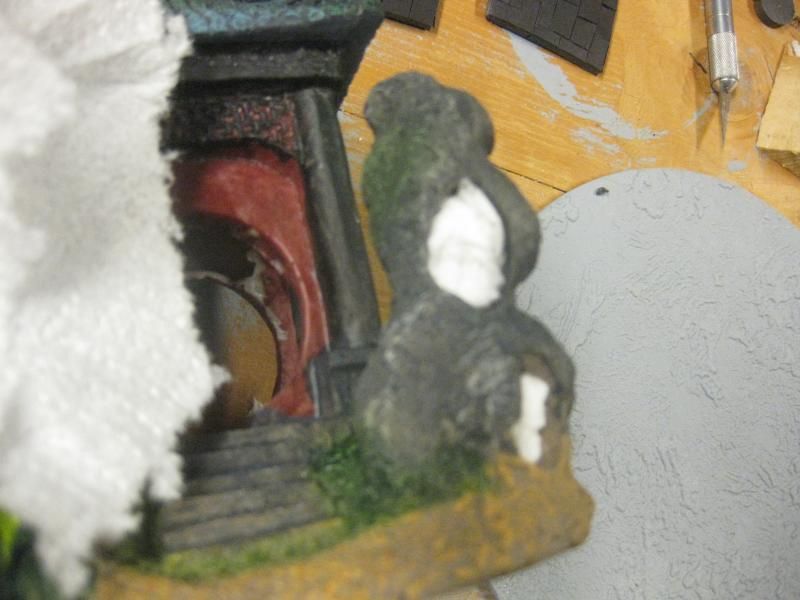
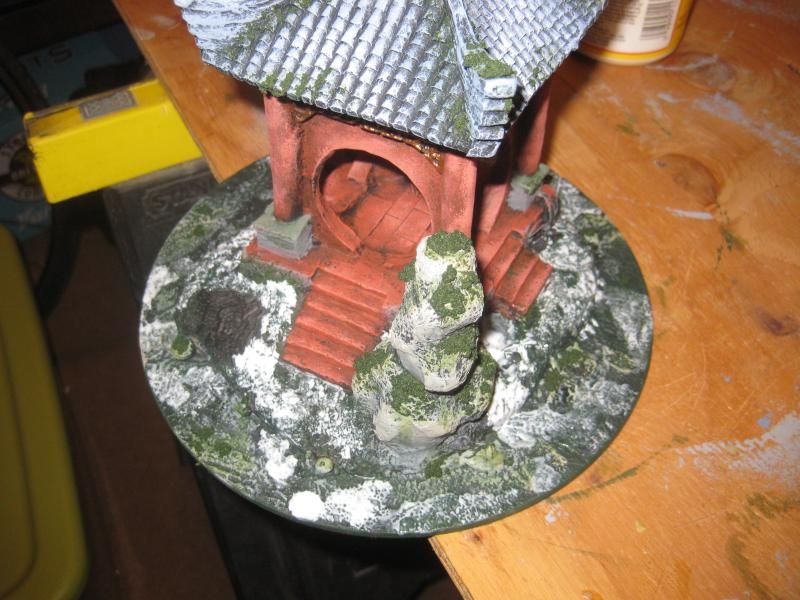
Time to backfill the voids. Oh the voids you'll see. Ok, according to years of construction experience, anything can be made out of caulk. In this case it just needs to be a rock. jam up the void with paper towel. Then, cover with caulk. It will dry and be pretty solid.
On the right, the rock is sealed with brown caulk. The left still needs sealing.
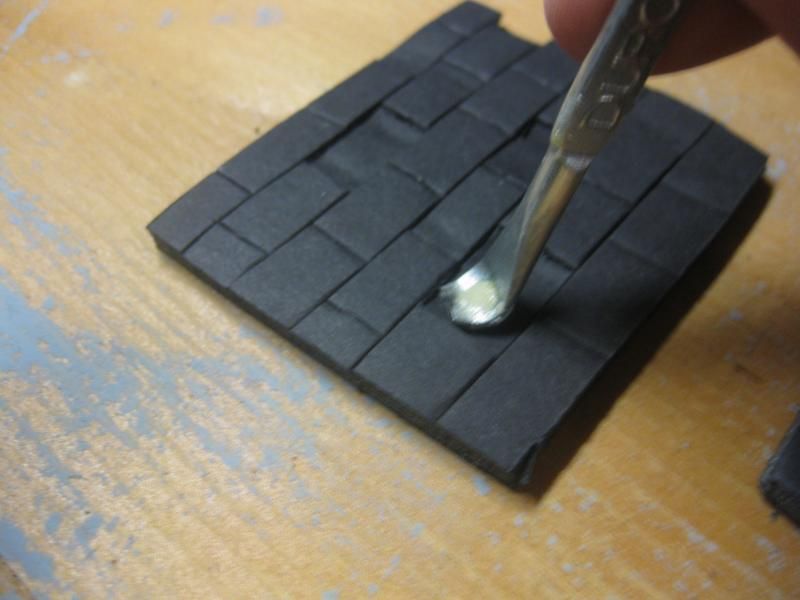
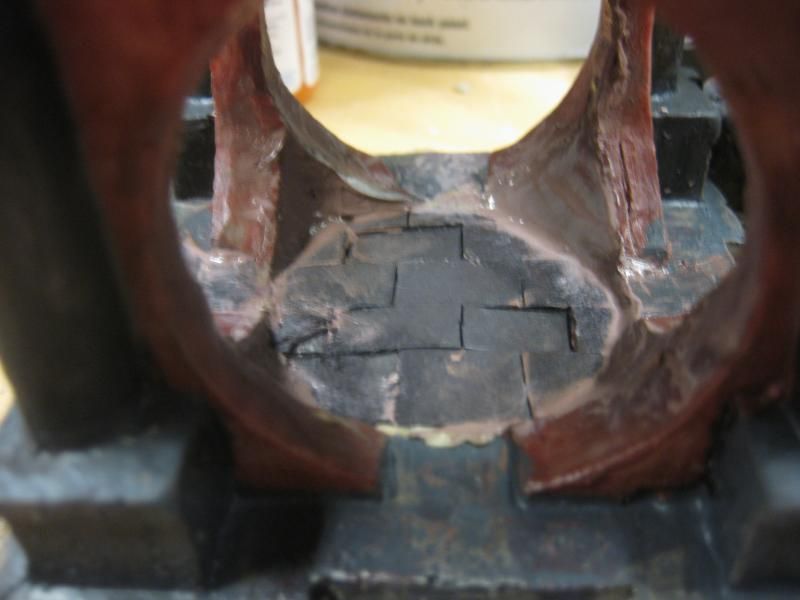
Black foamcore cut into tiles with xacto. Use a lid opener or burnishing tool to press some tiles down to create an uneven look that works for ancient things.
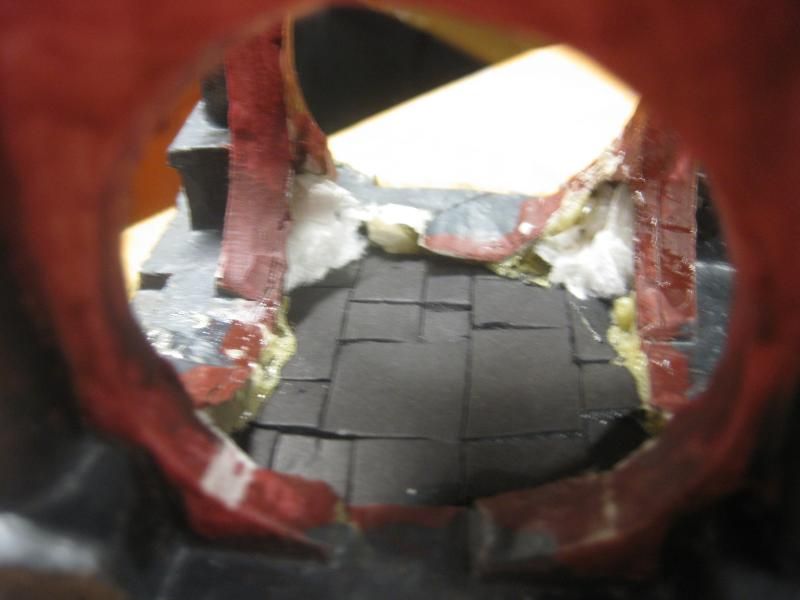
Here we see the floor glued in with Gorilla Glue. Notice the corners loaded with paper towel, ready for caulk.
An caulked. Let that bad boy dry at least a day.
May as well drop in caulk around the floor. At some point soon I glued the pagoda to the base using Gorilla Glue.
Testing the fit of the lights.
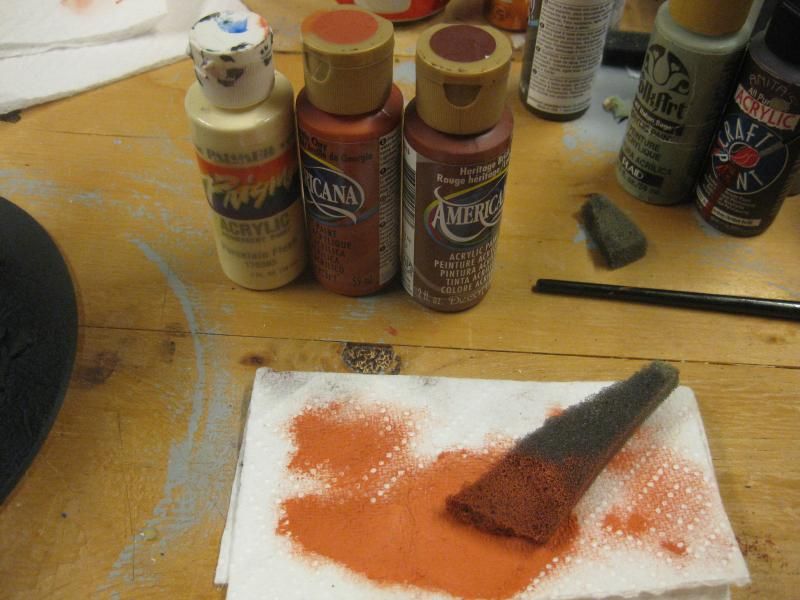
Sponge paint mode go. I keep a bag handy for all the packing foam to use for painting. I think all my Warmachine blisters gave me all I'll ever need.
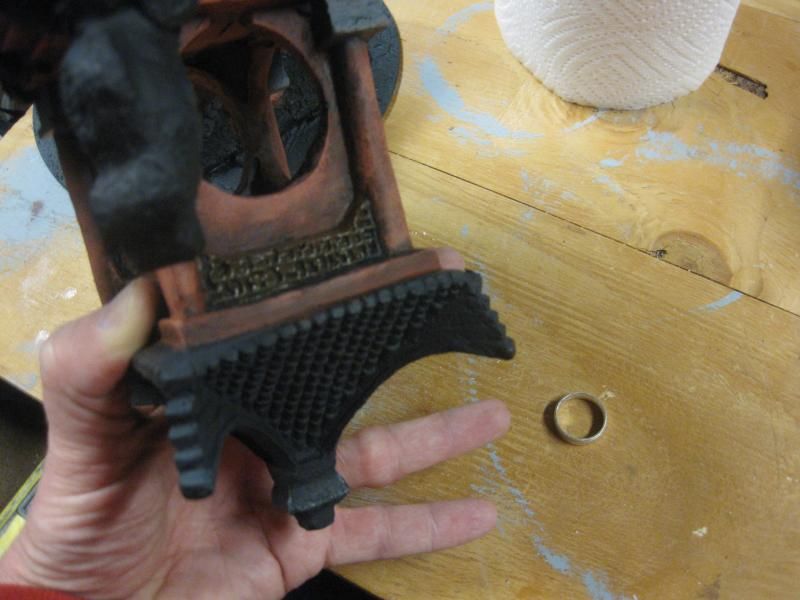
Pro tip: Remove all rings if you are holding something large like this pagoda. Rings will gouge the crap out of what you are painting. Same goes for throwing dough for pizza and pasta.
Painting almost done, adding the moss to stones and nooks.
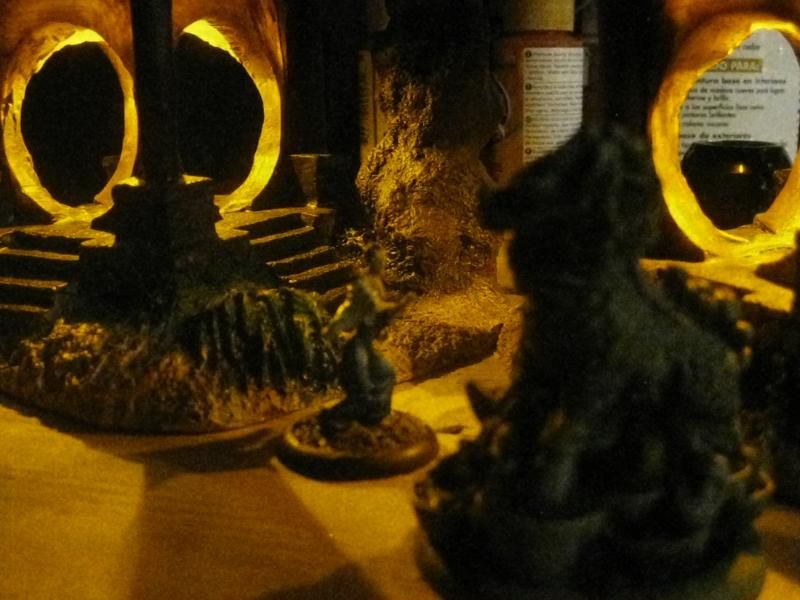
Test light. With the red clay look, the light looks great.

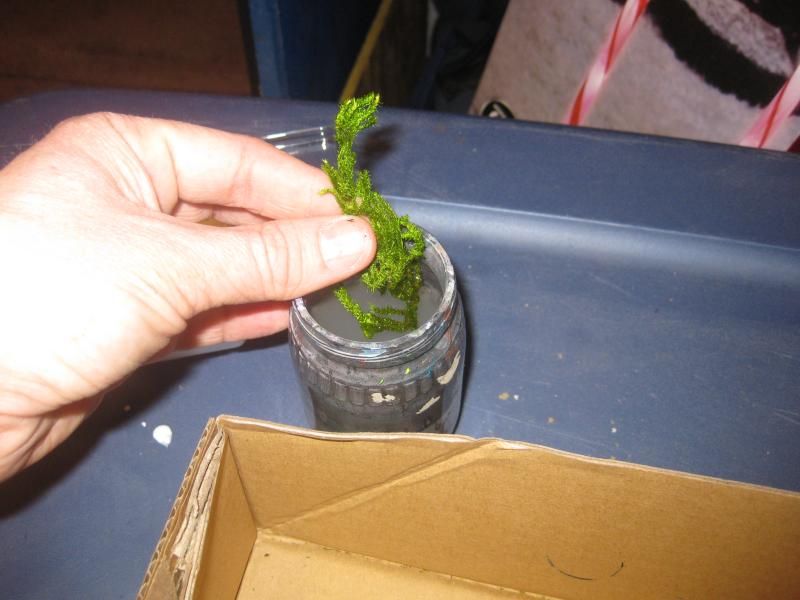
Now on to basing. Using a bag of dried ferns from the local craft store, soak a frond. This part assumes you painted and flocked the base otherwise.
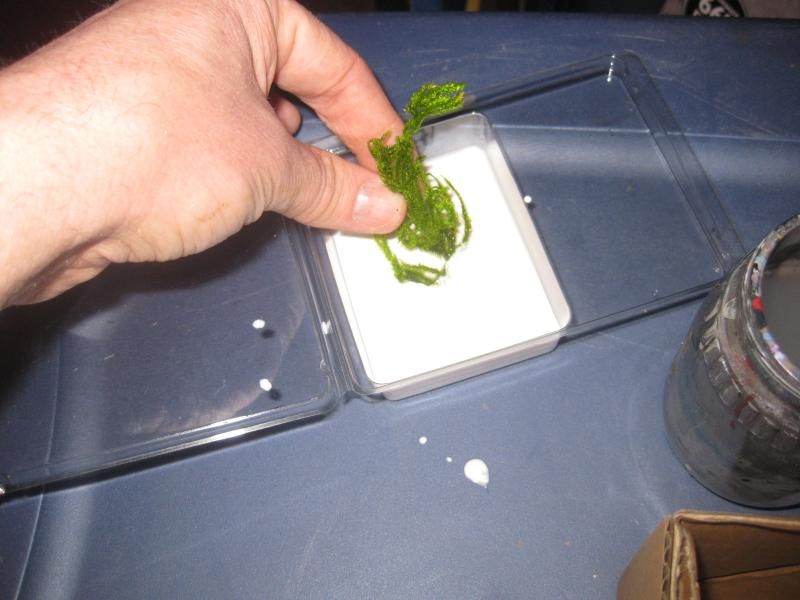
Dip into Modge Podge.

Here we see a pagoda right before general flocking. After that it is fern time. Find a good spot for the ferns. Anyplace that isn't viable game space that will see figures is a good idea.
Plop that fern down. Do not worry about all that white Mod Podge all over the place. It dries clear. Plop more down if you see it breaking loose. Here I added darker clump foliage where large blobs seem to be able to hold more.
Almost done.
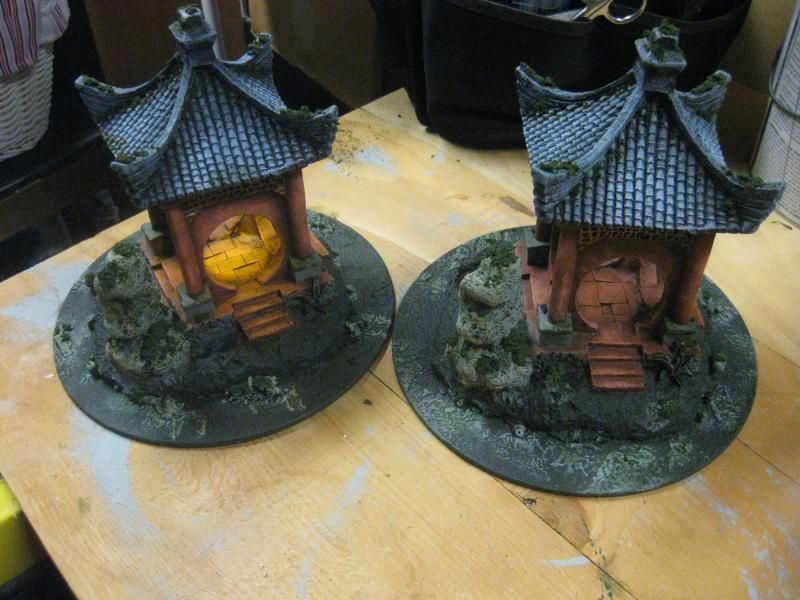
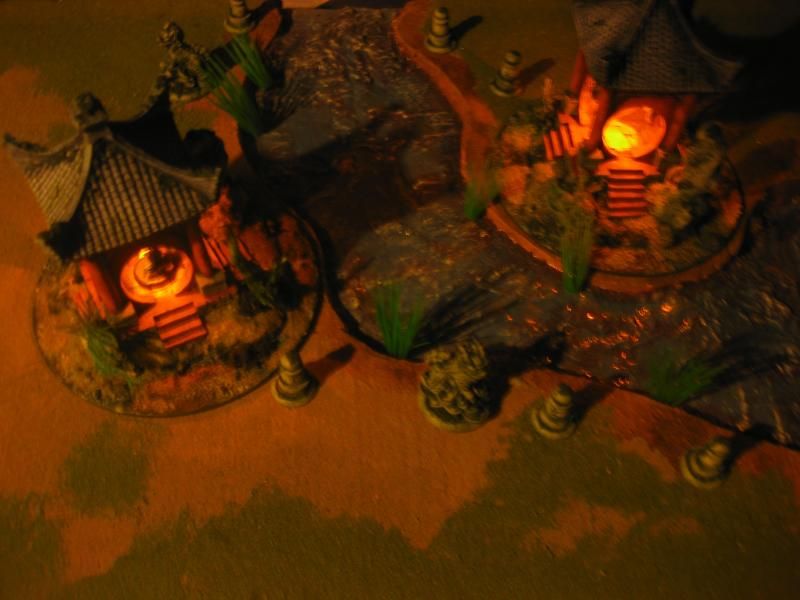
Time for a test-staging. Looks pretty good. Here we see 2 pagodas along with objective counters sorta haphazardly placed.
Temple bushi busy in the temple, uh, ushi.
Okay, so VERY atmospheric and great for Bushido miniatures. As stated, I would like to make them more playable by making the openings at the top of the stairs larger and the stairs themselves elongated. Maybe some of you can with a bit of putty or foamcore.

Well that's all I got for now. I am finishing my Ito clan starter now and hope to get a painted batrep up soon. I am also building a 2'x2' board likely to feature a pagoda like the above and enough bamboo to line 457 Banana Republic stores.

Sunday, October 27, 2013

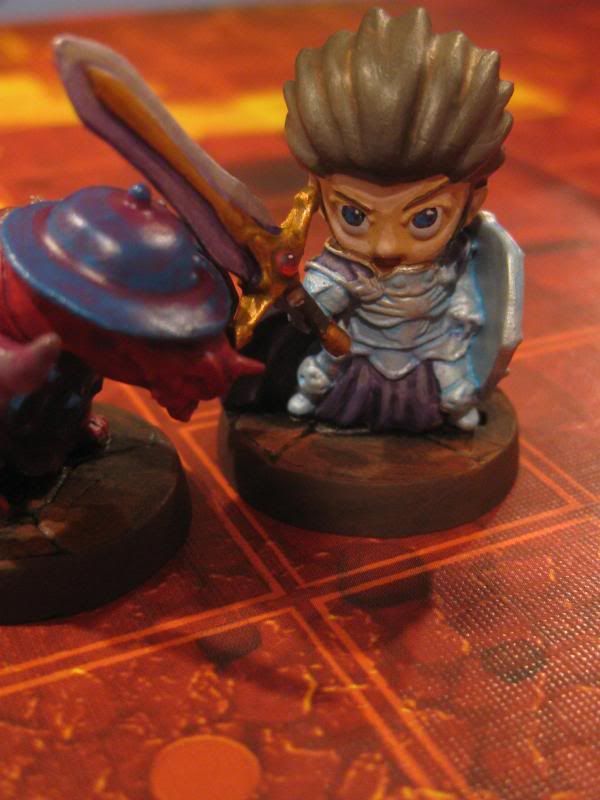
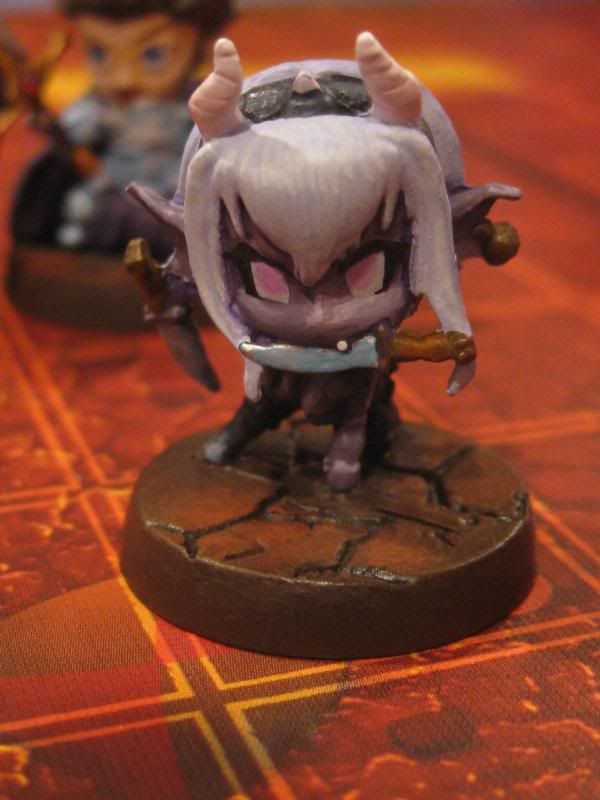
Super Dungeon Explore: 2 Hero Game's Worth of Painting Finished


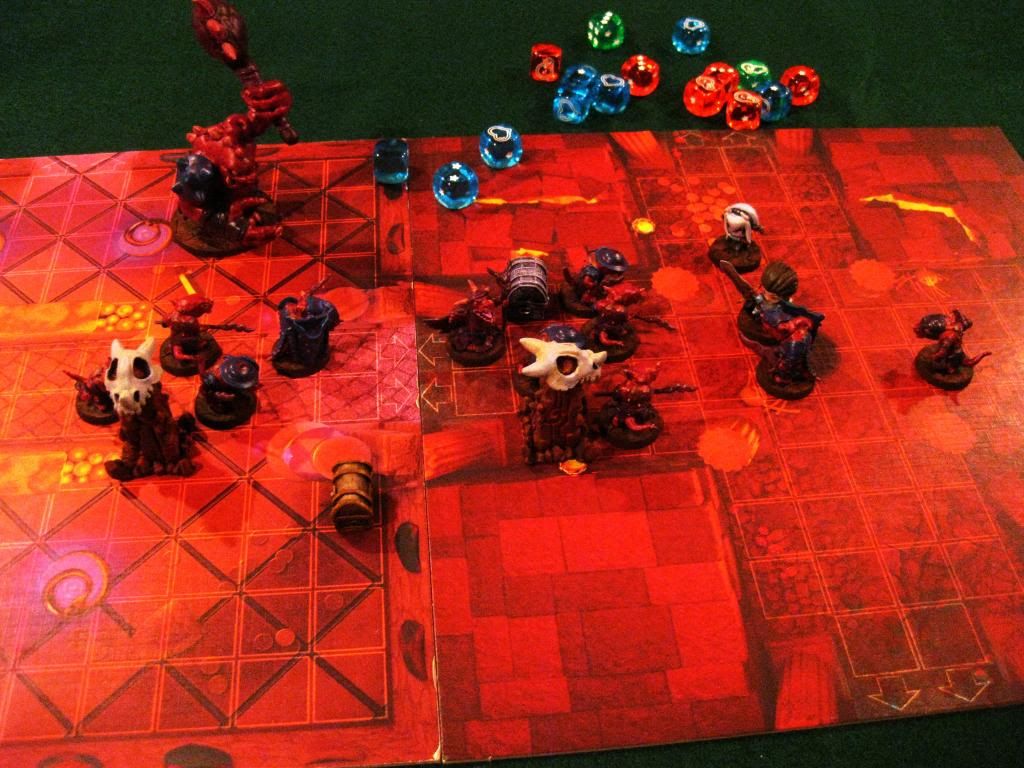
I finished what was needed for the basic version of Super Dungeon Explore, a 2 hero game.
  1. 2 Heros, Royal Paladin and Riftling Rogue
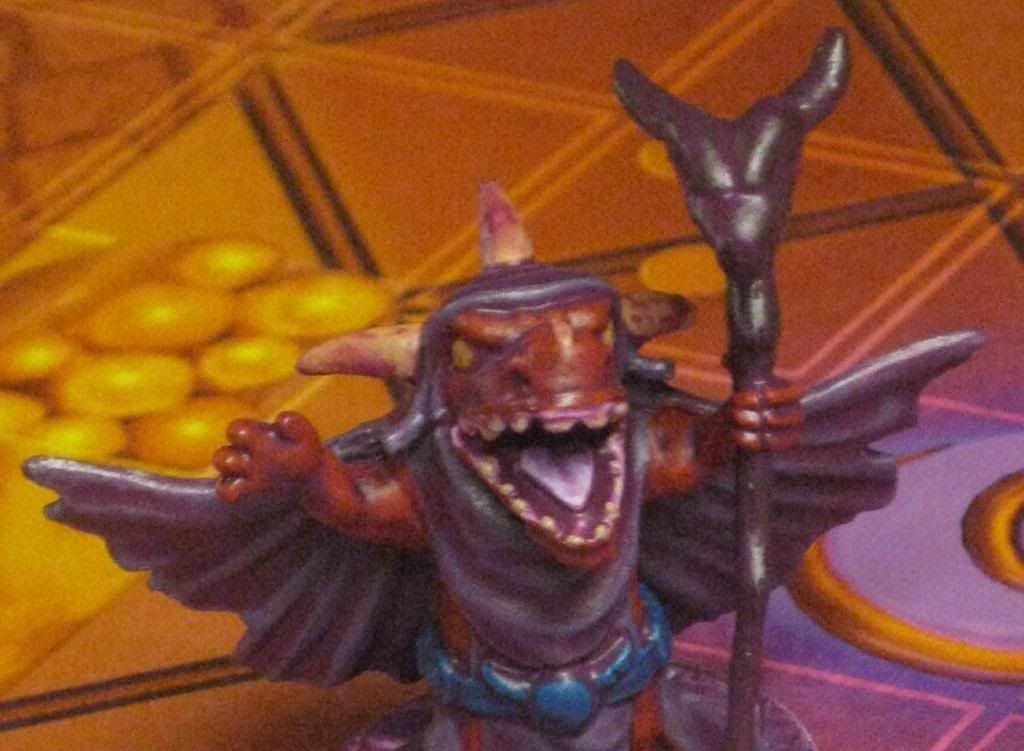
  2. 1 Kobold Shaman
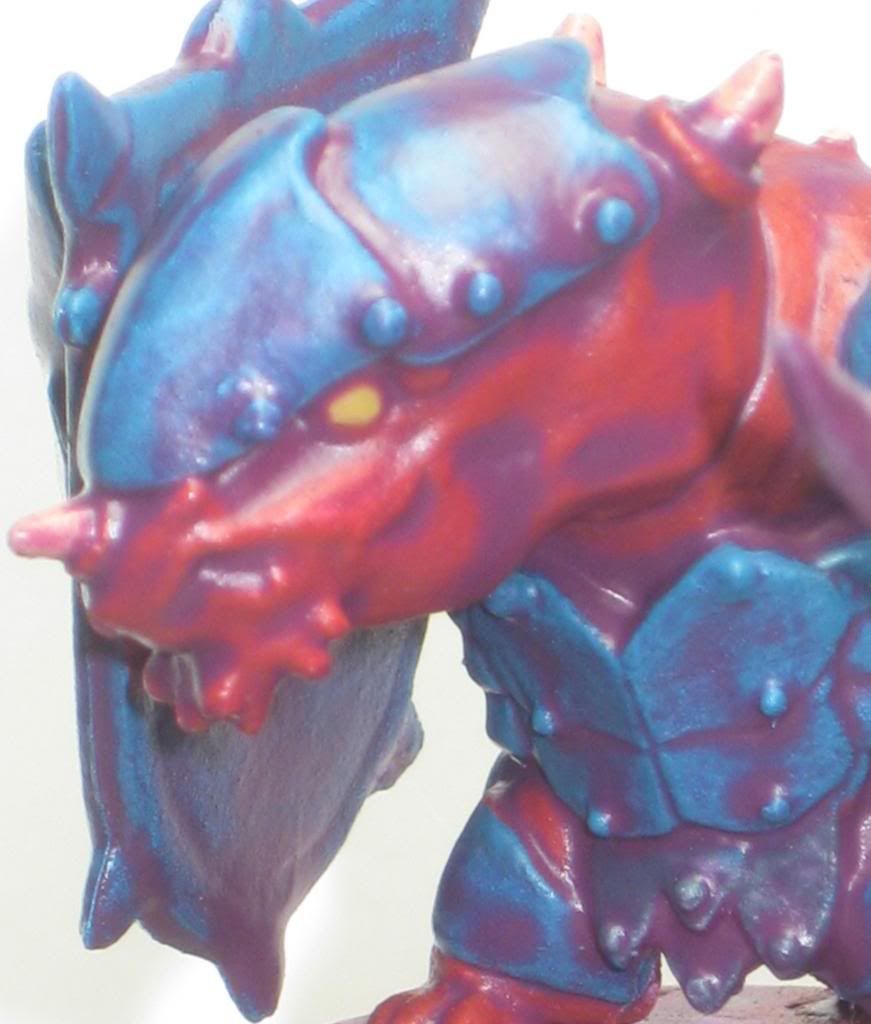
  3. 2 Iron Scales
  4. 3 Knuckle Heads
  5. 2 Flingers
  6. 2 Treasure Chests
  7. 2 Kobold Warrens 
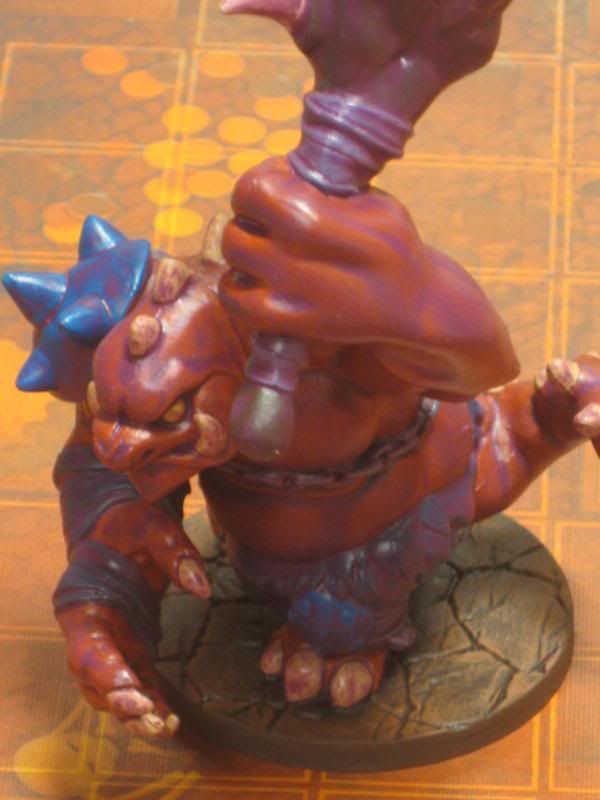
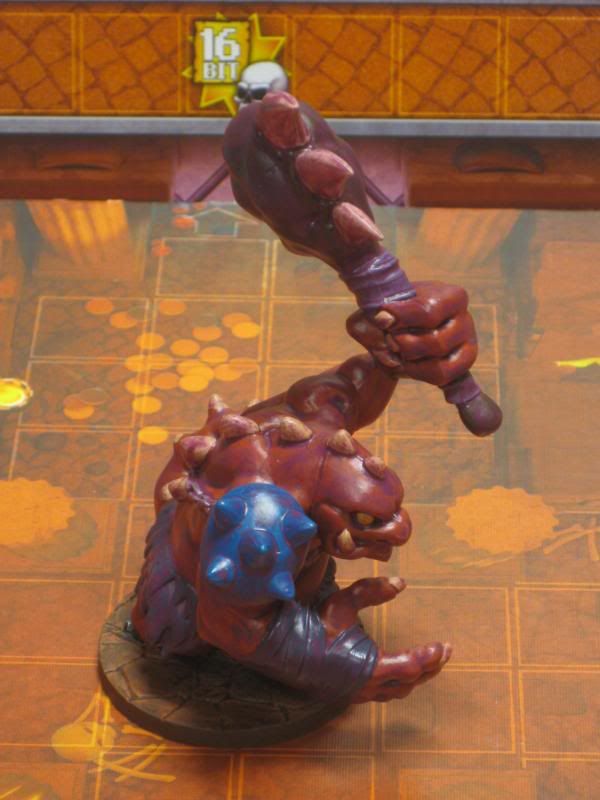
  8. Rex the Ogre

Up next for paint (and black primed just today) is the Dragon's Clutch stuff, comprised of the dragon Starfire and all his chillen, plus Egg Clutch Spawn, as well as treasure chests, Boo Booties and another hero, Ember Mage.

THUNK!
Riftling Rogue
Rex the Ogre

Monday, September 9, 2013

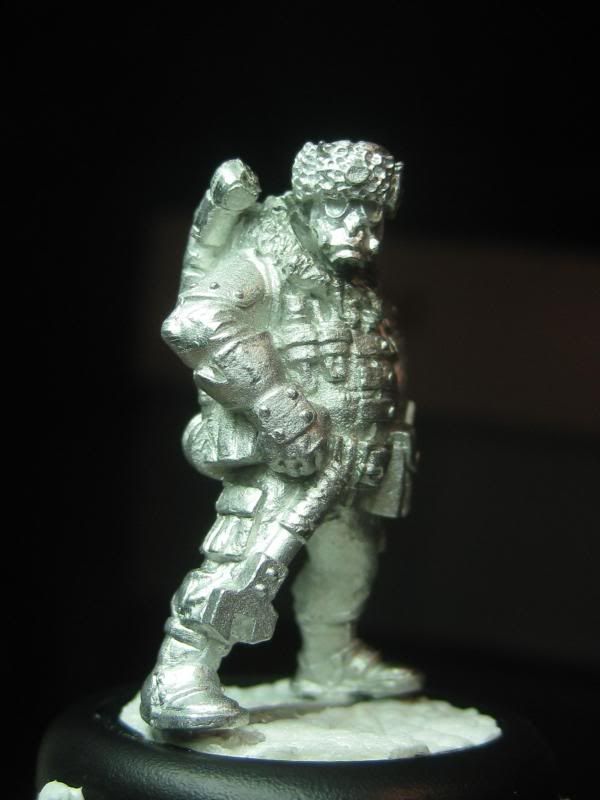
Warmachine: Khador Mechaniks WIP


So, campaign starts October. I'm betting mechanics will finally be useful enough to warrant taking them in many campaign games. Starting a damaged warjack in a game because you have no choice and having mechanics rushing to fix it while the game starts sounds like the level of stress I enjoy in my games. Not kidding.

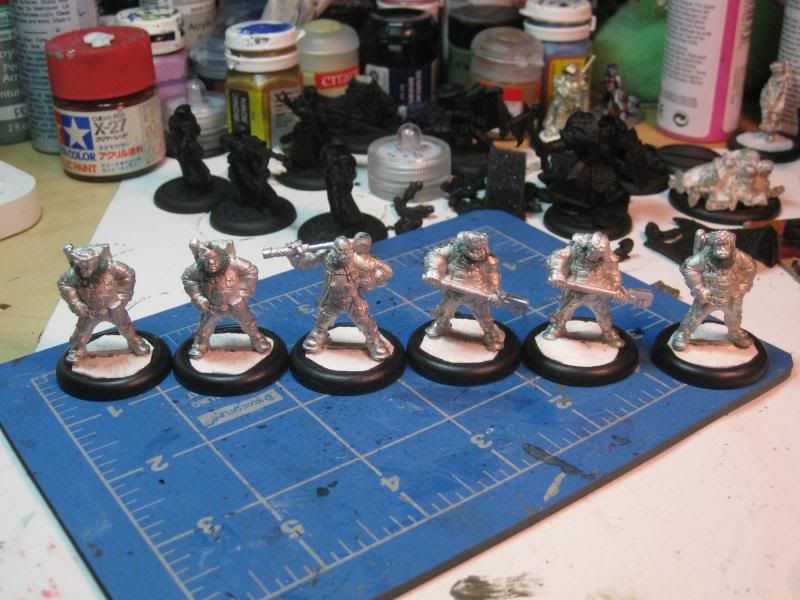
Anywho, thanks to the generosity of my buddy Finn, I now have a unit of Khador Mechaniks. Thanks Finn!


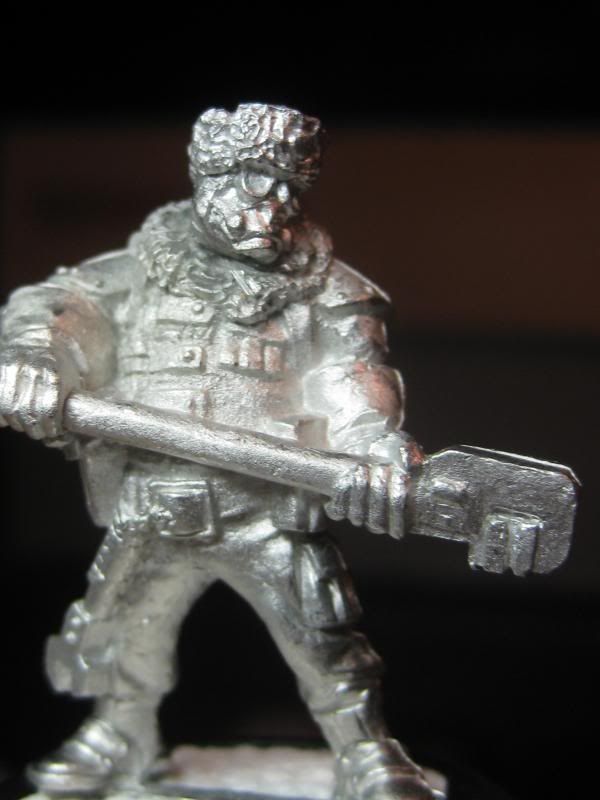
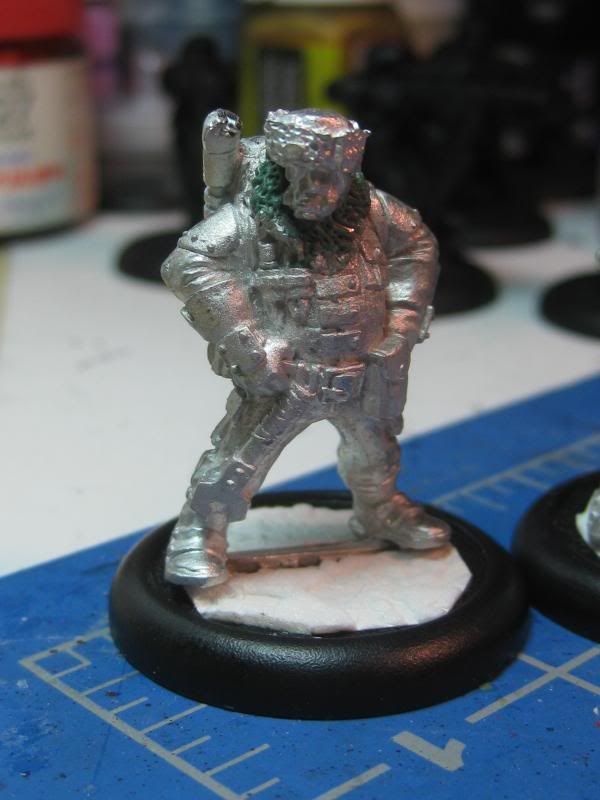
Yes, I converted them. And yes, I actually like the sculpts a lot but not the repetition. So, I lopped off their heads (save the leader, who is awesome) and replaced them with Maxmini heads I had laying around for my Valhallen IG. Adds just enough visual variety to make them more interesting and still let me get it all done in one sitting.

I'm planning on trying some urban camo on them. We'll see how that goes.


With greenstuff blending around the neck...