
I will describe the match from the Empire perspective mostly, because I was so busy wrangling all those TIE's around the board.
 |
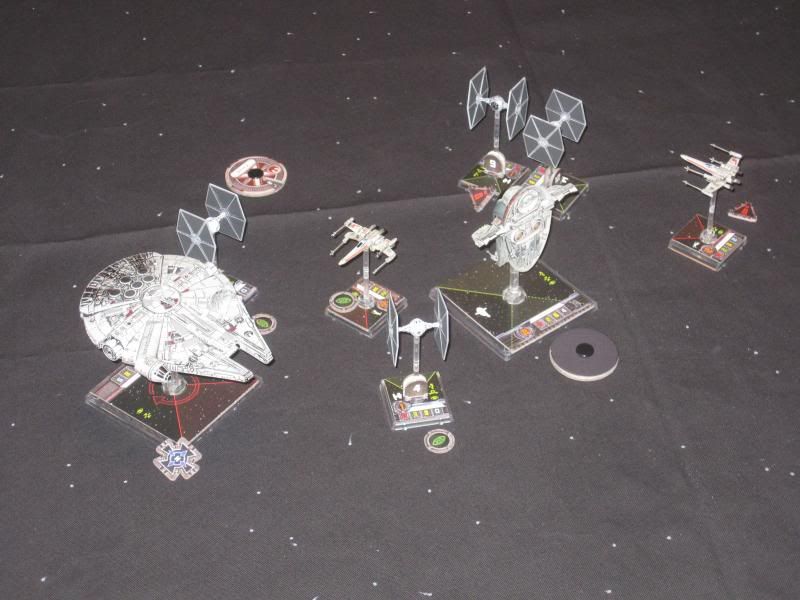
| Starboard TIE's move straight ahead, port TIE group sets up the rearguard slot. Slave 1, at pilot 8, moves last, right into the slot. |
 |
| Chewie's group stabbed around counter-clockwise while Fett matched the move, circling. |
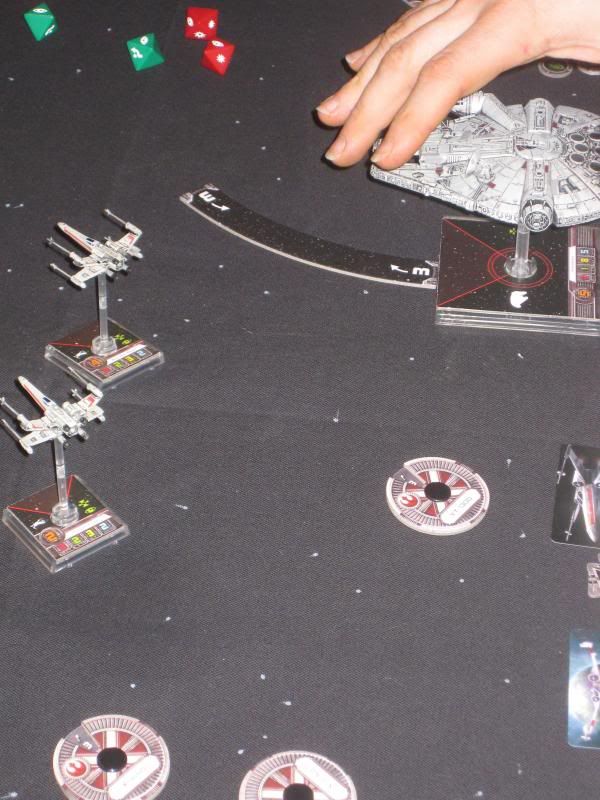
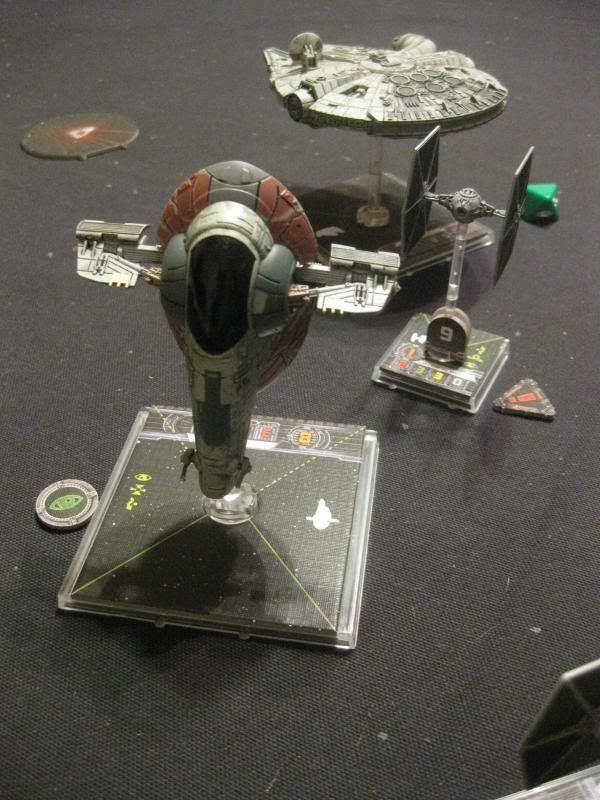
Turn 3-4: Both fighter groups tore into the middle of the board, engines blazing, on converging vectors. The Falcon cruised the left side of the board as her escorts engaged ahead, while Slave 1 went straight into the furball.
Ship-to-ship warfare was on in earnest with plenty of hits, crits and evades going around. 2 TIE's were damaged and one TIE pilot was Blinded. The X Wings lost some shields. Slave 1 passed the Falcon to port, then leaned into a tight turn to get behind her. The Falcon's Quad Guns blazed the whole time and tracked ships via Target Lock but Fett drew first blood as he caught a passing X Wing right in the astromech, for an incandescent kill.
 |
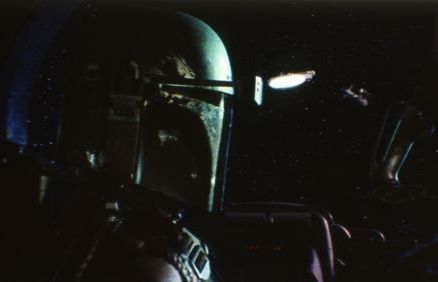
| http://www.happinessismandatory.com/misc/Models/AMT_Slave_I/Reference_Pictures/Slave_I_Reference_1.jpg |
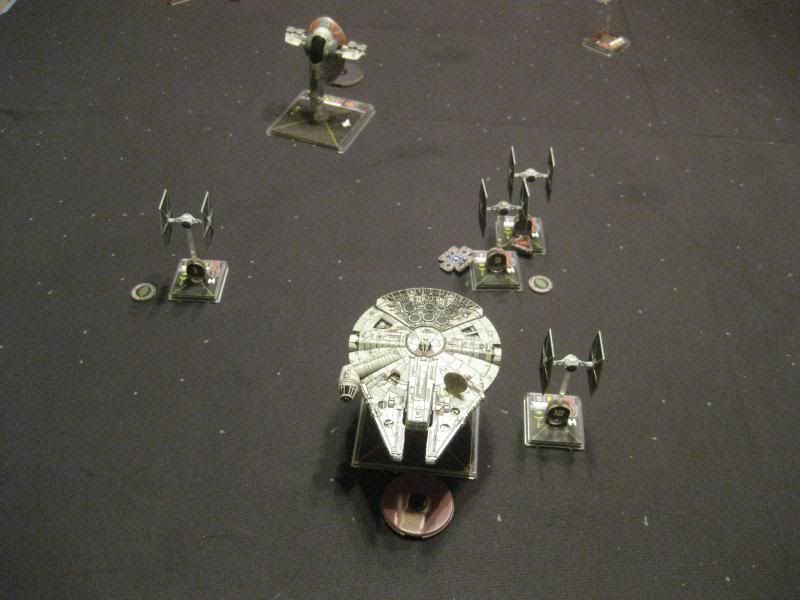 |
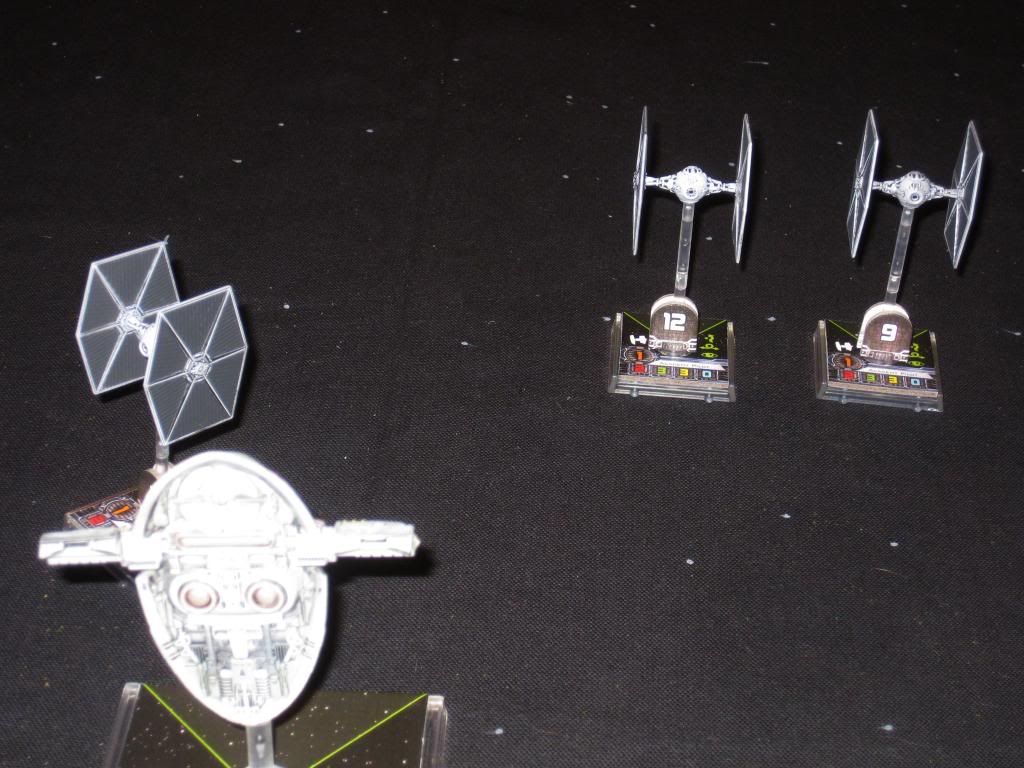
| The swarm comes about and tries to run down the Falcon. |
 |
| Red Squadron pilot (upper right) overshoots the fight and is left behind as Chewbacca evades the incoming Empire. |
Turn 5-6: Somehow, the Red Squadron pilot took a vector too steep from the turning dogfight and ended up probably double the distance from the fight than he intended, since the TIE's and Slave could cut hard. The Falcon was now alone.
 |
| http://www.dub273.com/RevsFolio/16_TIE_fires_thumb.jpg |
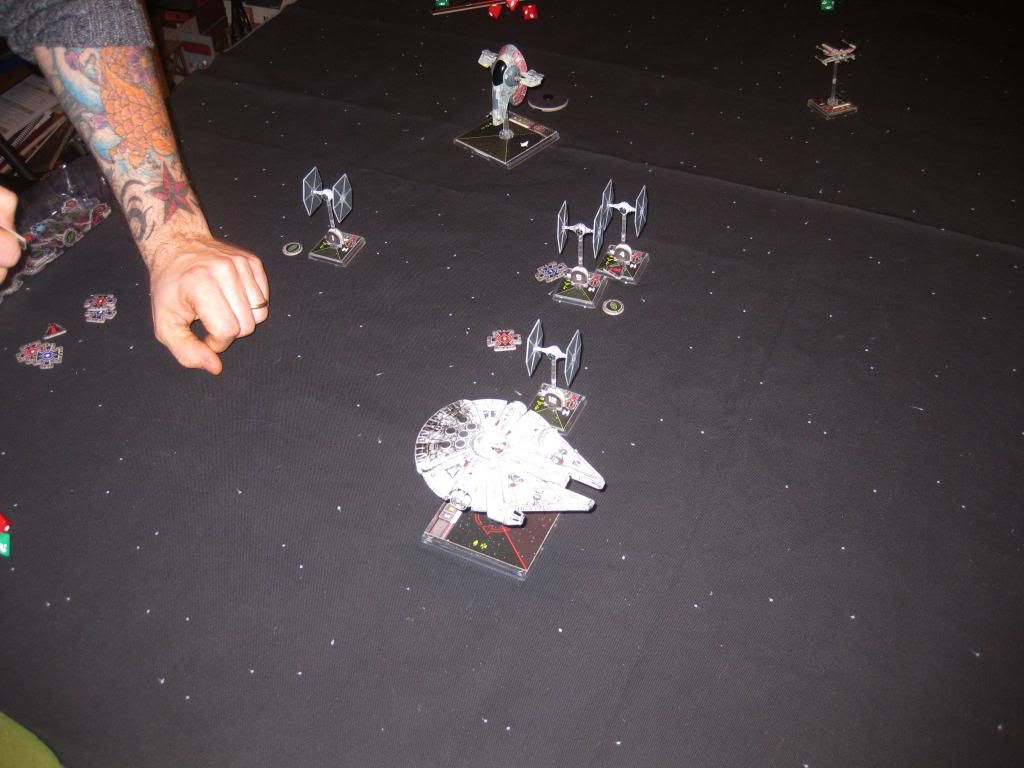
Turn 7-8: Now Fett was being careful, the Wookie had escaped too many times before. Slave 1 stayed right behind the Falcon and noticed the crowded call-signs of the TIEs on the HUD... they were very close to the edge of the board so it would be sticky here with limited turning space and they could risk gliding off the board if they fly casual.
Suddenly, the Falcon pulls a Kiogran turn! Chewie powers up and over the TIE pack and is now coming nose-to-nose with Fett, the Falcon's chittering alarm complaining about laser impacts, collisions and a now-disconnected Hyperdrive. A hatch slams open on the Slave 1 and a Proximity mine tumbles out behind her, as the Heavy Laser Cannons open up once again.
 |
| I wanted to force Pete into a hard starboard turn to avoid the board edge and Proximity mine. The TIE's needed room to regroup, now that the Falcon just barreled right through them, leaving a bunch of action-less Empire pilots fighting controls to regain formation. He was probably going to do that anyway but it was fun to drop a bomb in his glidepath. |
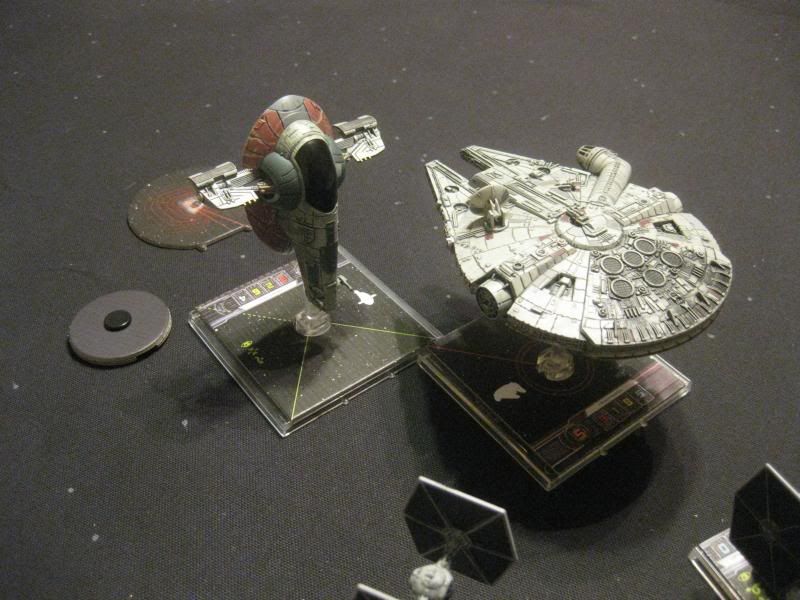
Final Turn: The closing X Wing could only watch helplessly as the Falcon roared past the firing Slave 1. As they crossed and the Slave banked, her primary weapons swiveled from firing forward to backwards as Chewbacca passed, removing the final hull points with 2 hits. Critically wounded and powerless, the Falcon is crippled as Fett prepares to board. Chewbacca grabs his bowcaster and readies to defend his ship as the airlock blasts open...
 |
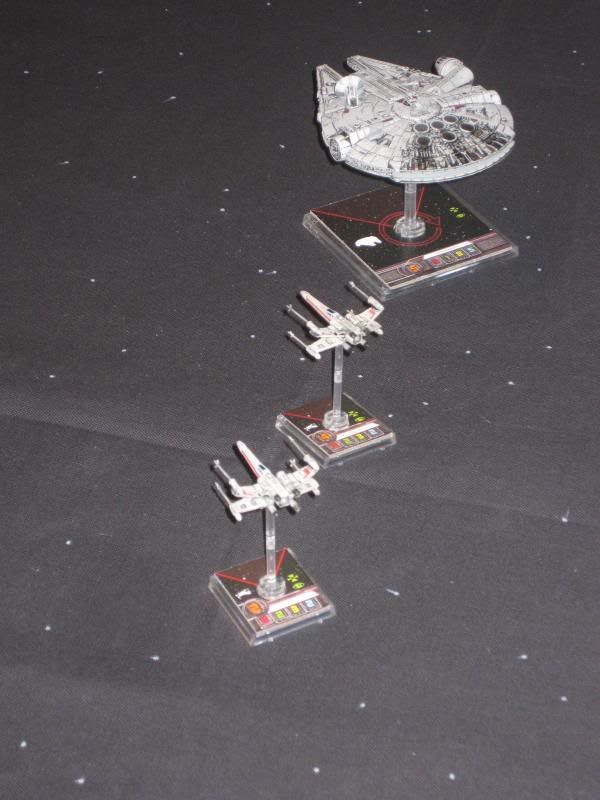
| Just kick-ass models, who cares if we didn't paint them. |
Empire Wins! I don't think I've had that much fun with a miniature game in some time. We played late, so we had no blaring soundtracks and our yelps were hushed for those sleeping in the house but I swear I was 10 again, playing with Kenner figures at a sleepover. Just awesome. Final tally: 2 TIEs vaporized, 1 X Wing destroyed. Falcon down (but NEVER out). Red Squadron pilot shields disabled (I think, not sure). Slave 1 100%. Just under 2 hours of play.
Game Notes
Bumping: Yeah, lots of TIE's lost their actions due to bumping other ships... coordinating the flight paths was a fun challenge and I got it more wrong than right... but that wasn't debilitating. They still got their shots and as importantly, threatened to get shots onto the limping Falcon. Losing actions did factor though, as not having an Evade or Focus on meant that the straight dice roll can kill you, which it did for one defending TIE.


 Fett's Ability in Slave 1: Fett can order banking turns to one direction and after revealing it on the dial, change it to the same banking turn in the opposite direction, if he wants. While it didn't come in handy every turn, it did allow him to squeeze through the dogfight and stay open for his Action at least once. If that works once a game you'll be grateful you have that.