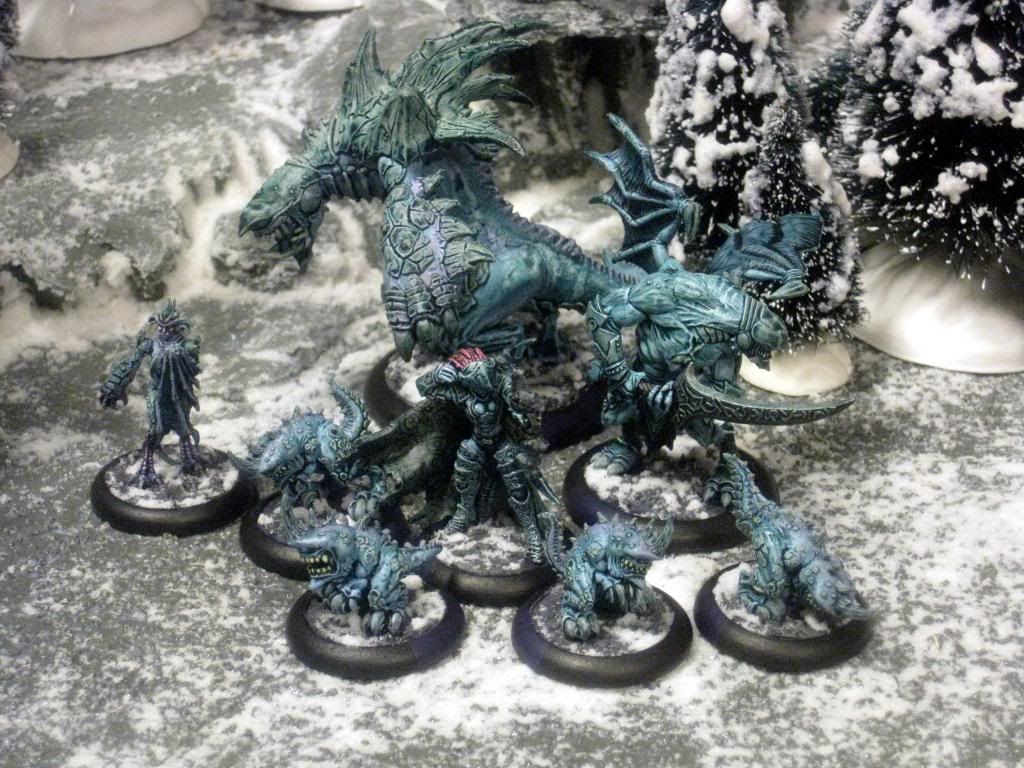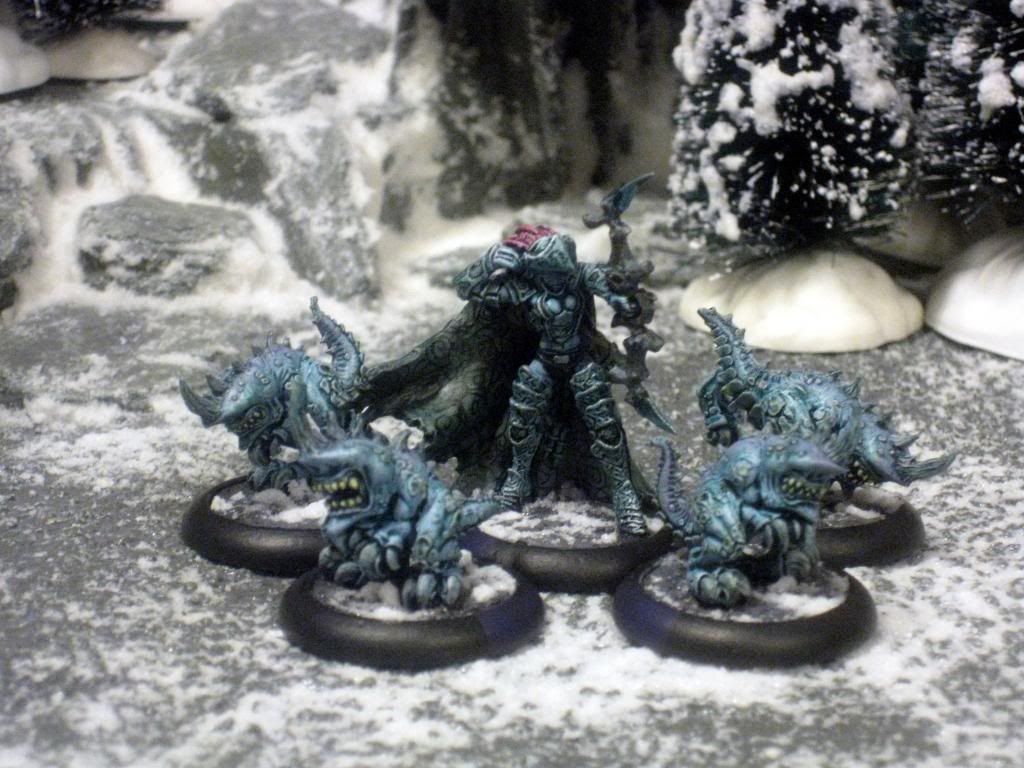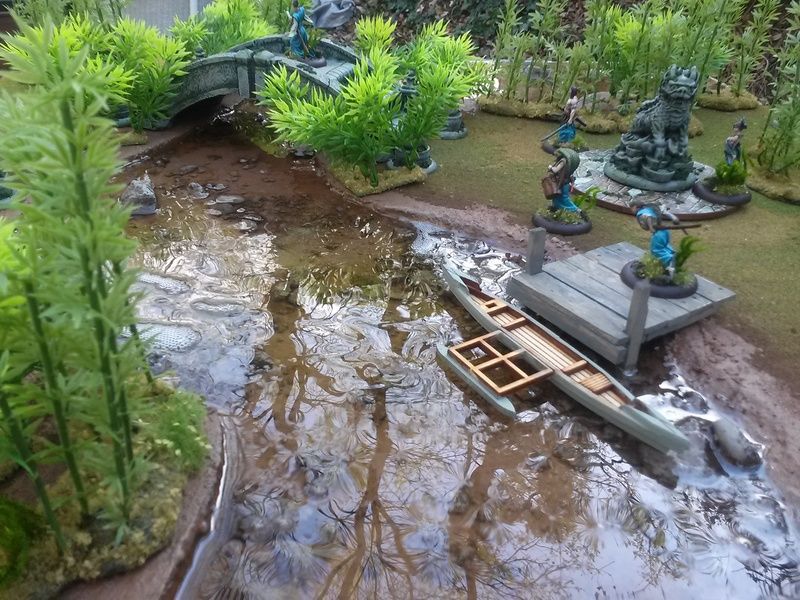
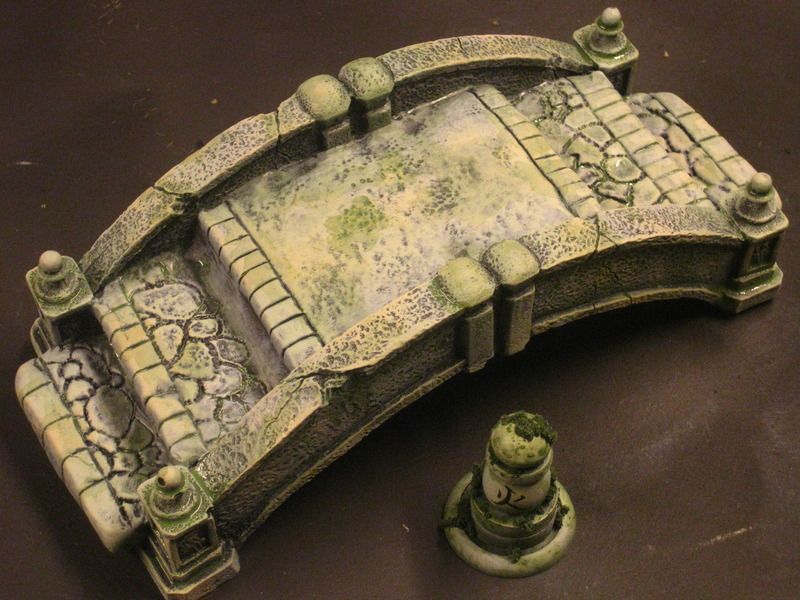
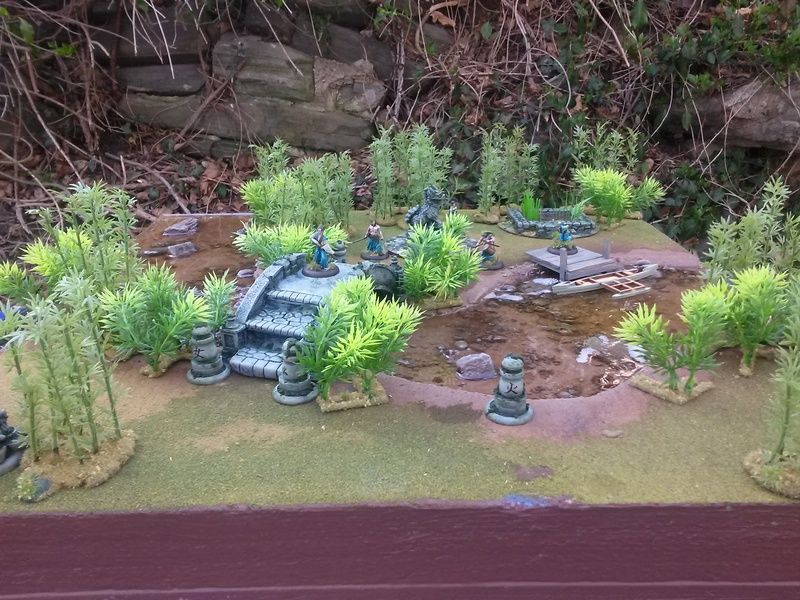
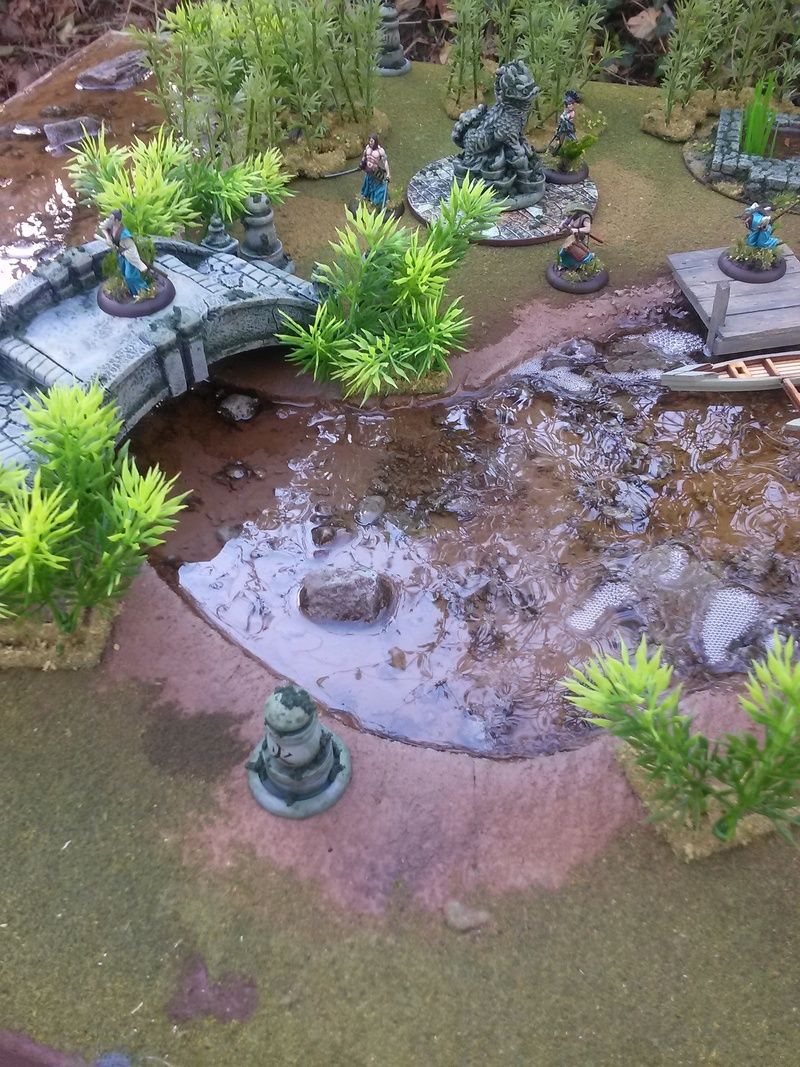
I completed the bridge and took some final pics of the completed board this weekend. Ta-daaa!
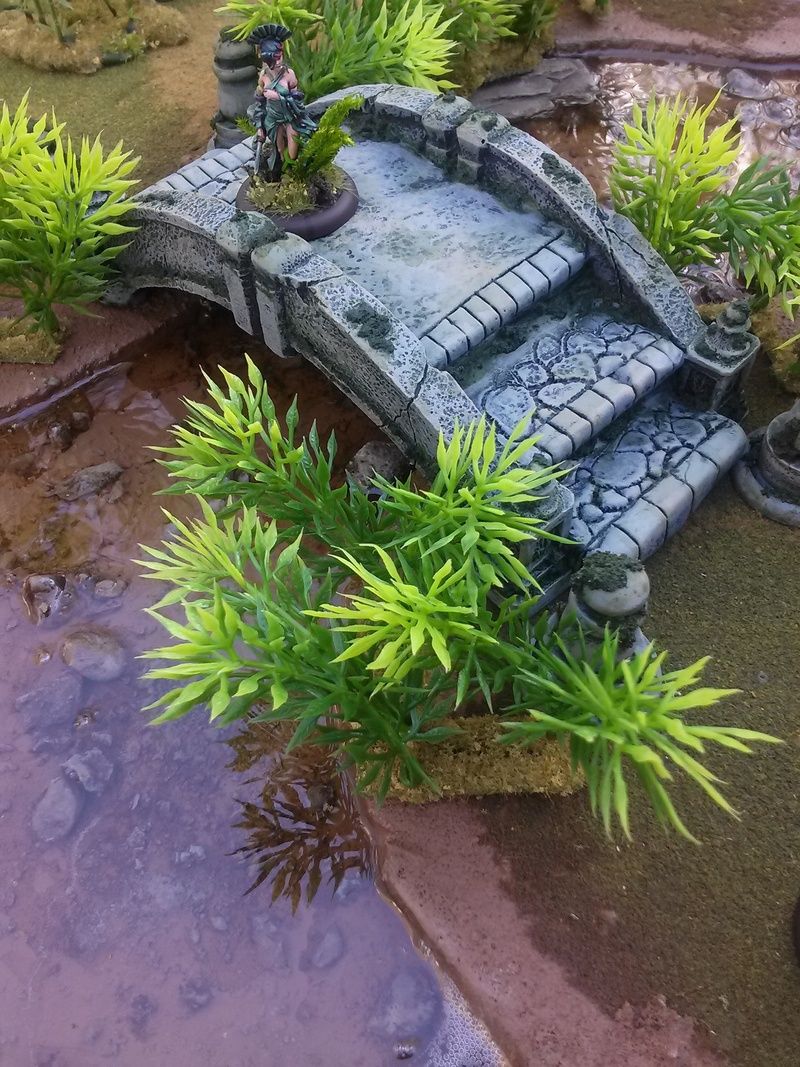
The last piece I wanted to make for this board was a bridge, which you may have noticed as the original, unfinished version here and there through the WIP (and you can see completed above). This bridge is an aquarium item that I got from Amazon for about US$12.00 and is humpbacked, which is of little use in a miniature game, where you'd never trust your models to stand on it, even assuming blu-tak on the bases. The pitch was too steep.
PlastCraft makes 2 great Asian-style bridges cheaper and requiring less effort so I probably would recommend that kit for the preceding reasons but I had already bought this bridge and wasn't going to waste it. So to make it work I added some balsa platforms, measured and placed at intervals to accommodate average bases and movement. These were to be the basis of landings for an Apoxy Sculpt facelift. You may notice that I walked a fine line between realism and play-ability, erring on the side of model stability. I can go back in and add small, steep flights of steps between landings for realism's sake when I get my hands on thin balsa struts but for now this will suffice. I do like the details on the bridge and the height is such that it really blocks LOS across itself and gives great fields-of-fire for archers and the like, better than other kits. It is also basically a lump of rock now with the dried Apoxy Sculpt and is very strong, so I am pretty happy with that. So here are some shots of the bridge build and final pics of the board. I do have large fern beds in progress for this board but I'll show them later in a Bushido battle report.
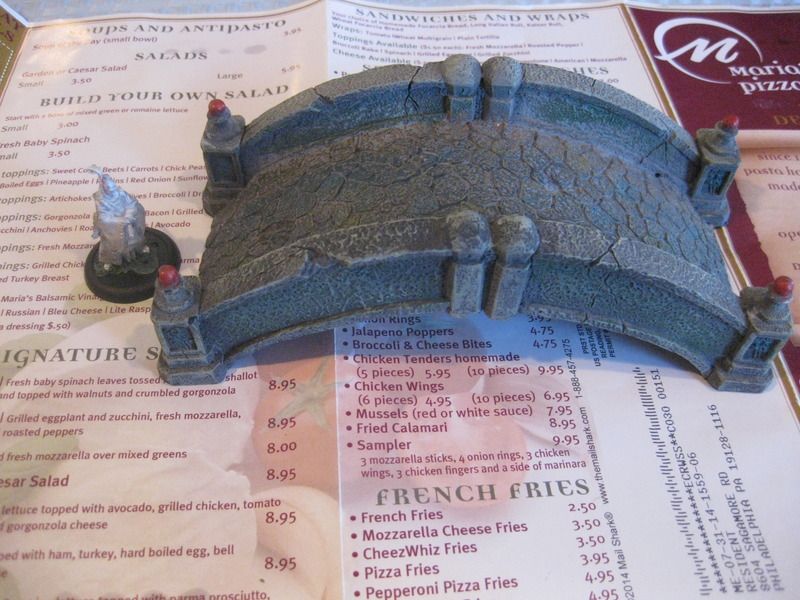 |
| The bridge before |
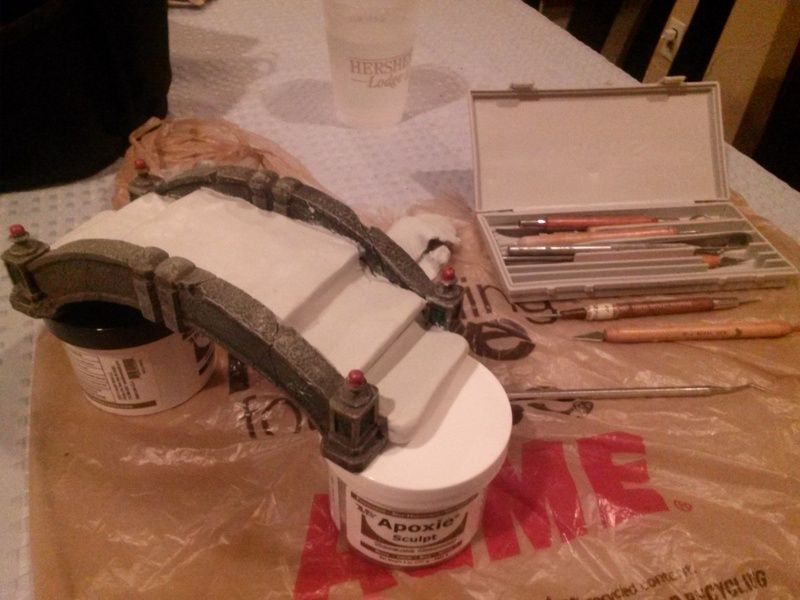 |
| Here is the bridge enrobed in Apoxy Sculpt, cured about an hour, smoothed and ready for detail. |
 |
| The first step to detailing was making impressions of rockface using a piece of textured wallpaper. If the Apoxy Sculpt is too fresh then making these impressions will deform the basic shape, so let it set up for awhile first. Since temperature, humidity and your mixture will impact the tooling time, I can't give you a perfect time period for this but I can tell you that firm to the touch and somewhat hard (what she said) is what you are looking for. |
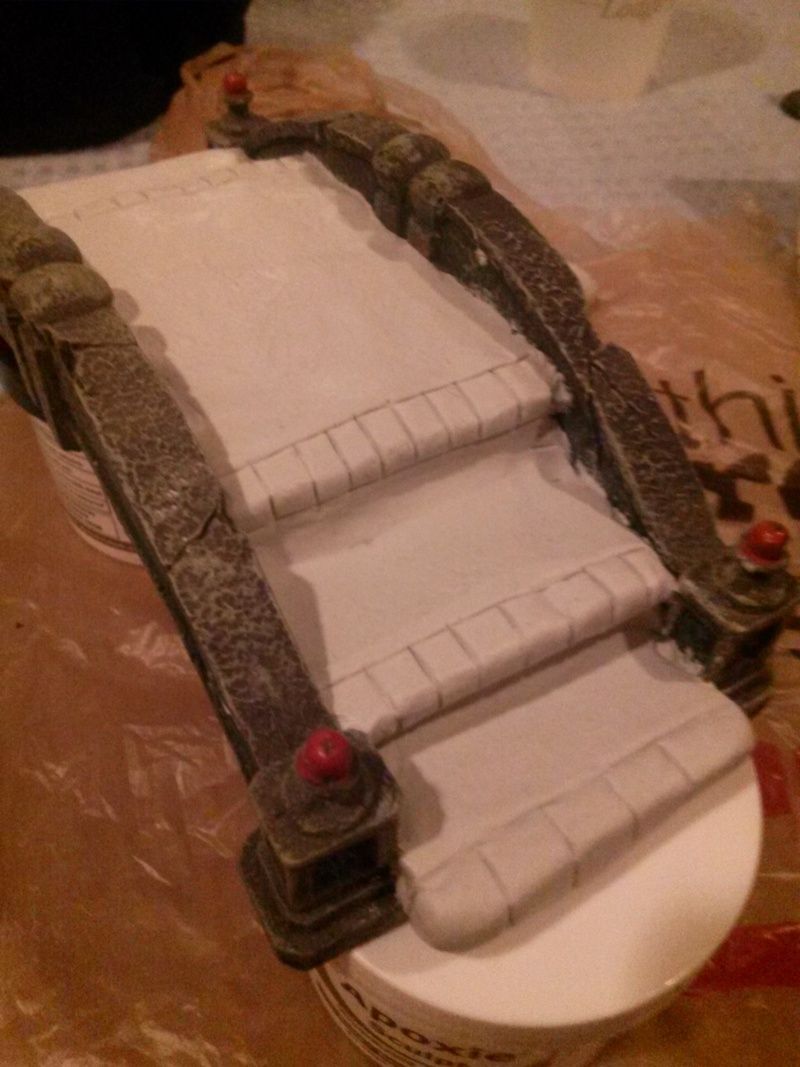 |
| The bullnose added in, using a basic sculpting scalpel. |
 |
| Adding cobblestones |
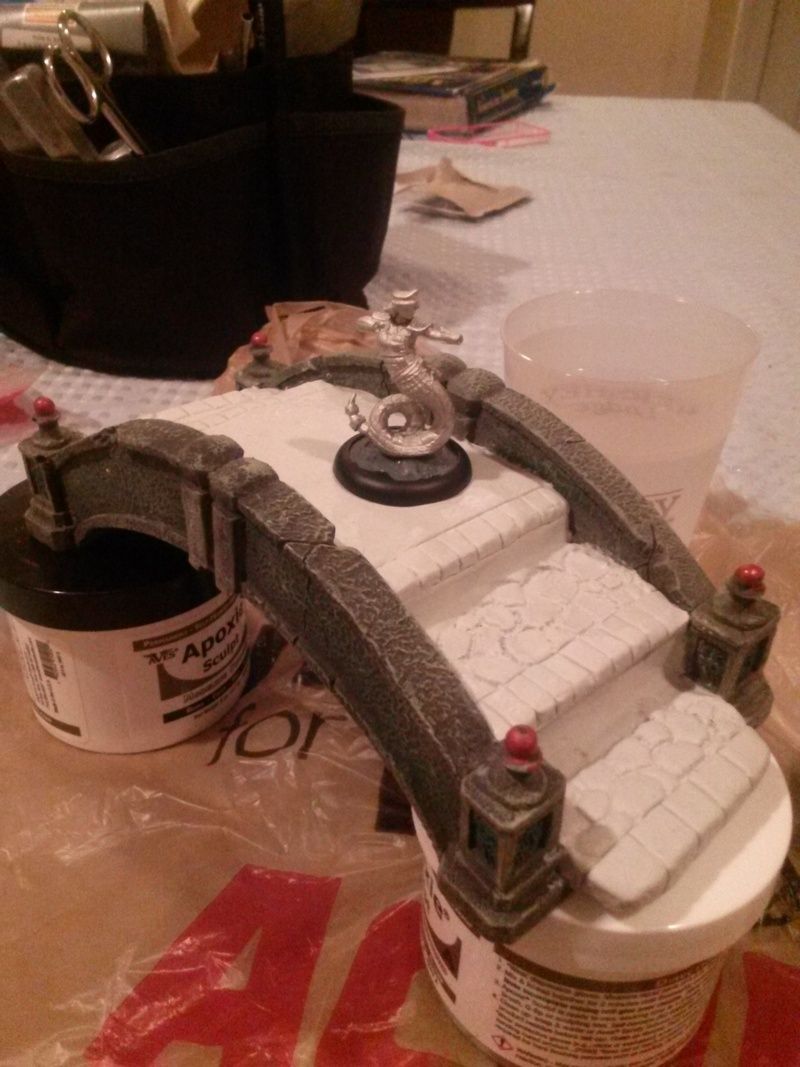 |
| Checking the "look of it" with a mini. Seems good so far. Finished with the sculpting I let it cure overnight, prime it and prepare it for paint the next evening. |
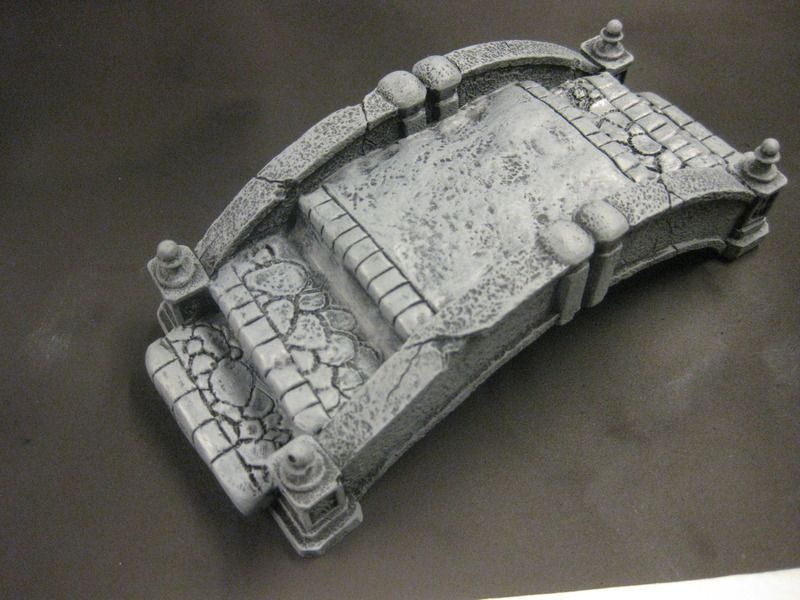 |
| Here it is with a basecoat of 50/50 desert tan and ceramic blue. |
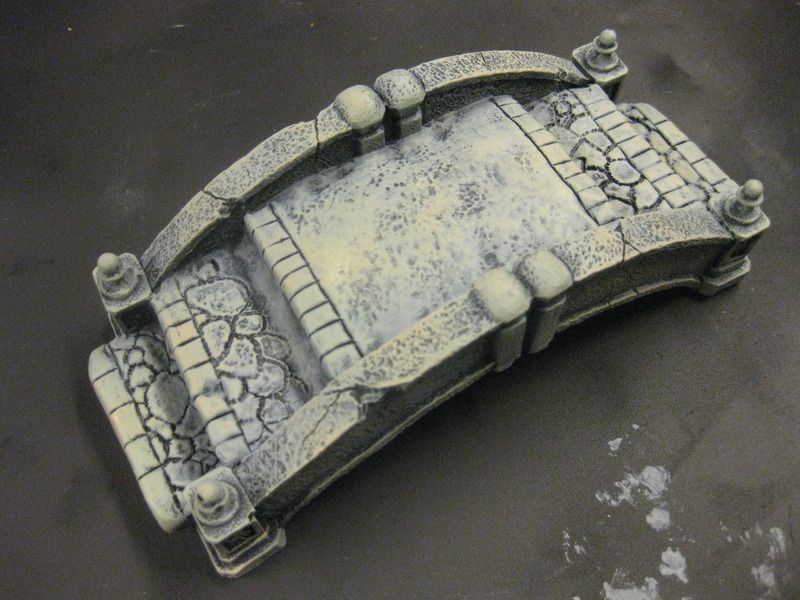 |
| Sponge painted with desert tan |
 | |
|
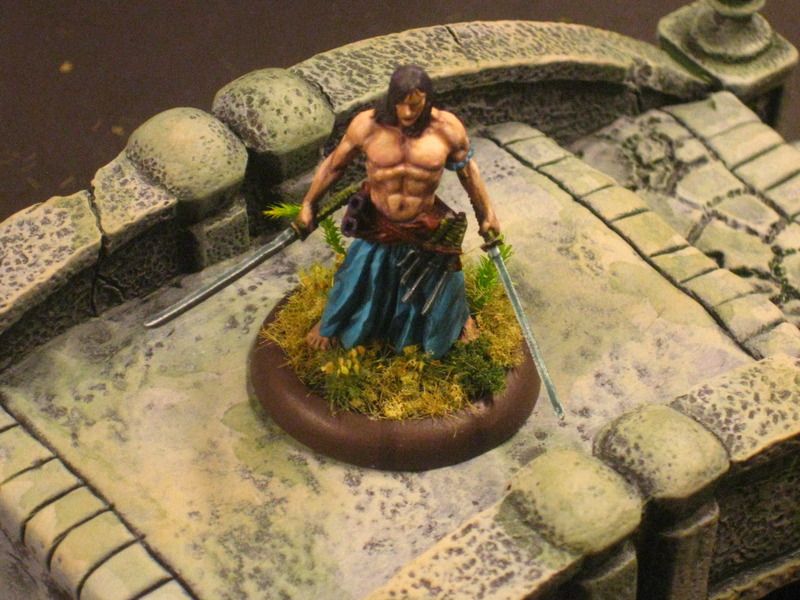 |
| Itsunagi approves. Note the texture on the slab Itsunagi is standing on echoes the texture on the sides of the bridge enough that it looks like it goes together. Could be better but it would certainly be worse without the texture. |
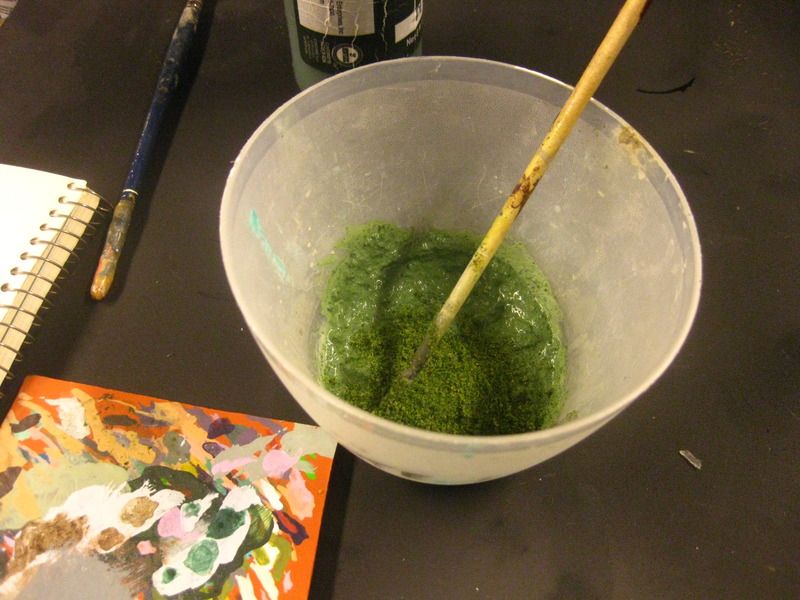 |
| Here's the "moss' being mixed: Woodland Scenics Blended Turf, water, Matte Mod Podge, and green paint, mixed until thick. I added that here and there to most horizontal surfaces and that was that. |

|