Showing posts with label Terrain. Show all posts

Tuesday, March 15, 2016

Strange Aeons: Dave Graffam Print n Fold Cardstock Buildings


I wanted to share these PDF print-on-cardstock buildings I picked up from Dave Graffam Models. Look, seeing and playing is believing. I didn't think I would get such a great match for the other Strange Aeons terrain I have been building, much less in card stock terrain, both in terms of value and appearance. But I did! Check it out...


I have been wanting to do something like an Innsmouth board for Strange Aeons. I didn't want to put out hundreds of dollars for resin or plastic kits. I saw Dave Graffam's PDF kits and DL'd the free Coach House, the aesthetic of which seemed to match the tone of my Strange Aeons stuff really well (Gothic horror, 1920's New England.)

My main concern was how resilient the card stock would be, not the build itself. So I made the coach house according to directions using matte Mod Podge and based it on MDF, finishing it with texture paint, some balsa flagstone and the usual flock treatment. This would let me see how sturdy it was with no modification.
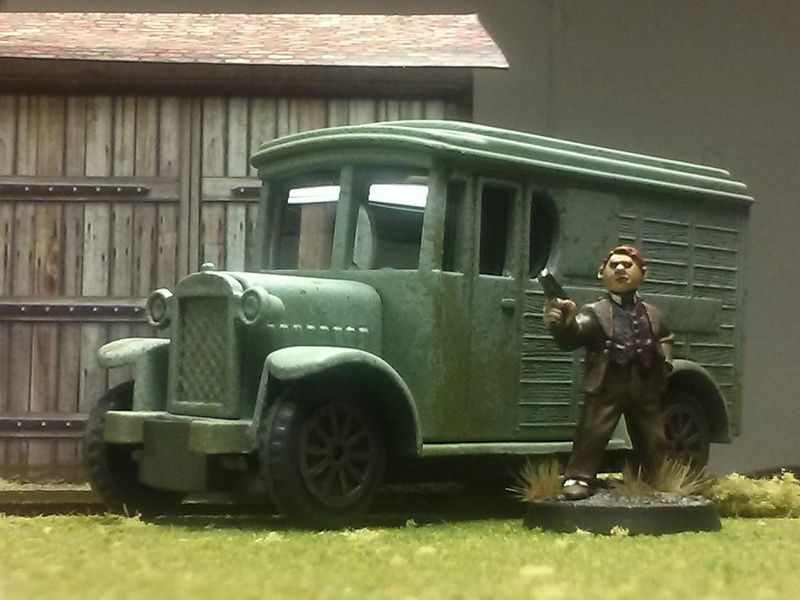


Frankly, it looks so damn great you can forget it's card stock and also, free. The only thing I did to the building itself was darken where any white paper shows through in the corners. I used Army Painter Strong Tone, which the paper drinks up without wrinkling. Once based, it is strong enough to hold up to most gaming. Yes, it is card stock and yes, you can demolish it. But it came out really strong when based. I would not put an old GW metal dred on it but you probably could. The PDF plans also average 3 or 4 bucks US for as many models (with variations) as you want to print and build, so you can't argue with that, really. Every so often the 2D sorta jumps out at you from strange angles or the roofs catch sheen under the right angle of light. But that is so infrequent so as to matter much.

Did I mention the buildings look great?

Build time averages about 40 minutes to an hour for most kits. After a few, I managed assembly of a few buildings in a sitting. And it was fun!
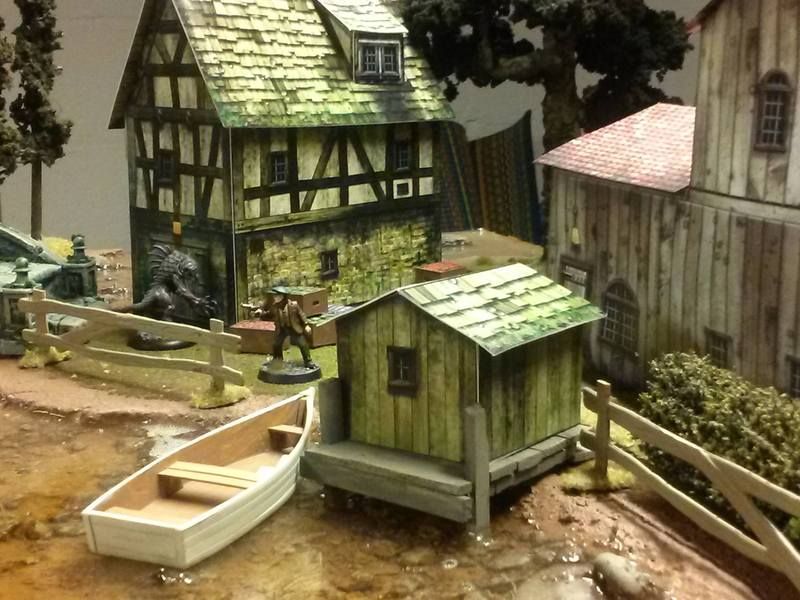
Even without any ink on the folds on these two other buildings, they look pretty damn fine. Some finishing and basing will take them over the top and fill up a table fast and beautifully.
Calling the Coach House a success, I bought about US$20.00 of plans and that got me an Inn, a Church, ruined Church, Maritime buildings pack, some warehouses, outhouses, cobblestone roads, sheds and such. I have been really impressed with the ability to change graphic layers before printing, to add different features like windows, doors, weathering, stucco or wood features and other details. With that editing and some creative cutting, you can easily vary these buildings and make a village with just a handful of plans, in less time and less money than plastic or resin kits.

I can see using these for Strange Aeons, Warmahordes and Bolt Action, to name a few. Note too that all plans come with a print scaler, so you can easily make these bigger or smaller for different scales.

Grab a metal ruler, some cardstock and Mod Podge and the free PDF's yourself, using the link above.


Strange Aeons: Demolitionist


Here is my Demolitionist for Strange Aeons, the kind of hired agent you hope joins your team permanently. With a detonator and a ton of TnT, Hiring him is a good way fledgling Threshold teams live long enough to earn better gear and map pieces.

This is a Lead Adventure mini and was awesome to paint, highly recommended. Special shout out to The Ceretti's for their sponsorship in new paint, which made flying through a model like this a joy.


Friday, April 17, 2015

Bushido: WIP Board Part 4 (Finishing)


 Touch up and finishing the board's sides isn't as glamorous as a resin pour or making stands of bamboo but it is important and as you have probably seen by now, sometimes the materials fail even as materials succeed.


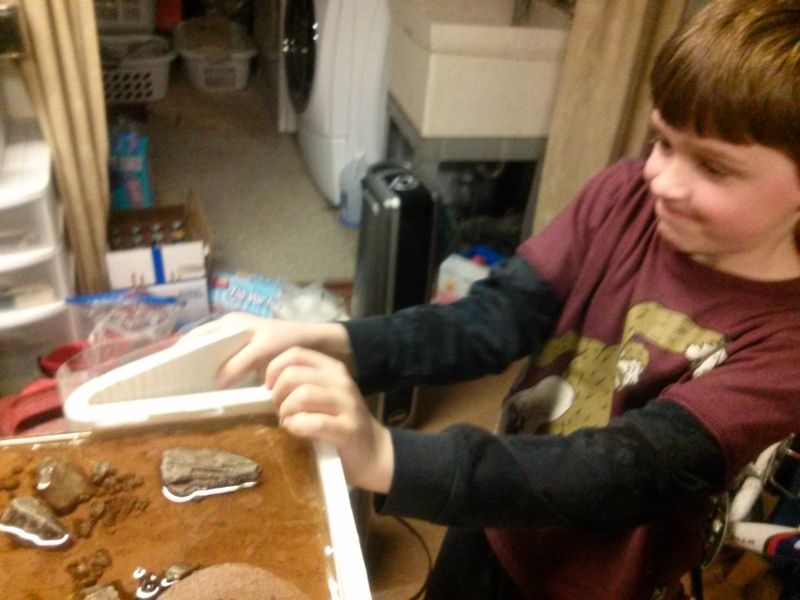
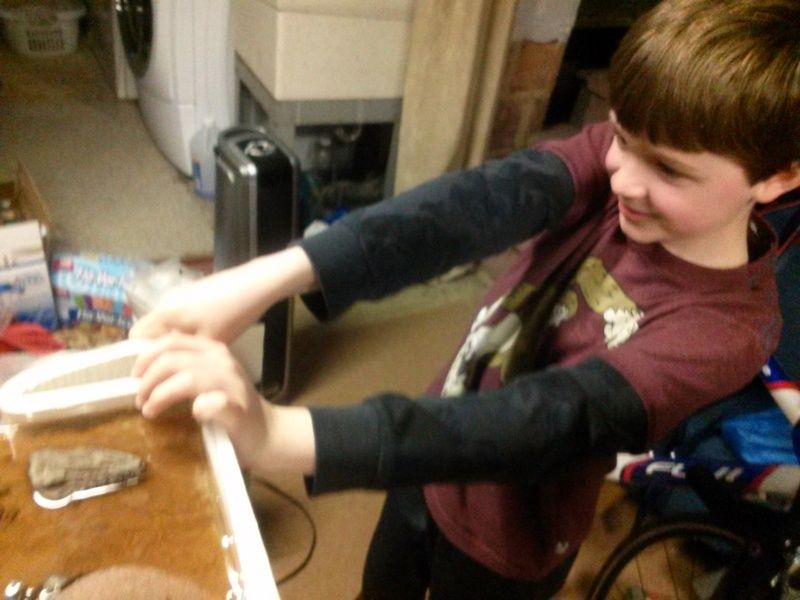
My son Nate pulls off the corner dam.

 
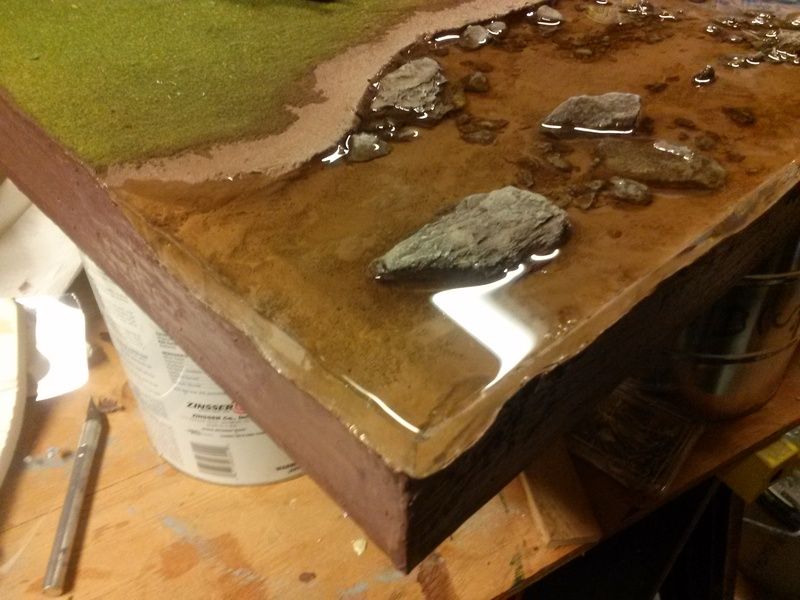
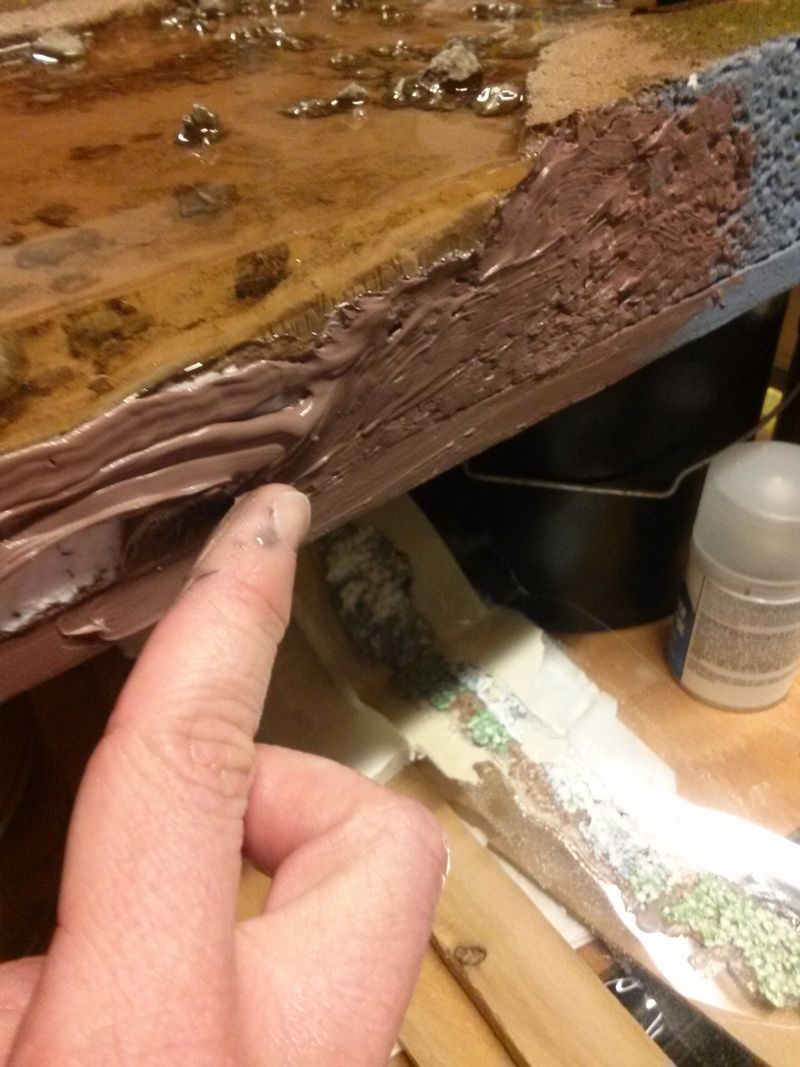
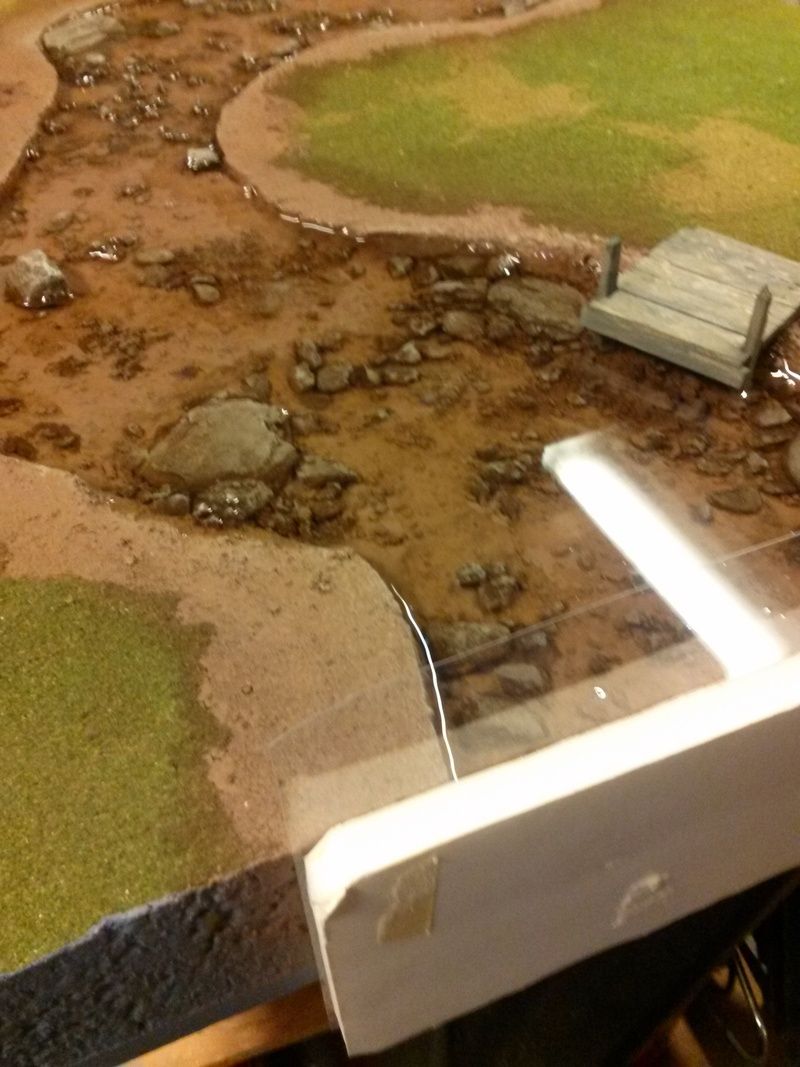
In this case the foam sides ripped a bit here and there when pulling the second resin dam off, mostly due to the cheap foam I used to begin with, but no worries, we'll clean it up. Peel off the silicone used to seal the Duralar to the board and you are ready for caulk.


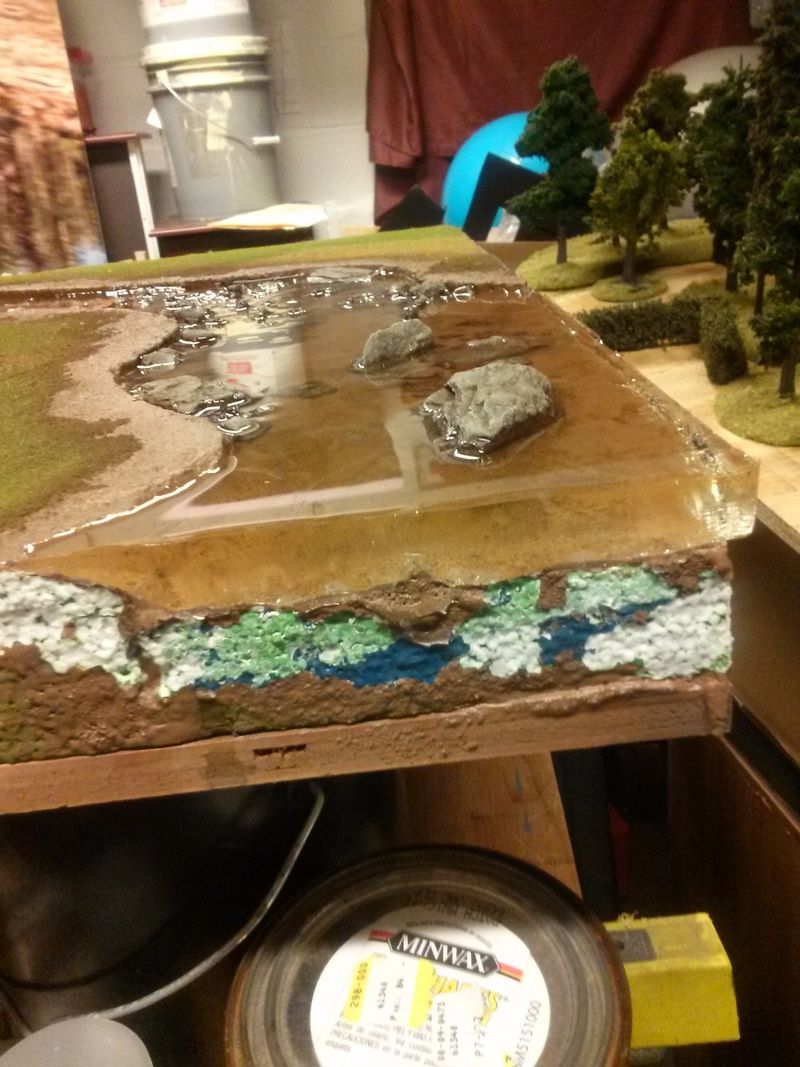
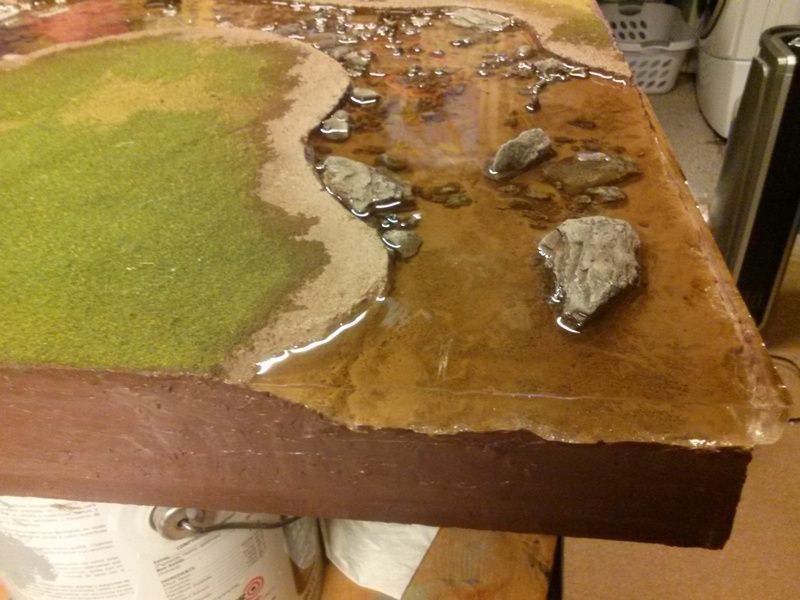
In previous parts of this build I mentioned I had to do a small, second pour on one end of the board, because the initial 33oz didn't quiet fill the whole thing. So I mixed another batch and filled it in. With that cured, the second dam comes off and we can tackle the "facing" or sides and bring the whole thing together by making a nice "show side". For this task you can use wood veneer, foam core or something similar. This time I used brown caulk, since I wanted to clean this up in a fast fashion and not paint it unless I really needed to.

Using a wet wedge of cardboard to skim the caulk once it was applied, I filled in around the resin water sections, making clean lines and smoothing the irregular portions of the foam. In all, this was 30 minutes of work, though I know my way around a tube of caulk. If you are new to that, practice first. Read the "tooling" times listed and mess around with it. I use caulk in MANY terrain builds. I even sculpted a missing brink on a fireplace entirely out of caulk on a construction job... it's versatile stuff so give it a try and keep it handy. You'd be surprised what it can do for miniatures too.


Up next: The Bridge

Monday, April 13, 2015

Bushido: WIP Board Part 2 (Resin River)


In part 1 of this build I showed how I rehabbed an old board as a sketch for new water techniques through the assembly of a large river section.

Now, in part 2, I wanted to show some WIP pics of the refinishing and painting of the riverbed and the prep for the resin pour, then, the initial resin pour itself.

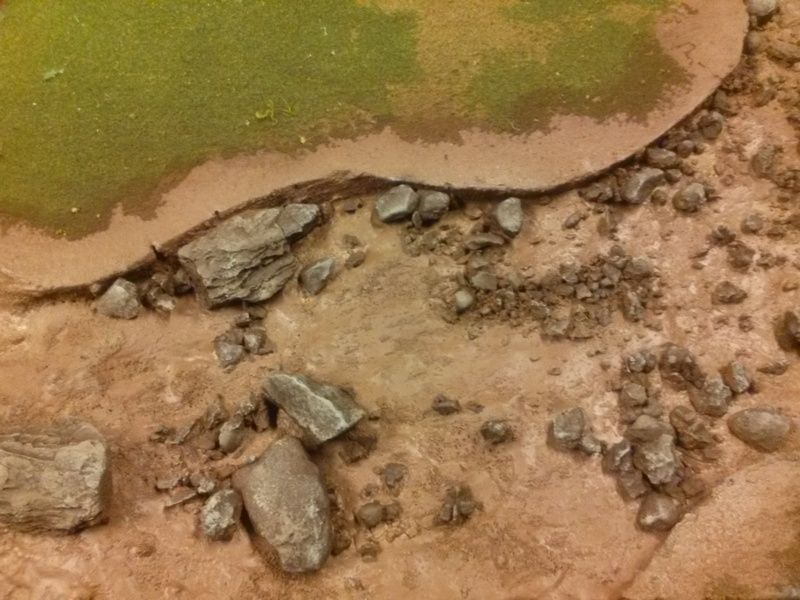
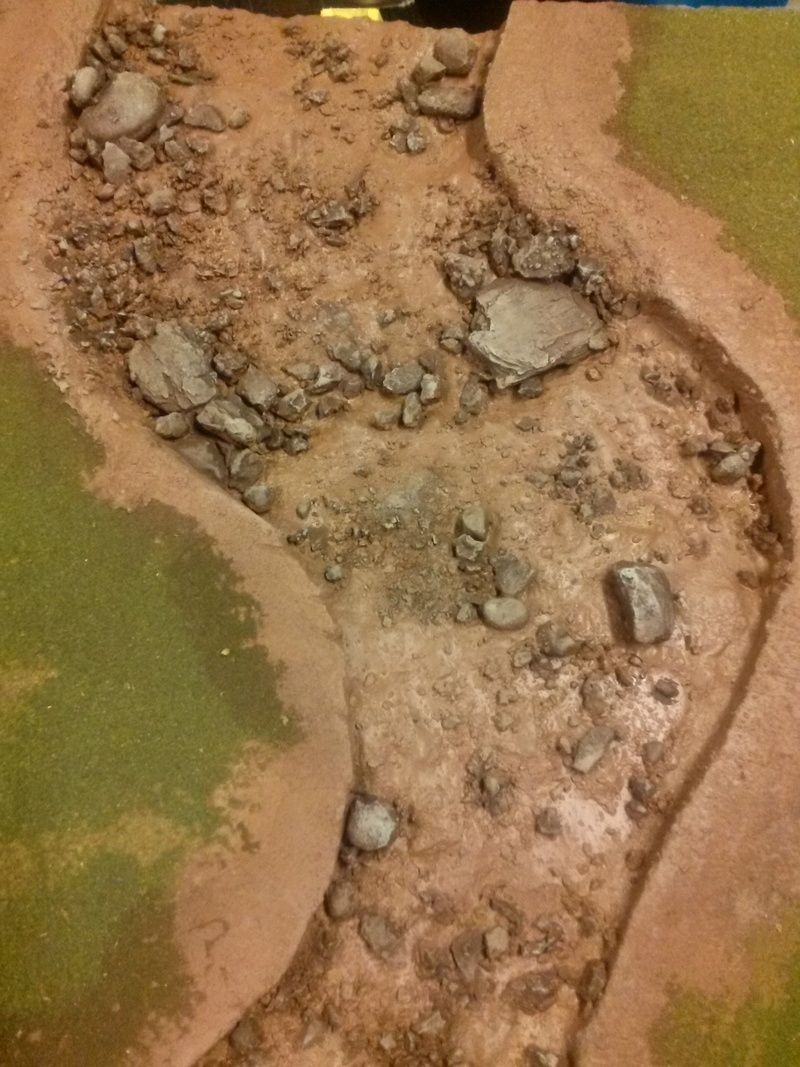
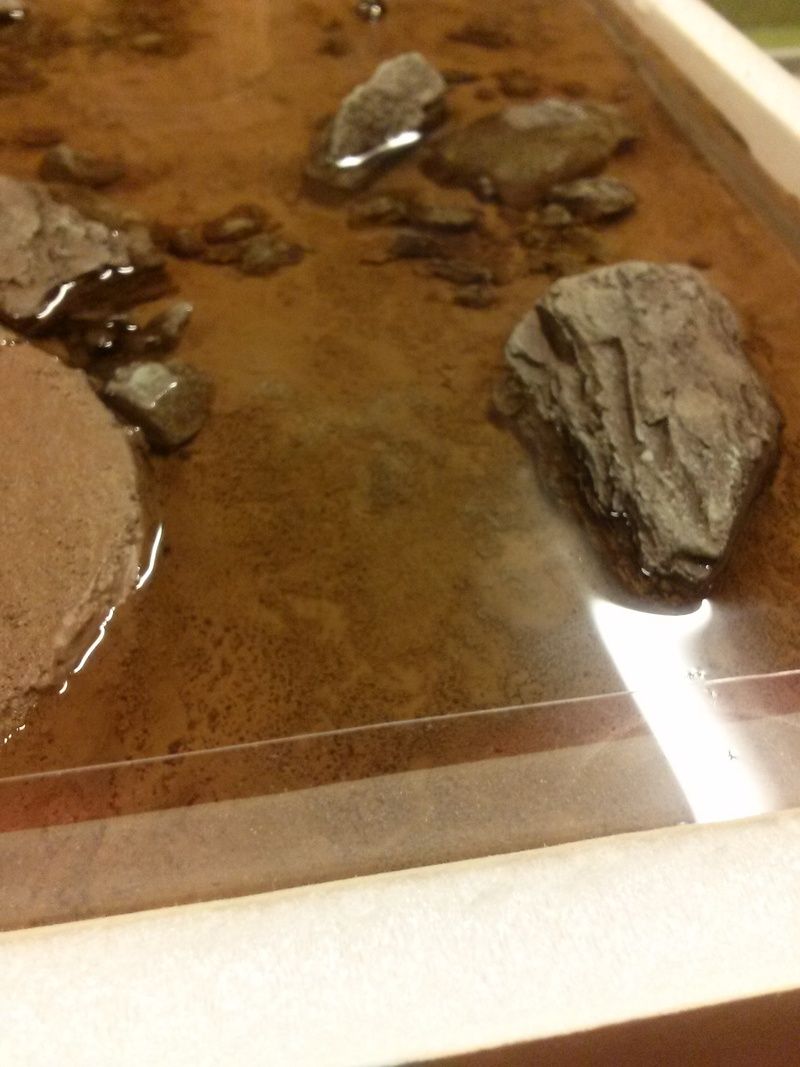
As mentioned in Part 1, I added rocks and grit, then sponge painted the rocks, using earth tones. I added some washes to the riverbed itself for some contrasts. If you try this you will notice that what is understated painting without resin becomes very prominent under the lustre of gloss resin. If you have painted a miniature somewhat matte and then gloss sealed it then you know what I mean. Saturation and contrast bumps up a few notches so it is best to be subtle.


In this pic we see the Duralar and foam core "dams" that will be used to form the resin. My method uses Duralar facing the resin, backed by thick foam core and attached/sealed with clear silicone. Especially with deep resin pours, the outgassing process will force the hot, molten resin into every nook and cranny on your board and if it hits foam then the gassing becomes dramatic. Whatever silicone remains attached to the resin after the removal of the dams can either be left or scrapped away.

Here is the dam on the other side of the board.

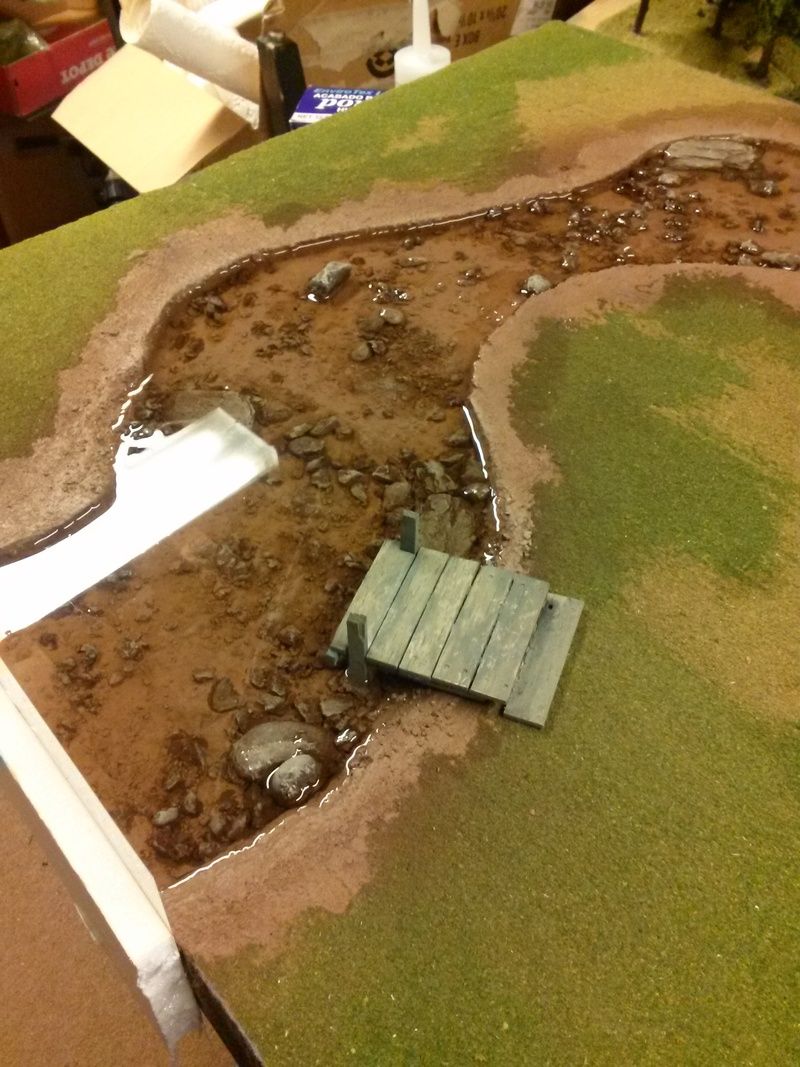
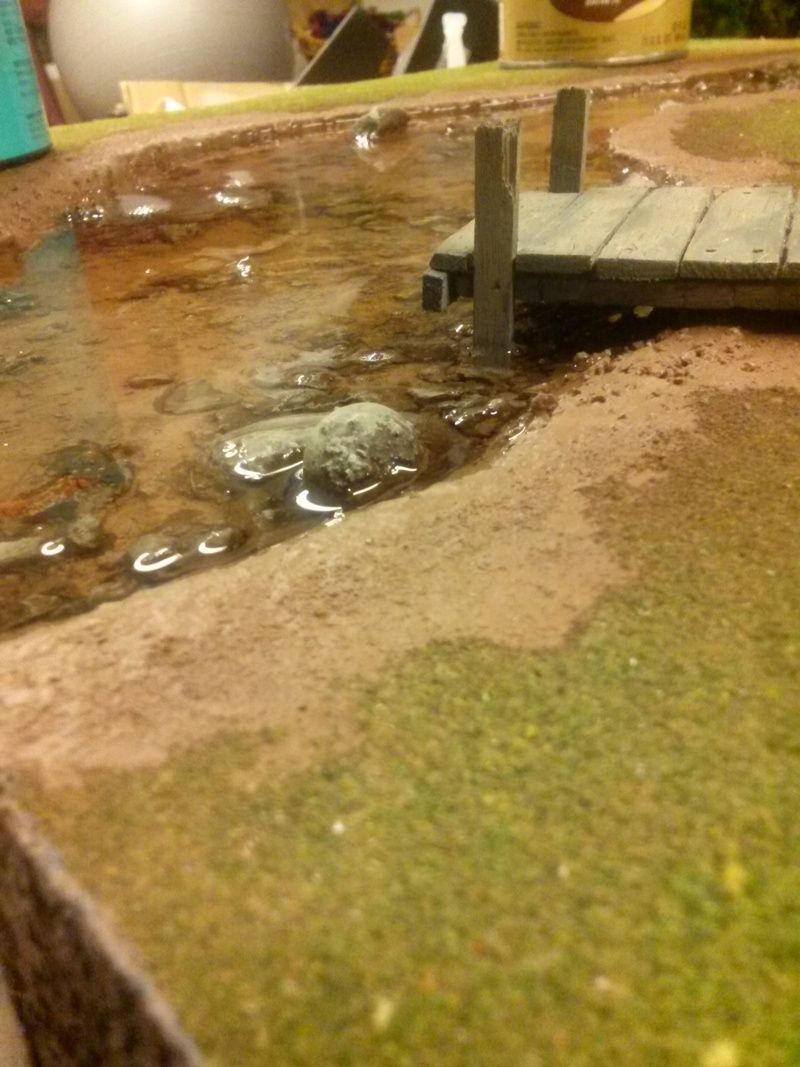
Here is the first resin pour. This board took more than 33oz.of resin  for the entire length and even then I had to fill in the other end in this picture after this first pour with another smaller pour. Note the finished dock, I seated this using clear silicone. The legs, or footers, are attached to the floor of the river bed with silicone which is a great adhesive that is strong, yet is near-invisible in resin and as importantly, won't bleed or be attacked by the resin's chemical reaction.
Another view of the dam and dock section. This is the deepest water on the board, hence the dock for boats.

Some riverbed painting detail. If you texture it right, the painting is easy and natural. See part one for a description of materials used.
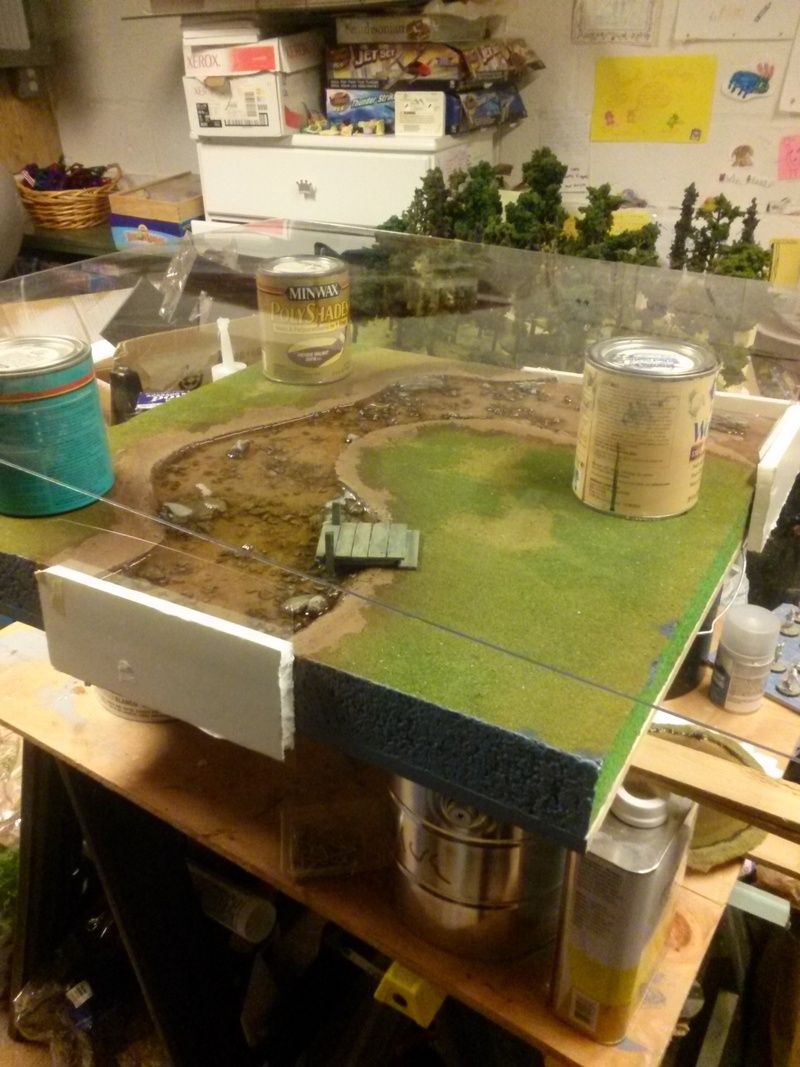
Here is the whole board curing, with a large plexiglass cover to ward off dust.
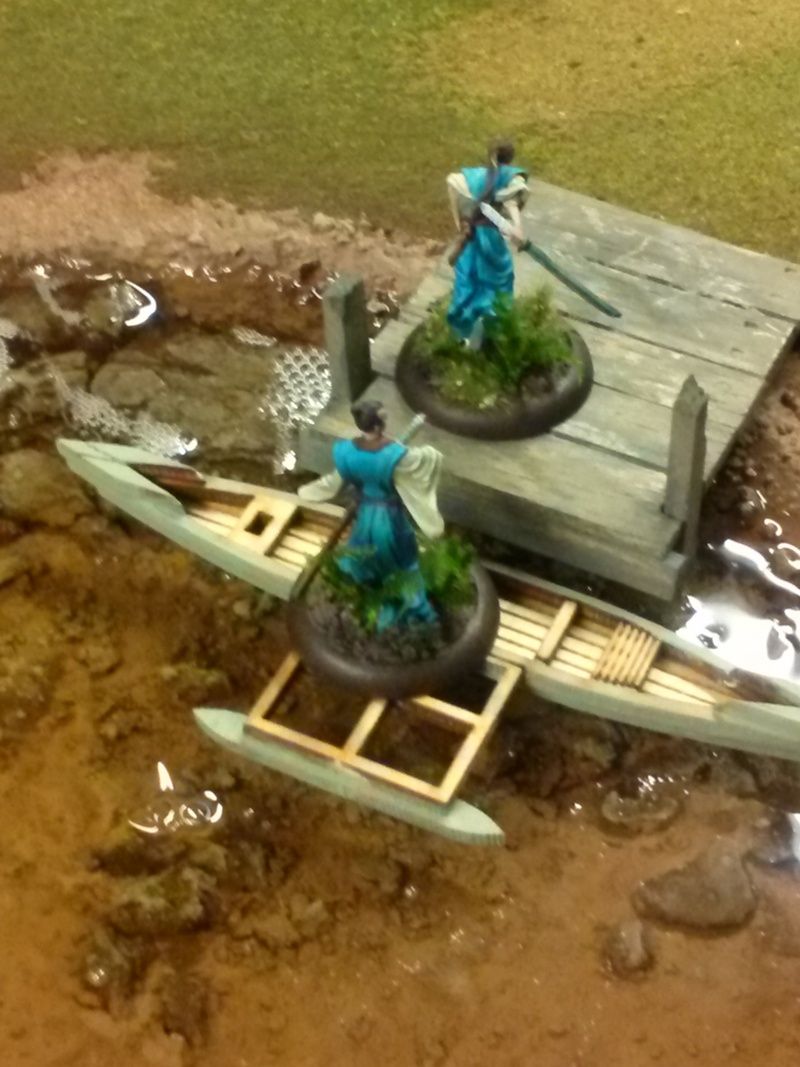
Checking out the boat with the dock, after the resin has cured. It takes about 24rs for a thorough enough cure for this sort of horseplay but it was fun to put down some figs and see how it is all coming together. Note that I kept all scenery away though, the resin has set and was not impressionable but it could still catch flock and adhere it. Resin is weird. Note the bubble trails from gassing, likely from inside the rocks themselves.


A WIP sampan on a WIP board.

 So that is it for this update. I will be back after I remove the dams, finish the facings on the board, add wave elements to the water and flock. After that, I need to finish the aquarium bridge below for the board set, using Apoxy Sculpt and a little ingenuity.

This set up is the board before the riverbed painting and resin. I wanted to see how the other terrain elements I have been making matched the feel of the board. So far so good I think. Chiyo seems to like it.

Wednesday, April 1, 2015

Bushido: WIP Terrain Board


Ok, some backstory on this project. I'm into Bushido now in a big way... love that game. I have an idea for a series of linked terrain boards, the first being a beach board with a dock, village and other assorted features I'll save that for later. From this first board I would expand out the series but I know I need to up my game with rendering water. I have done more than my share of resin forming and pours for water in other projects and while cool and fun, they aren't very animated or alive looking. So I've been expanding my vocabulary with resin water elements through various techniques.

This is what an old, "finished" board looks like. If it was a restaurant it would be called, "Passables"
WAY back in the 1990's I completed four panels towards a 4'x6' river board for 40k. It wasn't very well conceived but it was well-made and survived intact after more than 2 decades of games, including use at a GW store. I still use the flocked side of one board for Strange Aeons games but that is about it. Since I managed somehow to hang onto them all this time and not use them and decided that I'd want to try out some of the water effects I've developed on my own and learned along the way from others. So, I needed to do a sketch or practice piece.

I am a full time dad, full time worker and part time Grad student, so I don't have time to burn but I do have extra terrain to burn.

So I took a good section of the river and re-tasked it towards trying out some water and at very least, it can be a basic Bushido board.

I scouted out a 2'x2' section on a 2'x4' board, similar to the one above. I then mounted the foam board to a 1/4" thick 2'x2' wood backer using Tub and Tile Liquid Nails (so it won't attack the foam) and spiked it with my nail gun. I weighted the whole deal down with furniture and such and then used a hand saw to trim off the extra. All told, an hours worth of work, vs starting from scratch.

Grit and rocks and glue. Sounds like a Friday night to me.
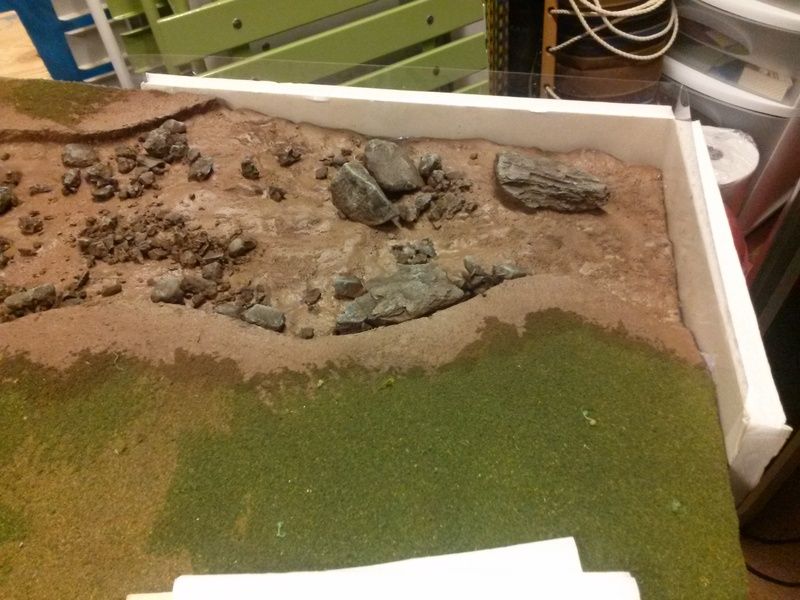
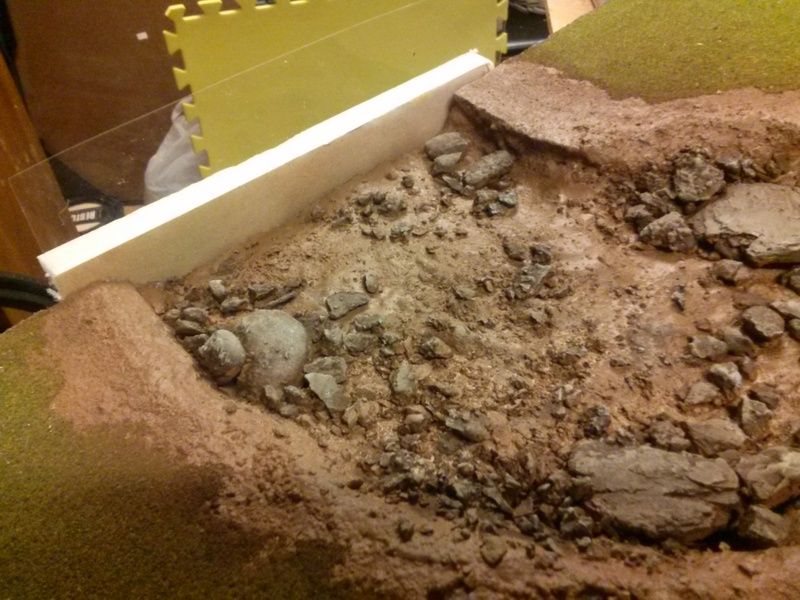
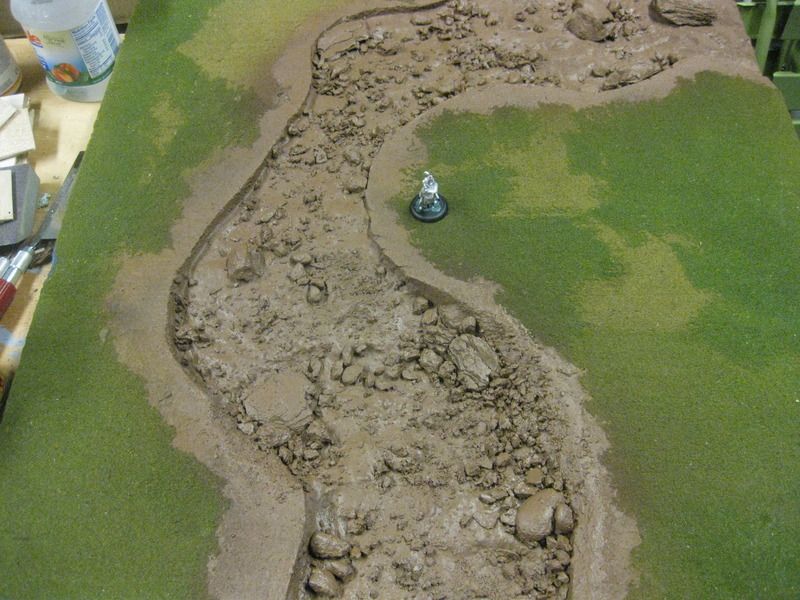
Next I trimmed some of the riverbank to look more gradual and worn, instead of a 90 degree drop from ground to the creek bed. The more you trim the shoreline on an angle the more usable table space for minis you lose. So I didn't go nuts. I then added a layer of "deck grit" in the riverbed; this is a product sold at DIY that is basically a super tough sand texture in paint form, it is very liquid and applies well. It also happens to be great for sealing foam against resin (which attacks the crap out of foam) so this is a great fit for anything that will have resin on it. Finally, I used Mod Podge as a layer and poured out concrete rubble from my broken front step. You can see I went for a natural lay out and only added one or two really large protruding rocks, which I hope to show current behind them, downstream.  A few coats of Leather Brown Army Painter primer (thank god for that stuff) and it is basically ready for paint. I am in the middle of converting a cheap aquarium bridge with balsa and Apoxie Sculpt. I made a balsa dock to go on the shore too.

So that is where I am so far, stay tuned for more progress! (edit: Part 2 is here)


New river bed primed and ready for paint.

Reaper BONES: WIP Lit Flame Markers


As mentioned before in the lit Reaper ghost tutorial, the Reaper BONES line features translucent models, including ghosts and fire elements (both fires and fire elementals).


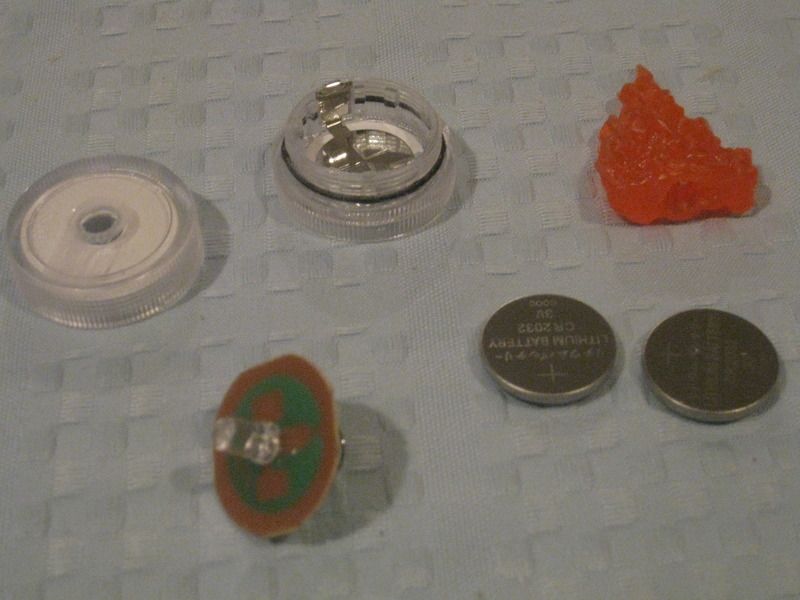
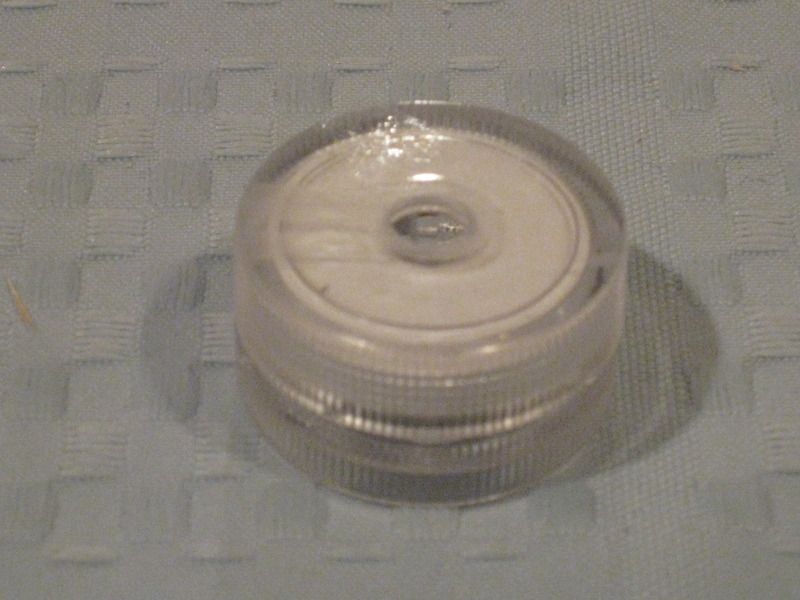
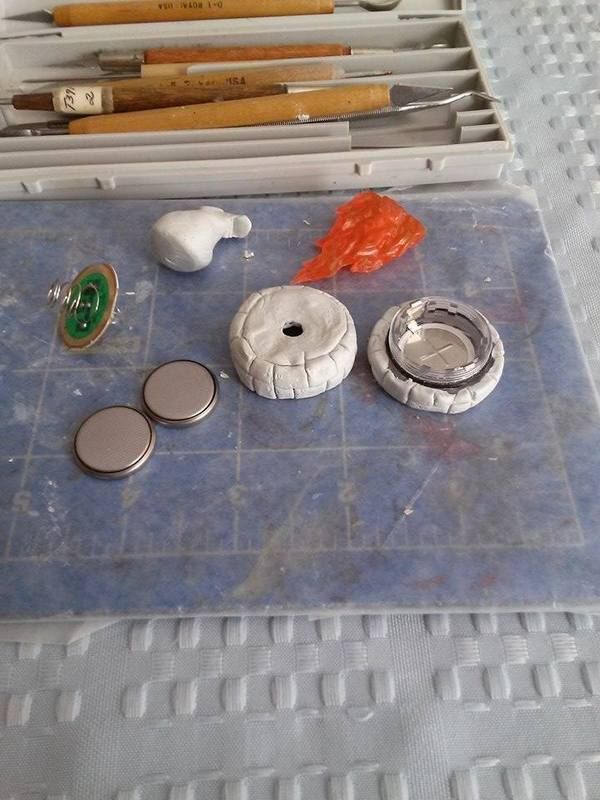
Here is the WIP for lit fire markers and some production notes. See the lit Reaper ghost tutorial in the link above for steps on prepping the halves of the tealight. After the prep steps have been done, move to the following.


Unlike the lit ghosts, the base for fire will be visible. Just like the ghosts, I removed the tealight dome on the upper housing to allow for the bulb to fit into the miniature. I cut/drilled a hole in the bottom of the fire, just like the ghost. Note I used the large fire piece, instead of the smaller model and an orange tealight instead of a green one.


Then I covered the halves in Apoxy Sculpt and after a few hours of setting, I sculpted in lines for stones and I also rolled the halves over cement to give it texture. Once cured, simply paint and reassemble. Bam! Easy peasy. I suggest that you play around with detailing the top of the tealight, the fire area, with elements like stones and even wood, to add to the illusion.

I'll be using these as flourish on Strange Aeons boards and maybe as objectives for Bushido.

Tuesday, January 27, 2015

Stupid Easy Bushido Areas of Control


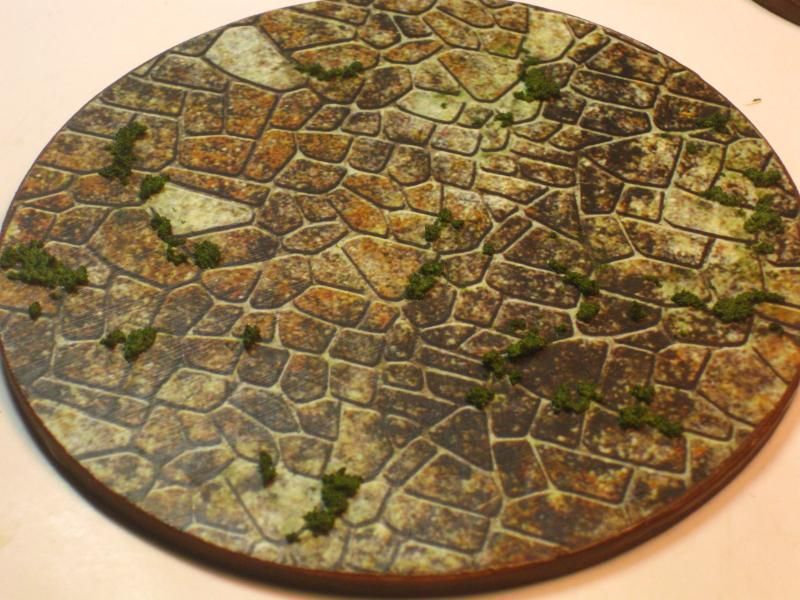
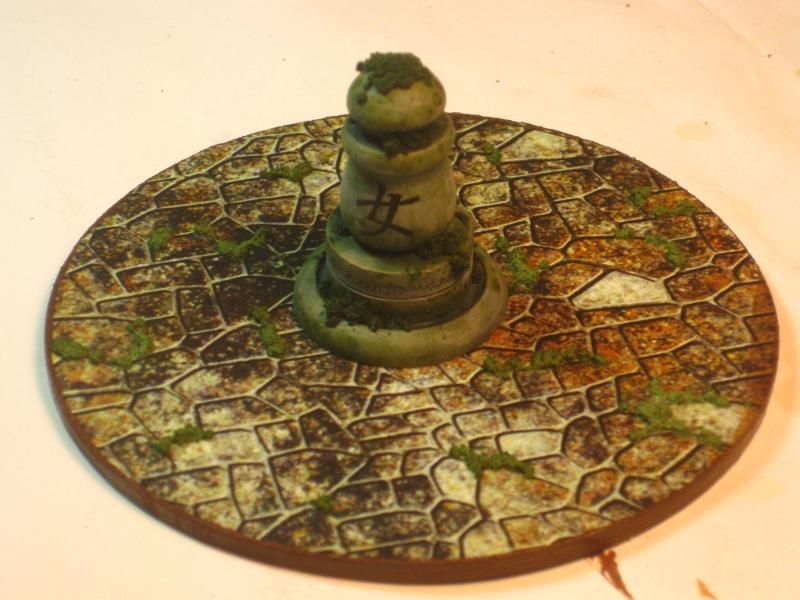
Here's a really easy and dare I say, better-than-passable way to bang out the 6 circular Zones of control you need for your Bushido games, erring on the side of speed.

Needed:
  • The cobblestone PDF from Dave's Games.net http://www.davesgames.net/catalog-cobblestone-streets-map.htm or any pattern you can do across 4" and 8" circles. Remove or add layers in the PDF to taste
  • Matte Mod Podge
  • Flat brush
  • Brown paint
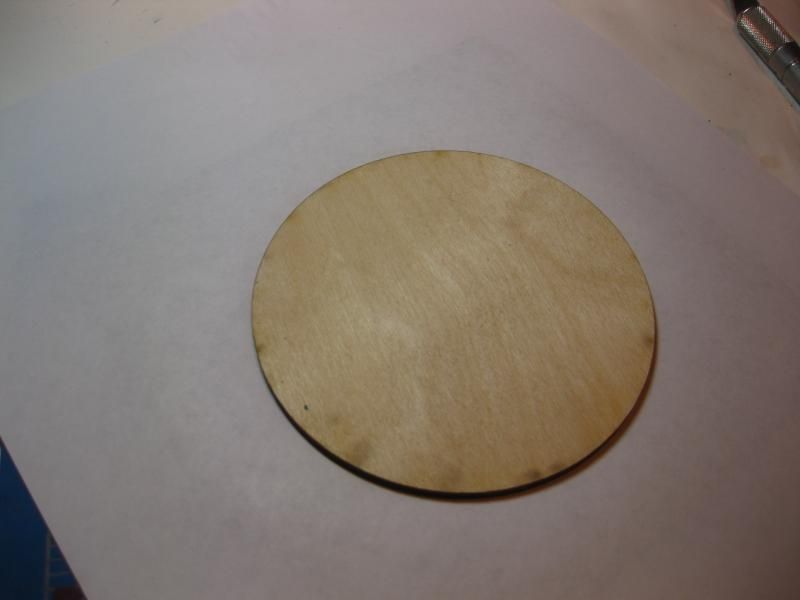
  • Wooden circles in 4" and 8". I use Woodcrafter.com good guy, good business
  • Scapel
  • Light Sanding block
  • Flock or some sort of ground cover, low relief
Look, I am making  some other "real" 3D scenic terrain circles for this game. But when I looked at the cobblestone pack and extra circles I had, I thought, "why the hell not". After all, this can be the underneath of your more scenically rendered circles, in case you want to flip them over for some variety, when visiting a friend's table or hell, even an emergency drink coaster. At very least, you know how to compromise between fully-rendered 3D textures and speed of assembly while benefiting like a beast. All told, these wood circles took me like 5 minutes, not counting dry time. They are sturdy, fast, easy, eager to play, fades into the background... acquainted with industrial lasers. Just how I like my women.


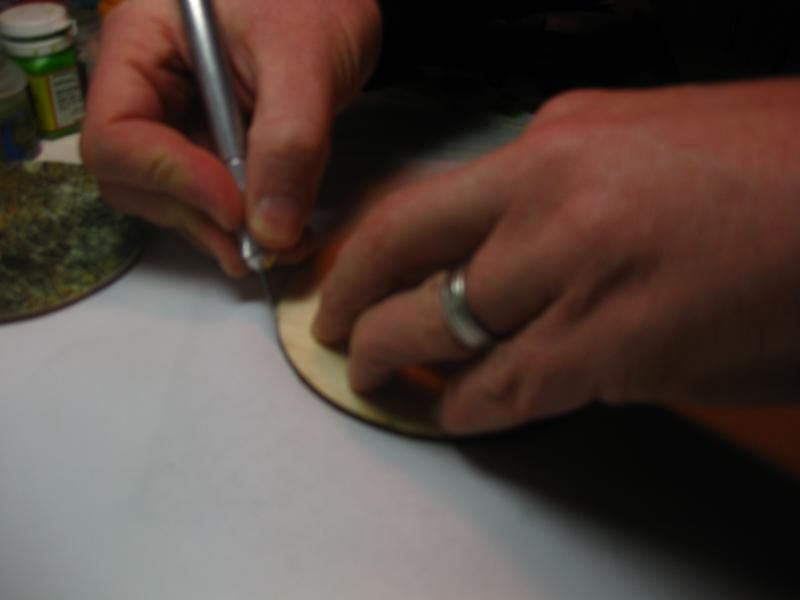
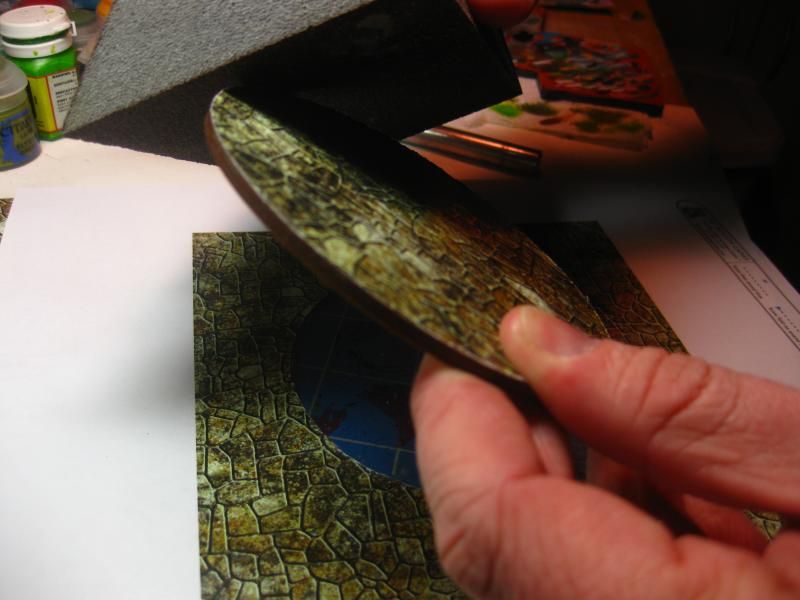
 After slathering the circle with Mod Podge with a flat brush, lay it down on the cobblestone print out, smooth out the paper with a squeegie and put a gallon paint can on that jerk and let it dry. An hour should do. The wood will drink up that glue.

Cut it out. With a wooden rim, it won't get much easier.


Lightly sand the overhanging paper until smooth.


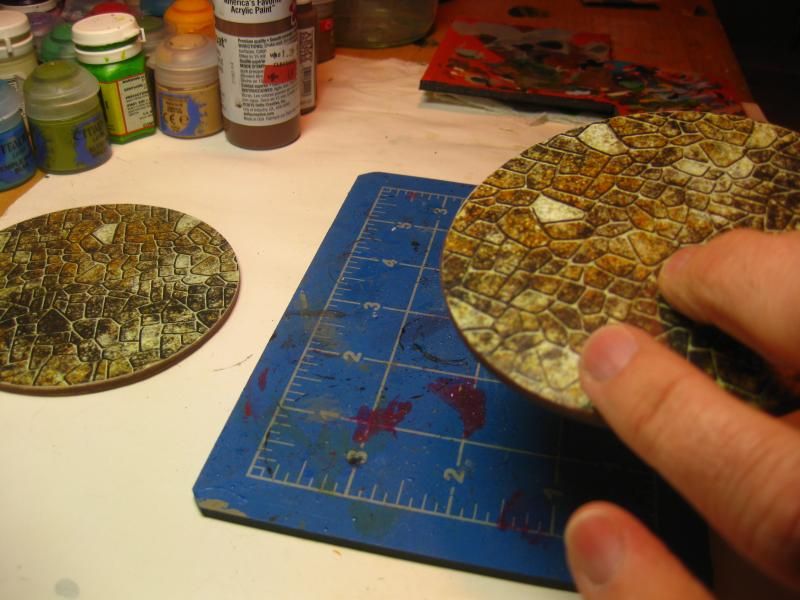
Topcoat the graphic side with matte Mod Podge... it dries clear and seals the paper.

Paint the rim with brown paint

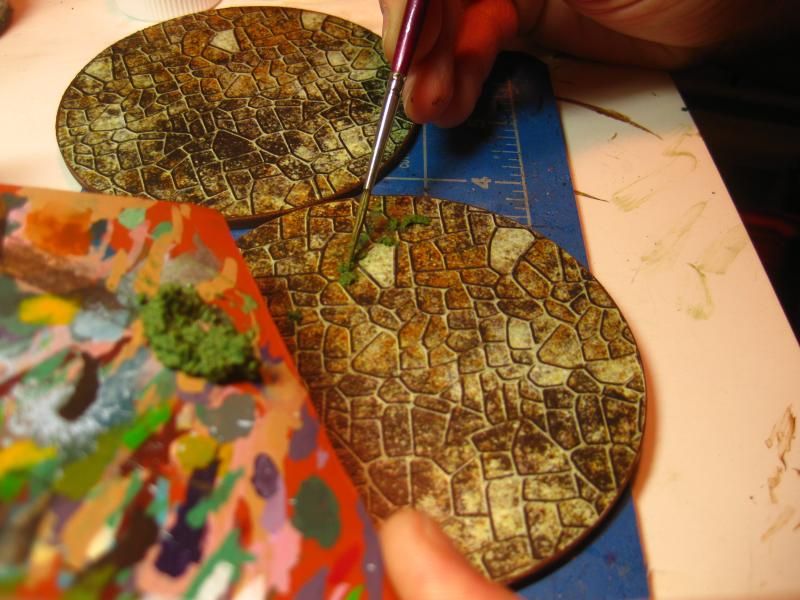
Add moss, grass or flock to taste. I find that even a simple 3D element sells the graphic even better. Let dry and you are done.


 Ta!

Friday, December 12, 2014

Bushido: Completed Objective Markers


I made these for Bushido. The Tourny Pack calls for a series of objective circles as well as 6 small based and 2 large based markers. The small markers are craft store wooden bits on magnets, attached to a small base. At one point I was under the impression that I needed to make these rotate to show the status of who controls them. Watching a game, I saw players simply turn the front of the marker to face the controlling player's board edge. Doh. Oh well.

The large based markers are 2 Feng Shui dogs I picked up off of Amazon for US$10 and mounted on large bases. All told, a few nights of work here from undercoat, some drybrushing layers, sponge painting, washes then a custom moss recipe of moss made out of basing flock, water, Mod Podge glue and a dab of green paint. The kanji are just technical pen and a lousy Westerner's hand. Sorry Japan!