Here's a really easy and dare I say, better-than-passable way to bang out the 6 circular Zones of control you need for your Bushido games, erring on the side of speed.
Needed:
- The cobblestone PDF from Dave's Games.net http://www.davesgames.net/catalog-cobblestone-streets-map.htm or any pattern you can do across 4" and 8" circles. Remove or add layers in the PDF to taste
- Matte Mod Podge
- Flat brush
- Brown paint
- Wooden circles in 4" and 8". I use Woodcrafter.com good guy, good business
- Scapel
- Light Sanding block
- Flock or some sort of ground cover, low relief
Look, I am making some other "real" 3D scenic terrain circles for this game. But when I looked at the cobblestone pack and extra circles I had, I thought, "why the hell not". After all, this can be the underneath of your more scenically rendered circles, in case you want to flip them over for some variety, when visiting a friend's table or hell, even an emergency drink coaster. At very least, you know how to compromise between fully-rendered 3D textures and speed of assembly while benefiting like a beast. All told, these wood circles took me like 5 minutes, not counting dry time. They are sturdy, fast, easy, eager to play, fades into the background... acquainted with industrial lasers. Just how I like my women.
 |
| After slathering the circle with Mod Podge with a flat brush, lay it
down on the cobblestone print out, smooth out the paper with a squeegie
and put a gallon paint can on that jerk and let it dry. An hour should do. The
wood will drink up that glue. |
 |
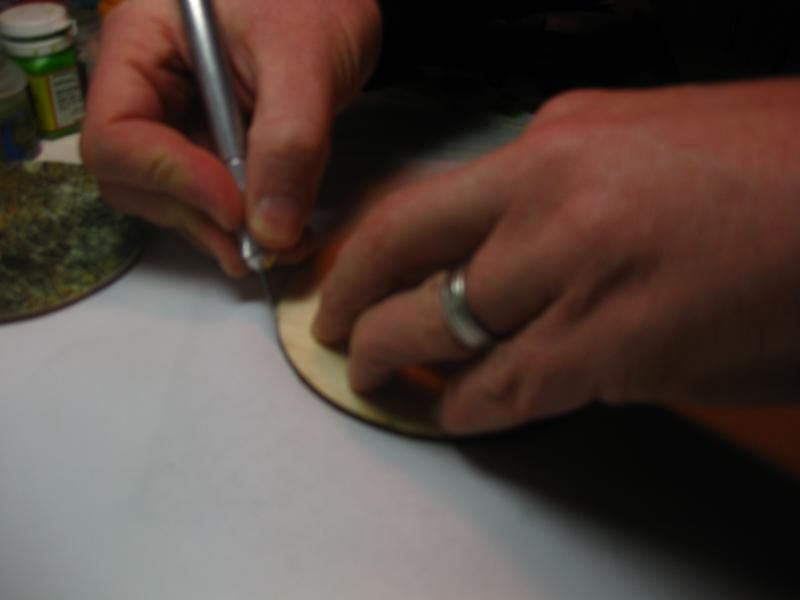
| Cut it out. With a wooden rim, it won't get much easier. |
 |
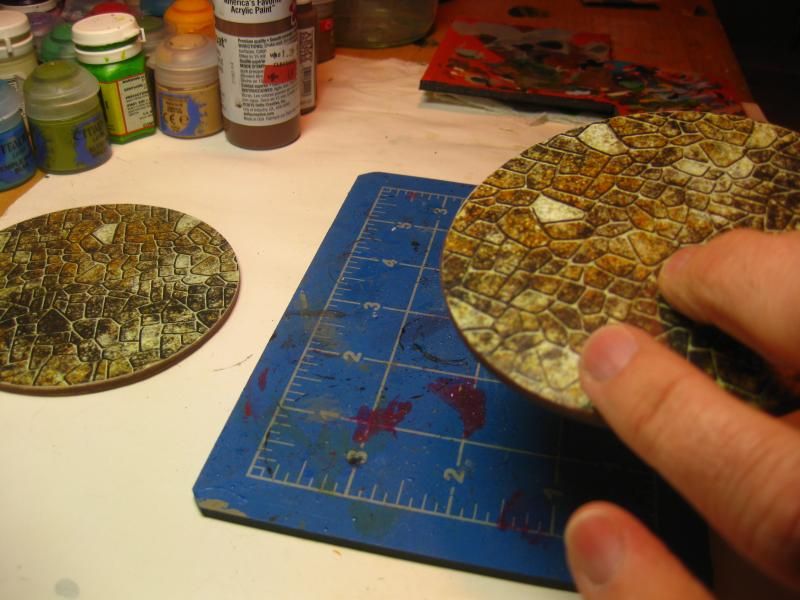
| Lightly sand the overhanging paper until smooth. |
 |
| Topcoat the graphic side with matte Mod Podge... it dries clear and seals the paper. |
 |
| Paint the rim with brown paint |
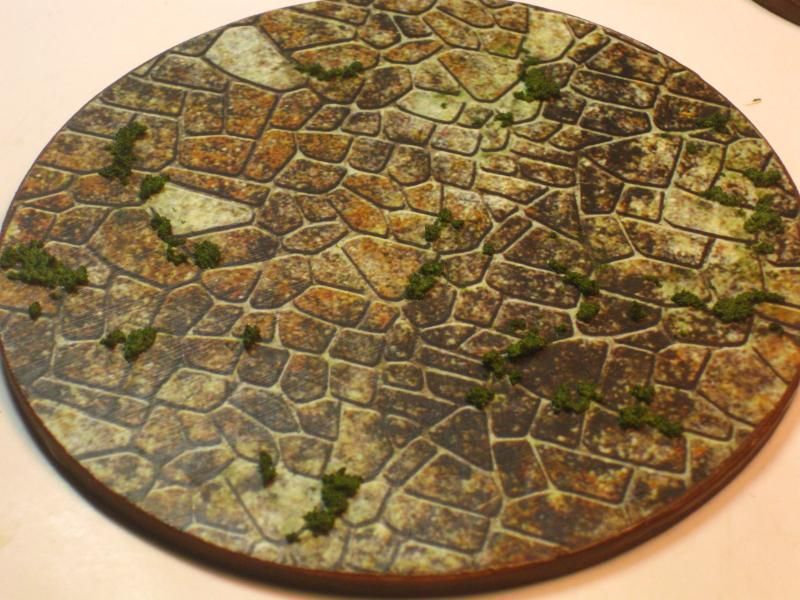
 |
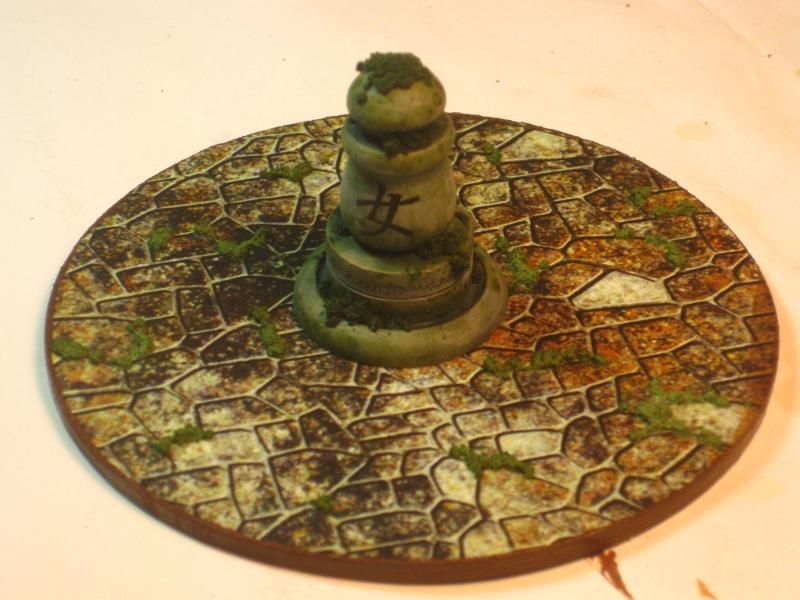
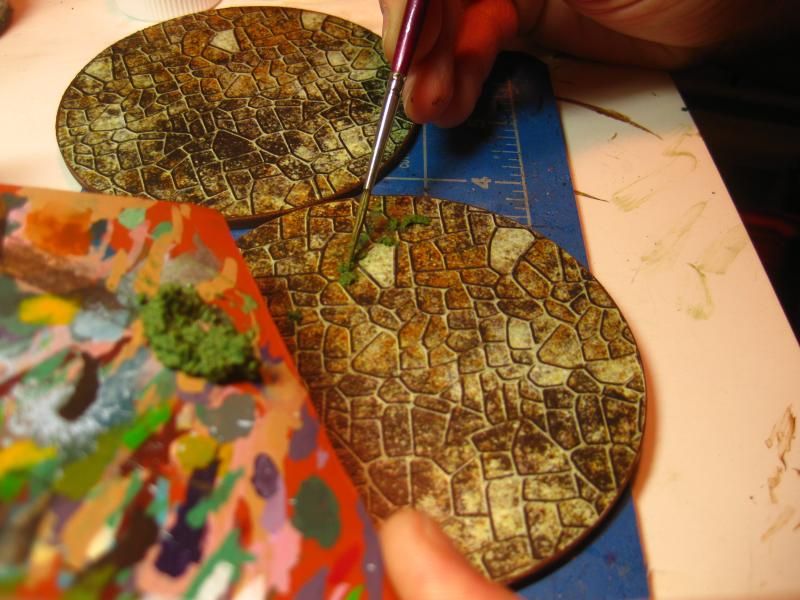
| Add moss, grass or flock to taste. I find that even a simple 3D element sells the graphic even better. Let dry and you are done. |
Ta!


5 comments:
"erring on the side of speed." ??
Erring on the side of awesome I'd say! They look great mate
Thanks mate. You might see a lot more paper craft terrain in my games soon...
Very nice, great details...
Thanks Phil!
Miss seeing your very inspiring work here! I hope you can get your photos back up either through caving in to Photobucket's terrible ransom, through rehosting on a different site, or just posting directly to this site!
Post a Comment