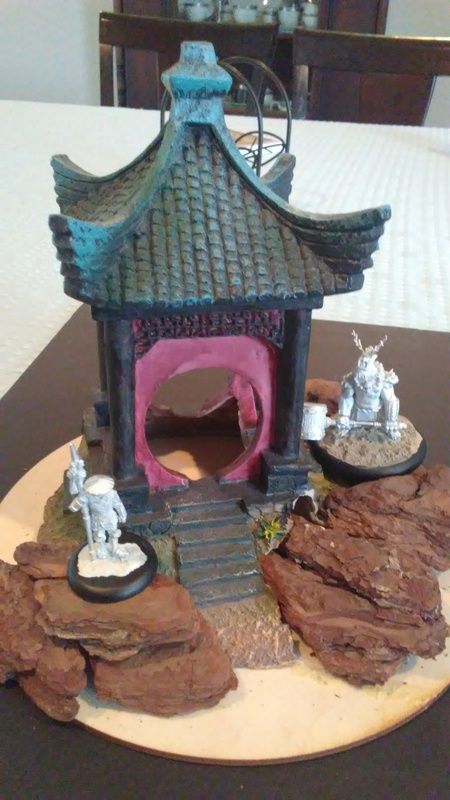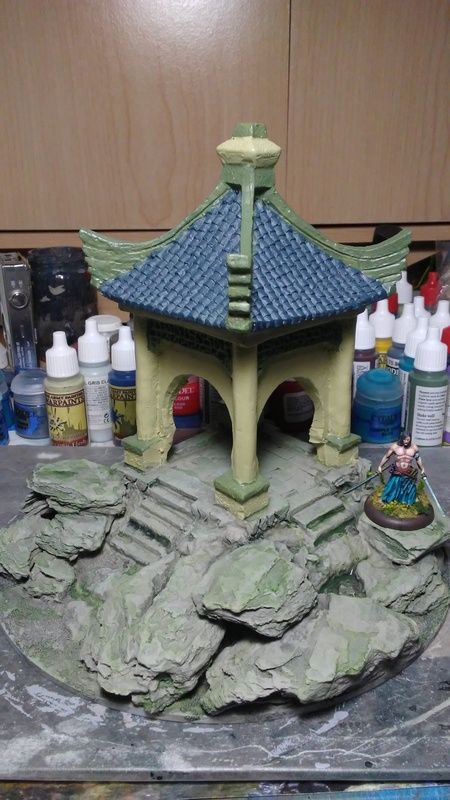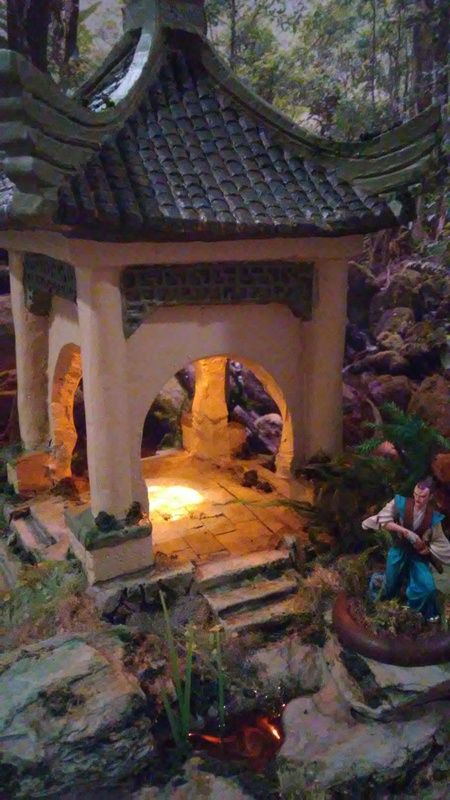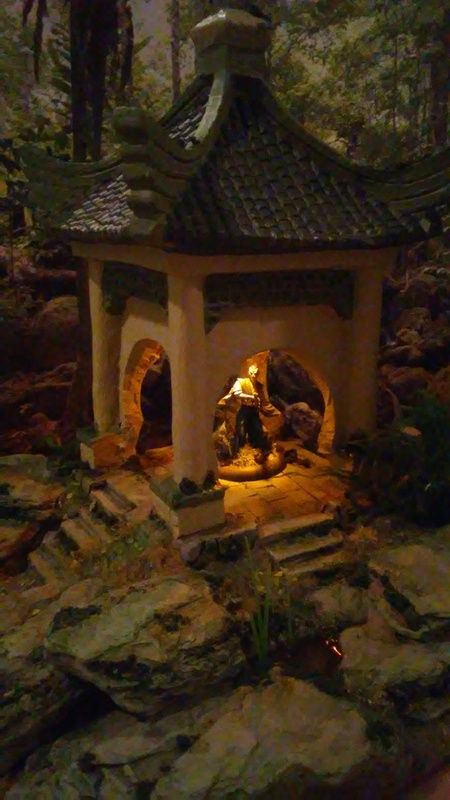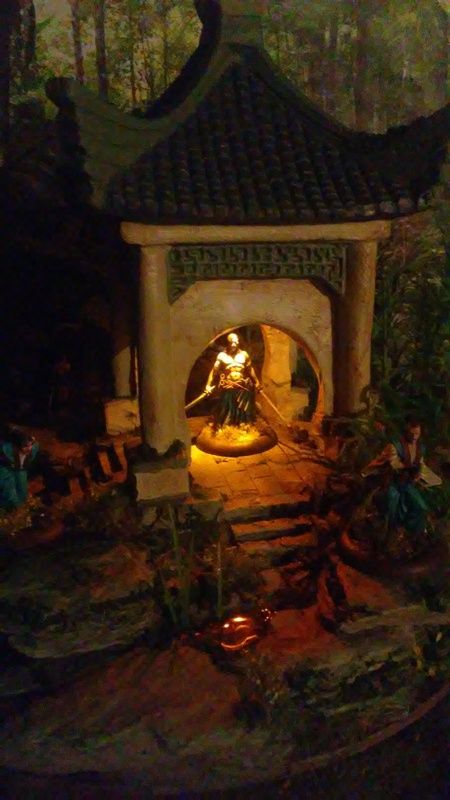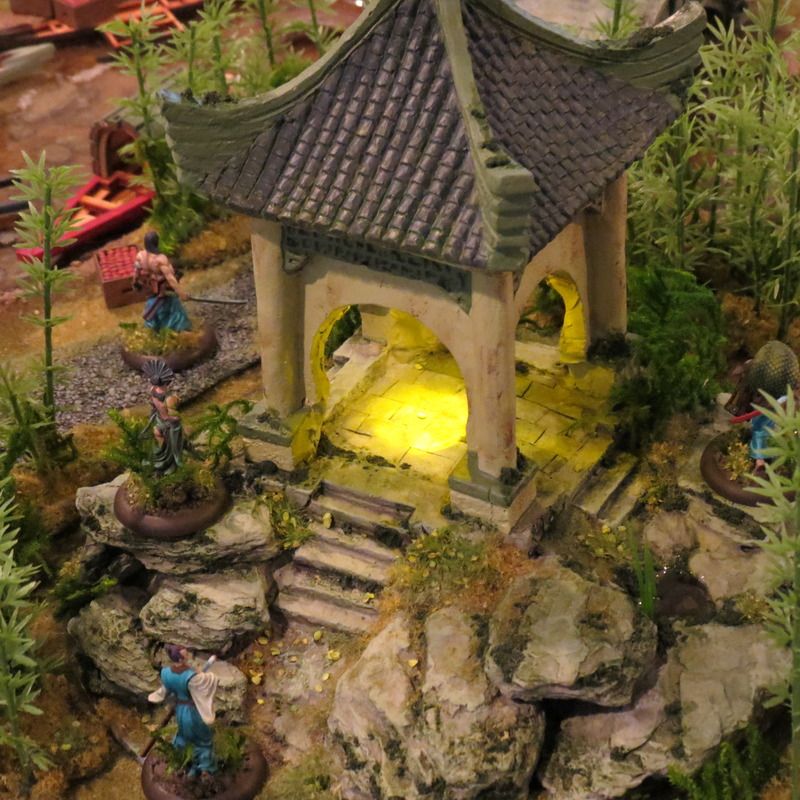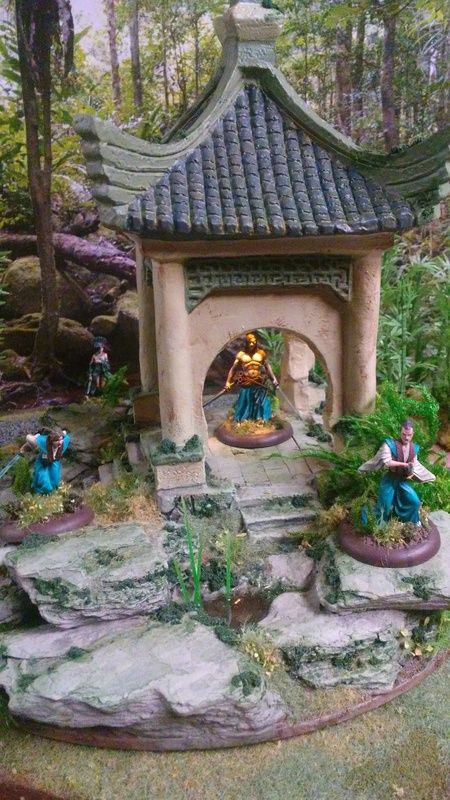
Here’s some notes on my latest Bushido pagoda terrain build using aquarium pieces. Sorry for
the delay on this, you might say I was ill. You might also say I had food-fever, eye chills, skin failure, gravity allergies and
corpse throat.
2 Christmas’s ago I made two lit pagodas from aquarium
pieces that I gave as gifts to my friends. I learned a lot from that build and
made notes on things to do better next time, should there be a next time. Next
time was last month, where I finally made one for my own Bushido table. You can
see the first assembly notes here.
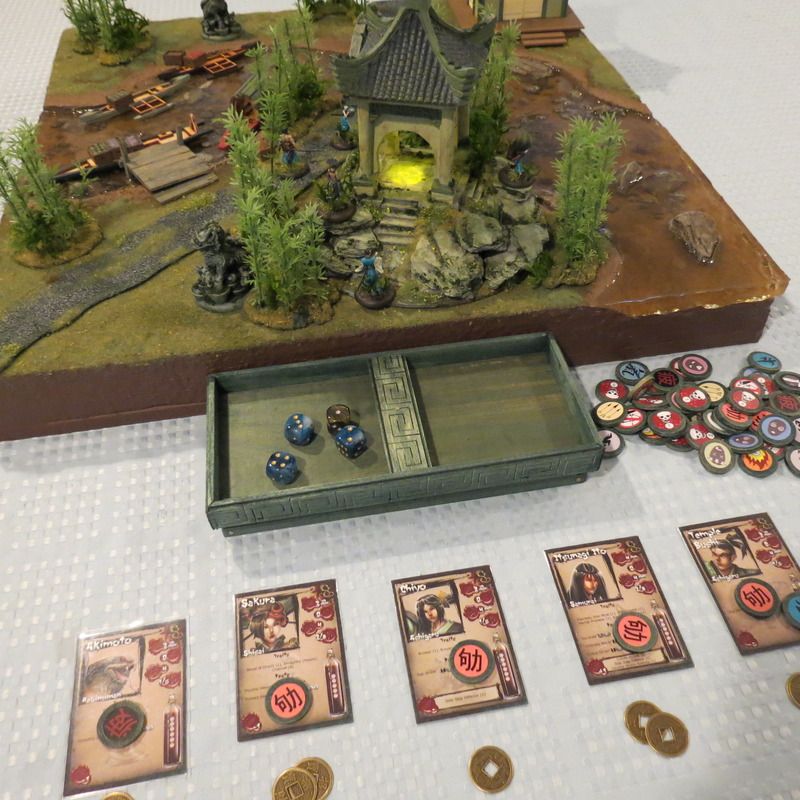
What was different this time with this build, a Version 2
pagoda, if you will? Well, after working and playing on the original Version 1
pagodas I noticed a few things that I could change for Version 2:
1.
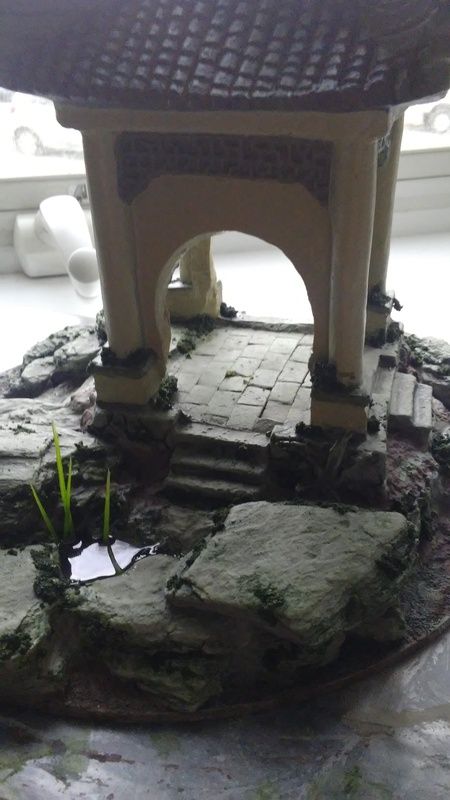
You could
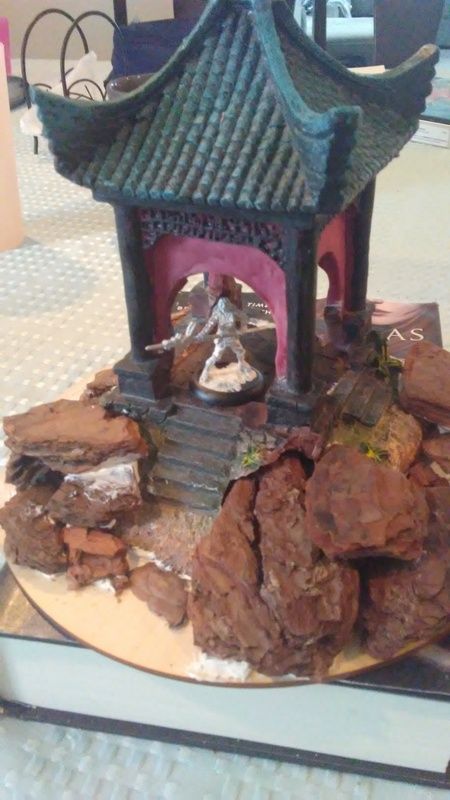
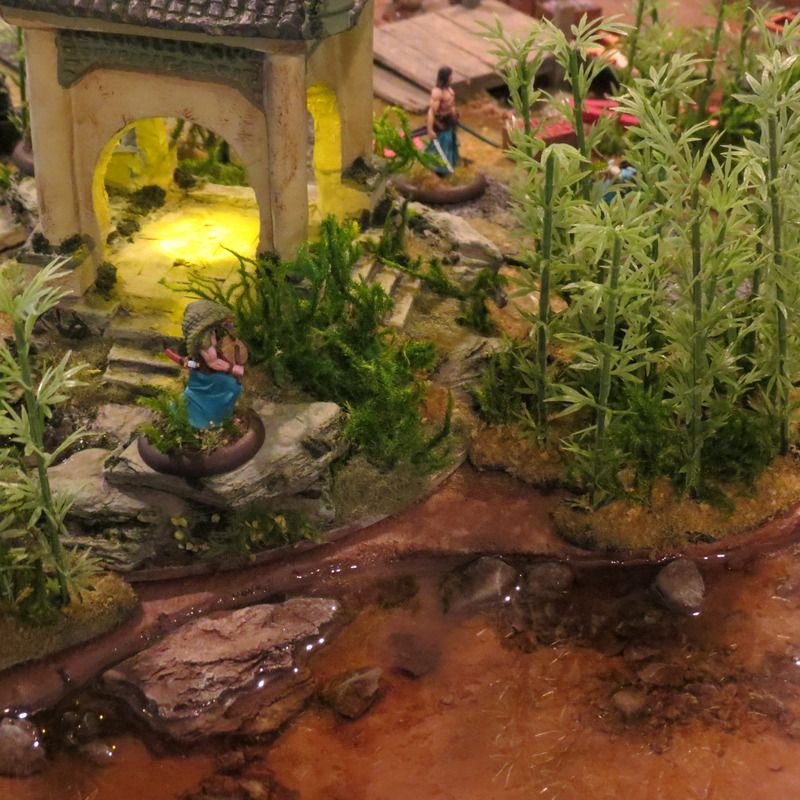
add more playability The inside of the Version 1 pagodas
was not as playable as I would like for all models. A small based model would fit fine but
multiple models won’t and medium-to-large based models are right out,
especially in Bushido, since models can’t easily be placed inside the pagoda to
begin with, mostly due to the circular curves of the entrances. This raises the
point of having that weirdness where only one model can be placed. World-ending
feature? No way, but that piece all lit up screams for more models under the
light. Most miniature games run into this physicality stuff so players usually
keep blank bases handy for this and that would be fine but I figured I could
make it so that more than one model could be placed inside for the truly epic
looking last stand moments ala Avengers: Age of Ultron, minus the pouting
giga-heroes, weird Godzilla spouses-come-Miracle siblings and Robert California
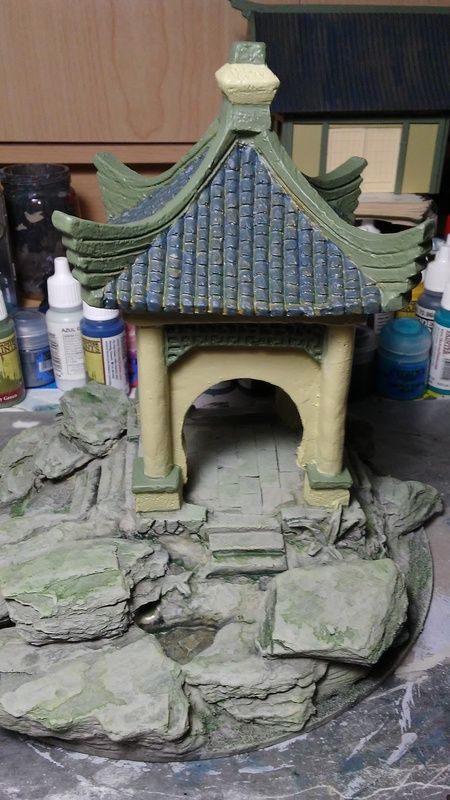
Terminator. Cuts at the entrances were made with a Xacto Razer saw so columns
were straight and flush and that was all that was needed for multiple models
and various base sizes to fit. It did lose some of the cool style though. We are gamers, we can take trade-offs, sumus
qui sumus. With these cuts, assume the resin on these aquarium pieces are made
from unholy poison, so the dust is best kept outside of your lungs and
eyes: wear a respirator, cut and trim/clean pieces outside, and wash your face and hands afterwards.
2.
Different
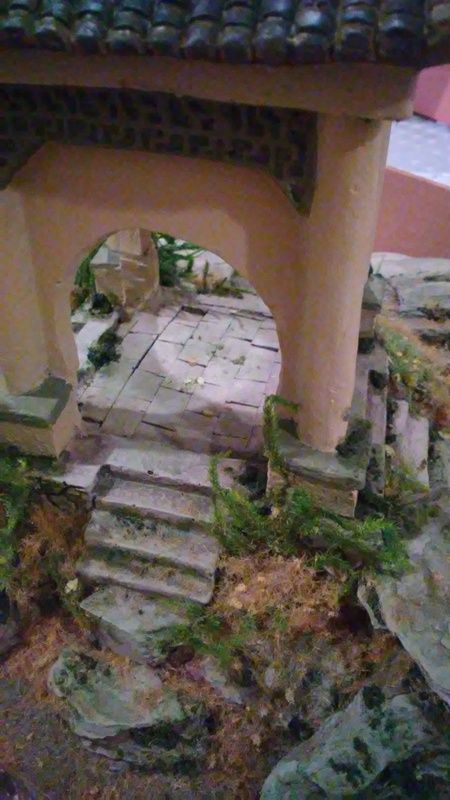
runs of product will vary greatly: The resin was really brittle this time. Wow,
I was really surprised that with the first two pieces from before that the resin was stronger, a
daunting realization when one cuts away a lot more resin in Version 2. It looks
to me that these pieces are blow molded in a way that allows for variation in
thickness between castings, which affects the strength. Not much you can do
after you buy it so keep it in mind when you shop. Thicker is better.

3.
Line
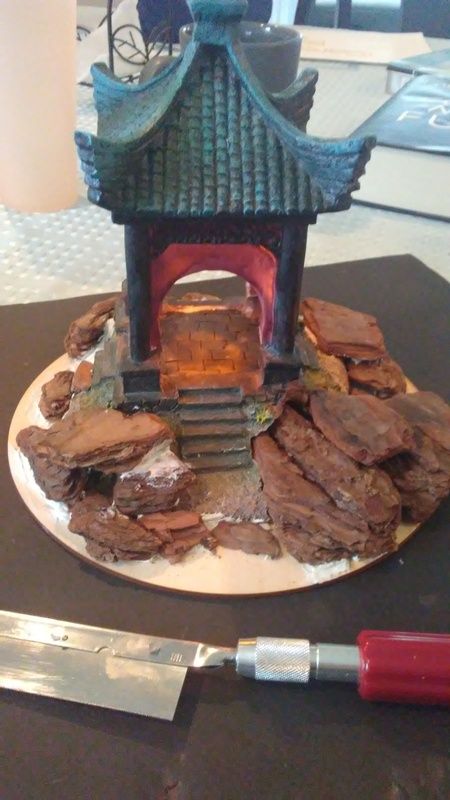
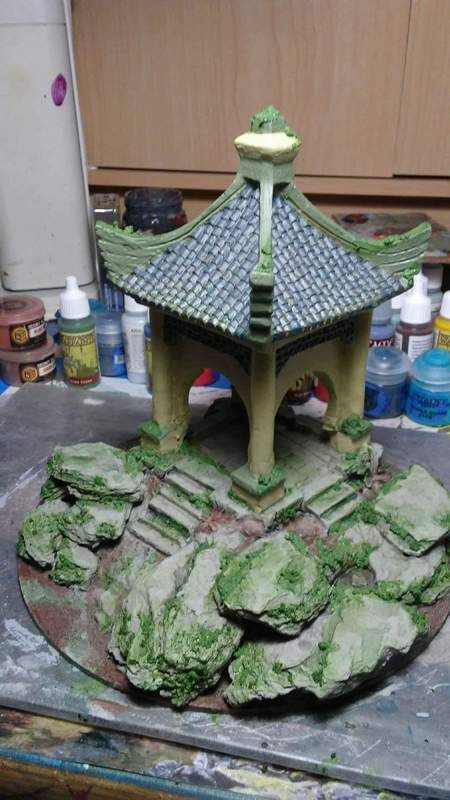
of sight: gotta break it up more than before and with that, make it more sexy and scenic. A Version
2 pagoda was a chance to do more scenic stuff, namely, elevation and LOS blocking. Usually more
art means less playable space in a game the better looking scenery gets so I tried to
strike a balance; this is the most fun part to me, laying out raw, unfinished elements
of the build, like the wood chips for rocks and playing around with figures on
the mock ups to dial in stability and aesthetics. The Version 1 pagodas are
great for a lot of Bushido missions where you may put an objective like an idol
under the lamp in the center of the pagoda but the open space around the
pagoda, while very flat and playable (you can always add scatter scenery to it)
seems like a lost opportunity now. Since my Version 2 pagoda was supposed to be
in the heart of the rain forest I made it a bit more rugged and old, but
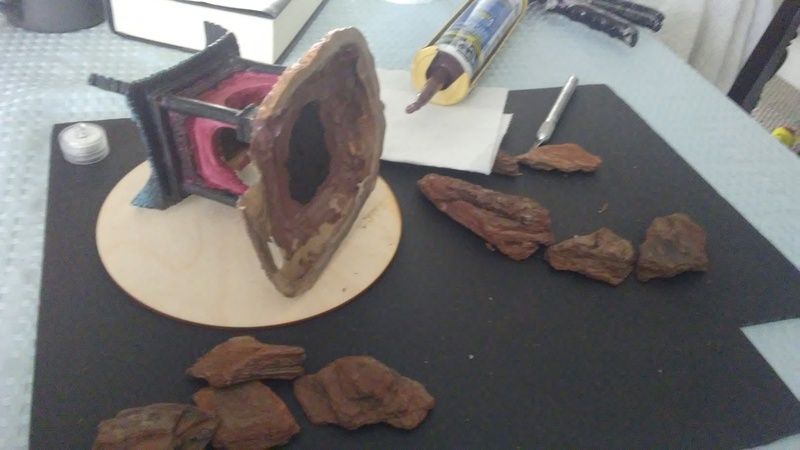
maintained looking. I used a new Gorilla Glue silicone adhesive to glue down
the pagoda, after new cuts and same finishing as Version 1, and boy did it work great. Long tool time, quick grab
and void-filling. It was forgiving to be able to lay out large masses of
adhesive, have it grab the wood nuggets and let me slide, shove and stack them
until they looked organic and best, playable for miniatures (given I had made a
dry run before hand.) The adhesive did not shrink or crack which is a plus as
well. After an overnight, the adhesive was dried and I finished with
finger-tooled caulk.
4.
Painting
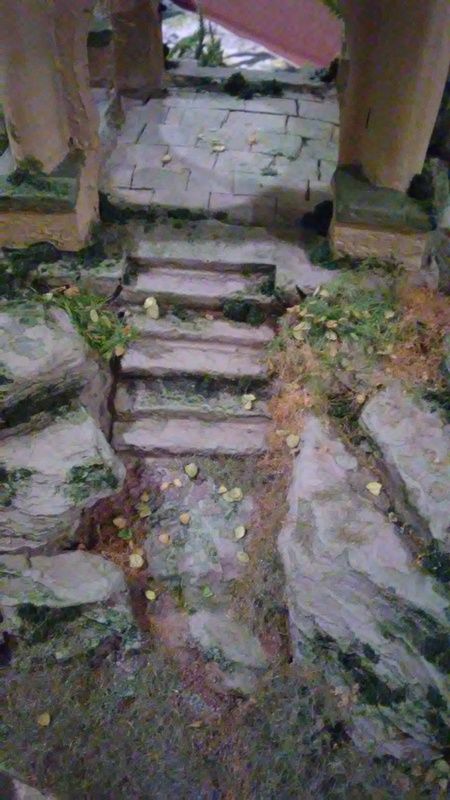
and finishing: Pretty straightforward, I used Army Painter spray and colors
to match this to the Plast Craft building I made before, using the same colors.
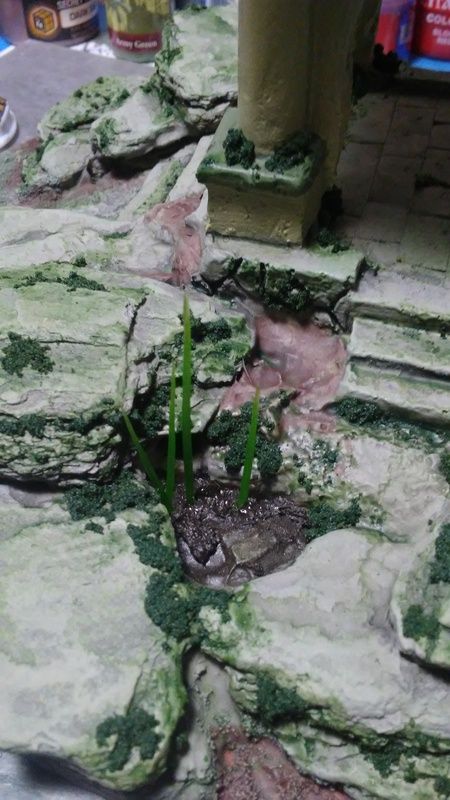
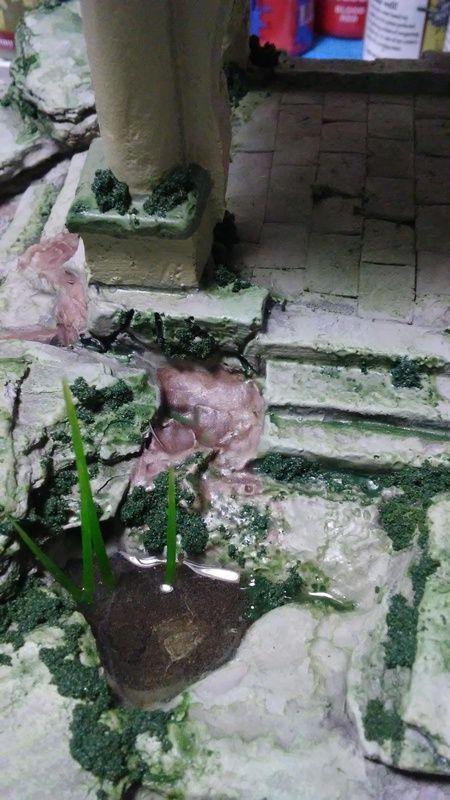
I did add a small spring and pond, using MIG mud on the bottom, silicone caulk
to hold some random plastic grass fronds I had in bits, and then Envirotex
resin for water. I made a mix of scenic tufts, flocking and scatter leaves
compliments the watercolor-like finish I applied to it.
5.
Tea
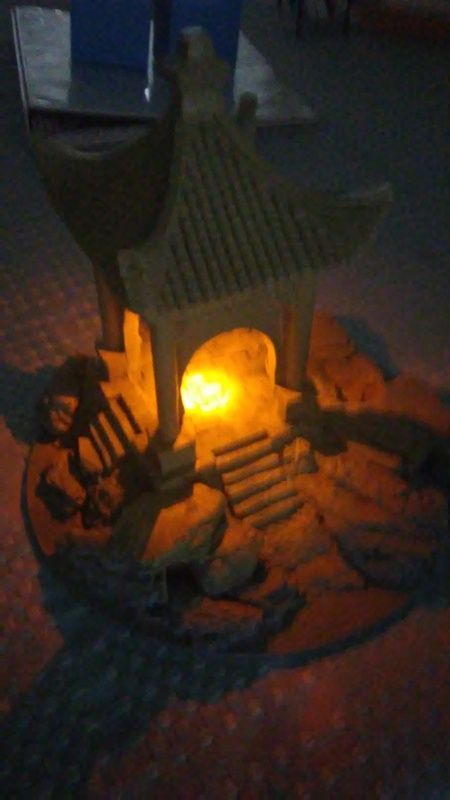
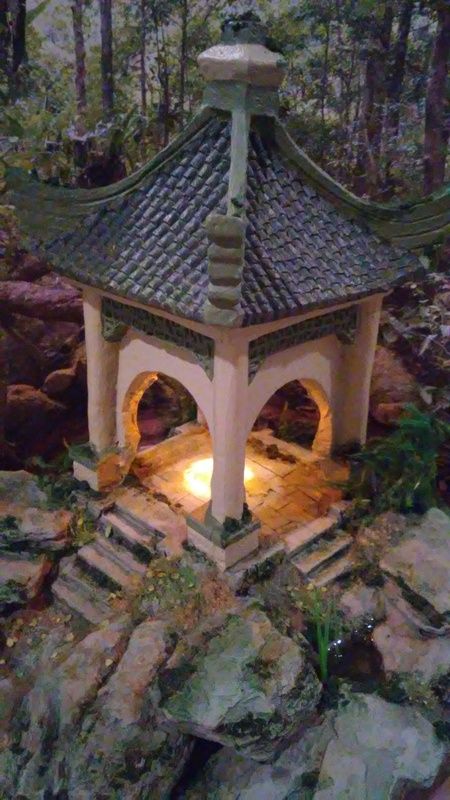
lights: Version 1 pagodas have LED tealights, which look great in yellow.
For Version 2 I added a flicker LED light I got on Christmas clearance this
year and it looks much better than the always-on LED. The flicker adds a ton of
character and is mounted with magnet, just like version 1 pagodas. The only
modification I needed to make with the new tealights was to remove their casing
since the white plastic covering the light was really big and dimmed the light
through the white plastic case too much.
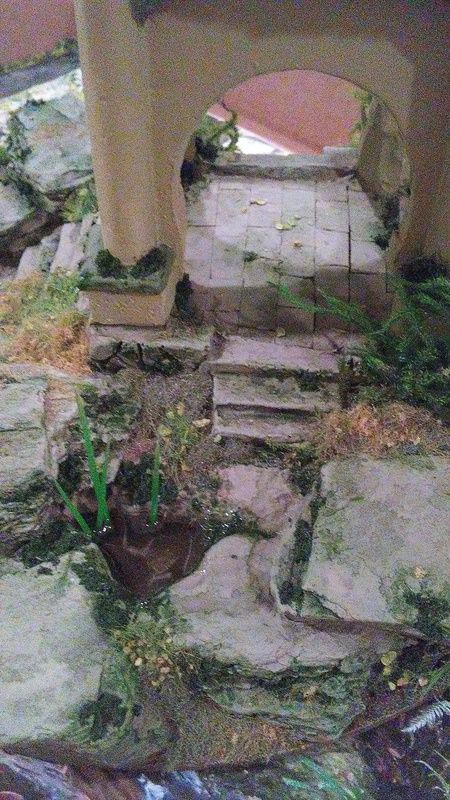
So there you have it! Version 2 pagoda all done. Expect to
see it featured in an upcoming Bushido battle report.
Construction pics below.