Showing posts with label Possibly Useless Work. Show all posts

Monday, September 21, 2015

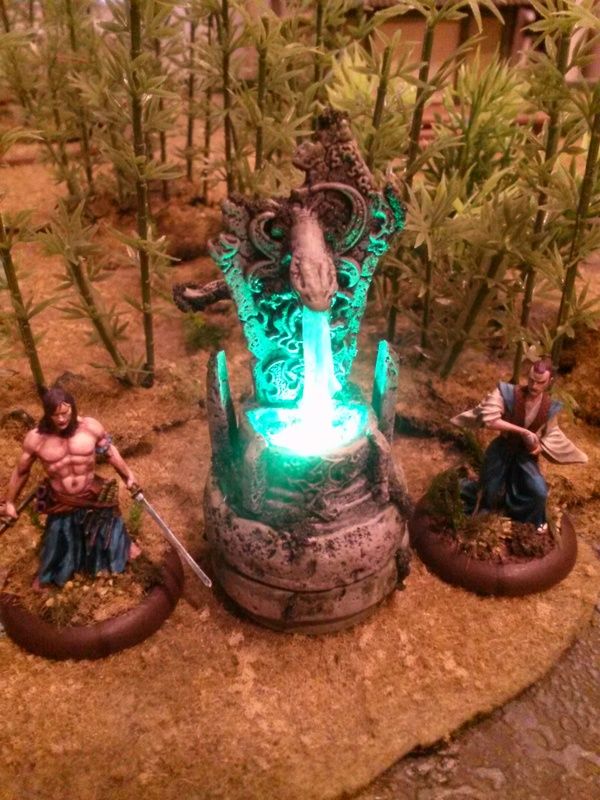
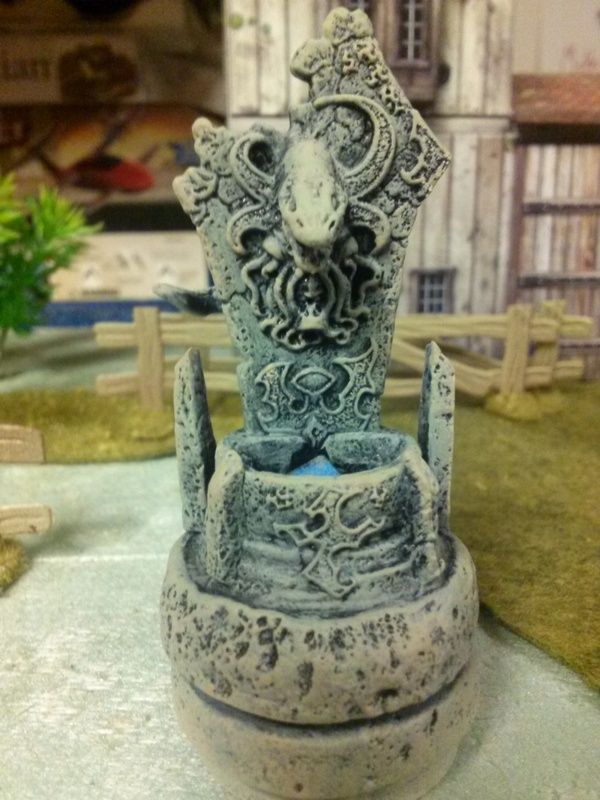
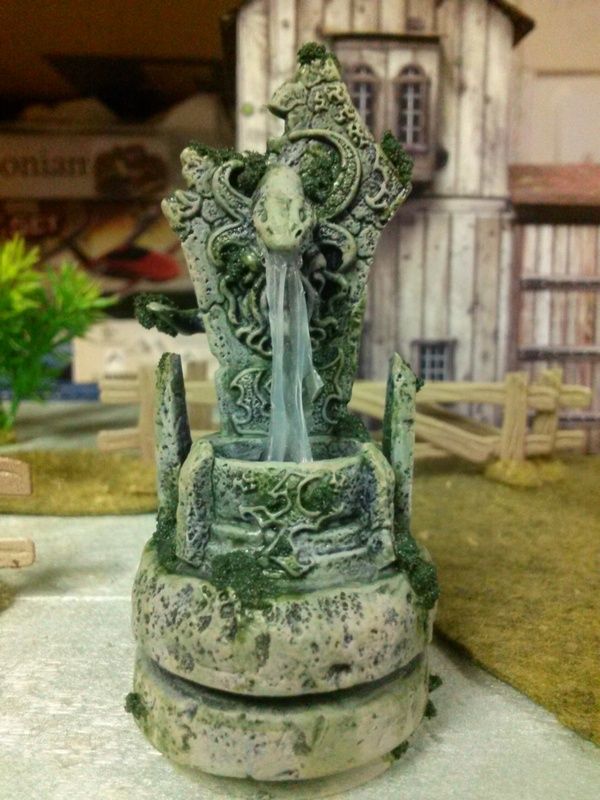
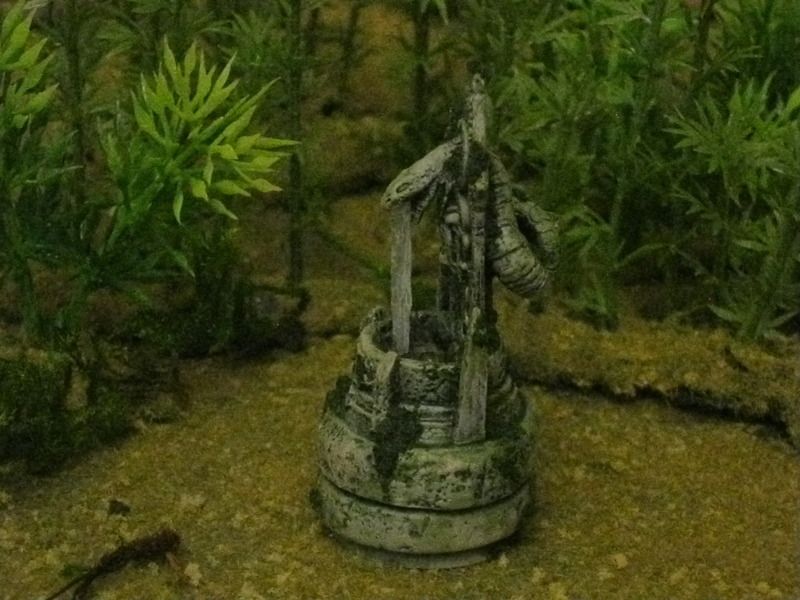
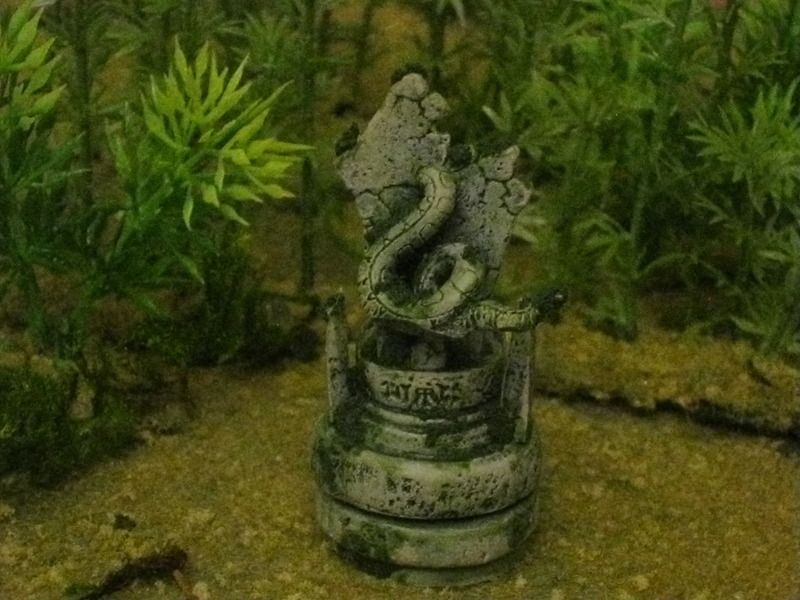
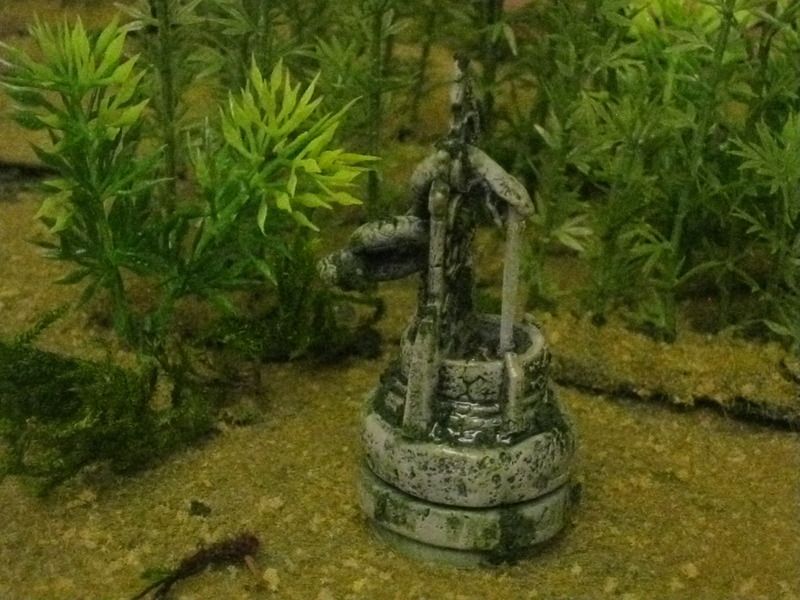
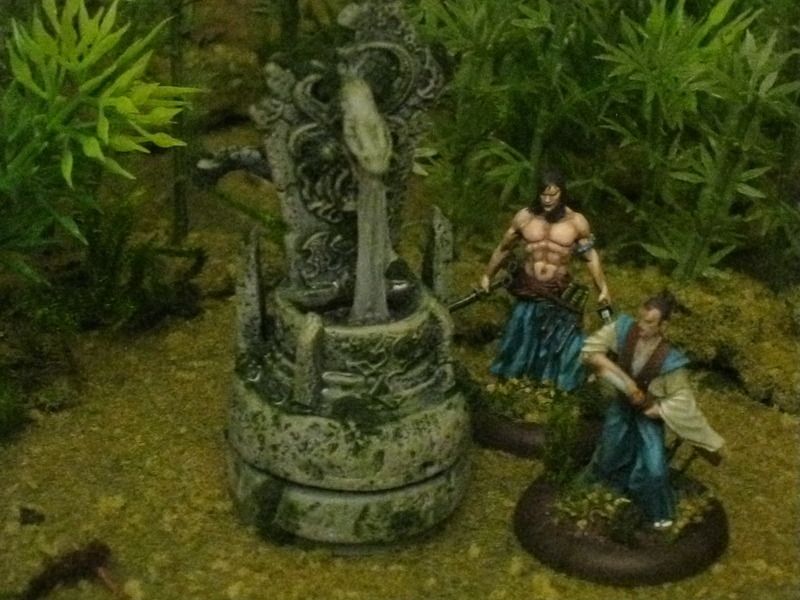
Bushido: Ito Idol/Shrine to Orochi


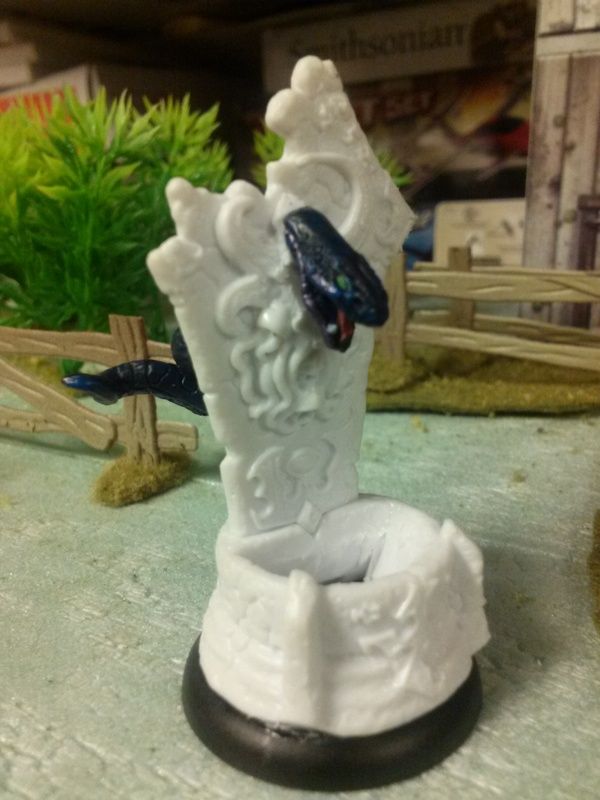
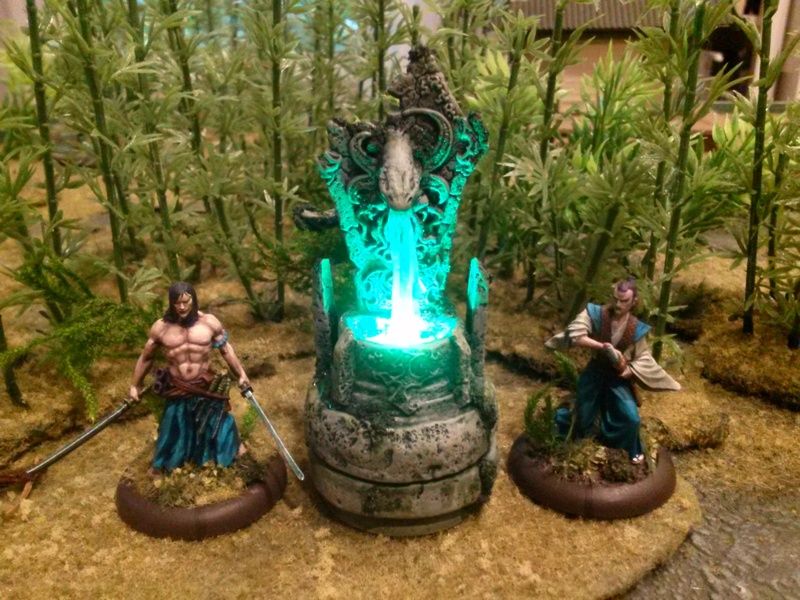
Since GCT has not made models for their excellent faction deck Terrain elements yet (to my knowledge), I made one myself. I used a BONES fountain and a WoW snake I picked up at the FLGS, Redcap's Corner for about US$5.00 total.


If you know the original models it is clear what I did. I had to carve out the basin so the LED light can show through the resin and I added two pillars on either side of the base to continue the vertical style and also catch some of the glow.


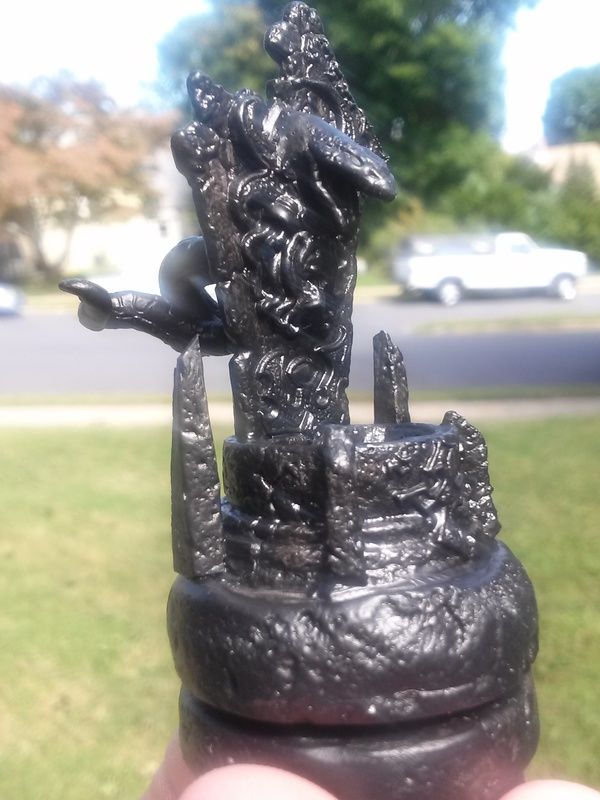
I finished it with the same painting as I used on my scratch-built objective tokens with the moss treatments.


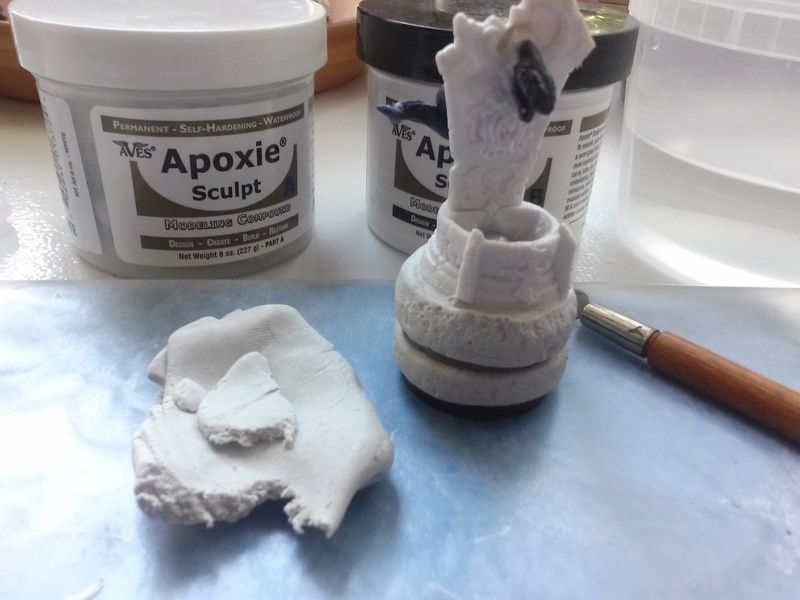
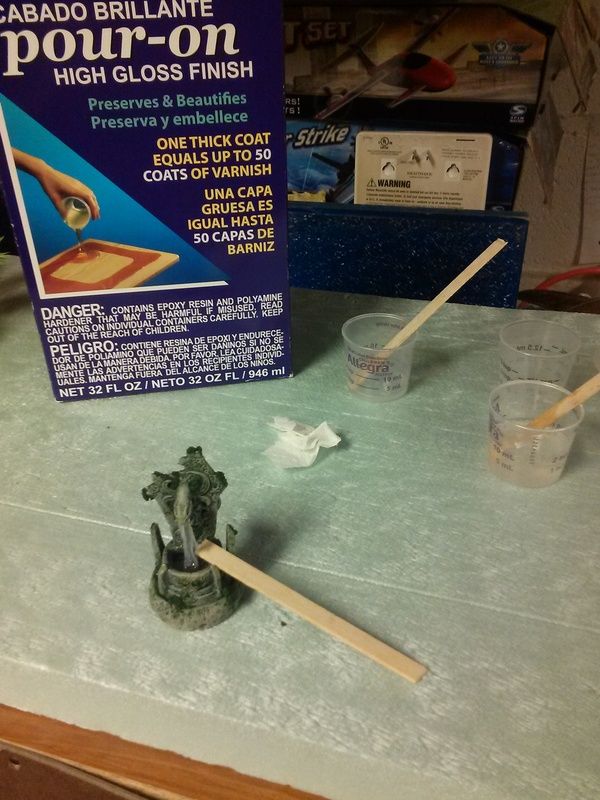
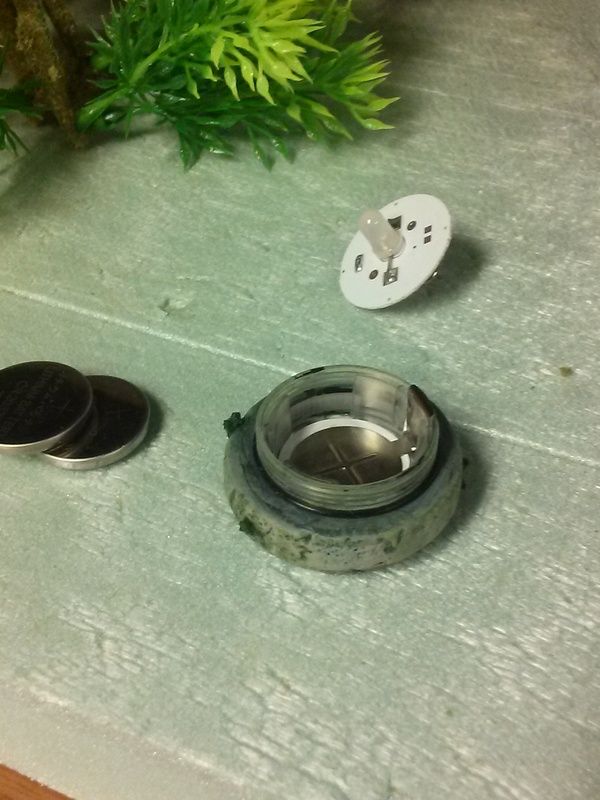
The stream of water is silicone teased out on wax paper and then attached to the mouth using silicone again. The basin is filled with Envirotex resin, untinted. The bases are two parts of a LED tealight that I covered with Apoxy Sculpt and textured by rolling the fresh putty over stone pavement (same for the additional pillars mentioned above.)


You can still twist the LED halves to activate it or if you don't want a glowing fountain, simply remove the bottom and LED underclasp light for a smaller, "normal" fountain.


Sunday, September 22, 2013

Star Wars X Wing Miniatures: B Wing Redux


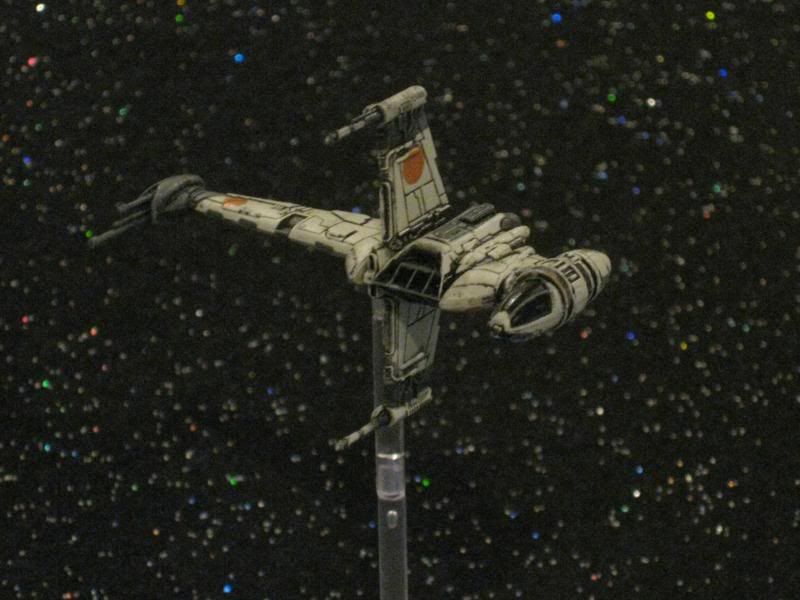
I picked up the B Wing on Friday. Love the ship, stats, cards and what it brings to the game. Don’t like the pose. Nothing wrong with it really, it does make sense as a production pose for the game. Still, I prefer the asymmetrical pose, so I decided to re-do the B Wing.

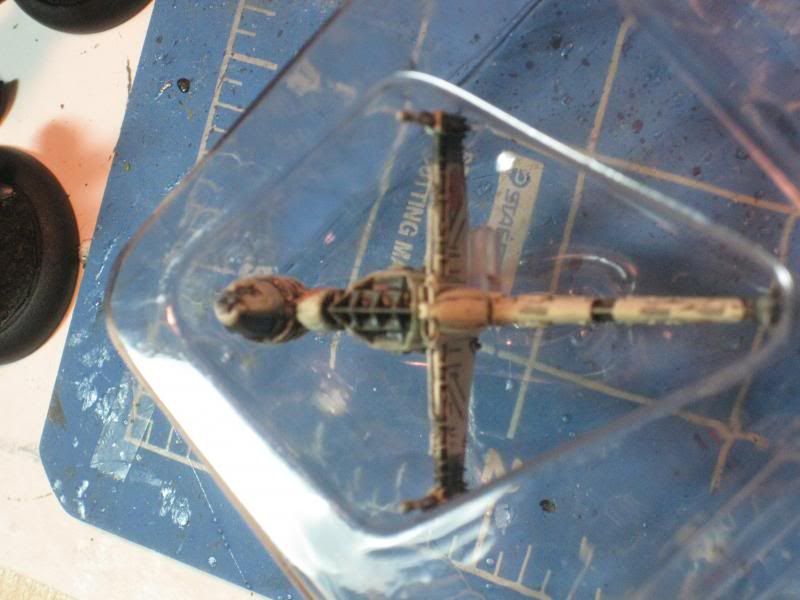
In all, this was a 20 minute task, most of that time was spent going slow and making sure that I did not put undue stress on any wings, cannon barrels or anything else. I did not break a thing.

Materials List:
  1. 1/8" drill bit & 1 smaller bit for a pilot hole
  2. X-Acto blade
  3. Super Glue
  4. Small detail brush
  5. Black paint
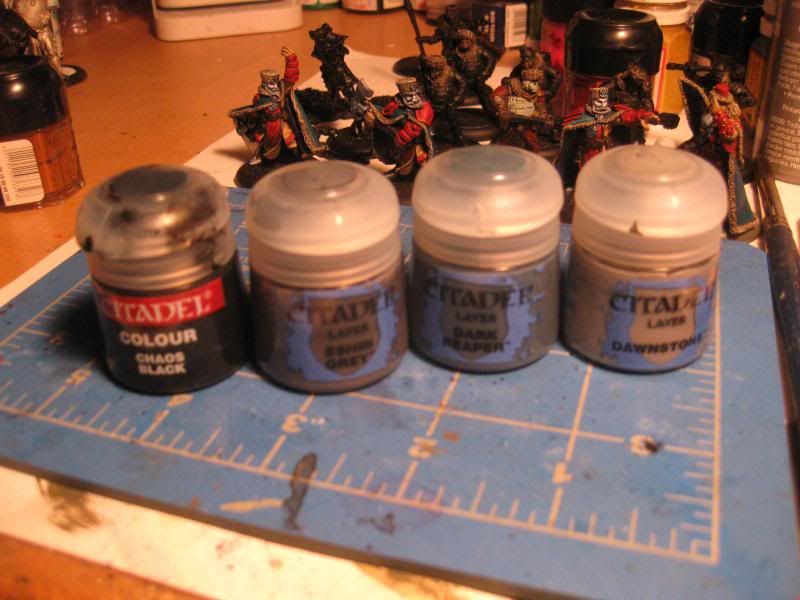
  6. Grey paint like GW Eshin Grey, Dark Reaper or Dawnstone
  7. Thin file


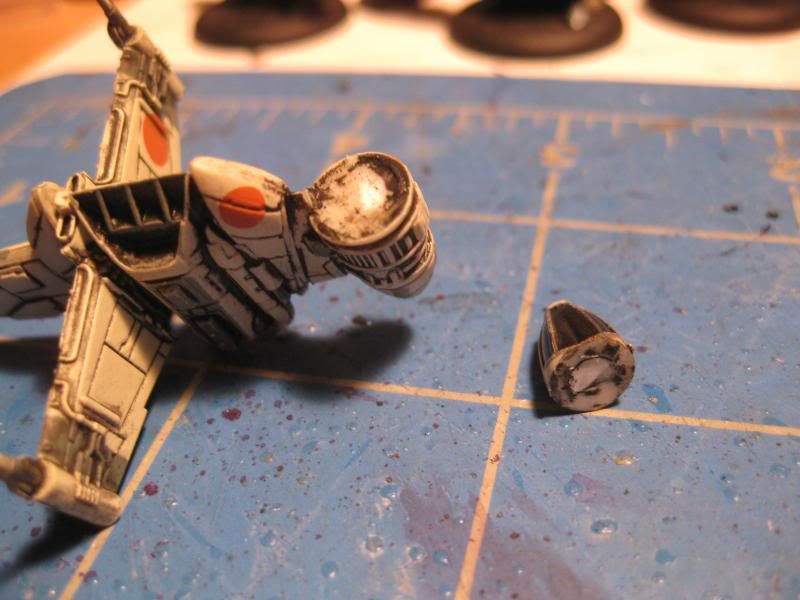
First, pop off the cockpit. It seems like this piece was a glued part with a peg so you’ll just need a sharp X-Acto to break the paint layer and chop that peg. Trim the surfaces back to flat and dry-fit in the position you want. Don’t glue it yet, set it aside.


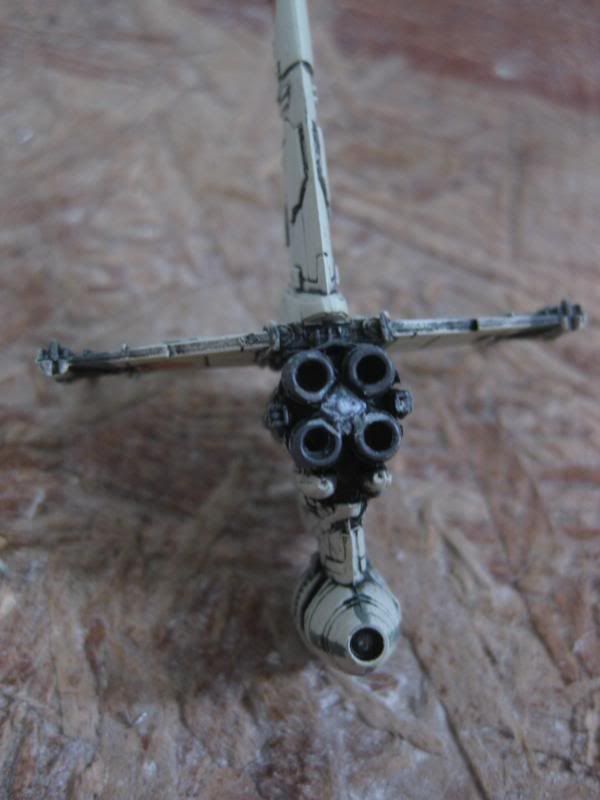
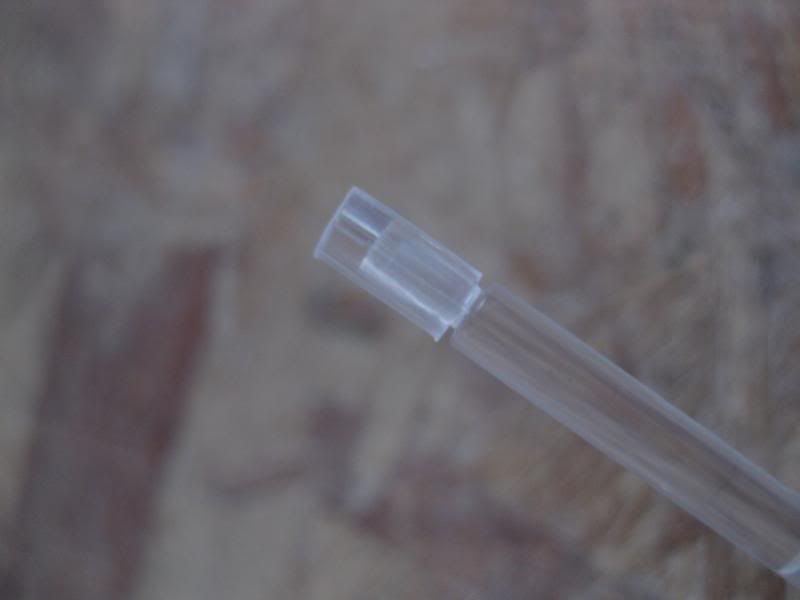
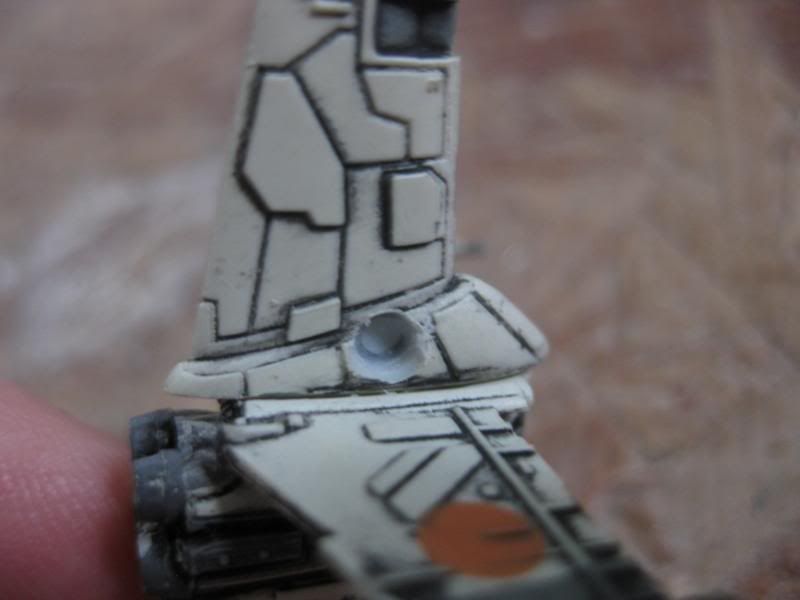
 Second, remove the female peg for the flight stand. I just slowly rocked it back and forth until I was able to pop it off. It did leave a clear piece of peg between the four engines but I smoothed that back down with the thin edge of a file. Just get it smooth. Once done, hit it with some black paint or wait until after everything is together. 


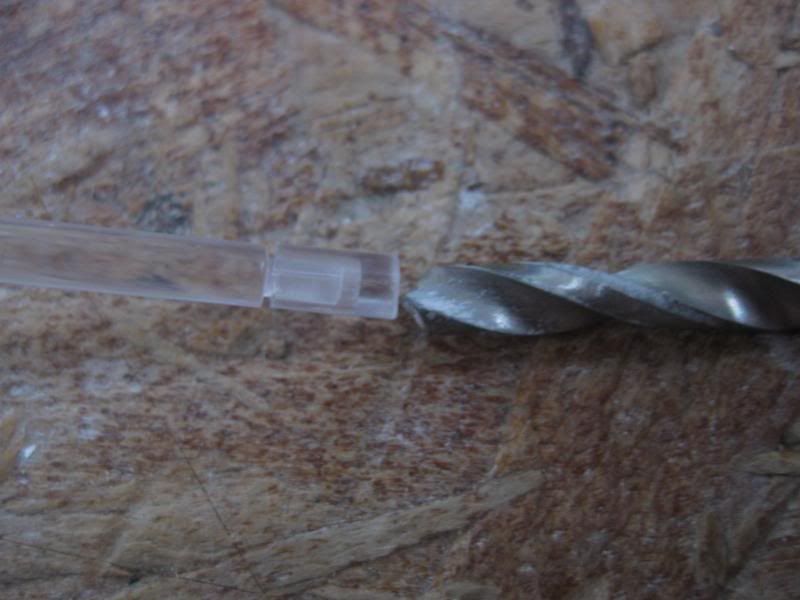
Take the female peg and insert a male peg, seeing where the male tab shows though, when seated. Make a cut on the female peg at least 1/8" away from the top of the male tab inside (yeah, I know, mine was less). Clean it up after you cut it. Make sure you set the trimmed female flight peg aside, you’ll need it.


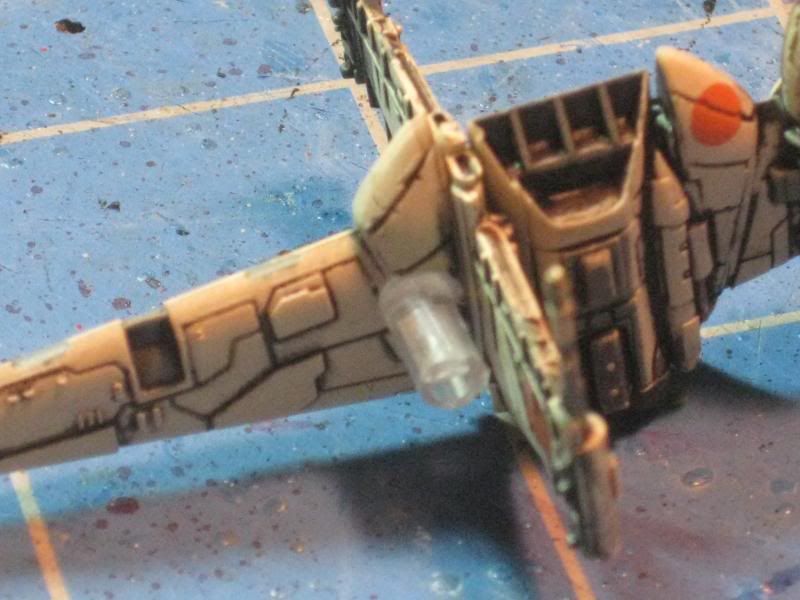
Third is the trickiest part. You’ll need to be sure that the male flight pegs are centered on the B Wing ribs. True, the ship doesn’t weigh a lot but you want it right over the flight base footprint. The cleaner you make the hole for the female flight peg, the easier the ship will come on and off… the pose is better IMHO but you may find yourself pulling the ship off the base in heavy table traffic. So, look at where the main “sail” or wing attached to the engine cluster. You’ll see fairing that looks like 4 ribs. The 2nd rib from the front of the ship is where you put the hole for the female peg, that is center. Mark it with a pen or just go for it. Use a smaller bit than 1/8" for the pilot hole. DO NOT GO DEEP OR YOU WILL GO OUT THE OTHER SIDE of the ship. I suggest tapping the pilot hole by hand, skip the drill. After that, use the 1/8” bit to make the hole for the female flight peg, being mindful of your bit: make sure you are drilling as vertical as possible. Again, DO NOT GO DEEP. You may get frustrated at the cut speed. The ship material is like cold plastic or vinyl and so, it won’t cut fast. If you use a drill, don’t be tempted to give the drill more juice or you’ll pop a hole out the other side or worse, it’ll grab the model, spin it like mad and you’ll break wings or cannon grabbing it. Test the fit and work it so it can press fit or hold with glue. Once the hole is ready, put the female peg on the flight stand, MINDING THE DIRECTION ARROW on the stand. Take a minute to practice putting the B Wing on the female peg. Once you know which way is forward and you are ready, add a bit of Super Glue to it and attach the B Wing, making adjustments as necessary for flush vertical and horizontal if that is what you want. DO NOT PRESS HARD or you may snap the flight pegs or worse. Let dry for a few minutes.


Almost there. Glue on that cockpit. Remember the cockpit? Yeah, find it again and glue that on, making it level, remembering the cockpit was supposed to move and stay level as the ship barrel rolled around.


 Finally, re-touch the paint. Put some black over the trimmed peg at the engine clusters, grey on the engines. I'm gonna add some engine glow to mine sometime soon. Maybe you are more ambitious than me.

Attach your B Wing to the flight stand and enjoy!

Look ma, no change in how you store it in the blister. If you are into that sort of thing.

Wednesday, April 17, 2013

Hiatus-schmiatus.


"He's no use to me fed."
Hope everybody is well. I figured I’d offer an update. I am in the last 3 classes of my degree on top of a busy work schedule that has me on the road a lot over the next 3 months so don’t expect much until this homestretch is fully covered, somewhere about June. Gotta be dad over that time too, the most important thing.

I may stab paint at things here and there but I’m not what I would call productive. I’ll probably play Super Dungeon Explore and Star Wars X Wing a bit since I don’t have to produce anything for that.

On the bench for post-graduation work:
  1. Tombstones/graveyard for Strange Aeons
  2. Lurkers for Strange Aeons
  3. New Strange Aeons team
  4. Super Dungeon Explore figs
  5. Khador. Did I mention I play Khador? I play Khador. Need to get my wargroup finished so I can start playing that again (Grey Lords, Fenris and something else, forget what).

Over the Summer/Fall
  1. A crap-ton of Valhallan IG.
  2. My lit Imperial Bastion
  3. IG Armor & Vulture/Valkyries
  4. More BFG: Eldar and Necron
  5. Himalayan Threshold Team/Lurkers for Strange Aeons


Friday, August 17, 2012

Strange Aeons: The Stars are Right

Agent Connery cannot believe his tragically poor choice of parking spots.
 I won an auction for a Horrorclix Cthulhu for like US$40. Not bad. It's dinged but I intended on modding and repainting it anyway. Why? I want to somehow use him in Strange Aeons. Call him a half-awake Godling or what have you. maybe a special multiplayer game? I have pages of notes on the possibilities (taps temple with finger).

If you know this figure, you know 2 things:
  1. It's heavy. Like, kill burglers with it heavy or chock parked semi's heavy.
  2. Cthulhu's back leg is half submerged in the "ocean" on its base. Rip off!
So, that is the project. Get him off his base, add a full-sized back leg and then rebased. Not totally sure how I'm doing it yet since I'm hesitant on cutting his full sized leg, it adds probably all of the stability to the figure. I'm thinking I'll cast that full leg and use it with new sculpted details (like flipped dewclaw and thigh musculature) to complete it. As mentioned, weight is a big concern so I may try and cast the whole leg still attached to the figure. I even considered buying another figure and cutting the good leg off for the other. My kids like food so that's probably not going to happen. If anybody spots a broken Cthulhu for around US$15 bucks, let me know.  Stay tuned and share any ideas below.

Monday, June 18, 2012

Strange Aeons: Objective Markers


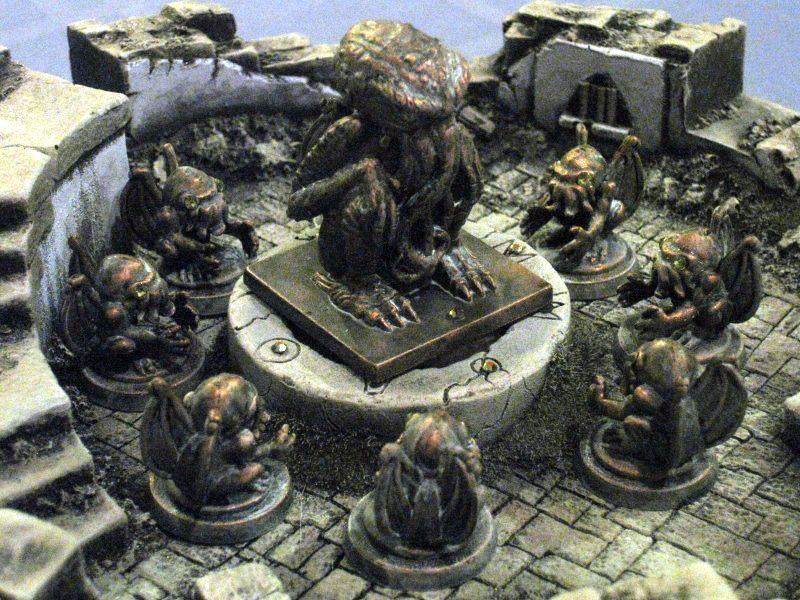
I finished 8 Cthulhu objective markers, mounted on 2" bases. Let's hope the Threshold never sees what happens when they are all assembled and aligned as above...

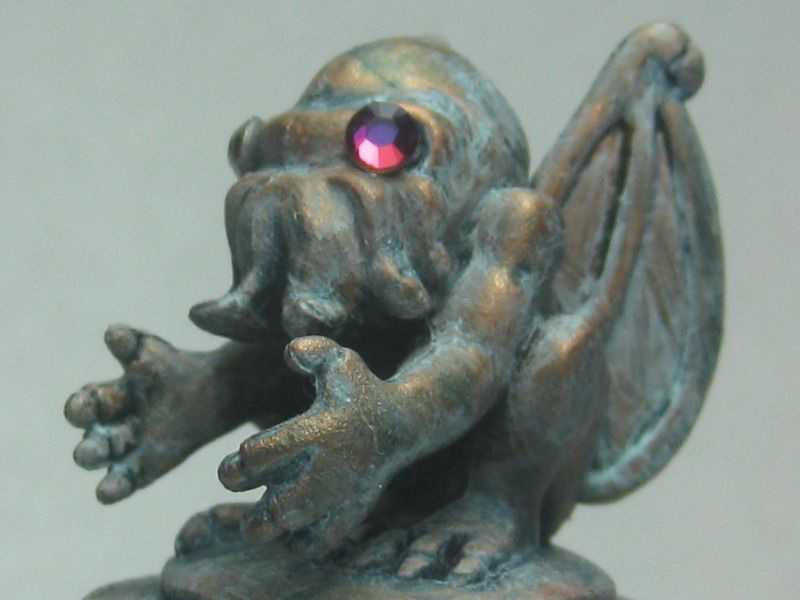
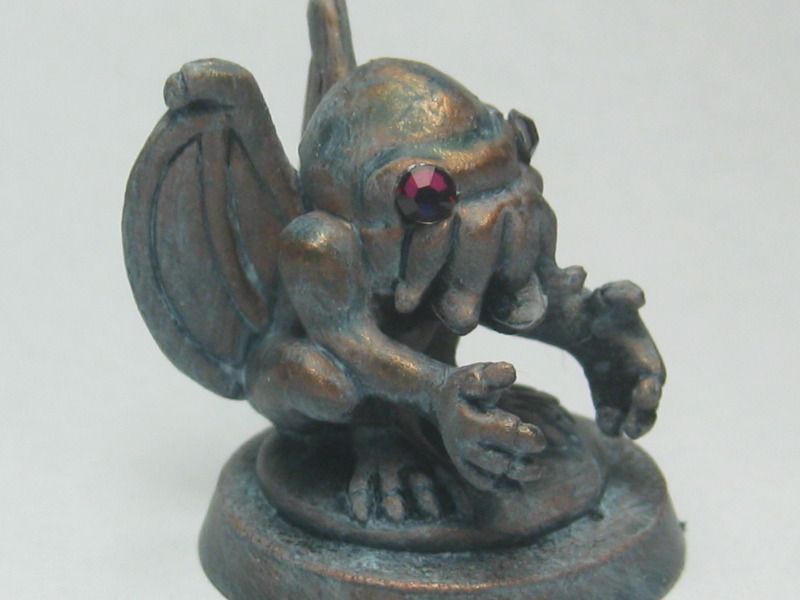
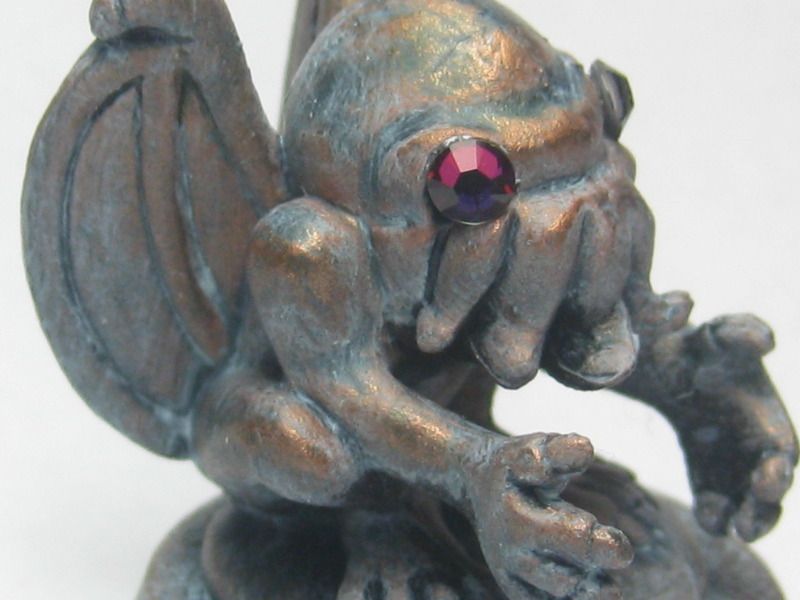
Same as big daddy there, gave them my bronze treatment and green jewel eyes.

Saturday, June 16, 2012

Strange Aeons: Bronze Cthulhu Objective Counter


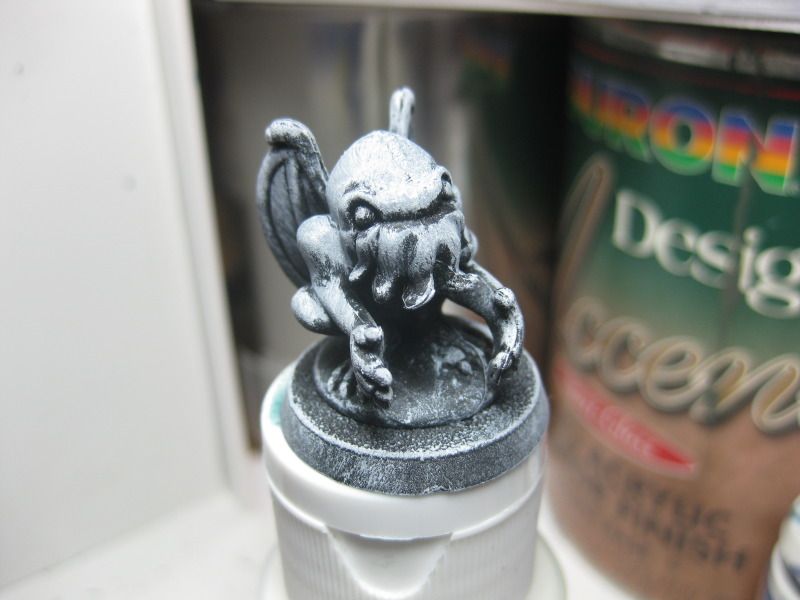
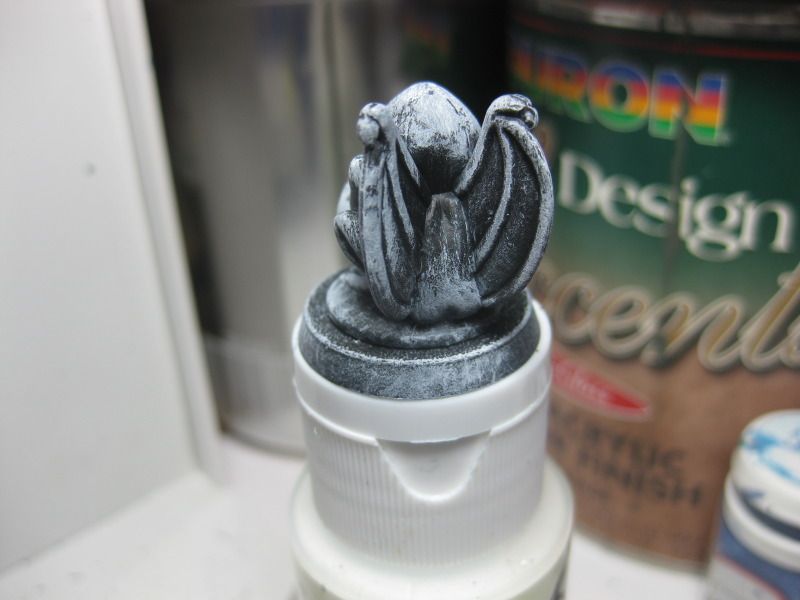
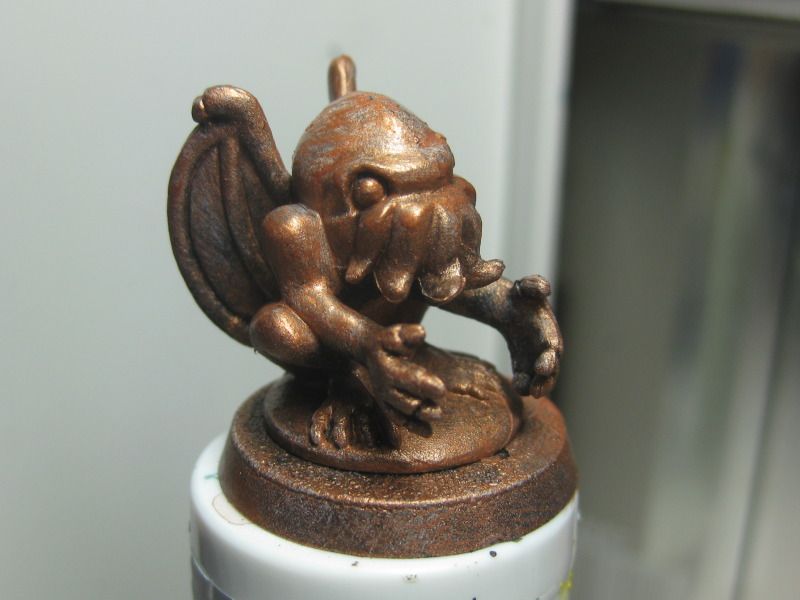
Here's a tester I completed for a Strange Aeons objective counter. I simply used a bag of Mini Mythos that I cleaned up with an Xacto and mounted it on GW 2" bases. I then primed it black. I underpainted it a hard contrast style with some off-white/light grey paint and then some copper paint on top.

After that it got a layer of Verdigris water based stain to tone down the yellow in the copper paint and add some hard lining. To finish it off the paint I added some Model Color Verdigris glaze which I allowed to pool and then rubbed off while wet with my thumb and some flat brushes.

To top it off and make it more mystical-looking I added some 4mm costume jewels for eyes. Seen here are purple/orange/yellow gems. I also got some pale yellow/green ones to add to some others.

I suppose this sounds like a lot of work but all told I probably spent about 20 minutes on him start to finish, not including dry time.

Thursday, June 14, 2012

Strange Aeons WIP: Nightgaunts (Conversions)

I wanted to do some conversions for the Strange Aeons Night Gaunts, featured in both H.P. Lovecraft's writings and his childhood nightmares, which were probably like this:


Go check out the original Uncle Mike's miniatures here: Strange Aeons Nightgaunts

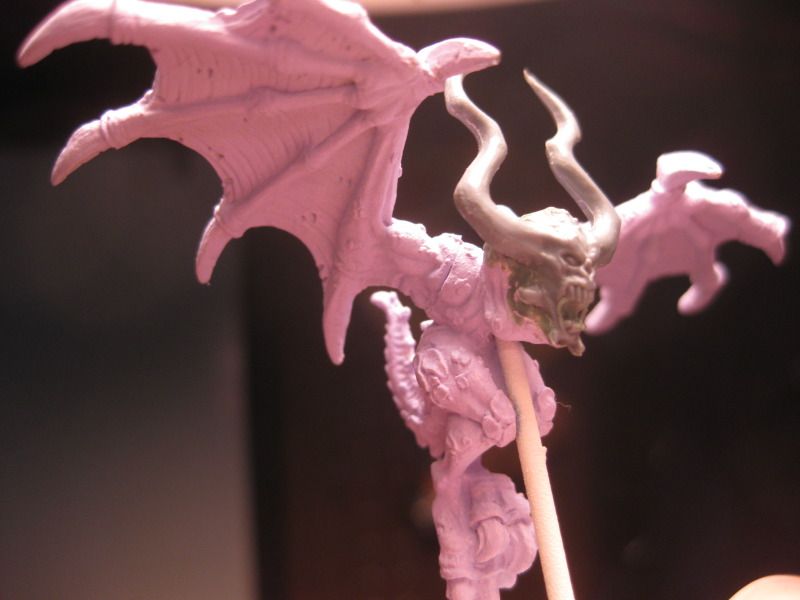
I knew I wanted to use Legion of Everblight Harriers since the body type looks like a pretty good match to the illustration in the Strange Aeons rulebook and I already had two Harriers thanks to my buddy Finn at Spindango Fundulation. My buddy JWoolf over at Headwound Minis gave me some GW Bloodletter heads when I decided they'd work best. Together with some snips, greenstuff and some sculpting you get this:


The sell will come with the painting. I haven't decided to either be faithful to the description of a face that is a featureless void or just simply do a monochromatic paint scheme. A featureless void would need some gap filling to mute the facial detail, which I happen to like.

In terms of the game itself, 2 Nightgaunts are 16 points of mayhem and can each Destroy Weapon, which is good in-game. They have Parry and a good enough CC bonus (+2) that starting agents fighting them solo will have to literally be very lucky to survive. They should count themselves lucky if the worst that happens is that they have to re-arm in the re-equip phase. Oddly, buying an agent a Meat Cleaver for 1BP isn't a bad first purchase choice after other skills as the CC bonus matches the Nightgaunt's and cancels out the monster's Parry with its own. If you have that and agents fight together against it the good guys may pull ahead on dice, on average. A bowie knife armed, A3 starting agent would win 1/3 of the time in a straight fight I think these creatures and zombies will be the first gribbly things an agent sees after Cultists so better be ready.

Tickle!

Friday, June 1, 2012

Strange Aeons: WIP Scenes of Horror or R’lyeh Gotta Pee


I have 4 Scenes of Horror for Strange Aeons in the works. First up is a scratch built obelisk/monument/mausoleum/crypt entrance/gateway to another dimension, what have you. I realized after I got this together it also sorta looks like an outhouse. I'm with that.

Materials list: 
  1. Empty dental floss container
  2. CD
  3. Some plasticard off cuts (tile and shingle)
  4. Krylon spray texture
  5. Textured wallpaper
  6. A large Cthulhu figure from FFG’s Bag o’ Cthulhu http://www.fantasyflightgames.com/edge_minisite_sec.asp?eidm=11&esem=2&esum=107
  7. Arch and door from GW’s Advanced Heroquest
  8. Hand from GW Zombie Sprue
  9. Cardboard
  10. Superglue and hot glue
  11. Oil based primer (for the textured wallpaper)
  12. Sass

 So the layout is evident by the pics. I cut the lid from the dental floss container and used it as a stoop, which was Crazy Glued. I removed the metal bit that cuts the floss too as you see in the pic above. I glued the Advanced Heroquest arch to the wall, allowing for how the door swings out and I had to cut some sprue into bricks for the bottom of the arch. I then spray textured both the stoop and monument with texture paint to hide cracks and add some interest to the deal. 


I also masked off the Cthulhu statue and texture sprayed the bottom slab of the stature for a nice unifying look with the rest of the monument. I did two coats.

I cut the stoop tile to run across the threshold and fit flush with the vertical face of the floss container, so there was no gap under the door when it was mounted, then glued that on. I added a tile pad for underneath the monument and glued it all down together. 

Steel wool it
Slice it
Rub it down/ oh no!!!!!

Note that you should scuff and cut the surface of CD’s beforehand to give coatings some traction, otherwise it could start shedding your glue and paint jobs. Another thing I was surprised to see was that some of the cheap CD's that would be great for Strange Aeons are terrible. The writing sloughed off a few, probably due to cheap label printing. Do yourself a favor and wash them after the scuff and slice, set the aside to dry and see how they look after drying.

Next I trimmed out the base in textured wallpaper. Sometimes it looks good to mount stuff on top of the wallpaper but I didn’t this time for two reasons. First, the monument is literally heavy and could probably rip off the CD since the textured wallpaper is mostly foam and paper so I wanted a bond right to the plastic CD. Second, the monument looks heavier and more sunken, therefore more ancient, when the ground seems above the level of the tile. I cut a few tile out but will paint the underlying area as tile too, to give the illusion that some tiles are really sunken.


I cut some cardboard as a header for the tile overhang, glued that on and added a molten blob of hotglue to the inside before attaching the roof tile piece, since it needed back filling to grab and secure the tile as the cardboard was too thin and lacked surface area for superglue.


Closing in on the final part of assembly, I trimmed an open zombie hand and glued that to the door, so that once painted and assembled, it will look like something is emerging from inside. I intend on painting glowing eyes inside the door. I had haughty ideas of lighting this nerd up but I have finals the next two weeks so nerts to that.


I spray primed the whole project black so if I can just get some paint time I can finish it up. More pics when it is done.

Sunday, March 18, 2012

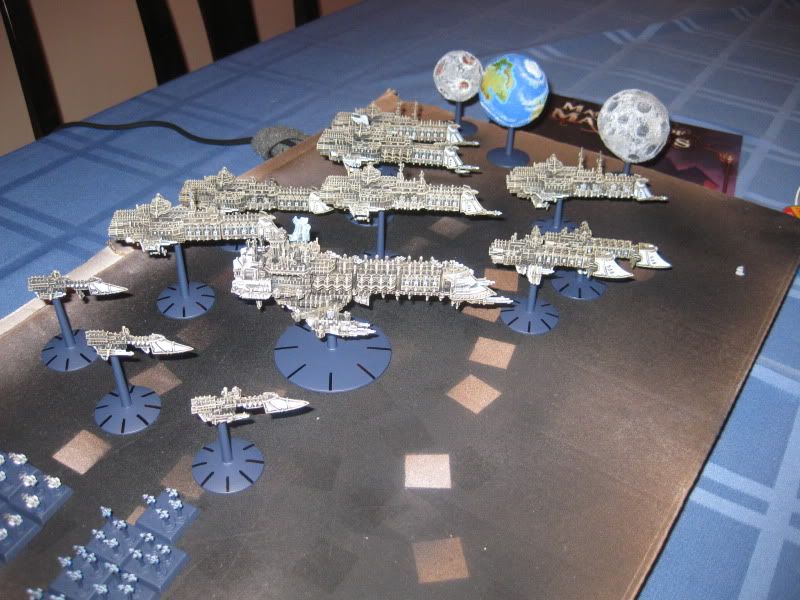
Battlefleet Gothic: Hashing Things Out


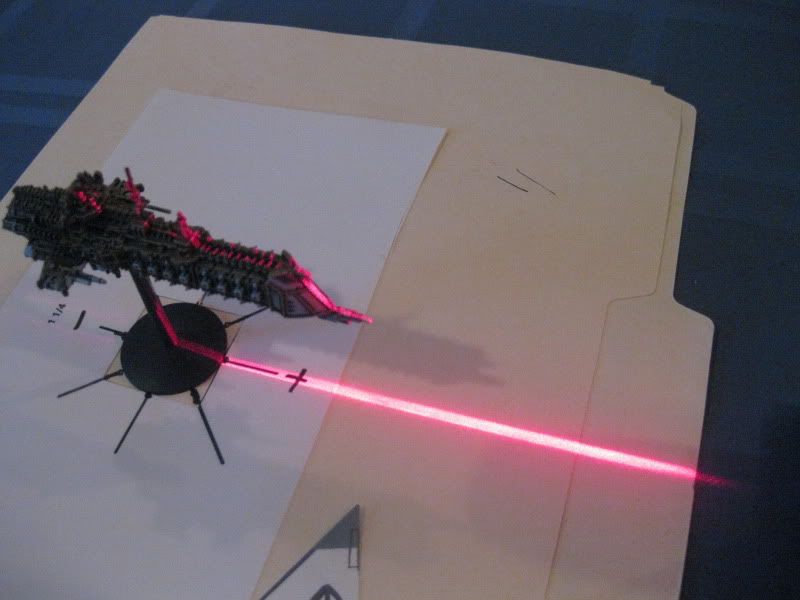
After a few small games I realized that for me, I dislike the Battlefleet Gothic Bearing Compass. I don’t dislike others using it, I just get tired of using the compass and accidentally nudging a model. I tend to use a laser level for movement too, so hash marks seemed smart and could speed up my turn while taking a bit of the fidgetiness out of the game.


The problem was I have a ton of ships already finished so I had to come up with a way of making the marks in a clean fashion. I played with masking with frisket paper (too risky), print decals (looked bad) and gluing on raised dowel (too laborious.)

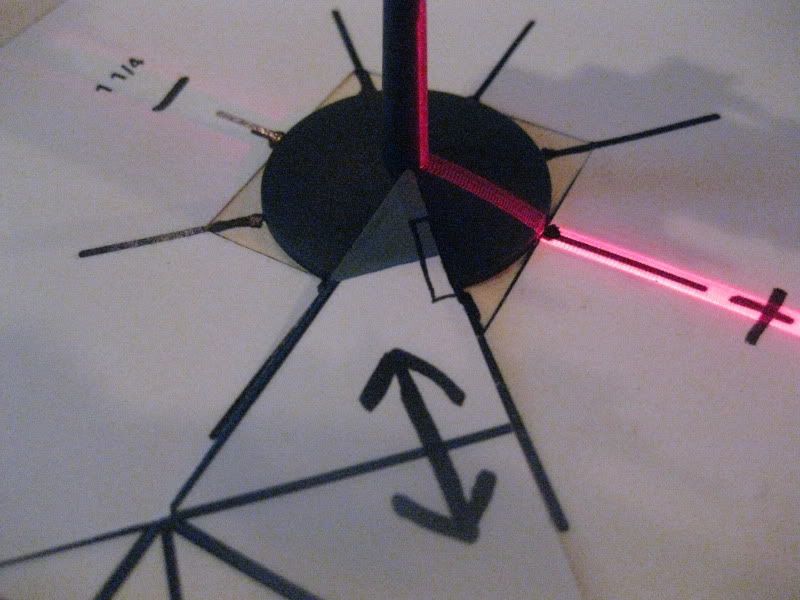
In the end I went with a chisel point Sharpie and a template jig I had laid out in Photoshop.


I printed out the template on heavy stock and then cut the square out. I then tacked it to a manila folder. 

I connected the lines of the template across the manila, to help line things up better. I made a register’s mark forward, for the bow of each ship.

Using the cut out of the square from the template, I removed one triangle to make a line guide for the marker. I painted it grey-green so I could see the template on the dark base. I put my register marks on there so I could use it on small and large bases. From there, gaming nature took its course.


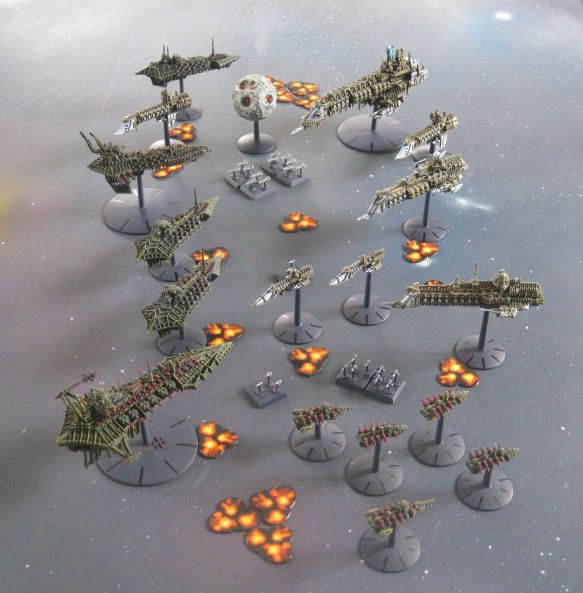
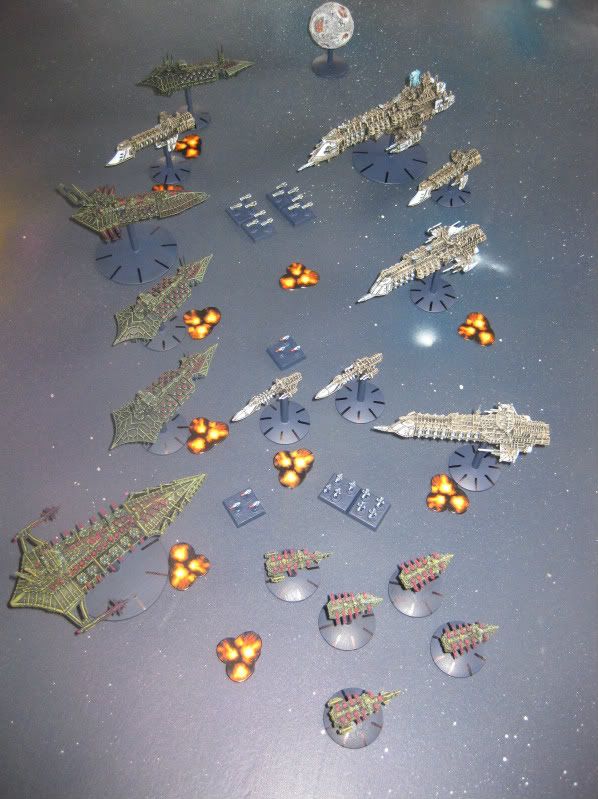
Since the bases were Dullcote'd and matte, the sheen of the Sharpie ink sorta pops but you could dull coat that if you wanted. It occurred to me halfway through the Chaos fleet that I could’ve used a Red Sharpie for a more opaque ink that would’ve been purple over the deep blue of the base. I may do that for the Eldar ships or just keep it consistent, not sure right now.

Overall, I am pleased. I wasn’t crazy about losing some of the blend-in-ability of the bases to the hash marks but they are definitely more enjoyable to use in a game and still look clean enough that it doesn't pull away from the paint jobs too much.

Here's a shot with a lot of flash so you can clearly see the hash marks.
More pics can be found in my Photobucket: http://s2.photobucket.com/albums/y15/ap3xg3rm/General%20BFG/