 |
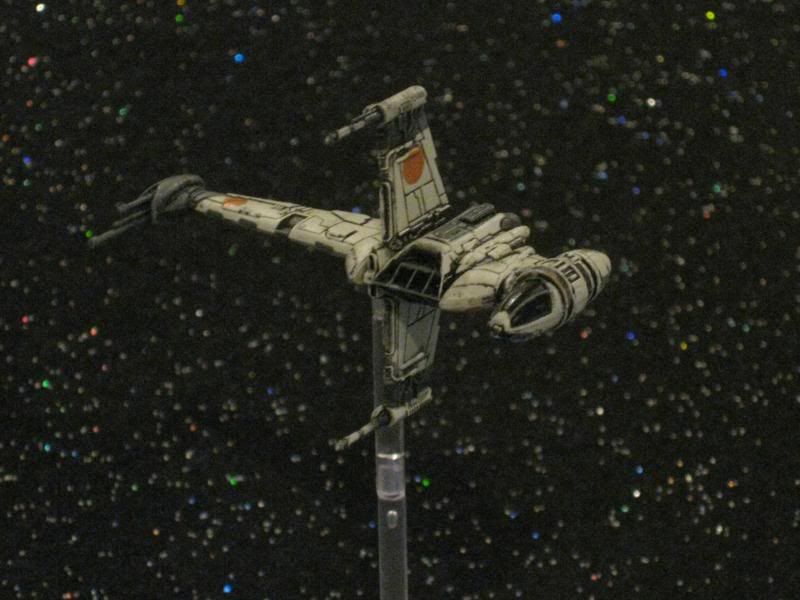
I picked up the B Wing on Friday. Love the ship, stats,
cards and what it brings to the game. Don’t like the pose. Nothing wrong with
it really, it does make sense as a production pose for the game. Still, I prefer the asymmetrical
pose, so I decided to re-do the B Wing.
In all, this was a 20 minute task, most of that time was
spent going slow and making sure that I did not put undue stress on any wings,
cannon barrels or anything else. I did not break a thing.
Materials List:
Materials List:
- 1/8" drill bit & 1 smaller bit for a pilot hole
- X-Acto blade
- Super Glue
- Small detail brush
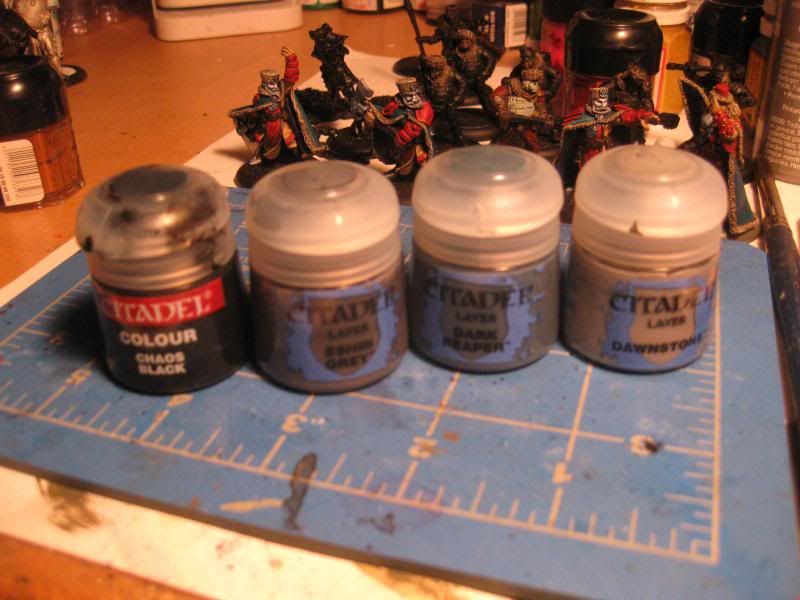
- Black paint
- Grey paint like GW Eshin Grey, Dark Reaper or Dawnstone
- Thin file
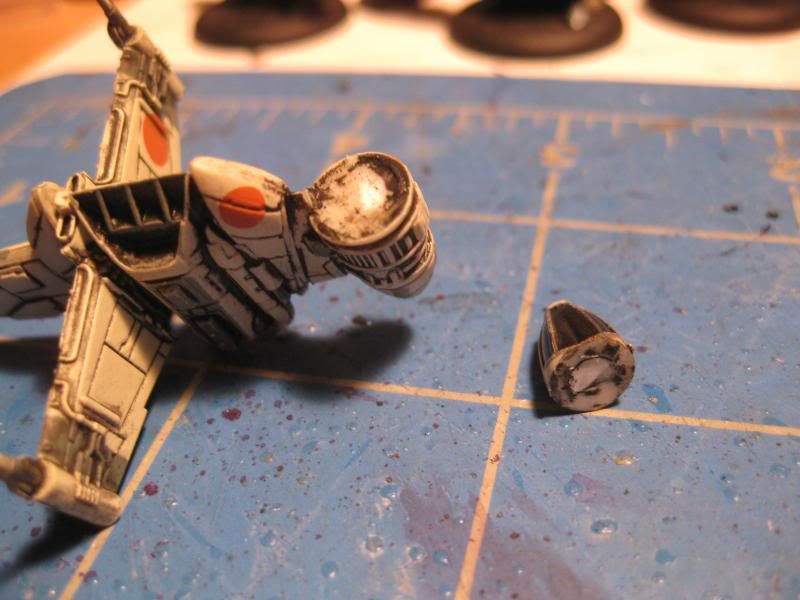
First, pop off the cockpit. It seems like this piece was a
glued part with a peg so you’ll just need a sharp X-Acto to break the paint
layer and chop that peg. Trim the surfaces back to flat and dry-fit in the position
you want. Don’t glue it yet, set it aside.
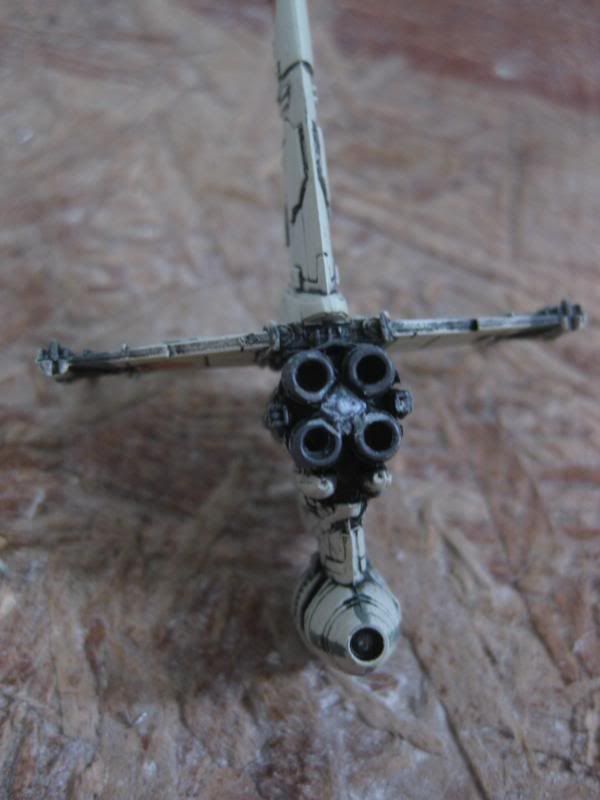
Second, remove the female peg for the flight stand. I just
slowly rocked it back and forth until I was able to pop it off. It did leave a
clear piece of peg between the four engines but I smoothed that back down with
the thin edge of a file. Just get it smooth. Once done, hit it with some black
paint or wait until after everything is together.
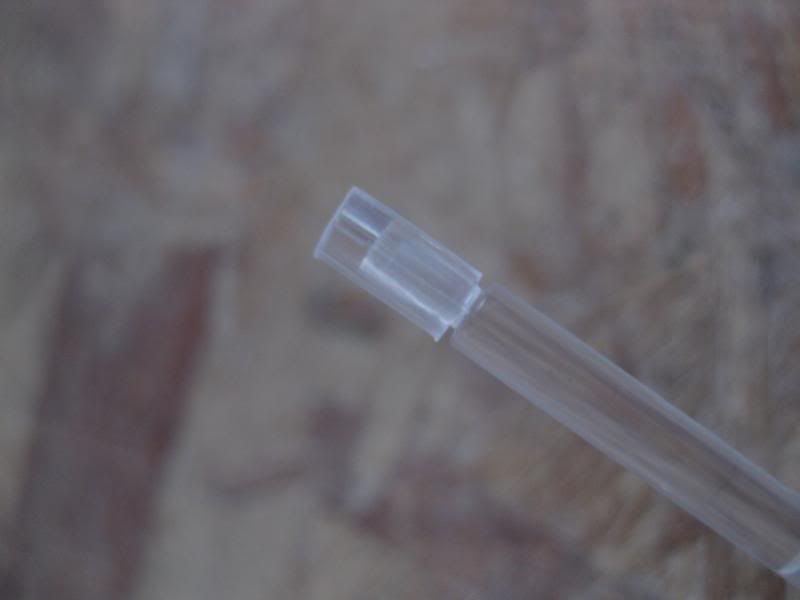
Take the female peg and insert a male peg, seeing where the male tab shows though, when seated. Make a cut on the female peg at least 1/8" away from the top of the male tab inside (yeah, I know, mine was less). Clean it up after you cut it. Make sure you set the trimmed female
flight peg aside, you’ll need it.
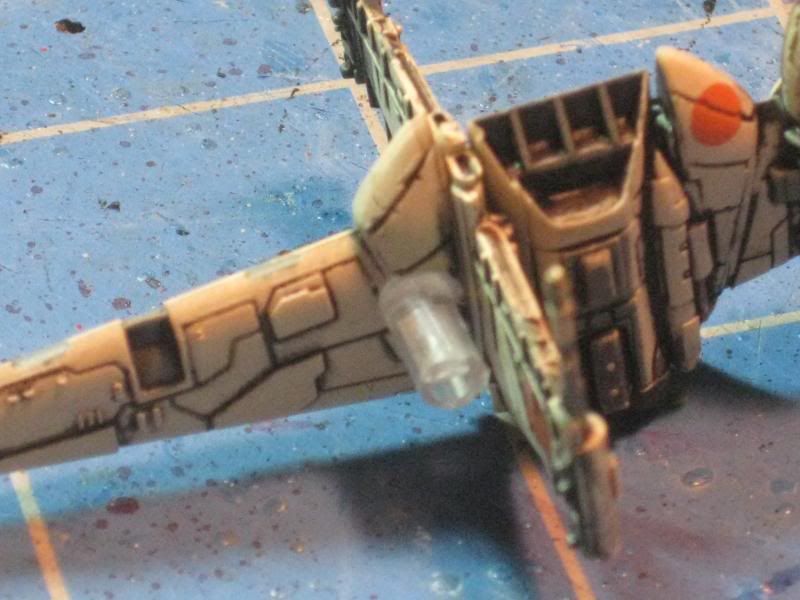
Third is the trickiest part. You’ll need to be sure that the
male flight pegs are centered on the B Wing ribs. True, the ship doesn’t weigh a lot
but you want it right over the flight base footprint. The cleaner you make
the hole for the female flight peg, the easier the ship will come on and off…
the pose is better IMHO but you may find yourself pulling the ship off the
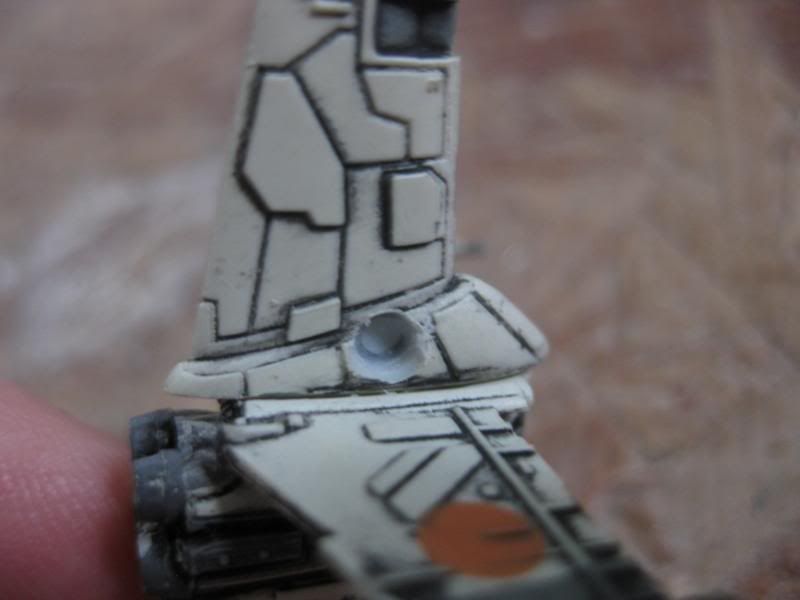
base in heavy table traffic. So, look at where the main “sail” or wing attached to the
engine cluster. You’ll see fairing that looks like 4 ribs. The 2nd rib from the front of the ship is
where you put the hole for the female peg, that is center. Mark it with a pen or just go for
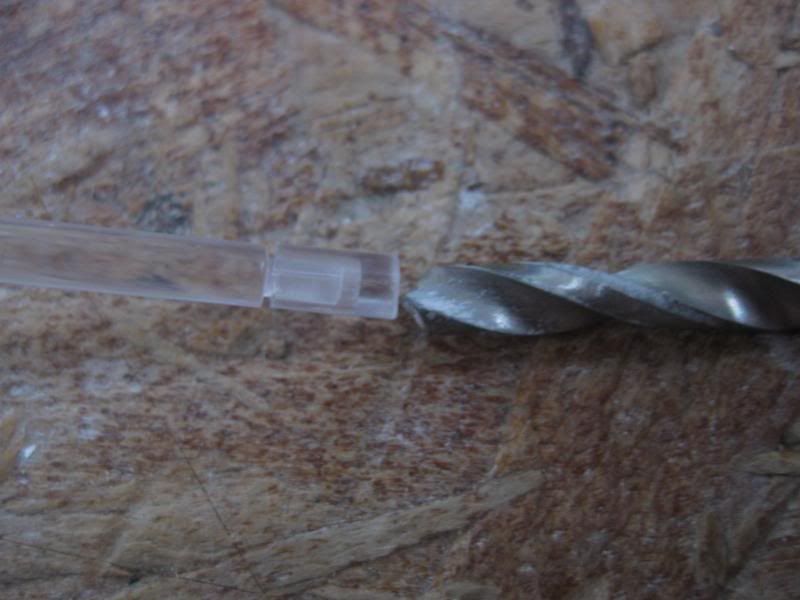
it. Use a smaller bit than 1/8" for the pilot hole. DO NOT GO DEEP OR YOU WILL GO OUT
THE OTHER SIDE of the ship. I suggest tapping the pilot hole by hand, skip the drill. After that,
use the 1/8” bit to make the hole for the female flight peg, being mindful of
your bit: make sure you are drilling as vertical as possible. Again, DO NOT GO
DEEP. You may get frustrated at the cut speed. The ship material is like cold
plastic or vinyl and so, it won’t cut fast. If you use a drill, don’t be tempted to give the drill
more juice or you’ll pop a hole out the other side or worse, it’ll grab the model,
spin it like mad and you’ll break wings or cannon grabbing it. Test the fit and
work it so it can press fit or hold with glue. Once the hole is ready, put the
female peg on the flight stand, MINDING THE DIRECTION ARROW on the stand. Take
a minute to practice putting the B Wing on the female peg. Once you know which
way is forward and you are ready, add a bit of Super Glue to it and attach the B
Wing, making adjustments as necessary for flush vertical and horizontal if that
is what you want. DO NOT PRESS HARD or you may snap the flight pegs or worse. Let
dry for a few minutes.
Almost there. Glue on that cockpit. Remember the cockpit? Yeah, find it again and glue that on, making it level, remembering the cockpit was supposed to move and stay level as the ship barrel rolled around.

Finally, re-touch the paint. Put some black over the trimmed
peg at the engine clusters, grey on the engines. I'm gonna add some engine glow to mine sometime soon. Maybe you are more ambitious than me.
Attach your B Wing to the flight stand and enjoy!
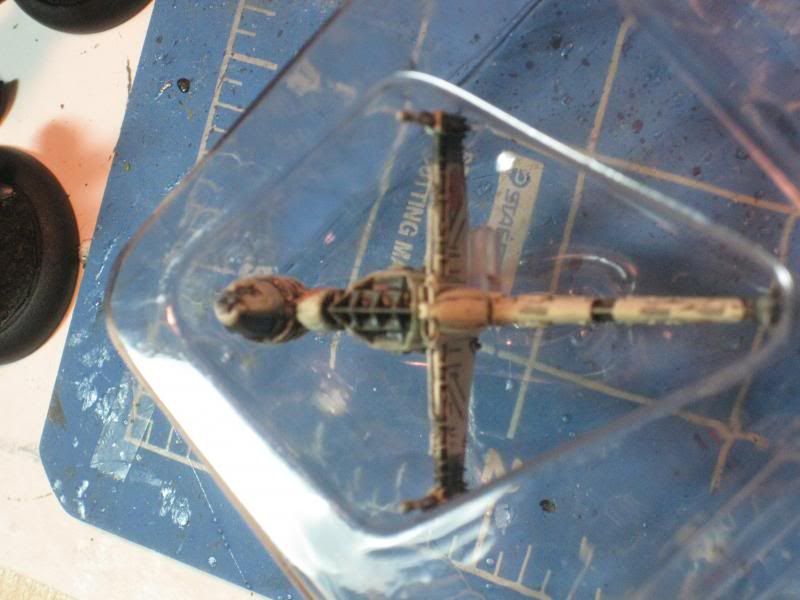 |
| Look ma, no change in how you store it in the blister. If you are into that sort of thing. |