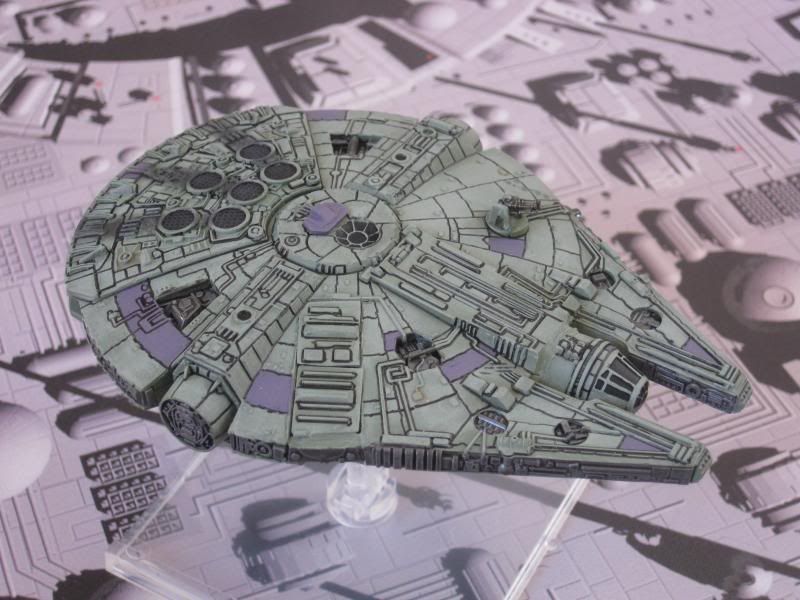
Merry Christmas and Happy New Year to you all! I hope everybody who celebrates has been having a great time with family and friends over the holiday season. And to those who don't celebrate, I wish the same for you regardless.
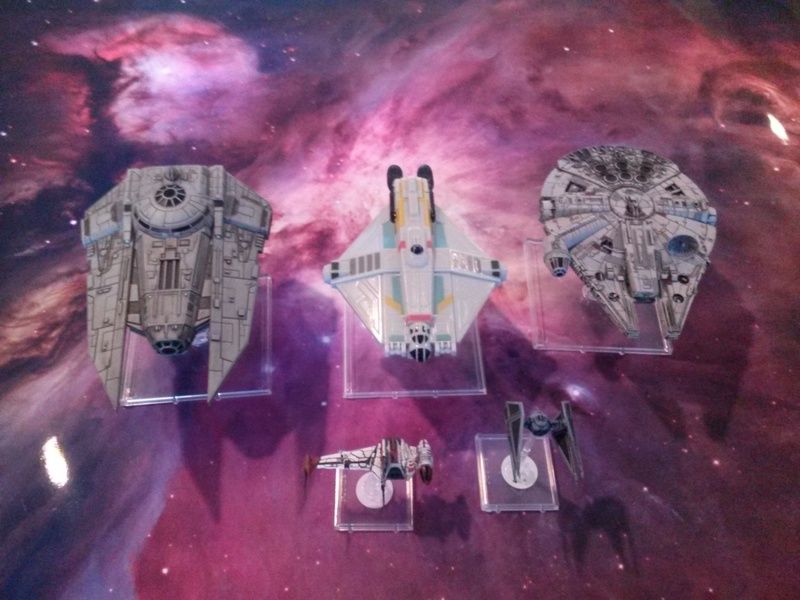
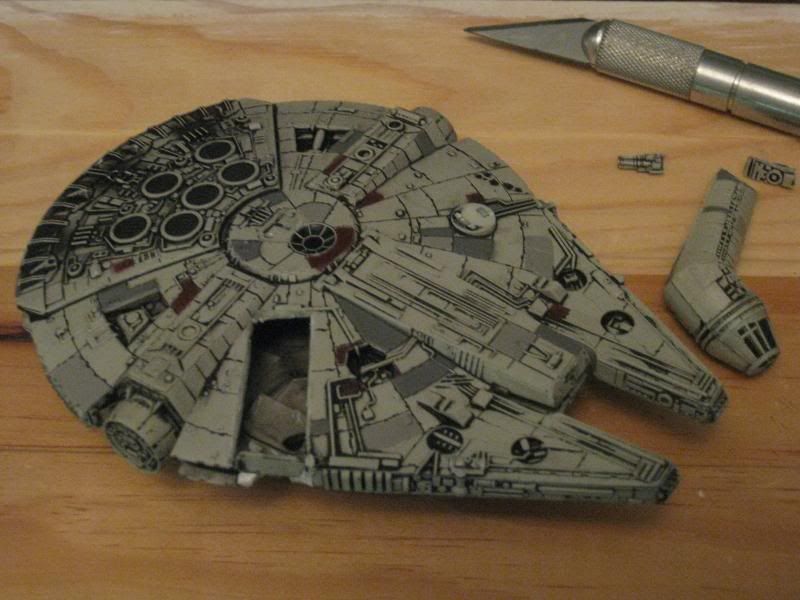
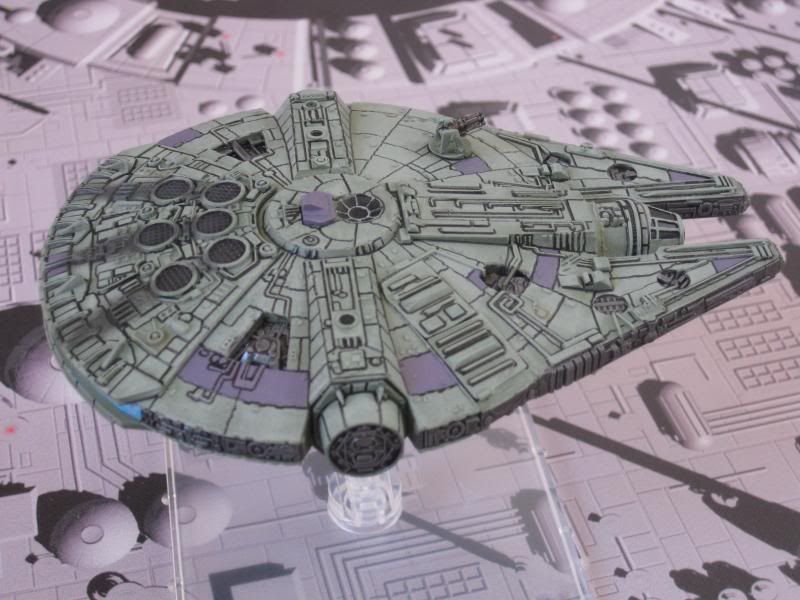
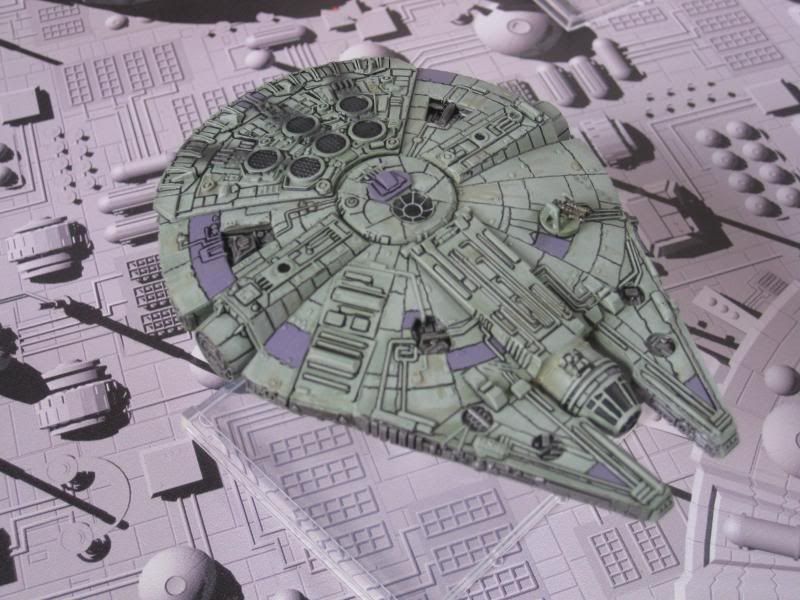
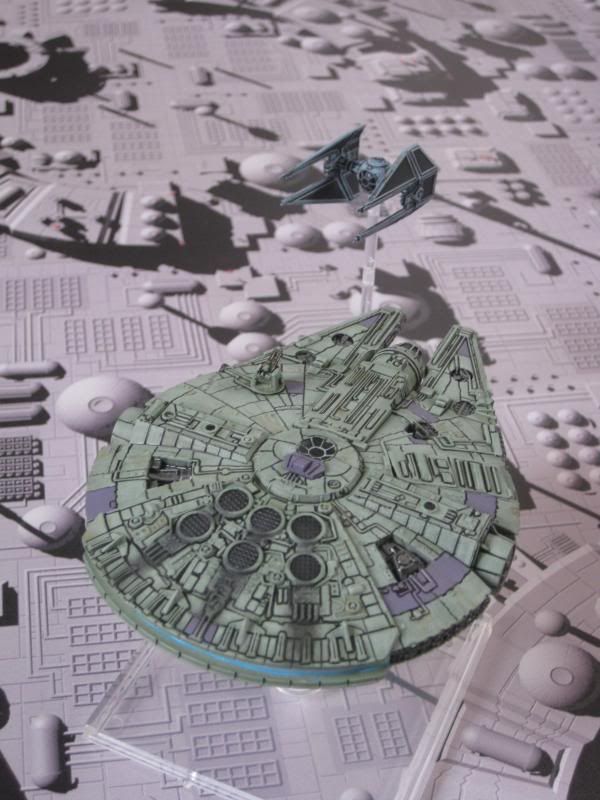
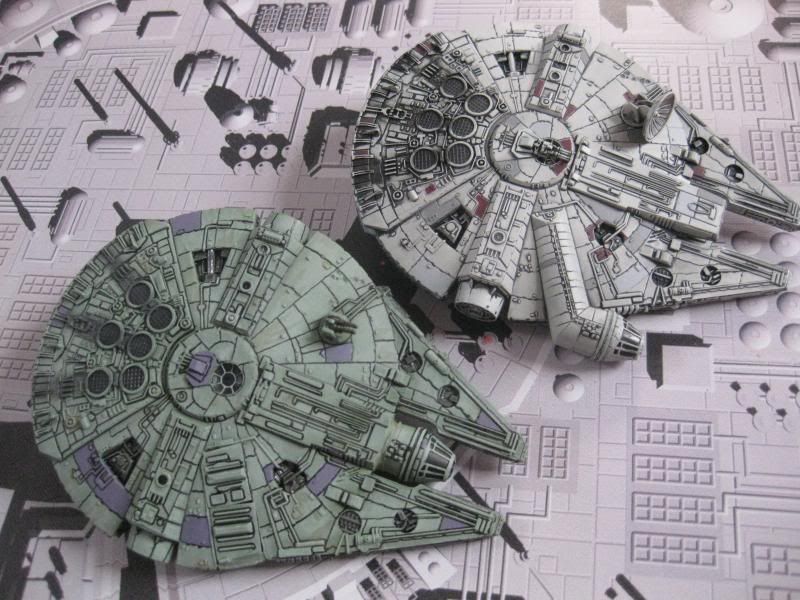
Just wanted to share a YT transport conversion I did for my buddy Pete. He wanted to run a double YT list for some time and the thought of identical Falcons on the board was too much to bear.
There are many conversions out there like this that precedes mine and mine isn't amazingly different from them though I did re-use the off-cuts (out of laziness) to seal up the hull after I took off the cabin and gantry. I didn't see anybody else do that yet so that may be a way it is different.
The surprise in this project came from the build, which was more challenging, where I expected it to be the painting, which was easily straightforward and fast.
The assembly went down something like this: Remove the radar dish and top quad cannons, set them aside. Score the cabin section enough to push a blade in and carve it out with strong, straight cuts. I was going to try a Dremel cutting wheel but realized the plastic would just melt. Cut the cabin from the gantry. I was able to use a foam cutter for this step, just do it outside and upwind as you are burning plastic.
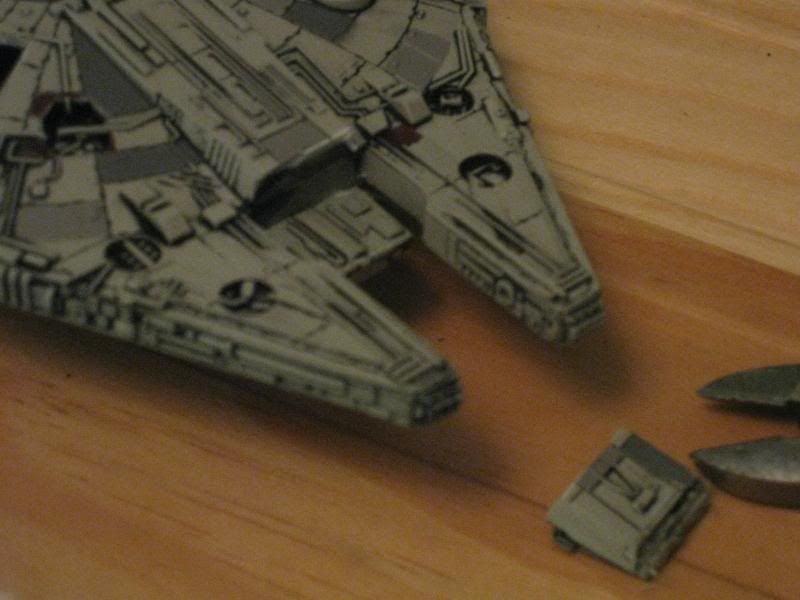
Remove the inner "mandibles" on the front of the YT. Save the bits, you'll use them to cover the hole in the hull.
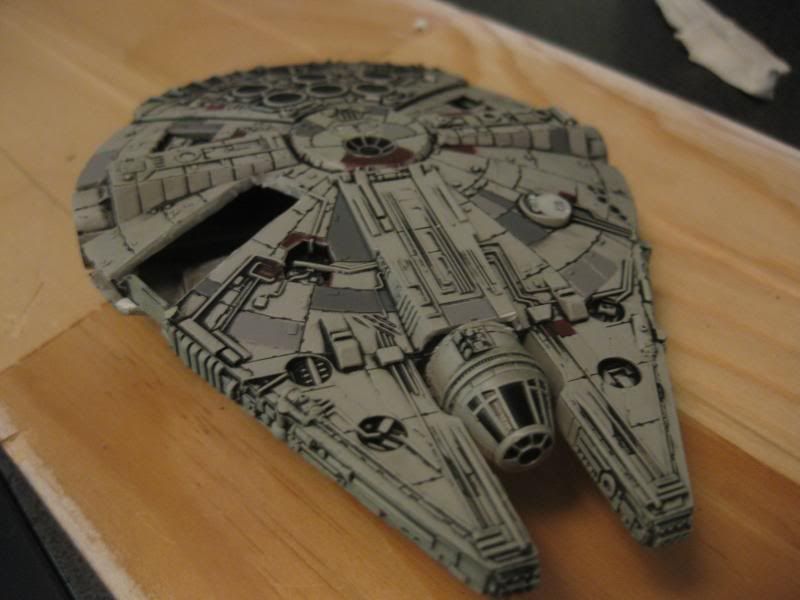
Attach the trimmed cabin between the main "mandibles" of the YT, as above.
 |
| Pretty rough looking but caulk will smooth it all out. |
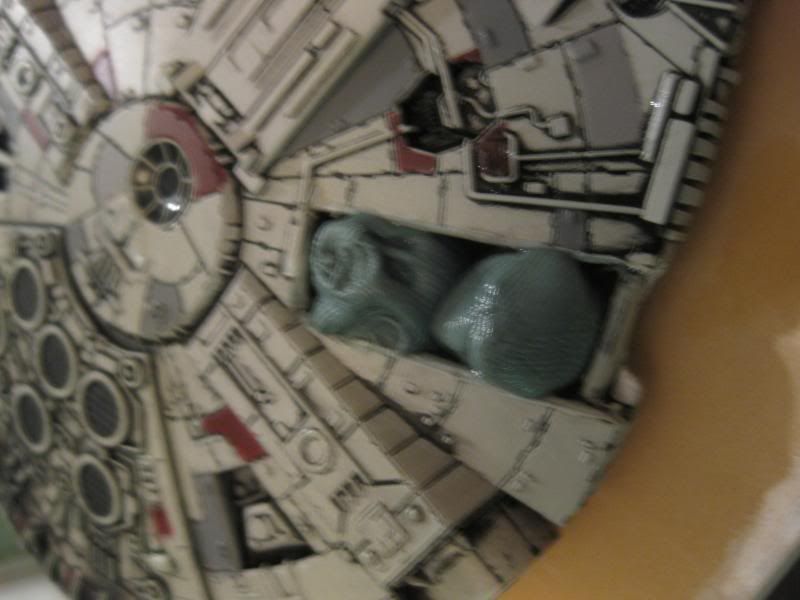
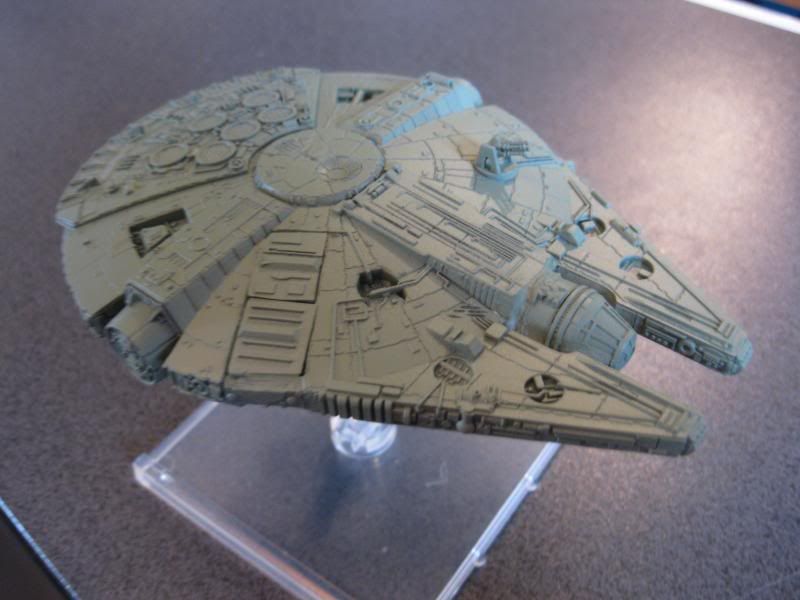
Trim up those off-cuts from the mandibles to fit the hole in the hull. Cross-score the undersides and press-fit them almost flush into the blobs of greenstuff you put in the hull. Let it set up for a few minutes until it firms more and then press flush. Make your adjustments as it cures. After curing, gap fill. I used latex caulk.
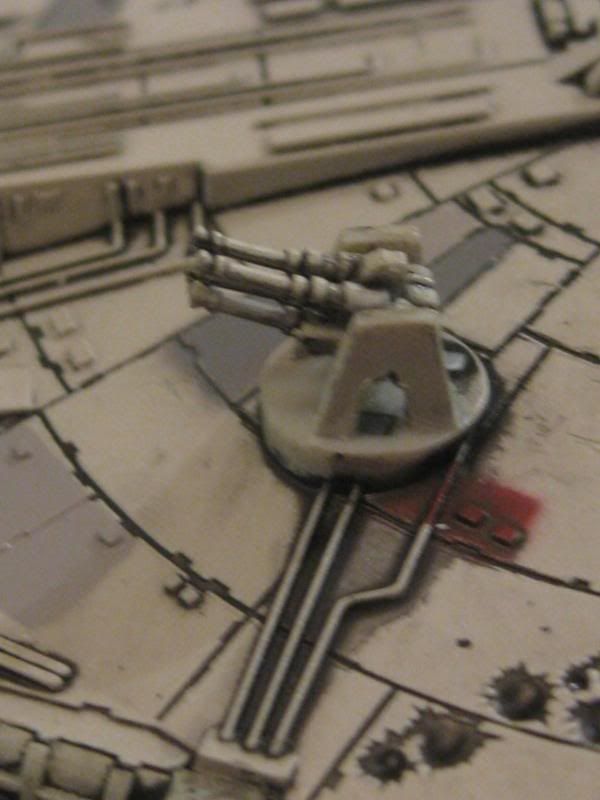
Trim the quad cannons to fit the dish brackets you removed. Make kewl laser noises while you do so. Probably best to glue the gun in the cradle first then after that is dry, glue the cradle to the hull.
 |
| You could just stop right here and not bother to repaint. |
|
|
 |
| I could've hid the the seams a bit better but paint will tidy that up. |
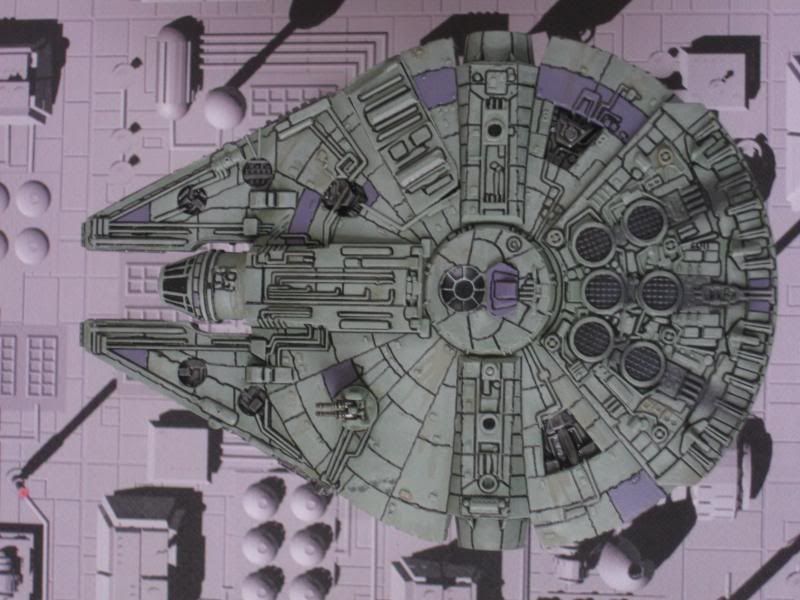
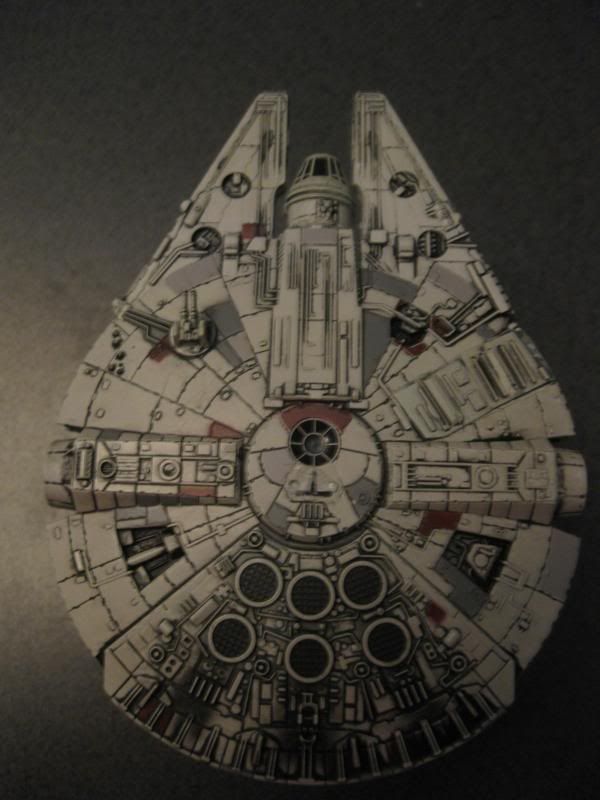
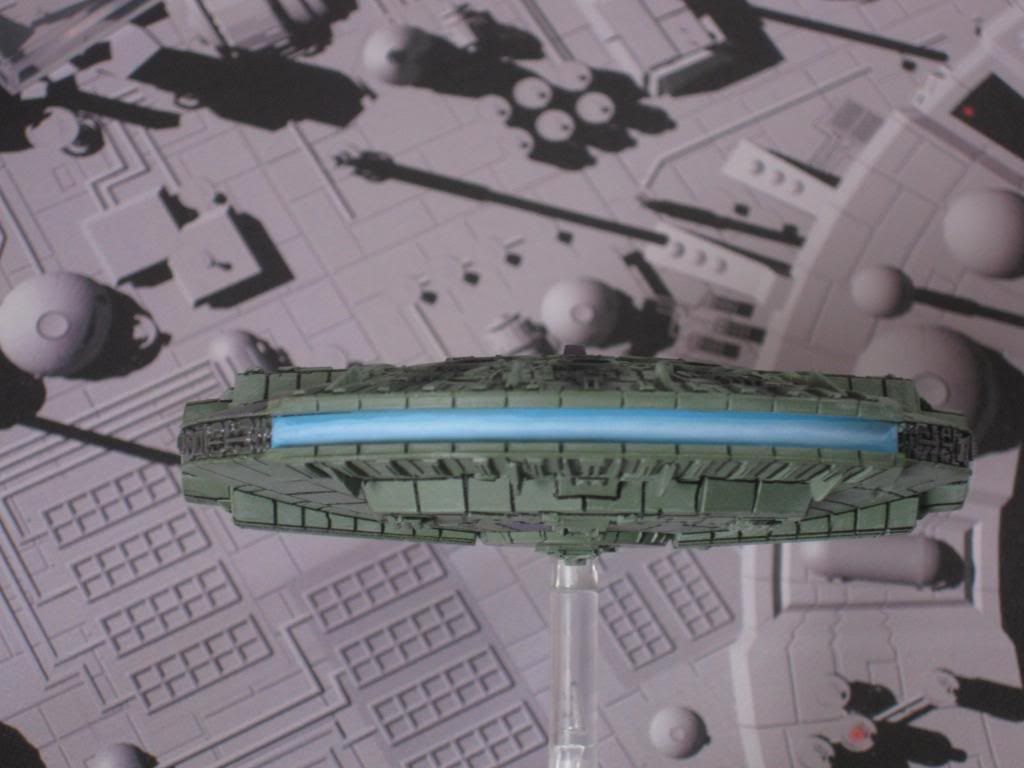
I used green Army Painter primer on this and finished with a Sage Green, greys, a Tamiya smoke wash on some parts and GW purple. I added some ocher weathering using paint and flow enhancer. The exhaust is GW grey drybrushed on. I then outlined every damn detail on the ship with a Rapidograph pen, .005 nib with black ink. All told, about 10 hours work and it came out pretty dern cool, I think. Now I want to make one for myself...
 |
| I wasn't done with the technical pen but wanted to see if the engine glow looked good before I finished the YT's ample aft. She's got it where it counts, kid. |
|