Thursday, March 26, 2015

Reaper BONES: Glowing Ghosts using LED Tealights


This one is for my new friend Garrett (did I spell that right?) and pre-existing friend Benn @ my FLGS Redcap's in Philly but this also goes out to anybody who is thinking about glowing effects on their tables, or at least some small, placeable elements like minis or scatter terrain (more on that later).

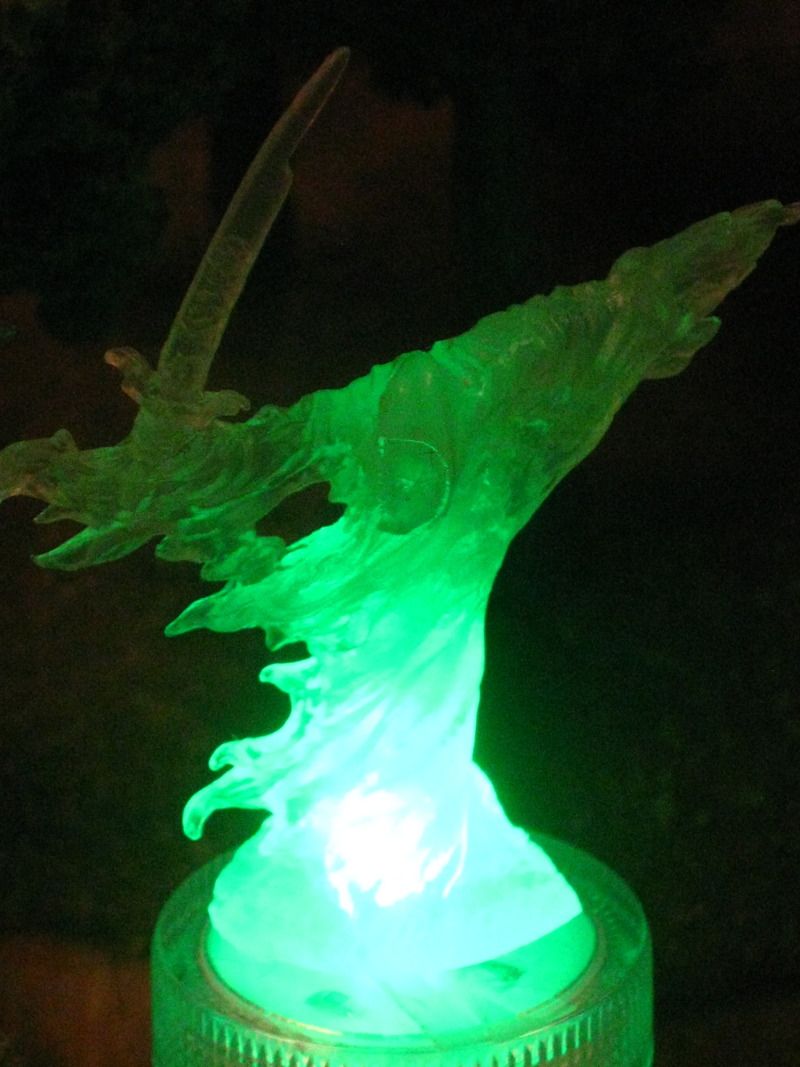
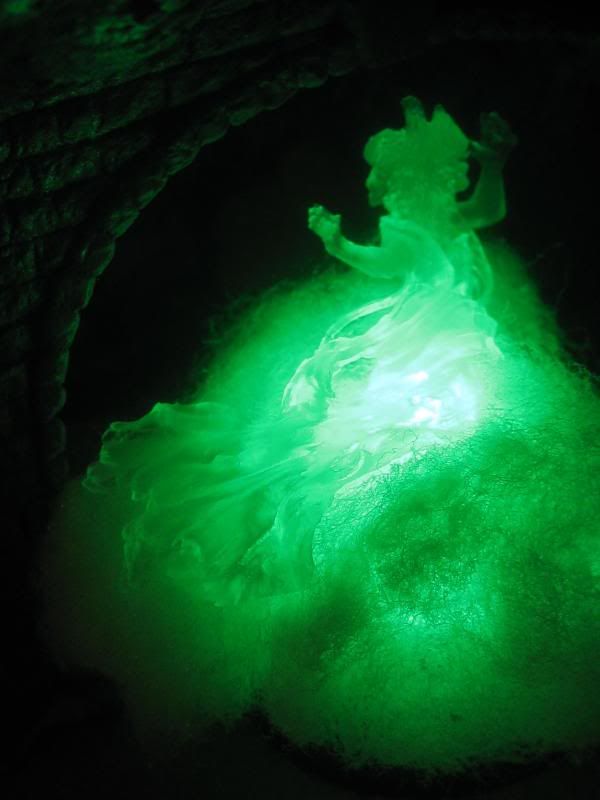
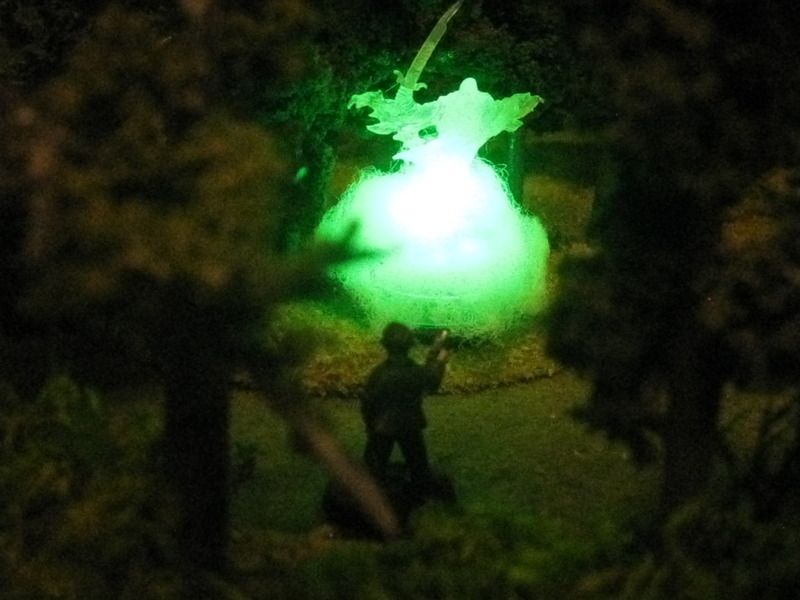
I built the ghost above tonight for this tutorial and it took about 20 minutes.

Reaper BONES make super inexpensive, translucent models ripe for lighting and you can get easy and cool effects efficiently. LED tealights are crazy inexpensive and can be used to make really great wreck markers, bonfires or in the following case, ghosts. I was insisting this very thing the other day to Garrett and pointing at my own blog as proof, failing to realize I never actually posted any damn thing about BONES lit projects here on Sarcophagi,  though I did post it up over on Lead Adventure Forums, found here: Lead Adventure Forums

Anyway, I've found a lot of traction for lit things like ghosts for pulp games like Strange Aeons, to which I am addicted. I am working on Fire markers using tea lights as well and I'll post up something on that later, though the principles are the same.
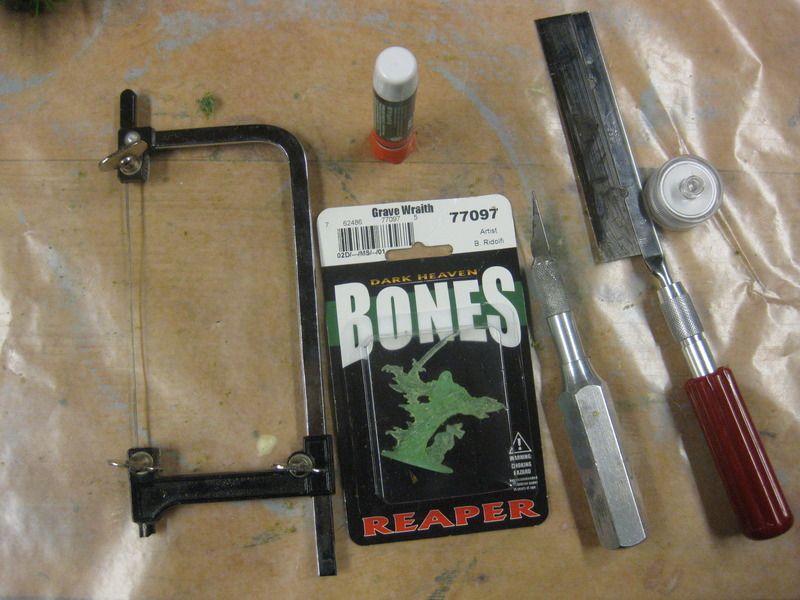

Needed:
  • Reaper BONES Grave Wraith, about US$3.00
  • Green Tealight, available through Amazon, US$7.00 for a pack of ten. I like these because the batteries are replaceable.
  • Jeweler's Saw or Xacto Saw
  • Scalpel or Xacto
  • Crazy Glue
  • 2" base
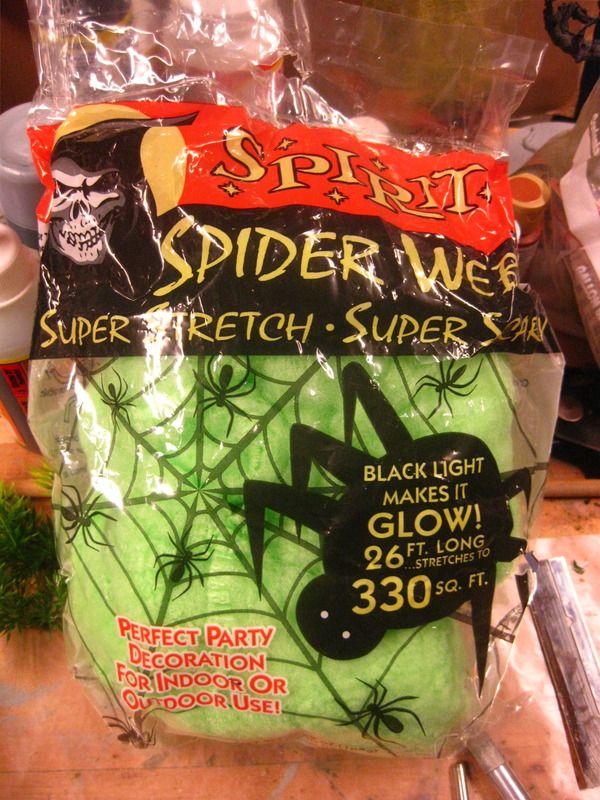
  • Green Cotton (Halloween floss)
  • Optional: Silicone (from DIY)
  • Optional: White poster tac
Something to consider with this... Depending on how much light difussion you want, you may or may not want to get the LED bulb into the miniature. In some cases, gluing the  mini right to the top of the bulb housing is enough to get the light to diffuse through the mini, where you don't see a glowing mass at the base, but instead that bulb is hidden by cotton floss. I have made three ghosts and overall I think gluing the mini to the bulb housing is probably the best way to go visually but in the following case, I put the bulb up in the mini as a case for the most amount of steps or a larger mini that needs more direct light to diffuse out, which is the case with this mini.


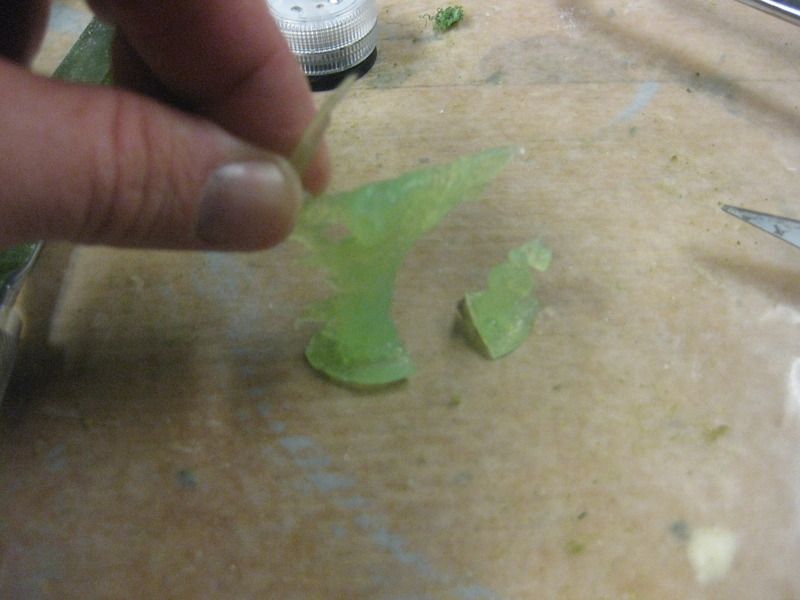
 Cut the tombstone off the ghost. I saved this bit to paint up later with other tombstones. You might want to leave that there, your call. The ghost of a tombstone is cool too I guess. It does fit more centered on the tealight with the tombstone off.
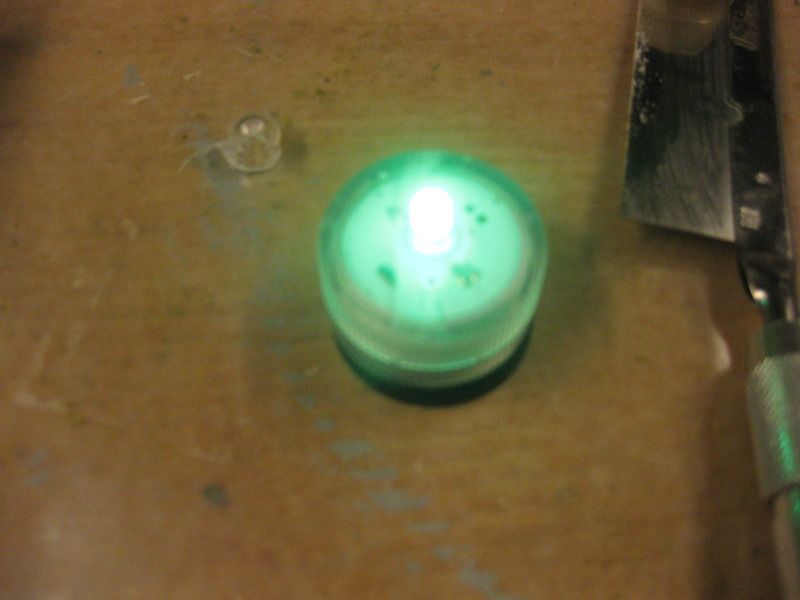
I cut off the protective housing over the bulb since it is easier to trim out a hole for the smaller bulb instead of the bigger housing, the OD of which surpasses the width of the base of the ghost. 
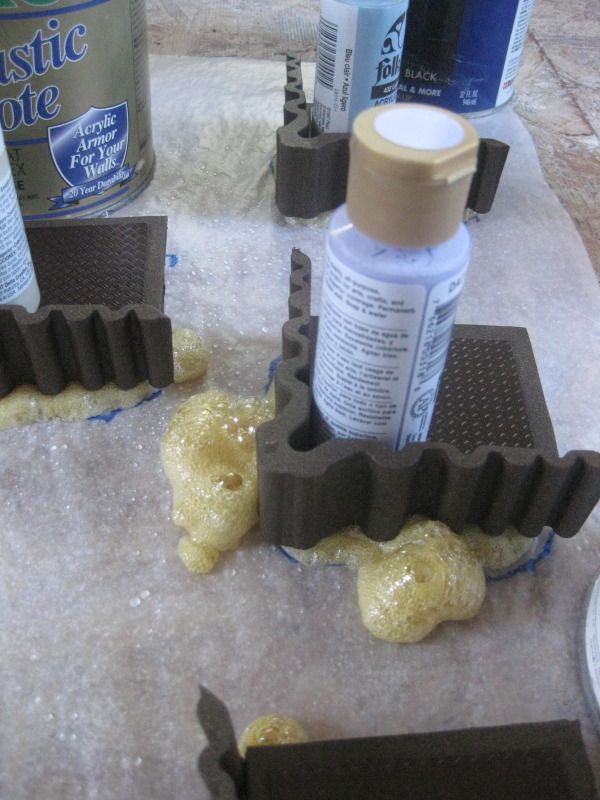
Glue the tealight onto a 2" base. You could even skip this step too if you aren't an giant stickler for BTB physicality in games. I had previously tried painting the sides of the tealight black in an effort to hide the sides under the cotton more but as it turns out, the clear sides transfer more light into the floss and the glow hides the sides of the teal ight best.

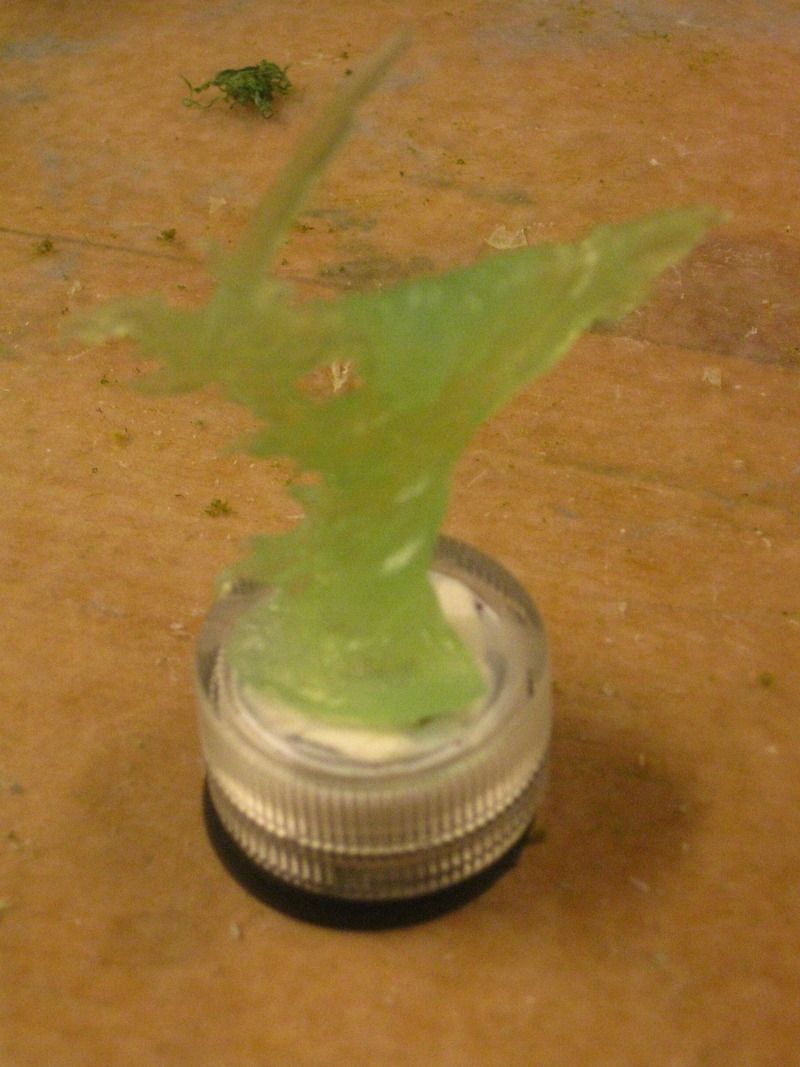
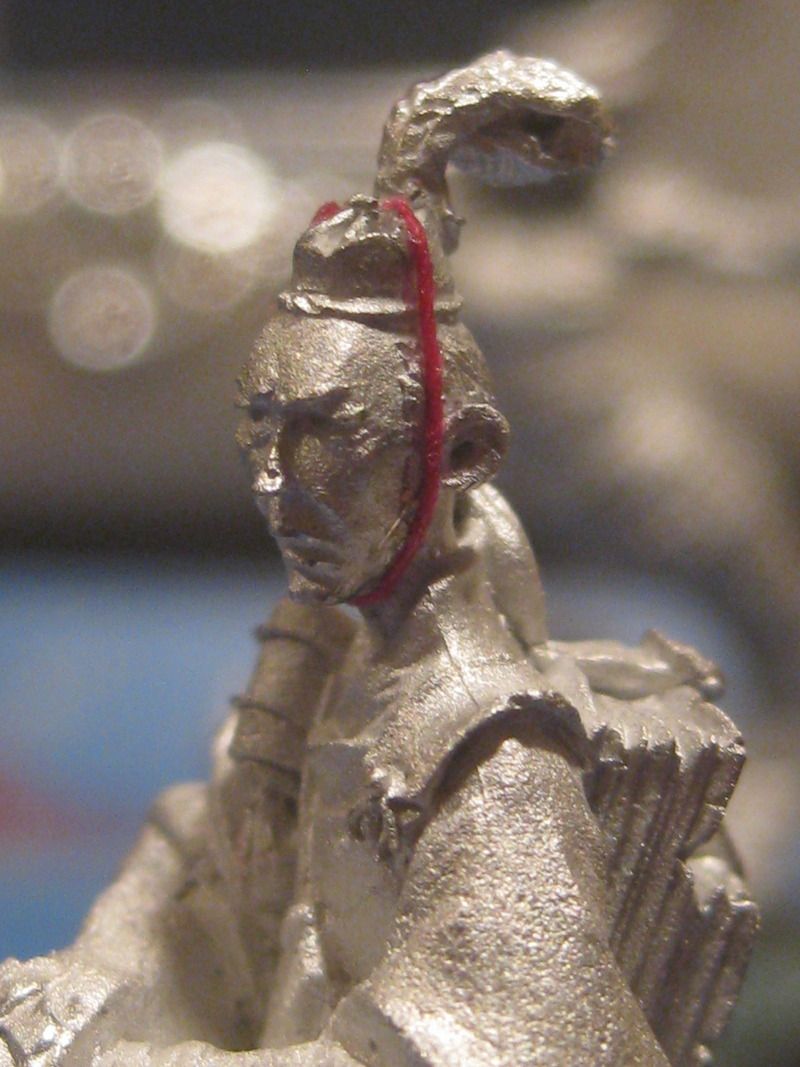
Here's Rick all cored out and dry-fit to the top of the tealight. Like I said, when you put the bulb into the bottom it looks more like a bulb in his feet. Fear naught.The cotton will diffuse and blend it. Be sure that before you glue you play around with getting the bulb centered into the mini so the bulb sends the most amount of light straight up to the top of the mini. Shut off the lights and move the mini around on top of the lit tea light and you'll see what I mean. If you have to glue on top of the bulb housing leaving an undercut below the miniature, just fill in underneath with clear silicone and let dry then it will be super strong and still conduct light.
All together and ready for cotton. But first, trim out the cotton "smoke".
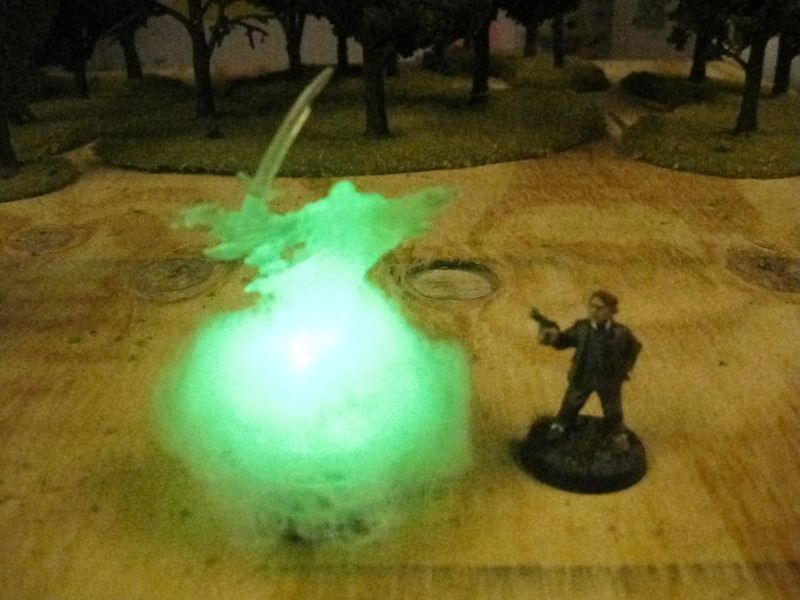
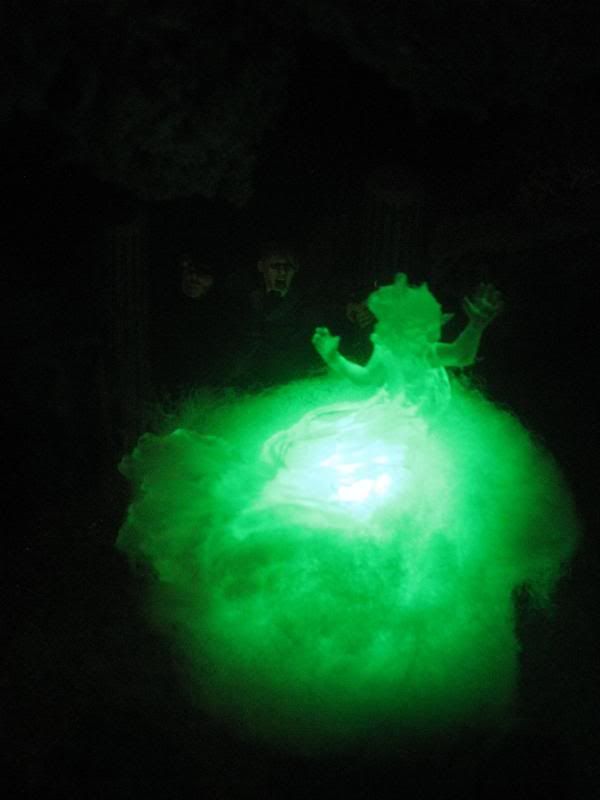
Grab the cotton and make a circle about the height of the mini. Pull apart the center and arrange the mini through it so the floss is around it's "feet" or whatever. Remember before with the bulb? Pad the cotton over it thick. The more cotton, the more the glow. Once happy with your "smoke", glue on the ghost. Then add the cotton after it is dried.

Annnd... there it is. Not much to it actually. You may wonder about securing the cotton to the sides. I've played around with this some and found two things: First, it is hard to do and second, probably not necessary. If you are stickler for adhesion then I suggest you use some white poster tac on the sides and learn to live with it. Permanently attaching it seems unnecessary and that can block replacement of the battery as well as the twist-to-activate motion.
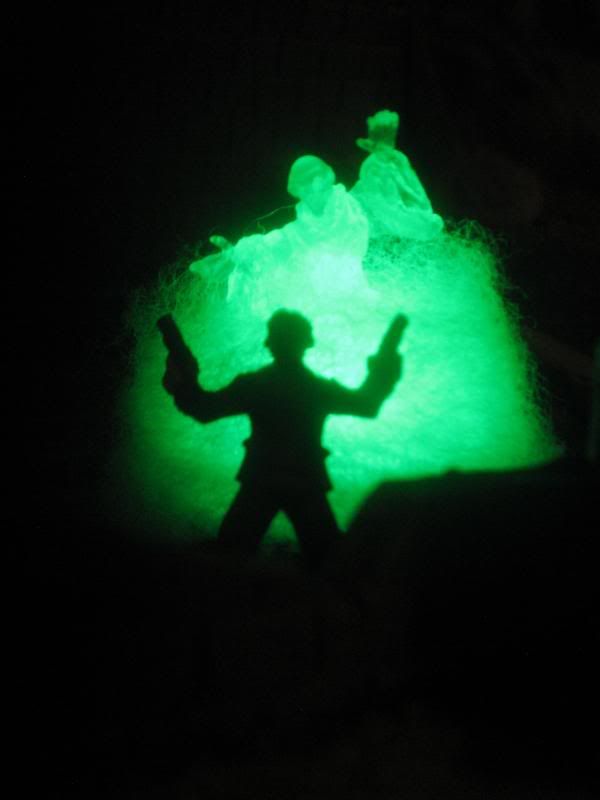
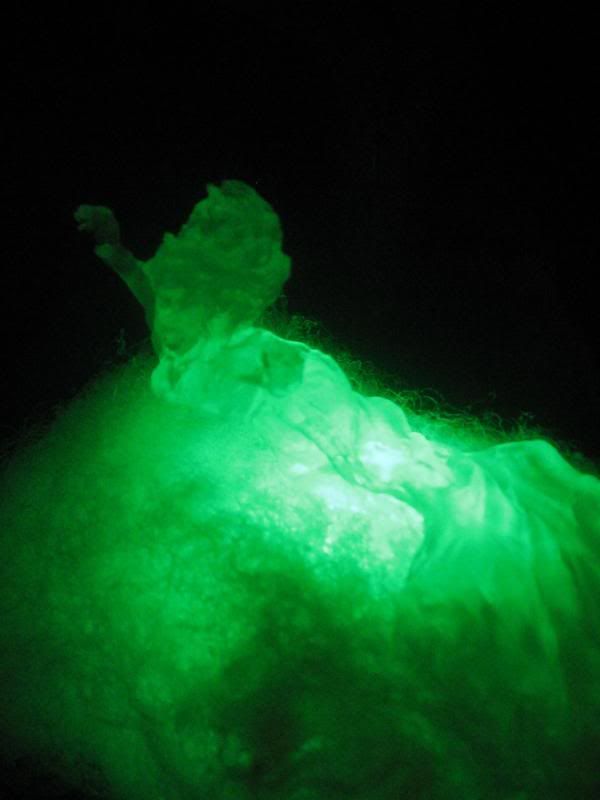
Here are 3 ghosts I've made. The one on the left is my favorite. I cut her from her base and glued her sideways over the bulb housing (pic below). Her flowing robe blends in great with the cotton. In the center is Rick. On the right is a more skeletal ghost. Note that the last ghost's tealight has sides painted black and while it doesn't look terrible at all, you can see that the light doesn't diffuse as much as the first two. Finally, these are bright enough to use under average table light, meaning you do not have to play in the dark for these to look spooktacular. Spell check really hates that pun.

So that's it friends! I leave it to you to try out, like I said, there is not much to this. Experiment and have fun with it.


Tuesday, March 24, 2015

Sarcophagi Logo & Celebration: 100,000 Visitors? What the What What?

My kids Izzy and Nate holding the blog's Sarcophagi logo with a level of excitement that tells me they have entered into a sophisticated new mode of manipulating me to stay up on a school night.
In honor of hitting 100,000 visitors to Sarcophagi, I thought we could do a behind-the-scenes bit as celebration. I have had a few people ask how I did the logo for Sarcophagi... Quark? Photoshop?

Truth is, when starting this blog I thought it'd be faster to make the logo for a terrain building blog by skipping the digital art and knocking it out in foam and paint. Fitting. So I did.

I raised the font to 40 or something and printed "Sarcophagi" out; that's the plural of sarcophagus. I was into Egyptian things in art school, what can I say. I transferred the lettering to the foam, cut the letters with a hot wire and mounted it on pink foam that I had etched like a wall. Some paint and some digital snaps and BAM! Leggo my logo.


A few years later my kids are holding it up because all the zeros in the Visitor section mean they can stay up past their bedtime for some reason... Happy New Year or something like that!

Thank you dear reader 100,000 times for being a part of Sarcophagi!

GET TO BED!!!!

Bushido: Yukio Imperial Envoy WIP


I think this guy is my favorite sculpt in all of Bushido. Sure, he's a support model and needs protection. Sure he's a coward. Sure he's a bureaucrat. And yeah,Golden Sentinel might be a must to deliver Yukio alive through the fray to use his Ki feat. Not sure yet.

Regardless of in-game qualities the character drips from this guy... it's insane. I think he's the most interesting sculpt in every way. GCT gave me a voucher that I used to get him and I am stoked. Only beef I have is a small part of the string for his cap was missing on his temple; yeah... people will notice that. It was seriously too thin to gap fill and too prominent in a place that will see fingers grabbing to move the model to use putty or caulk. So I trimmed the metal string off entirely and replaced that with same-gauge thread, fixed and stiffened with super glue. I was slightly bummed about this repair at first but in the end I got more detail on the straps so it totally worked out. Only took about 10 minutes of work.

Worth it!


Sunday, March 15, 2015

Bushido: Bamboo Trees Yeti’s Way


Years ago I had built a 4’x4’ table for Warmachine (on the Privateer Press Forums) and while building cabinet components for it I stumbled upon Gorilla Glue as a means of making terrain. I want to mention that if you can cut and bevel  foam core or materials like that then you may not want to use Gorilla Glue as much as I do, but for bamboo trees, Gorilla Glue seems to be a solid and resilient way to base thin plastic trees. That said, I tend to use Gorilla Glue a lot for everything. 


Gorilla Glue bases


Gorilla Glue rock piles


It is excellent for building terrain and all terrainy materials: wood, foam, paper, plaster, etc, etc. Gorilla Glue is unique in that when exposed to water it foams then dries rock hard. So it gap fills and retains some flexibility. It is paintable and cutable. With a little practice, it can be a fast and more-than-adequate trick for terrain. 


 I sourced the bamboo I am using from Amazon, a 100 piece bag for about US$13.00 shipped direct from China, which may take a few weeks to get to you but the price is right. I picked these because the bigger sizes included have a wire core. You may imagine that getting thin gauge trees to stand upright in a resilient fashion can be difficult. But if you are willing to set up a production farm in your house for a week you can get a decent amount of stands of bamboo using the tree kit, Gorilla Glue, basic tools, some water and things to keep the trees propped up while they set. After that, paint and flock to taste.

This is one bag of trees. Not bad!

In all, these trees took about a week to bang out but that includes the setting and dry time. If you take setting and drying out of the formula then I probably have spent about 3 hours of actual labor.

Note the bottles supporting the trees. See the footers? The foaming has begun thanks to being dipped into water.
  1. Using a pen, wrap the bottom of the bamboo around the bottom of the pen, making a circle that you can then fold into a footer. If you can get it to stand on it’s own this way then A+. If it sorta stands that is ok too, the glue will surround and use it to keep it upright. I sat and watched Ninja Scroll and “rolled” all of the trees in the bag in one sitting. I suggest you keep them sorted: trees that stand solidly and those that sorta do. The smaller trees you won’t be able to roll footers but you should abrade the bottoms: if it is sorta “furry” with shredded plastic that is good; you want surface area for the glue to grab
  2. Take some wax paper and tape it down to a long board or something smooth (as in pic above). I trash-picked a shelf and use that so I can move it around. The wax paper will be where you pour the Gorilla Glue and when it dries, simply pull it up. 
  3.  Pour glue in a stand-shape, like a crescent. It is hard to describe how thin this should be. You may want to pour a few bits of glue and see what it does. Best I can say is a stand should be about two fingers wide and about a finger long, in a curve. This lets them look natural in scale, you can place two together to form a circular stand, makes removal for minis during a game easier (and better looking) and it is easier to paint and flock. But experiment and do what you like with shapes and sizes.
    I use flocked wool/felt for the actual templates for woods and just place these trees on top or take them up as models move through, leaving the template. So I only make crescents for stands and a few circular stands to fill in between the crescents. 
  4. When your glue is out, it will level on its own but it won’t spread out due to the wax. So, use a stick to carefully smooth out the contour. Do that and the glue will level into a smooth shape. You probably have 20 minutes tooling time for this.  Careful not to rip the wax paper beneath. Do that and you are starting over.
  5. Now that the glue is out, take the trees with the best footer. Have a water jar next to you. Dip the footer into the water then put the tree into the glue. Use your stick to push glue over the top of the footer so it is completely under the glue. Best to have other paint bottles nearby to place next to the trees to keep them upright as you go, as in the picture. So, a solid tree is in, add a few smaller trees by adding glue to the bottom then dunking in water, then putting them into the glue with the first tree. Then, add another stable footer tree after that, covering with glue as described above and use the branches of both small and large trees to hold each other up. You’ll add paint bottle next the trees as you go. Every tree or so, wet your hand and shake it at the glue, the water droplets will foam the glue. I usually use between 4-6 trees in a stand. When you get to the end of the tree stand, try to use a solid footer for the last tree. As you build these stands you’ll see where you can use the less stable trees as long as they are propped up by bottles or whatever you use. At this point you’ll want to check on them 2 or 3 times over the next hour as the foaming starts. Trees may move and you may want to nudge things back upright. If glue looks like it isn’t doing anything after 2 hours, spray with water again, it is sensitive to humidity, or lack thereof.
  6. Once dry (8-24 hours) peel up from the wax paper. You may notice wet glue underneath. This was trapped during the process. No big deal. Set on it’s side and let it bubble out and dry. Once dry, cut it off with an Xacto. Trim anything that bubbled out or is generally not smooth looking.
  7. Now you can either paint and then flock or flock right over it. I base paint with a green very close to the trees so I don’t have to care if it gets on the trees. You can even paint some of the big bumps as rocks which speeds painting/flocking and adds visual variety.
  8. I use Mod Podge Matte to slather the base then flock. That’s it! Note that because the trees are wire, you can bend them to make small corrections after the glue is dry. just be careful not to go bonkers with a rocking motion as I am sure the footer will break free at some point. Try a small pliers at the base and bend with your finger. A little will go a long way.
Again, footers from rolling the trees on pens, overlap the glue over the footers, use paint bottles or other objects to support the trees during curing.

If you are new to terrain, this may take one or two times to get right but see it through, be ready to improvise how you stabilize the trees during curing and that is the hardest part.

If you have questions, just let me know and I’ll help you best I can. Here are more pics of the finished bamboo trees.

-Yeti


Saturday, March 14, 2015

Star Wars X Wing: Ghost (Cake Topper)


A very eagle-eyed member of BGG found a thread about a cake topper of Hera's Ghost in roughly the same scale as Star Wars X Wing. So I found it on Amazon Prime and ordered it for my son Nate, who loves flying YT's and turrets. So yeah, he'll be happy with this until FFG admits they are releasing one since they are now affiliated with Disney.

Mind you, this is a US$10.00 cake topper and not a fine scale model. I have to resist going nuts with re-detailing this. It is a clam shell design and so not all North-South running detail line up. There is decent enough paneling and such that making this table-worthy is possible. The only thing I really did to the ship was to tap out the mounting screw and widen the hole for a sacrificial large ship peg once painting is done. I also added brass rod cannons because the molded one were brutal or non-existent.


 Up next: Primer, paint then gluing a peg.