 |
| Agent Connery's insanity blooms |

Sunday, September 30, 2012
Sunday, September 23, 2012
WIP Terrain How-To: (Lit) Scratch Imperial Bastion

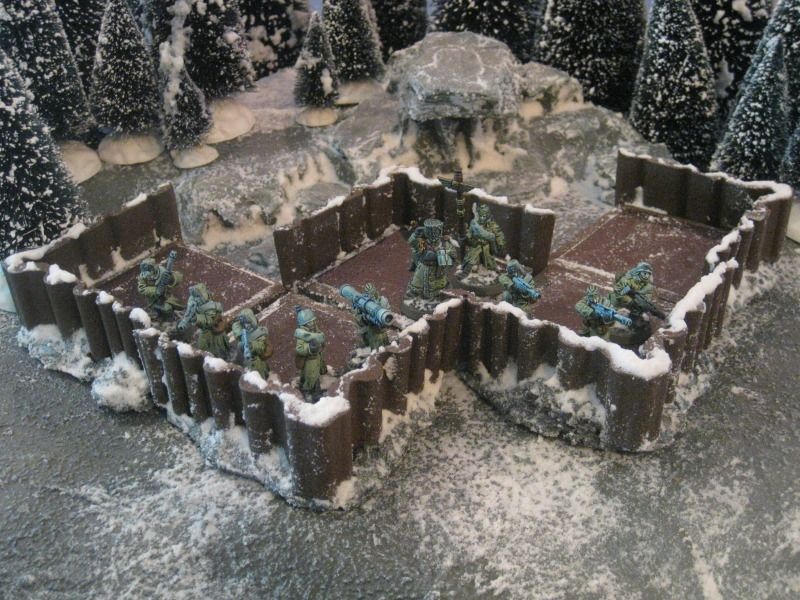
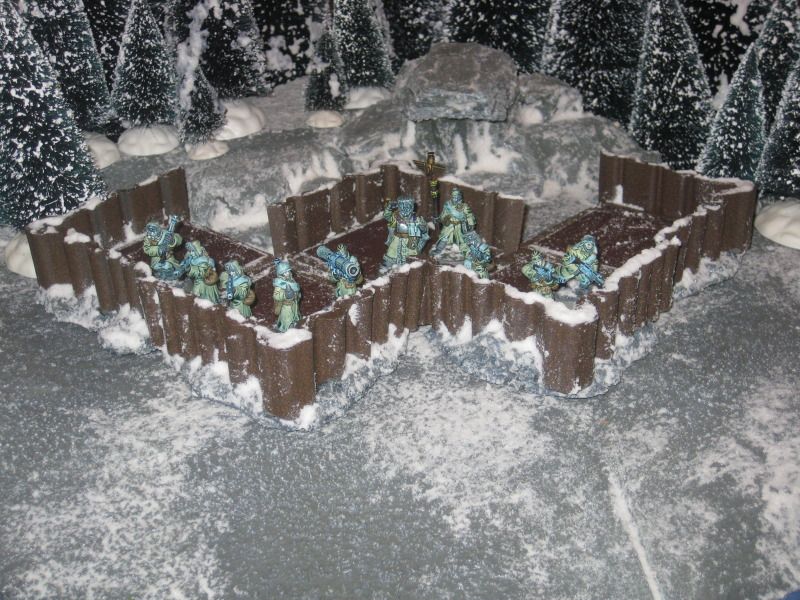
Seen here is an unlit and lit scratch-built Imperial Bastion. There are 10 Valhallan IG in there for scale. I think the back parapet will either be connected to an anti-air tower or maybe a Skyshield. The lights are railroad lights powered by a train power supply. I have two more lights to wire up, a blinking red light at the door and a steady light in the rear.
More to come as it progresses.


Monday, September 17, 2012
Terrain How-To or Talkin’ Trash: The Final Paintdown
See part two here.
After trimming the odd Gorilla Glue growths and adding texture to it, I painted the bases and Dullcoated them. When dry, I hit it up with my snow mix.
After that, it's just a matter of setups.
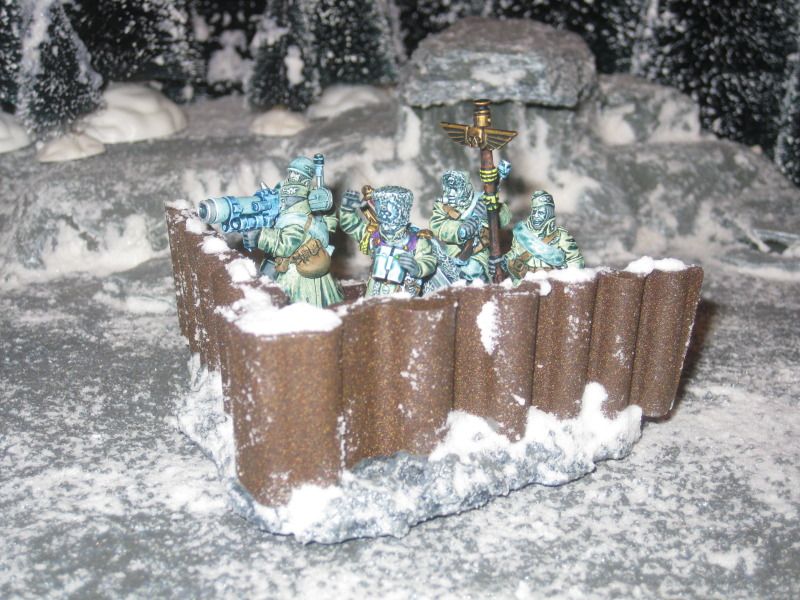 | |
| A single setup holds a 10 man squad on 2" bases if you jam them in there. |
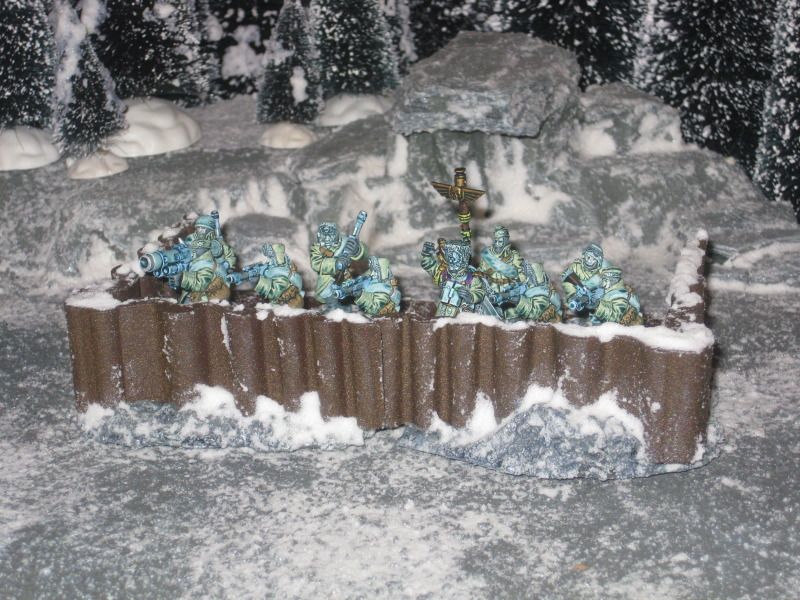 | |
| Two side-by-side holds a full 10 man squad+ with room to spare. |
 |
| Switch it up for different fortifications. |
Saturday, September 15, 2012
Terrain How-To or Talkin’ Trash: The Killing Floor
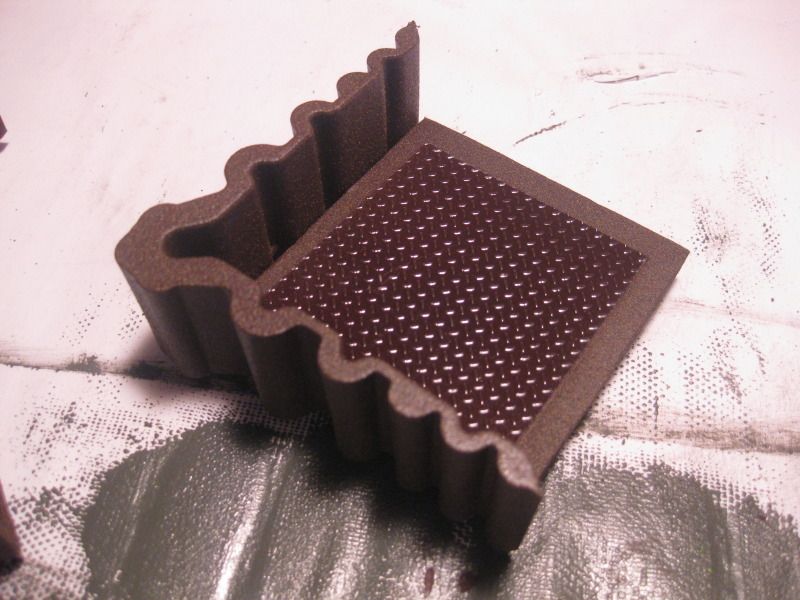
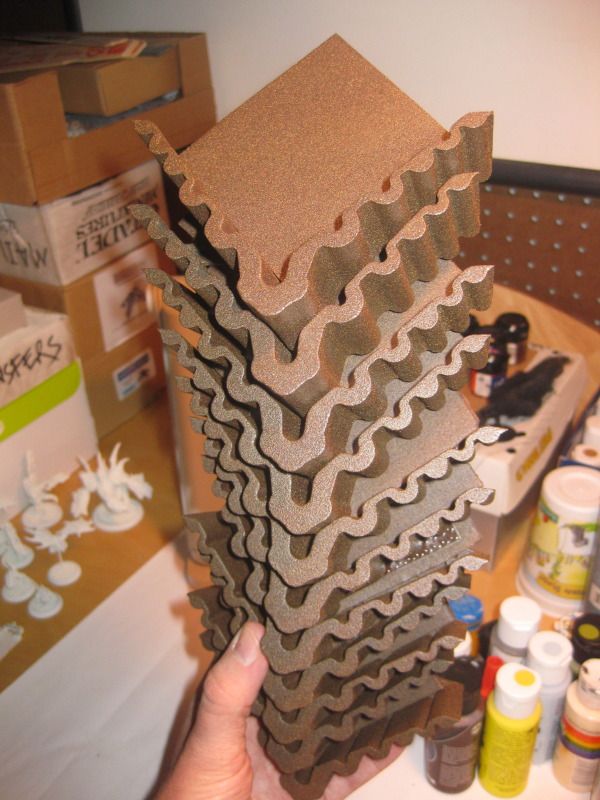 |
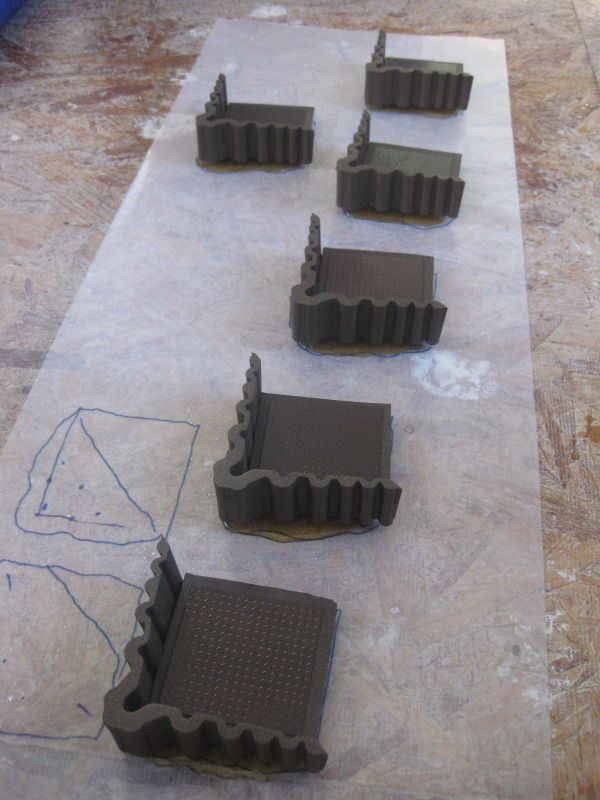
| All of the bunkers are texture painted and ready for floors. |
So the next detail to deal with on these defense line pieces are the floors, since the bunkers themselves are painted. I painted the bunkers all the way to two texture coats because I'll base them next and controlling the over spray would be problematic with the other parts already on there; I suck at masking.
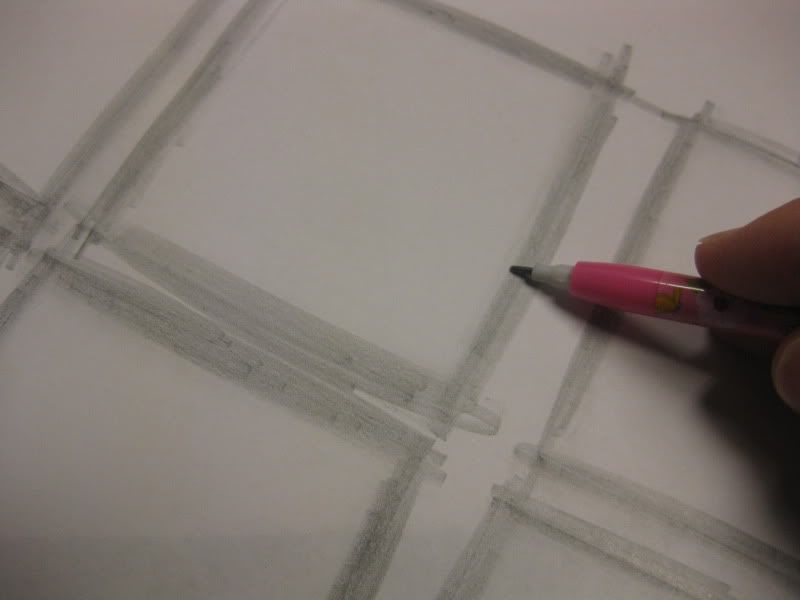
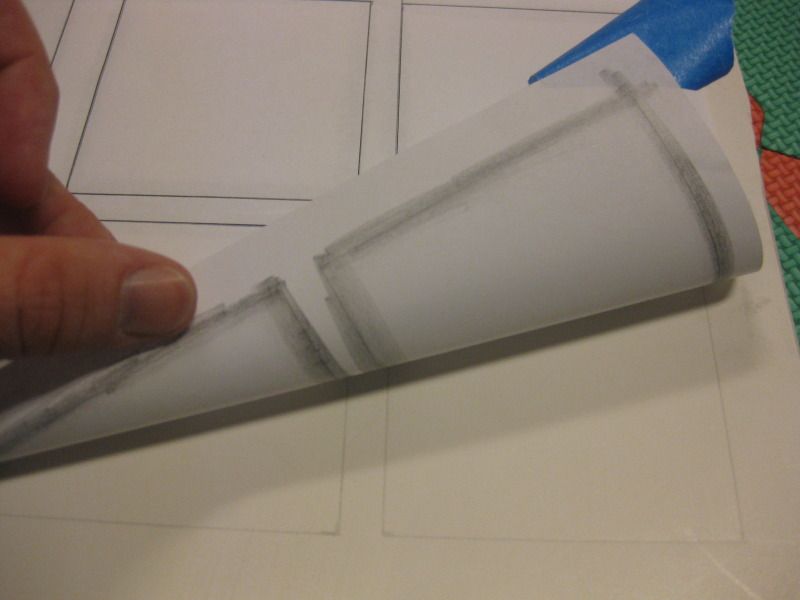
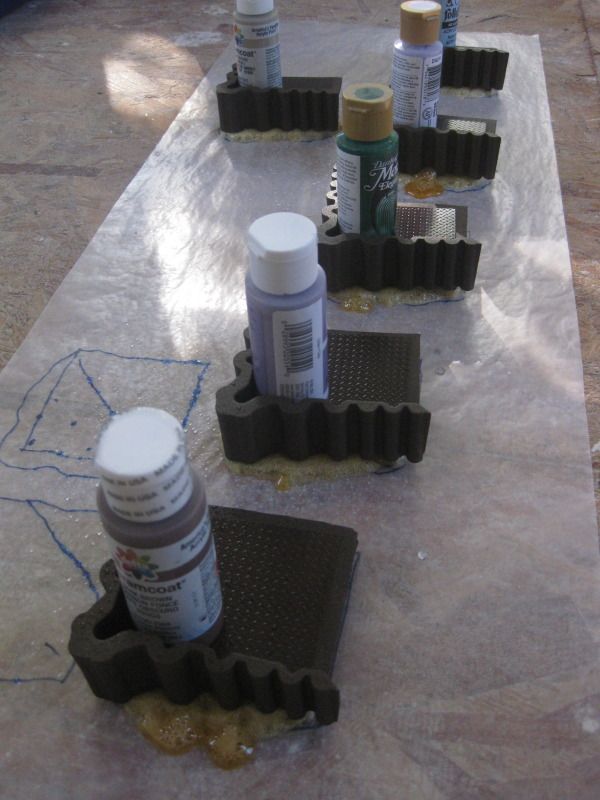
Once the textured squares were dry I sprayed some smaller,
textured plasticard squares with brown spray paint. There is some sheen on them
but I’ll be using Dullcote on them after the painting is finished and before the
snow is added. I crazy glued the plasticard squares to the textured floors
and set them to dry.

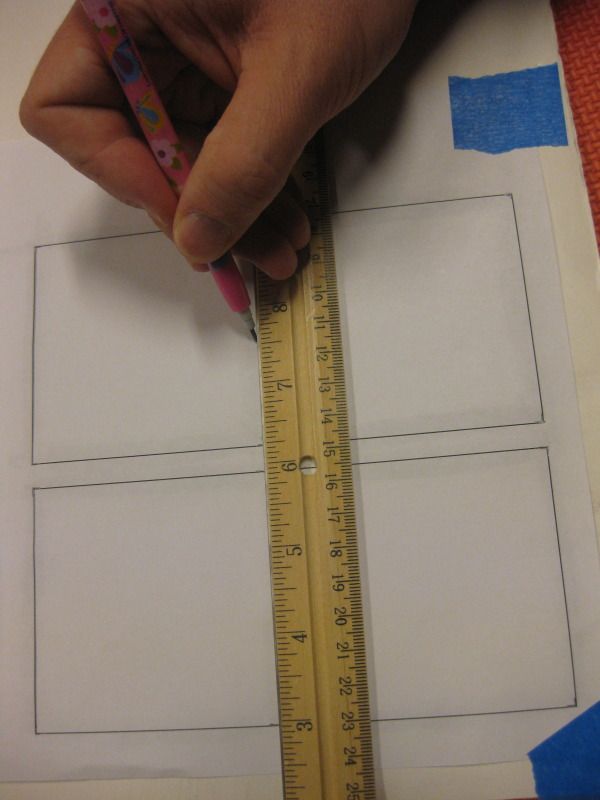
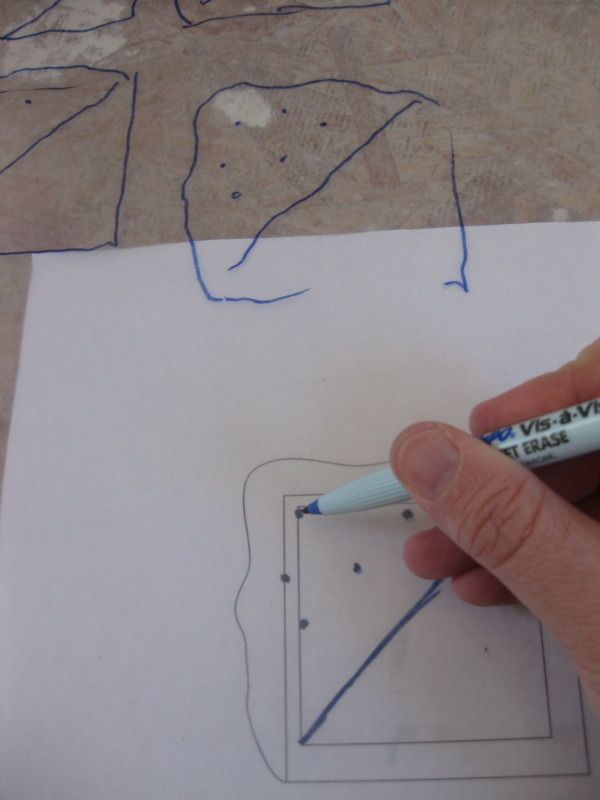
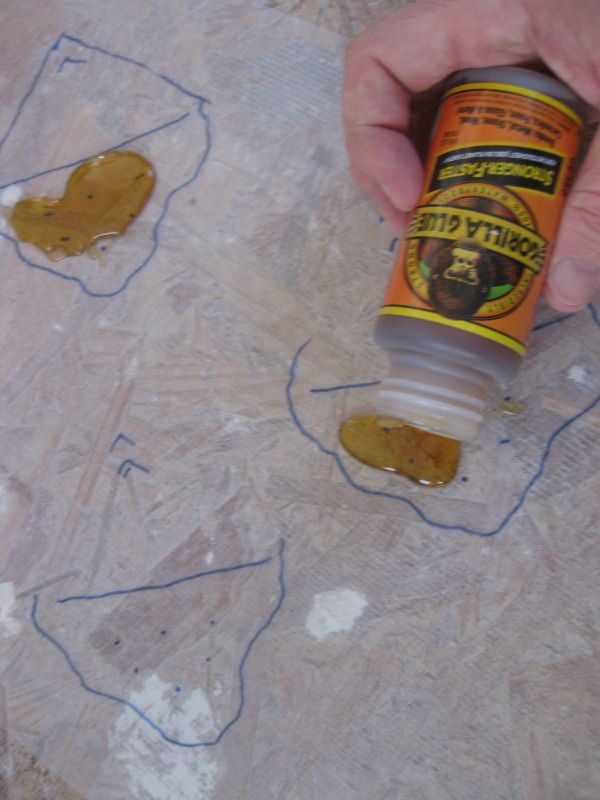
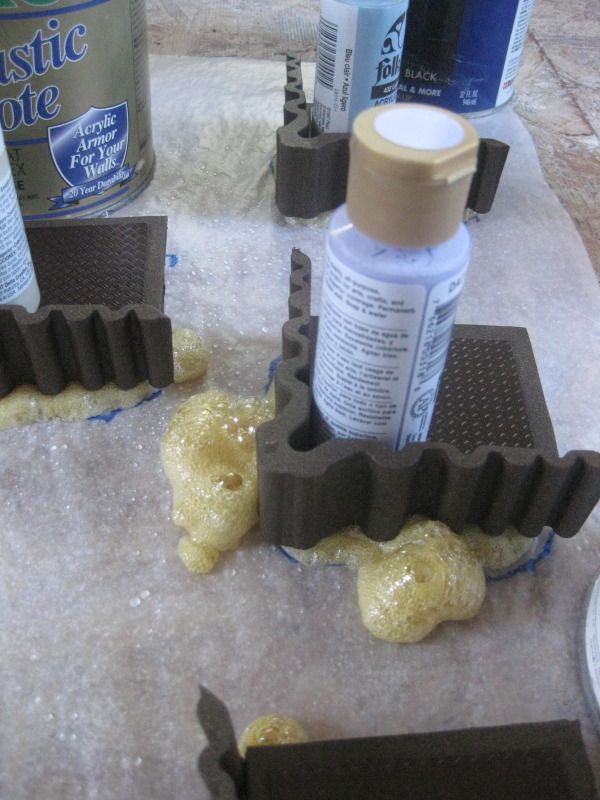
After gluing the floors down on the bunkers I traced the footprint of each onto some wax paper, one outline for each bunker. I am using Gorilla Glue, a common household expanding glue, to create the bases for each bunker. I poured out glue on each template and put the bunker in it. I misted the bunker with water since the glue foams when it contacts water and expands out in cool ways. It adds something organic to the thing, one reason why you may consider it over the usual foamcore/MDF bases, though the latter is more consistent. I just like material that works for me while I'm not looking.

Up next: The Final Paintdown
 | |||
| After they dried I glued them together and BAM. Defensive structure. |
After gluing the floors down on the bunkers I traced the footprint of each onto some wax paper, one outline for each bunker. I am using Gorilla Glue, a common household expanding glue, to create the bases for each bunker. I poured out glue on each template and put the bunker in it. I misted the bunker with water since the glue foams when it contacts water and expands out in cool ways. It adds something organic to the thing, one reason why you may consider it over the usual foamcore/MDF bases, though the latter is more consistent. I just like material that works for me while I'm not looking.
 |
| Pour glue out into footprint. After it dries it will peel right off. I developed this technique years back when building my Khador terrain set and I keep finding it a fast way of basing things I build. |
 |
| Spray so the glue foams |
 |
| All lined up in glue |

 |
| Added some weight to keep the foam from taking the floors out of plumb |
 |
| Foam all expanded and dried. Anything crazy you don't like? trim it with a razor knife. You'll just need to watch after you peel it off. Some uncured areas will be exposed to air and foam out. Just trim that down with a razor knife. |
 |
| Here it is all pealed off. Interesting but perhaps too much... I'll trim in back. Easy peasy. |
Thursday, September 13, 2012
Subscribe to:
Posts (Atom)