Showing posts with label Terminus Est. Show all posts

Sunday, March 18, 2012

Battlefleet Gothic: Hashing Things Out


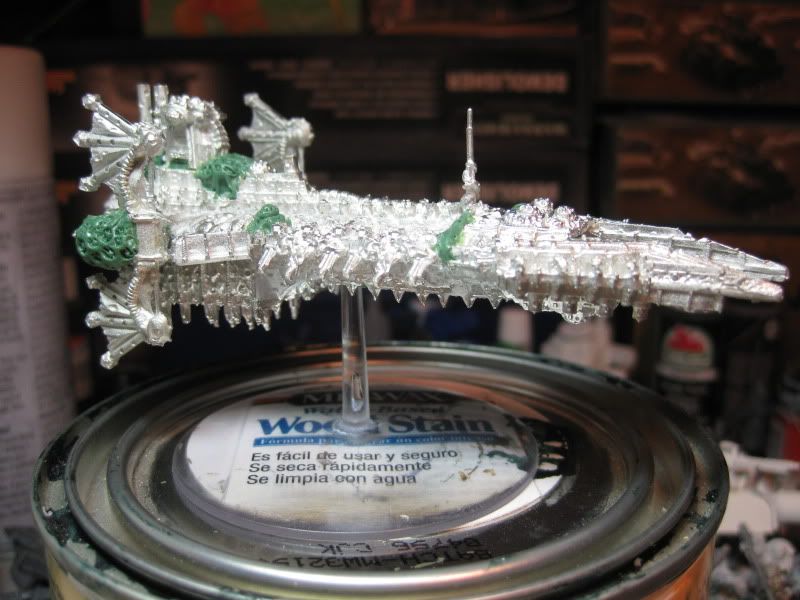
After a few small games I realized that for me, I dislike the Battlefleet Gothic Bearing Compass. I don’t dislike others using it, I just get tired of using the compass and accidentally nudging a model. I tend to use a laser level for movement too, so hash marks seemed smart and could speed up my turn while taking a bit of the fidgetiness out of the game.


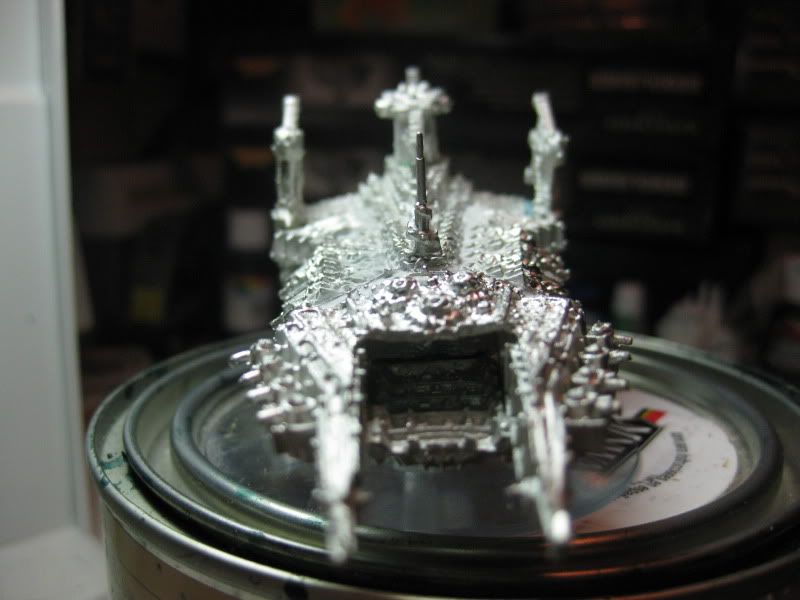
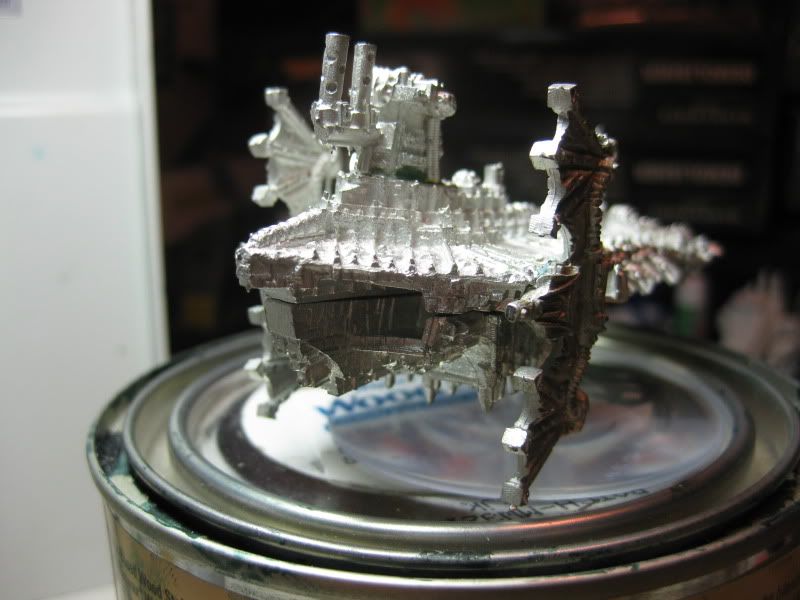
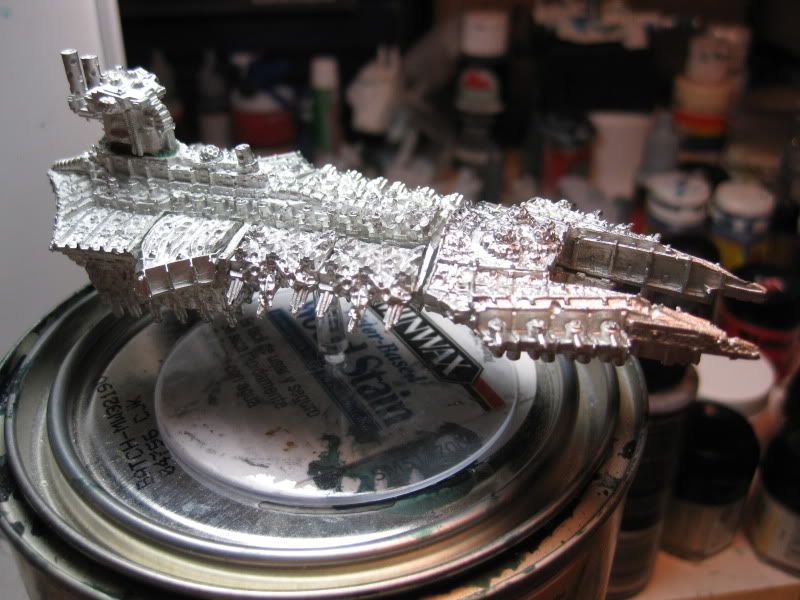
The problem was I have a ton of ships already finished so I had to come up with a way of making the marks in a clean fashion. I played with masking with frisket paper (too risky), print decals (looked bad) and gluing on raised dowel (too laborious.)

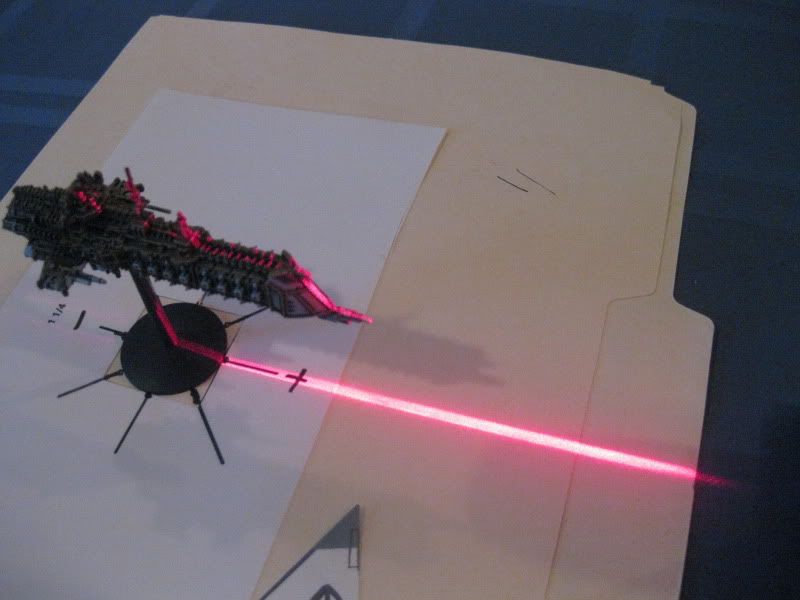
In the end I went with a chisel point Sharpie and a template jig I had laid out in Photoshop.


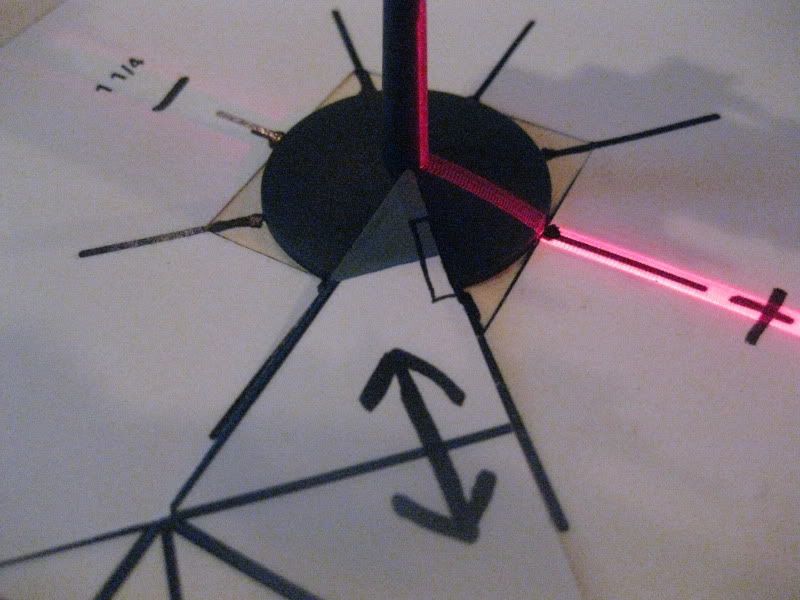
I printed out the template on heavy stock and then cut the square out. I then tacked it to a manila folder. 

I connected the lines of the template across the manila, to help line things up better. I made a register’s mark forward, for the bow of each ship.

Using the cut out of the square from the template, I removed one triangle to make a line guide for the marker. I painted it grey-green so I could see the template on the dark base. I put my register marks on there so I could use it on small and large bases. From there, gaming nature took its course.


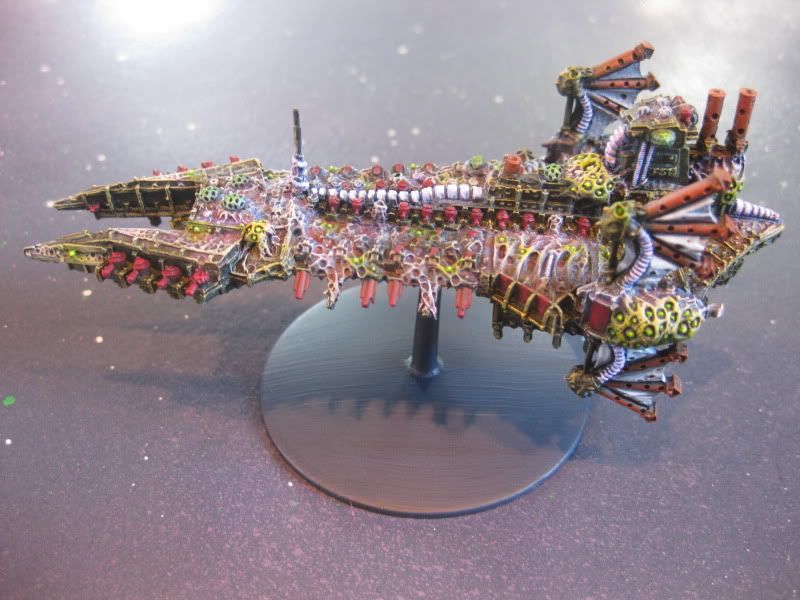
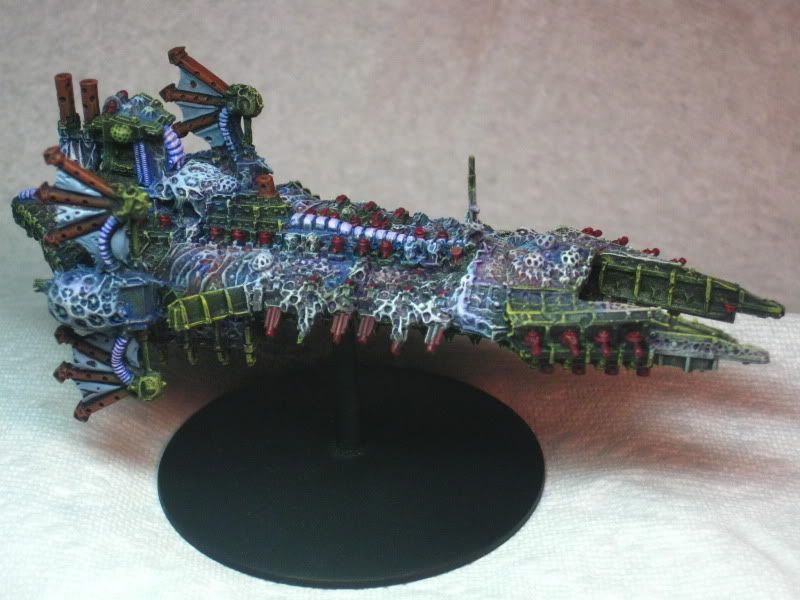
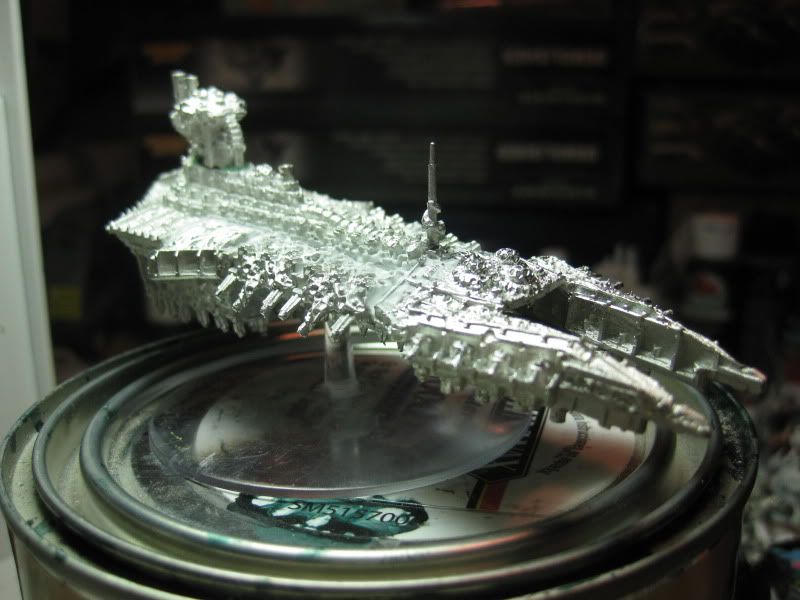
Since the bases were Dullcote'd and matte, the sheen of the Sharpie ink sorta pops but you could dull coat that if you wanted. It occurred to me halfway through the Chaos fleet that I could’ve used a Red Sharpie for a more opaque ink that would’ve been purple over the deep blue of the base. I may do that for the Eldar ships or just keep it consistent, not sure right now.

Overall, I am pleased. I wasn’t crazy about losing some of the blend-in-ability of the bases to the hash marks but they are definitely more enjoyable to use in a game and still look clean enough that it doesn't pull away from the paint jobs too much.

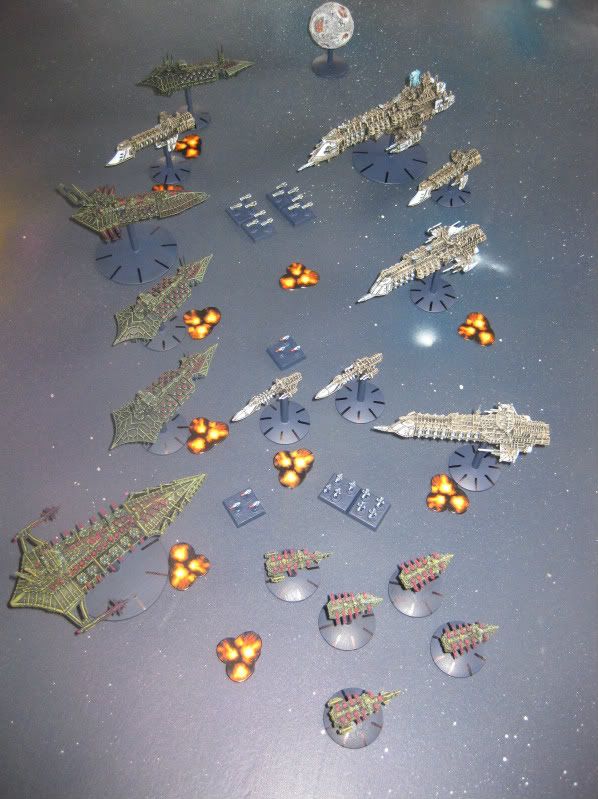
Here's a shot with a lot of flash so you can clearly see the hash marks.
More pics can be found in my Photobucket: http://s2.photobucket.com/albums/y15/ap3xg3rm/General%20BFG/

Sunday, October 9, 2011

BFG: Terminus Est Completed


So here she is, the Terminus Est. I may touch up a few things here or there like making the sails more putrid looking but that's basically it, she's ready to get underway. I added some old raptor jump packs to the side and a good amount of greenstuff. To see the WIP, go here.

Here is the stock GW model for comparison (image from GW's website)


Tuesday, October 4, 2011

BFG: Terminus Est WIP and new Recruit

Here's a WIP of the Terminus Est conversion I started a bit ago.


And here is a Chaos cruiser built and painted by my 7 -year-old son, Nate! That's my boy!


Thursday, July 14, 2011

Terminus Est WIP: Basecoated

The Terminus Est is basecoated and the purple foundation laid down for the putrid fleshy areas that come later. I think I may make the tubing running around the ship purple as well. Still have to decide what color to make the sails... maybe a blue with botches.

Thursday, June 30, 2011

Terminus Est: Greenstuff Done


BOOYAKASHA! greenstuff is curing. Black primer tomorrow. Bet.


BFG WIP: Terminus Est WIP


A’ight, The Est is coming along. I pinned the old raptor jump packs to the hull which was a fussy pain in the arse.


Today I’ll add some green stuff/bitz details to the gap aft of the stem, cover up the pins with some green stuff Nurgle sacs on the "wings" and then it’s off to primer land this weekend.

And…


I tell you, the stuff a guy gets into waiting for a Valkyrie kit he ordered to show up....


Saturday, June 25, 2011

Opinions Wanted

Ok, my Terminus Est is built and ready for priming but I feel it needs something. I do like the sleek look. Still, I'm thinking of adding old raptor jump packs to the port and starboard sides.

Here are the pics as-is:


Looking at other battleships of the same displacement, you see a lot of finials and such on the sides of the ship: shield projectors, sensor clusters and warp arrays. The Terminus has none of that.


Looking at the aft bridge stacks I noticed that the old raptor jumpacks (which I disliked) look similar to the stacks both with the pipes and cables of the bridge. I think they fit the description of the port and starboard Hives of Nurgle in the ship description here on page 4.


So I blue tacked 2 on to see...


Does this look good? Bad? Close but not quite? Suggestions?

Wednesday, June 15, 2011

WIP: Terminus Est Gap Filling


Ok, I got an email about using caulk for gap filling so I figured I’d post this up real fast.

By caulking I mean using white acrylic painter’s or white household caulk to gap fill. I don't use greenstuf for gap filling unless there is a need for a structural reinforcement or sculpted detail.

Below you see the port side is caulked and the starboard side is not.

Which side looks better?

I’ve been using caulk on minis as a gap filler for about 10 years. I say that because I don’t want to imply that it is easy to use or best for all tasks, it can be tricky and take time to use well. Since I come from a construction background, I have had literally hundreds of hours working with painter’s caulk and the knowledge to make it work. That said, I don’t think it would take anybody as long as that to try it out and make it work for some projects.

Appropriate: So looking at the Terminus Est here, you see that it is a wonky-looking ship to begin with. As far as BFG goes, gaps on smaller models don’t matter so much to me but bigger ships... the partitioned look really stands out. The three plug in batteries really don’t look seamless unless you kill the gaps and since that is something you want, let’s fill them.

A little goes a long way. Here, a dry brush is used to apply some caulk to gap. A damp brush will be used after this to smooth out the caulk since caulk doesn't stick to damp brushes.

A few suggested guidelines:
  1. Use a dry brush to dab on the caulk you need. A little goes a long way.
  2. Use a damp brush to move the caulk around, pushing caulk into joints.
  3. When you have the gaps filled, use a wet brush to either thin out/remove the extra caulk or use a damp brush to blend in the extra caulk since water thins or reduces caulk. Watch you don't ruin the parts you got right with the clean up.
  4. You can use a pick or razor to remove over flow or extra caulk.
  5. Half dry caulk shreds when you try to push it around so remove it while wet or let it dry and take it off with razor or pick.
  6. Squeeze out a little ball of caulk and put that on the end of the tip of the caulk tube when you are done and that will keep the rest of it wet inside and usable for up to a few months.

Tuesday, June 14, 2011

WIP: Ministorum Priest and Terminus Est

The priest received some base layers of browns and I blocked in foundation colors on metals and flesh. Obviously I'm trying to make him parson-like. I also blocked in the scars which will get some pink adjustment later.


Fast update: Terminus Est is assembled and ready for some gap filling. It was a fiddly kit, needing much off-center placement and bending with pliers to get alignment right. Fortunately, Chaos has little tolerance for precision, literally, and this Nurgle warship is no exception. If it was a Tzeentch vessel it’d be different story. I’ll hit it with some painters caulk for gap filling and some greenstuff to reclaim some details.