Showing posts with label Bushido Miniatures. Show all posts

Saturday, October 28, 2017

Bushido Best of the Web #2 and Other Game Updates


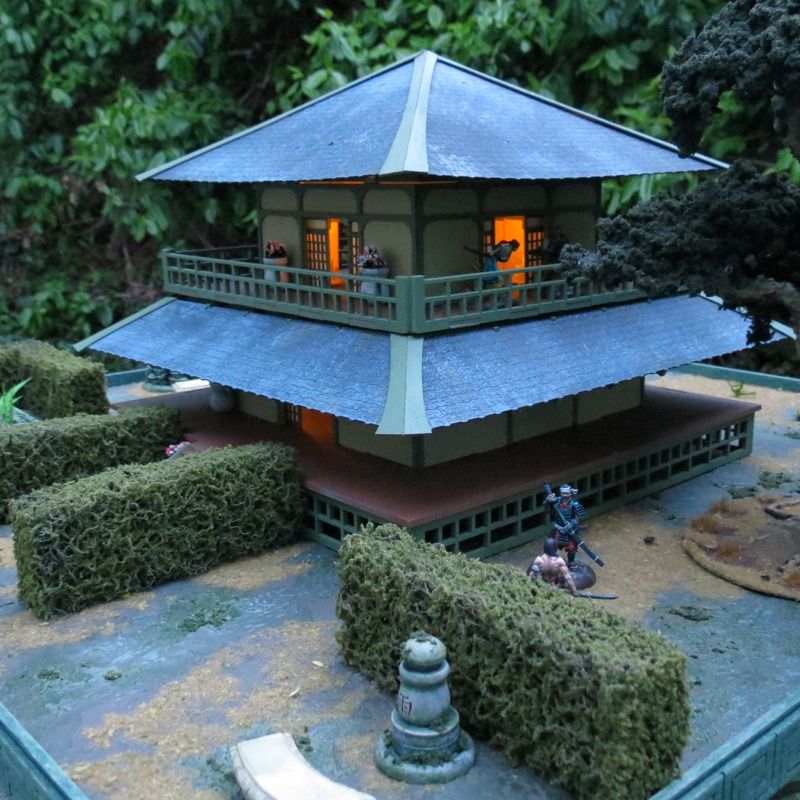
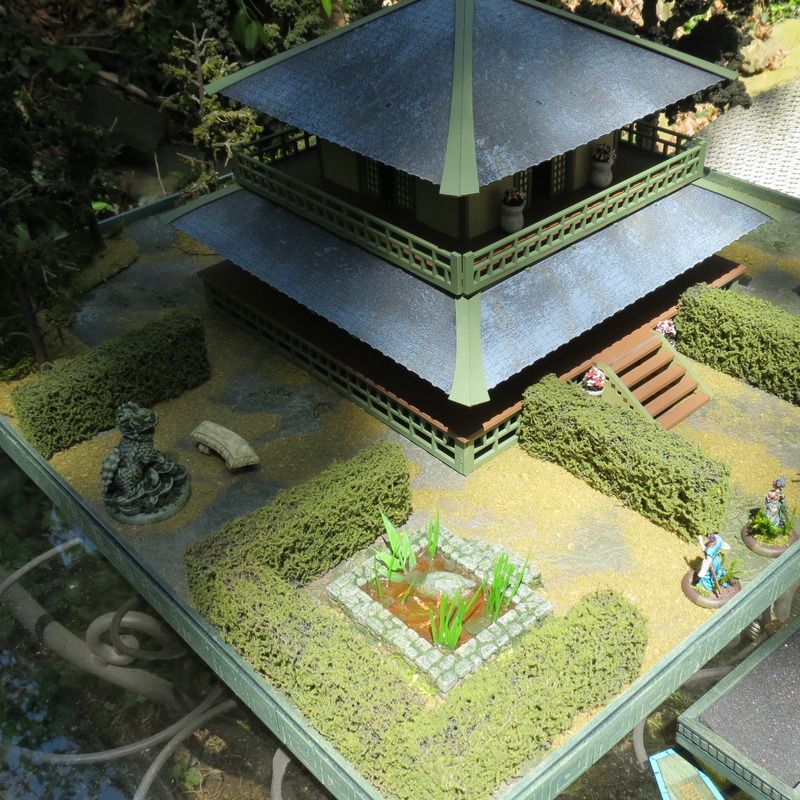
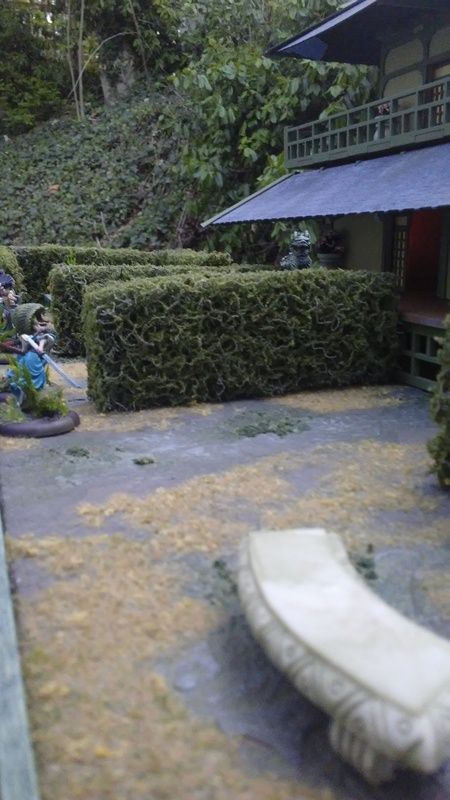
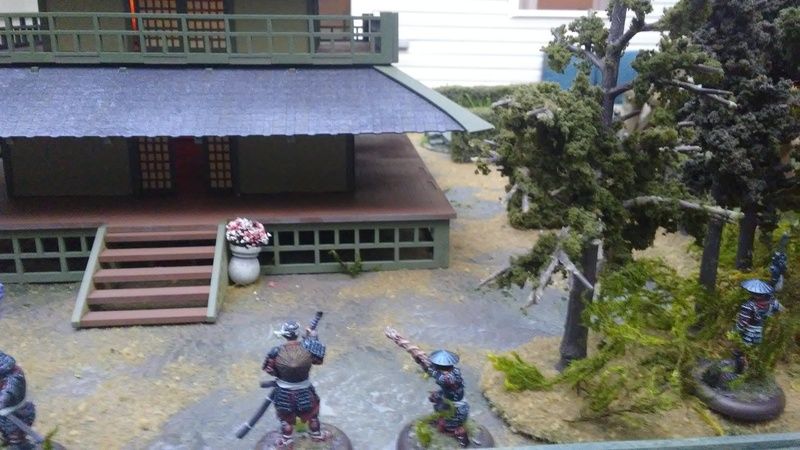
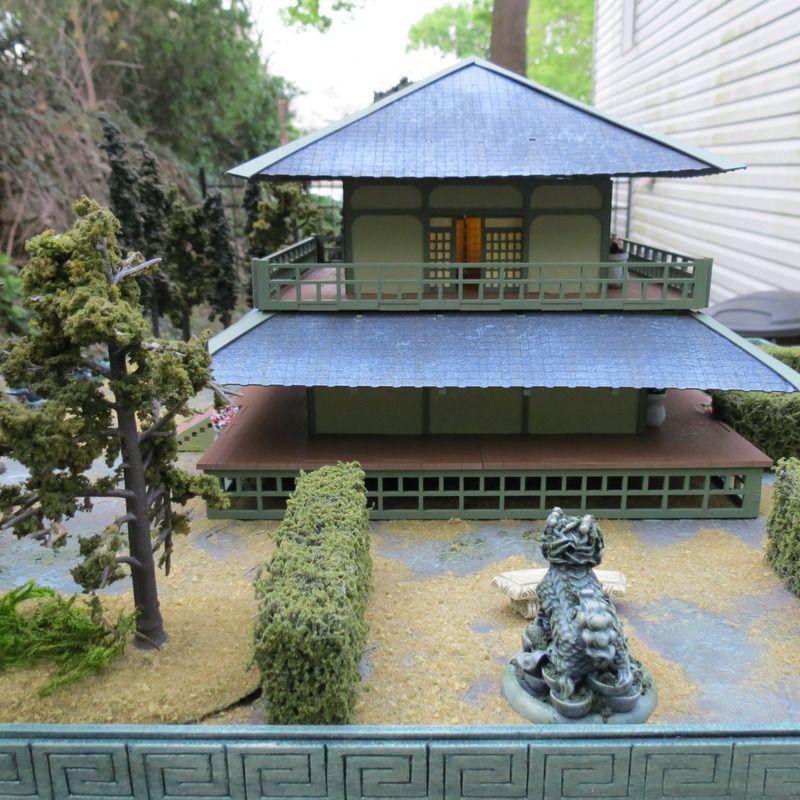
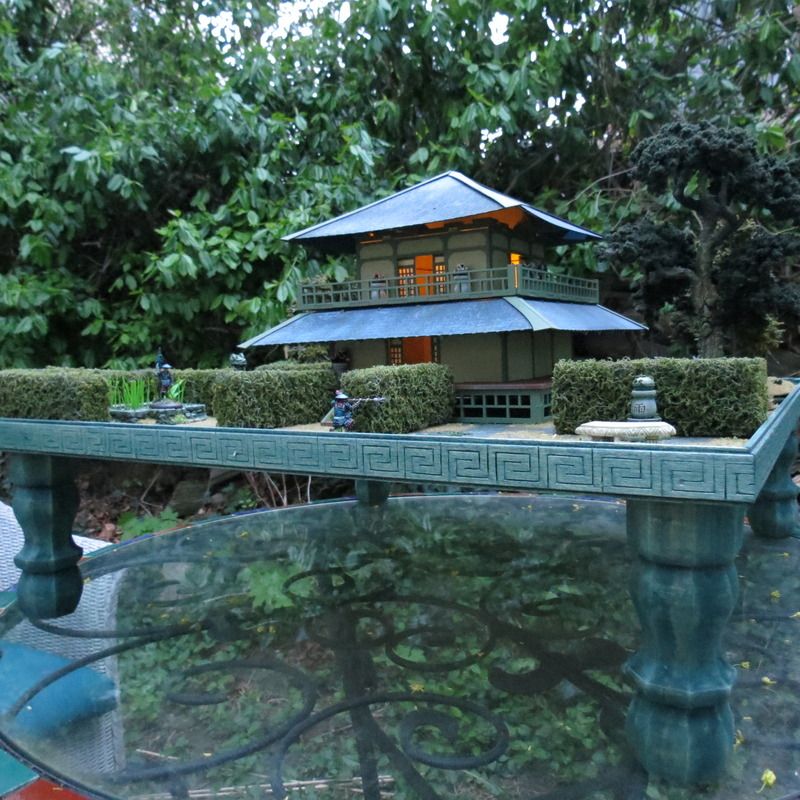
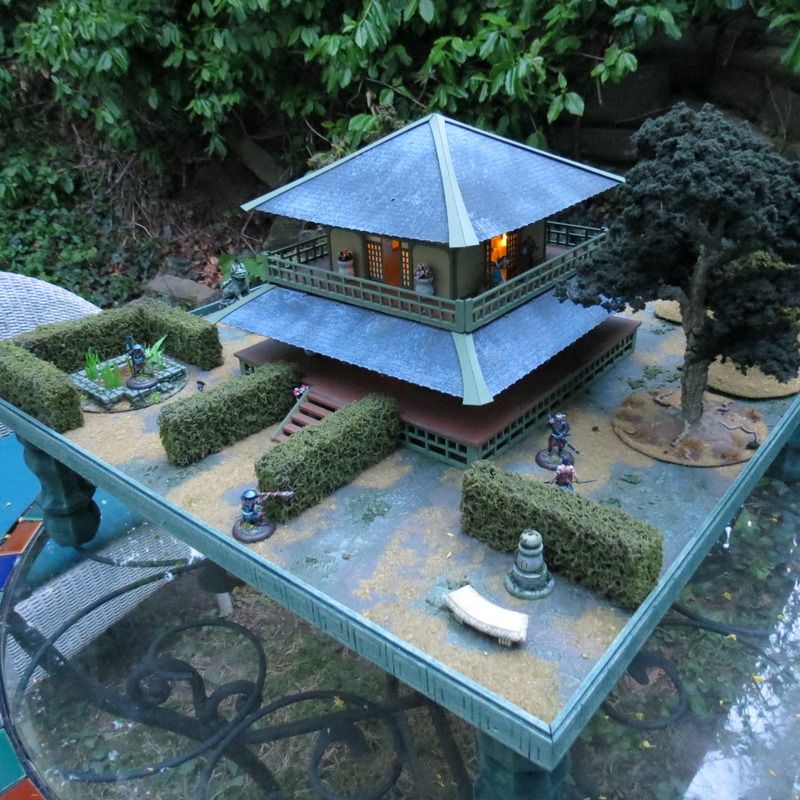
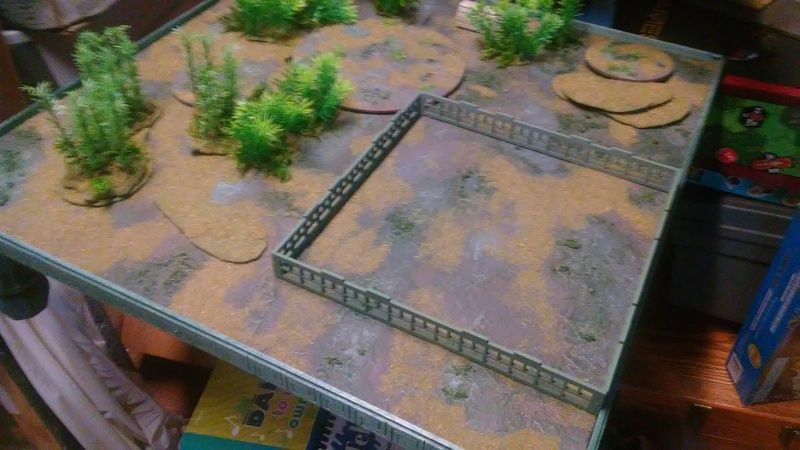
I got another Bushido Best of the Web for my recent Bushido board, checkout the link. You can see I did the usual elevated legs feature so there is room for cards, books, figs under the board and it generally makes it nicer to sit and look at, even with LOS checking. I had to spend a lot of time with the trim cut outs around the water features and I definitely learned a few ways to do this better next time, when it comes to trim and finishing.

I hang out on the Bushido the Game group on Facebook, if you are looking for an active, fun scene for all things Bushido. Join us!


I talked with Odin at GCT about the board, which was really, really cool (thanks Odin!) and I used the voucher I got from him to order some 4Ground hovels for the board, which should be sweet and in shortly. I have been wanting to build a board with "teddy bear fur" for some time, so I can start by playing with the fur roofs 4Ground supplies, meant to look like hay or thatch.

Let's see, what else have I been up to?


I made a pig sty for Bushido. Why? Why isn't everyone, really? It is a simple piece that adds difficult terrain, breaks LOS and adds theme. Don't know why but the second I got into Bushido I said I am building a sty. My buddy John said I need to make a drunk villager in there with the pigs. I think I will.


40K: Been played 8th and really loving it, but like a lot of things, not playing it enough. Trying to cast up some custom Chimera turrets and build out two non-heavy weapon squads for some lower point/high-agility objective takers. Oh! Both are armed with Plasma Rifles, having been sent to me as a gift by my buddy Major Downer over at the Imperial Guard Message Boards. If you play Guard in 40k, go check out that community. Thanks for the figs, Major!!!


40K Defense Line: I bought the Imperial Redoubt to go with this old set of Forge World defense line I have had forever. Not really into finishing this all at once but I am chipping away at it. So much Nuln Oil...


Valhallan artillery tractor: This is a Dust model lightly modded to be a light errand lorry. Again, this is a theme piece and looks good with the Valhallans, especially equipped with a handy snow plow for managing the airfields of Hammerfall V.


Scatter stowage/containers: My buddy Joe at Rocketship games offers 3D printed terrain and this set is particularly awesome for 40k, so I did up a set. Joe has a Kickstarter running called Kolony, you should check out. It features great printable terrain suitable for 40K and Infinity. I backed it, so should you!


Valhallan Barracks: I added in some DUST quansets as barracks to boot, easy adds and really dress the board well. Note that I used super glue to add acetate windows, simply letting the fumes of the glue "frost" the windows. I love efficiency. You could also spray the acetate with Dullcote but this was faster and more fun just to see the random frost patterns set up. 

I also snagged a Banebalde kit for US$75 which I should probably build soon. The club usually has an Apocalypse game in January. I guess I should order a second set of sponsons? Gotta get the new Codex to see what load outs there are.


Strange Aeons: Picked up some classic Ral Partha Vampires! I remember lusting after these at the Willow Grove Mall in Pennsylvania in the 90's. glad I finally got my hands on them for Strange Aeons games, not that anybody has a Threshold team strong enough to cope with the Nightstalkers.


Stuffed Fables: I am dying to get this game and paint up that stuff. So, hopefully soon. PDF of rules are free online already! Check it out at Plaid Hat Studios

Imperial Assault: With Legion looming in the distance it is easy to forget I have a lot of IA to paint and play with. At a family function I got into a conversation about Legion killing IA; I don't think it is going to happen, if anything, Legion may drawn in players that don't end up caring much for the scope and hobby demands of Legion games and maybe they go IA, and enjoying that much more. We'll see. I will likely want to start the IA queue for this after I see Last Jedi (got my tix already!)


Robotech: I haven't done much here but pulled out the last of the Regults I need to do to get the base missions going. Looking forward to playing this and painting up some Zentradi female power armor too. I have had this game too damn long to not have played it. Sigh.

As always, follow me on Instagram for more frequent posts on Yeti doings: sarcophagi_yetisyell

Hope ya'll are productive and having fun!

Best,

Yeti

Wednesday, April 26, 2017

TTCombat: Yu Pagoda Finished (For Now)


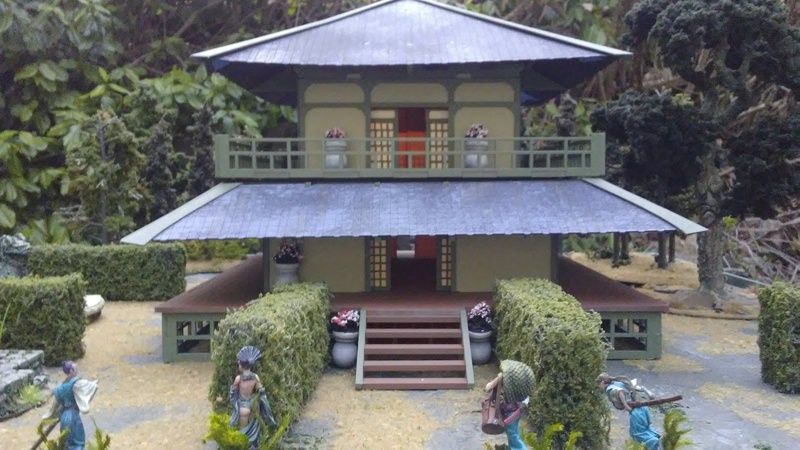
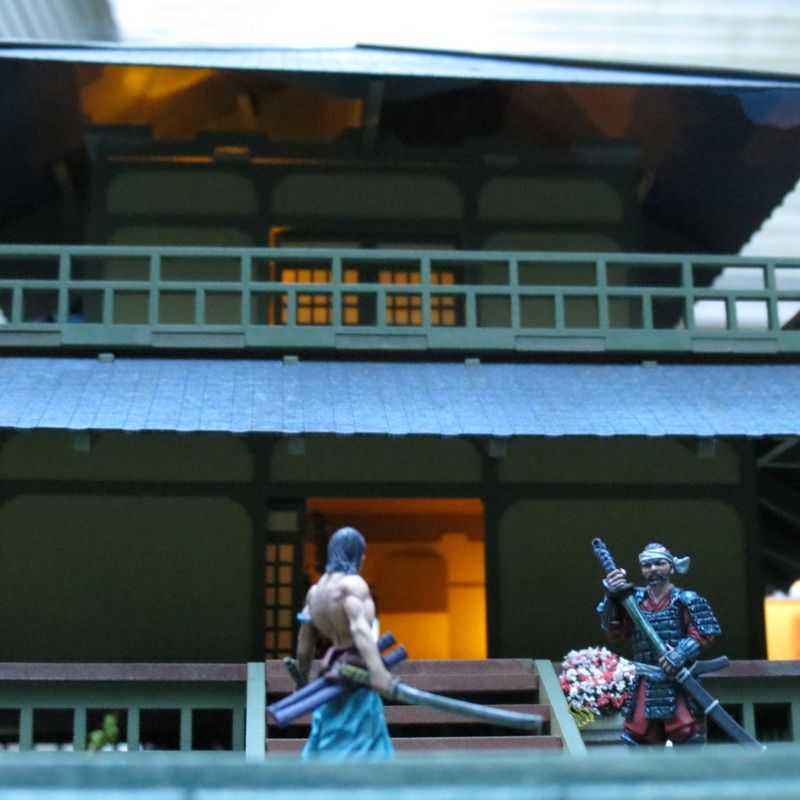
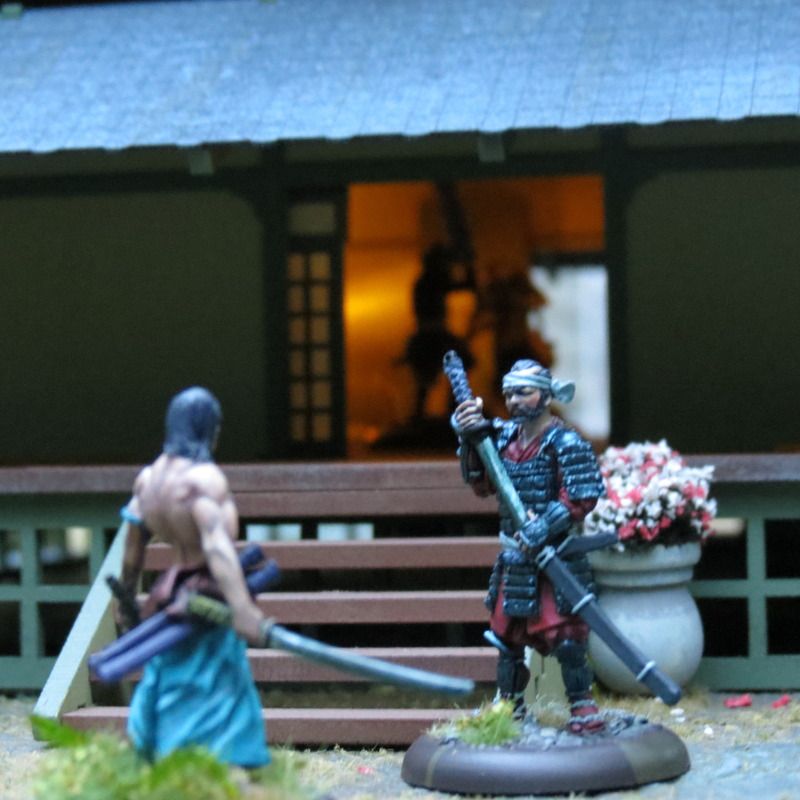
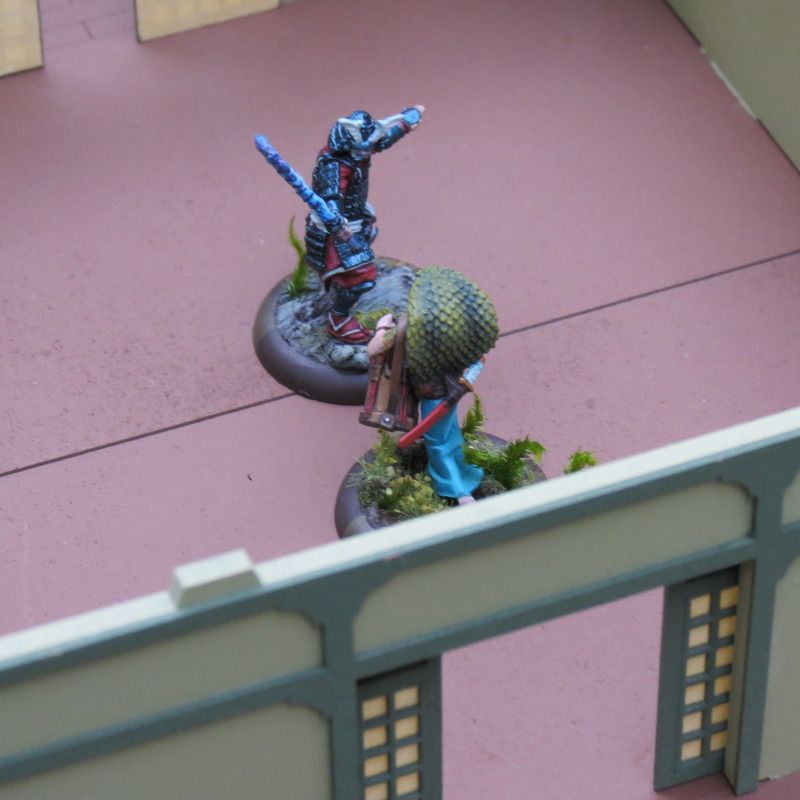
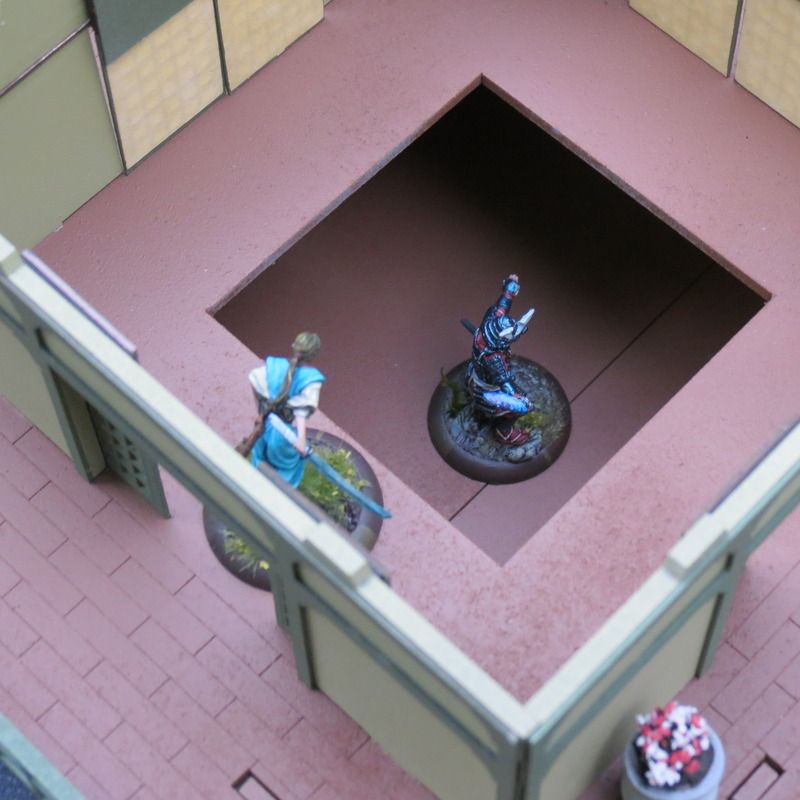
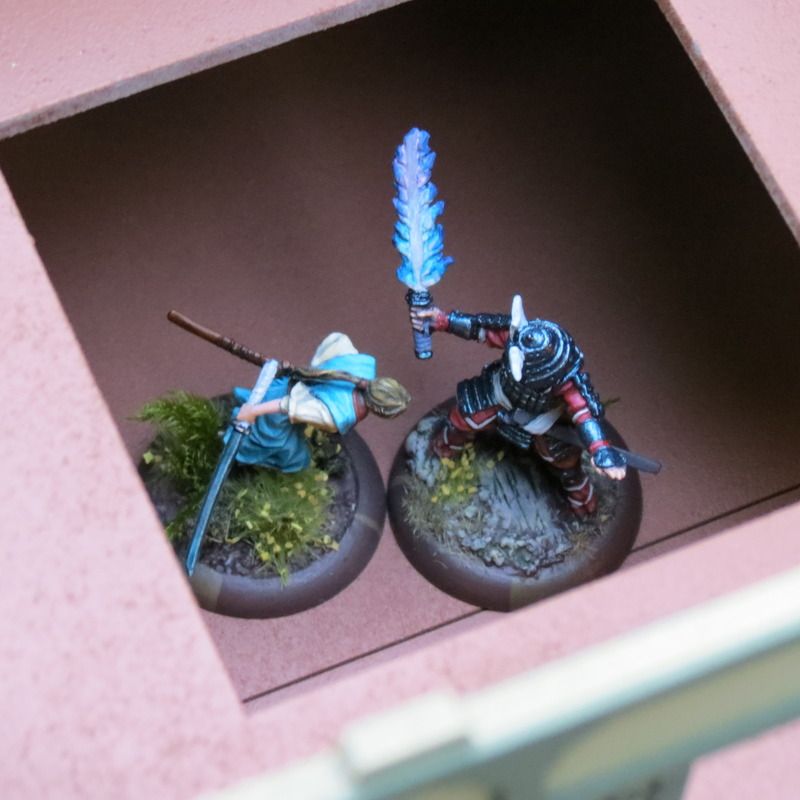
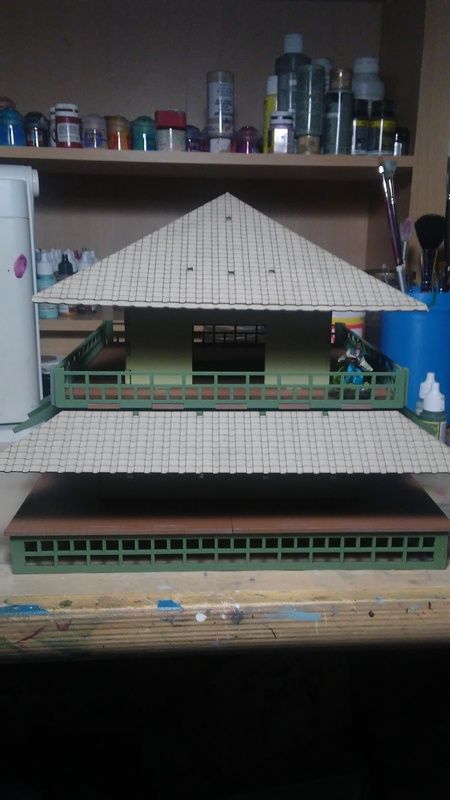
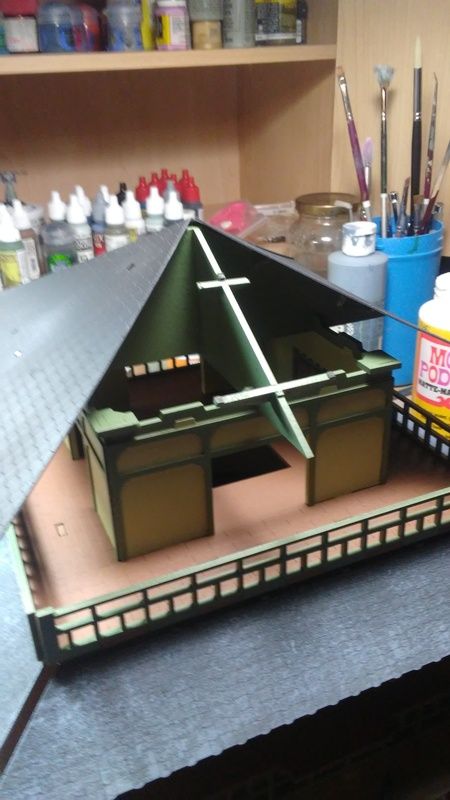
Part 3 is found here. She's done for now. All-in-all this was a very fun kit. A few closing thoughts on the build: This is a high-quality kit, worth the price, even to the US from the UK. It is well-designed and sturdy, and sections lift off clean during play. With building, it pays to take your time with the kit and listen to yourself about how you want to modify it, if at all. That said, even unaltered it is beautiful. And imposing! This will dominate your average game of Bushido, with a 11"x11" footprint. Verticality will have to be a house rule in some cases, depending on the game system but for Bushido, well, we will have to have a batrep and see how it changes the game. Lastly, after the roof was together, I plan on running a bead of dark caulk underneath where each of the roof tiles meet, to strengthen it just a bit, and keep flex from warping or popping the tiles; just a suggestion.

I am really looking forward to some Bushido games with this... well done TTCombat!


TTCombat: Yu Pagoda Build Log 3


Part 2 can be found here.

At this point, the Pagoda is very sturdy, mostly together and I admit that I wasted one night moving figures around on it making ninja noises in the basement. Pretty damn exciting for me. The wife probably died a little inside.

The instructions have the doors either glued open or closed. The doors themselves are 2 parts, a front detail layer of laser cut grey board and a backer to make it rigid. I wanted two things with these doors: 1. keep the detail to let light through and 2. Make them movable.


First I tackled the detail/light issue. That was fairly easy, I simply backed the painted detail layer pieces with parchment, glued with matte Mod Podge and left the original second backer off. Sorta flimsy but ok and beautiful with lights showing through.

Then I spent another night finding a way to make the doors move. I prefer a more forgiving design when it comes to making 6 sets of doors movable.


I finally settled on a design where the door hangs via a metal track on the wall, and a magnet attached to the door, allowing the doors to move around and also simply detach when gamer hands smack around inside the buildings.


My design was mostly because I could source all the parts from what I had laying around and reproduce it over 12 doors. The tracks were size 2 jeweler's saw blades, tooth-down, which happen to perfectly span the width of the walls, sorta like a lintel. I used Mineral Spirits to de-grease the blades and then used, you guessed it, matte Mod Podge to glue down the tracks.


I cut a length of the backer to lag over the top of the door and leave a space for a flexible magnet. Getting them all together only needed some trimming by eye to get the magnets on top of the door flush and square. Flexible magnet ribbon is best for this, about US$3.00 from the DIY. I just had to use Mineral Spirits to get the adhesive off for the super glue to adhere.

So that's it for the doors! The lights are simply flickering LED yellow lights from Amazon placed around the inside of the Pagoda, keep it simple.

Then I weathered the roof but you see it too much in the pics. It warms the grey sufficiently so it looks good next to the trees and such.


I then set about making some planters of flowers using wooden bobbins primed grey and weathered a bit after drybrushing greys to off-white, Woodland Scenics green sponge and flower flock.

So that is pretty much it for now. I plan on detailing the inside of the pagoda at some point, especially after I get a few games in with it.


Up next: GLAMOUR SHOTS and final thoughts

Tuesday, April 25, 2017

TTCombat: Yu Pagoda Build Log 2


This is a continuation of part one, found here.

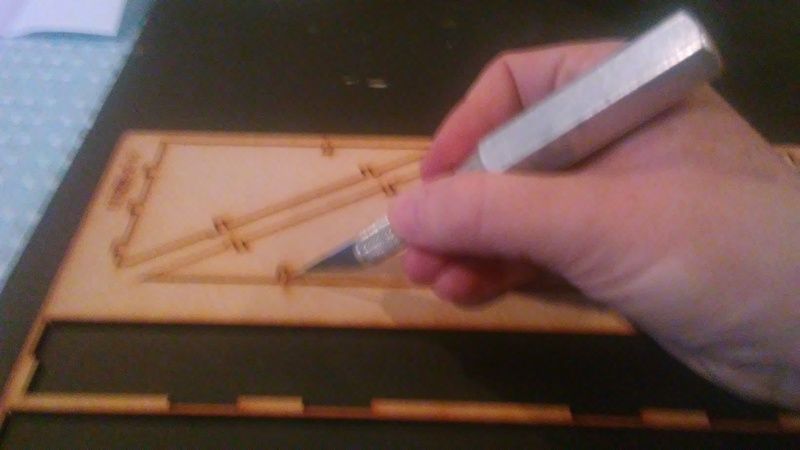
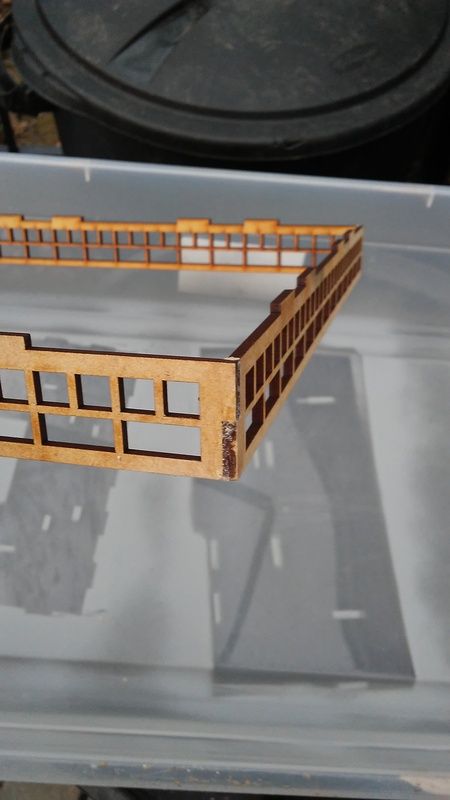
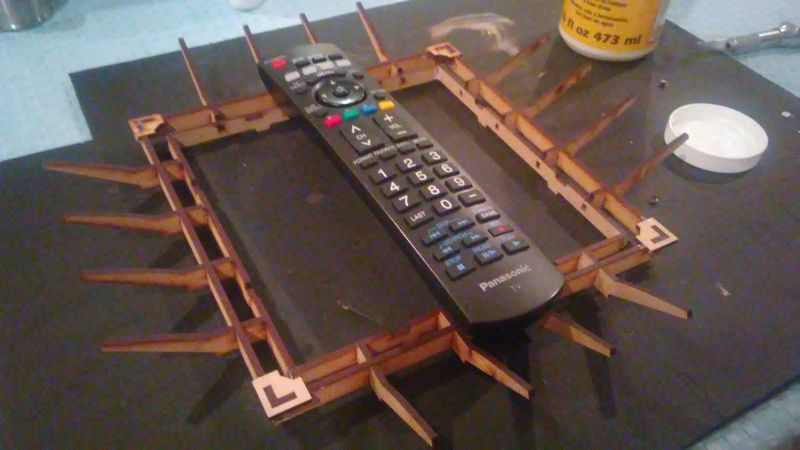
Okay, where we last left off I had the unfinished pagoda separated parts out from sprues, cleaned and wiped with a cheese cloth (aka tack cloth.) This grabs all the soot from the laser cutter and sawdust from sanding parts, which keeps the painting clean.

I marked up the instructions with all my colors
For the record, these downloadable instructions are good overall, just a heads-up that the first floor awning assembly is tricky with the keys for the corners... make sure you dry fit them the right way, they go in a particular order.

Beware. Be read. Be ready.
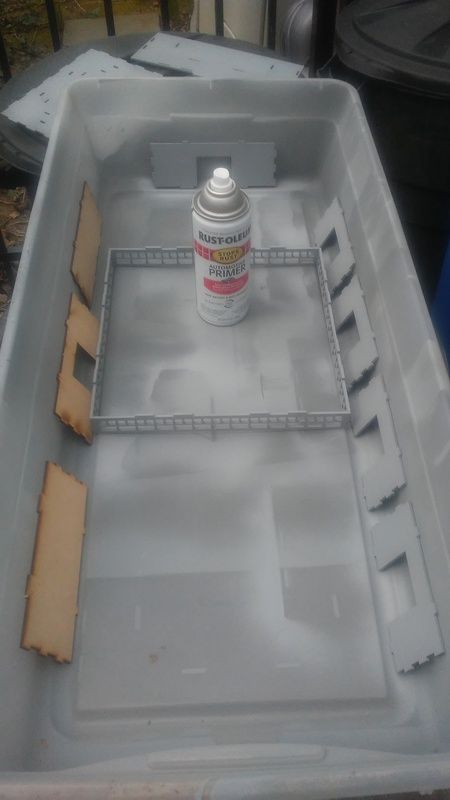
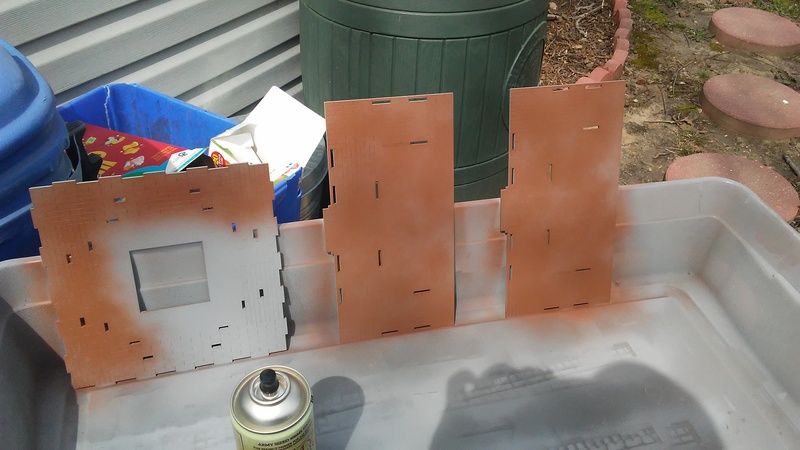
I decided early on to paint these pieces as I went, thinking that the time taken to paint with rattle cans will save a bunch of grief in the long run. So, all prepped, I took several evenings to spray prime all parts with Rustoleum Grey sandable auto primer and then Army Painter spray colors.


Pro tip, if you are spray painting a bunch of stuff and the day is sunny but low humidity, you can put your painted parts in a dry cardboard box and it acts like an oven to speed up total curing. So, spray paint, once dry to touch, throw that stuff in a sunny box and let it do it's thang. Keeps grit off the dry-down too.

I kept the colors on this simple. 3 colors plus weathering at the end (excepting the roof, which was a grey I had laying around.) I used Army Painter colors Army Green, Leather Brown and Necrotic flesh spray with matching brush on paints (which are extremely close matches.) In the end, I used 1.5 cans of spray primer and 1 can of each color, more-or-less.


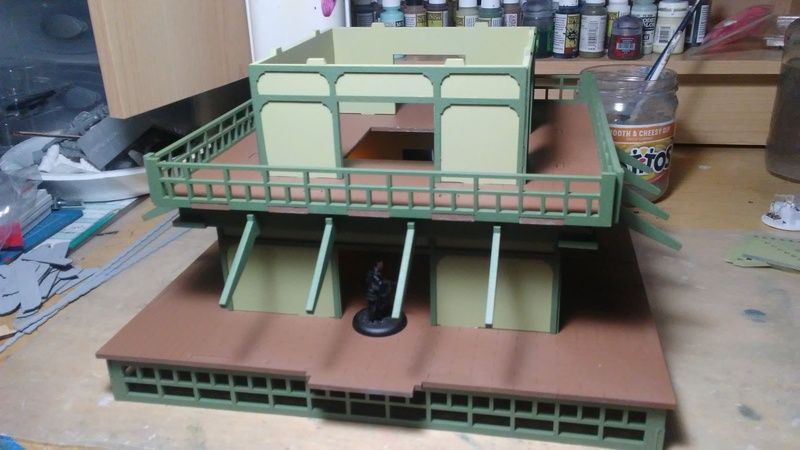
I used Mod Podge Matte finish to glue everything together, except for the base, which I used Gorilla Glue for extra bond strength. That beautiful base will bear a bit of weight so it is smart to used a stronger glue for that. All parts sprayed together, I proceeded to fit pieces together and glue. Note that with the tabs, it helps to round off the edges to make fitting easier.

Laying up the parts, facade added as well... painting them separately makes for a clean finish.


You better cheese cloth the hell out of the gray board. Test fit looks good. Tip: Use blue painters tape when you glue the roof down. Apply glue, adjust roof sections until they are level and use the painters tape to hold the parts together as it dries. Since the roof parts tend to bend and not line up exactly, the tape really helps pull everything square.

Roof parts primed black then sponge/dapple painted with grays.

Up next, modifying the doors so they move, finishing details, lights, final assembly and glamour shots!

-Yeti