
Touch up and finishing the board's sides isn't as glamorous as a resin pour or making stands of bamboo but it is important and as you have probably seen by now, sometimes the materials fail even as materials succeed.
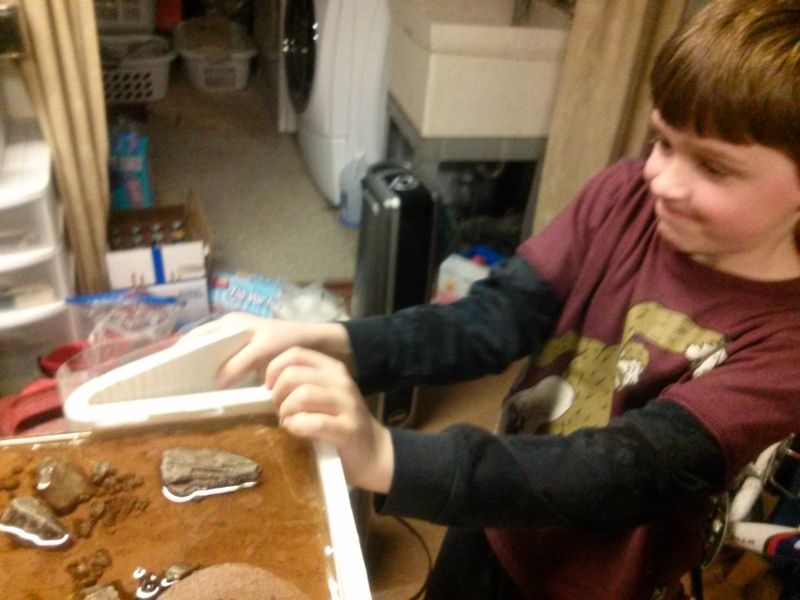 |
| My son Nate pulls off the corner dam. |
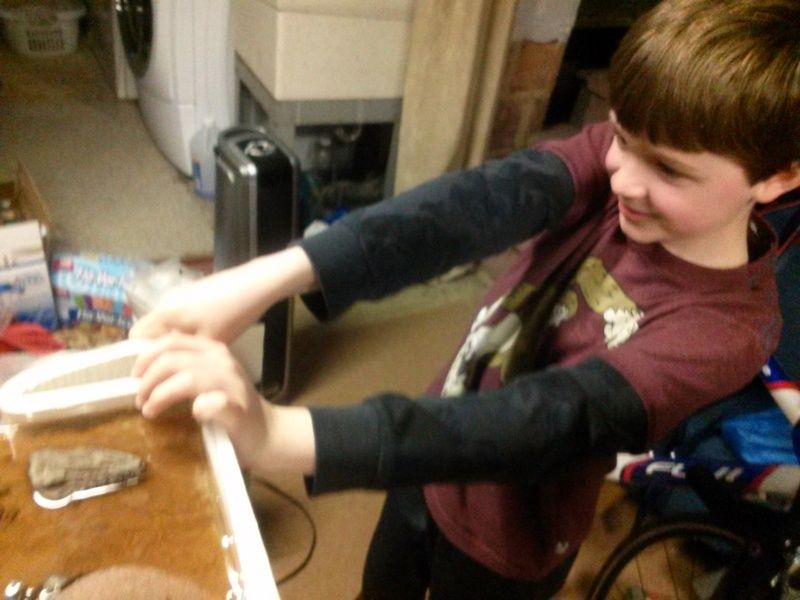
In this case the foam sides ripped a bit here and there when pulling the second resin dam off, mostly due to the cheap foam I used to begin with, but no worries, we'll clean it up. Peel off the silicone used to seal the Duralar to the board and you are ready for caulk.

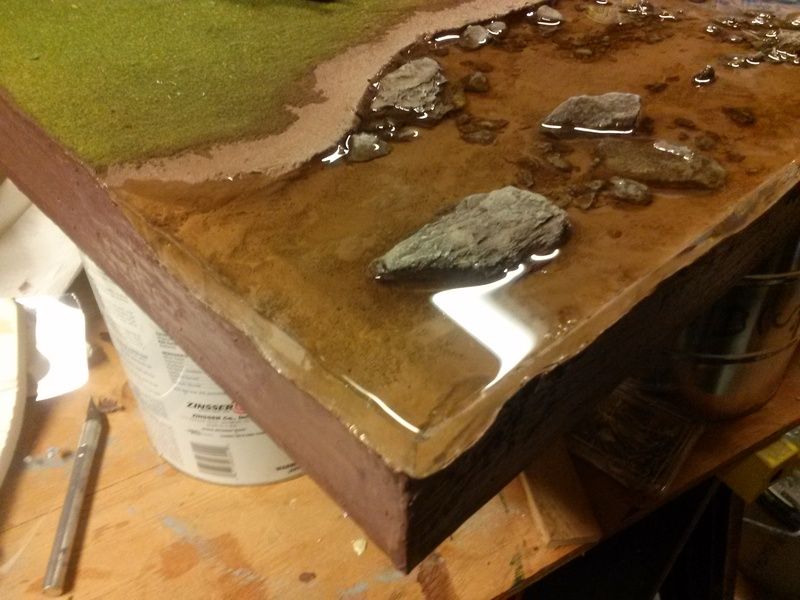
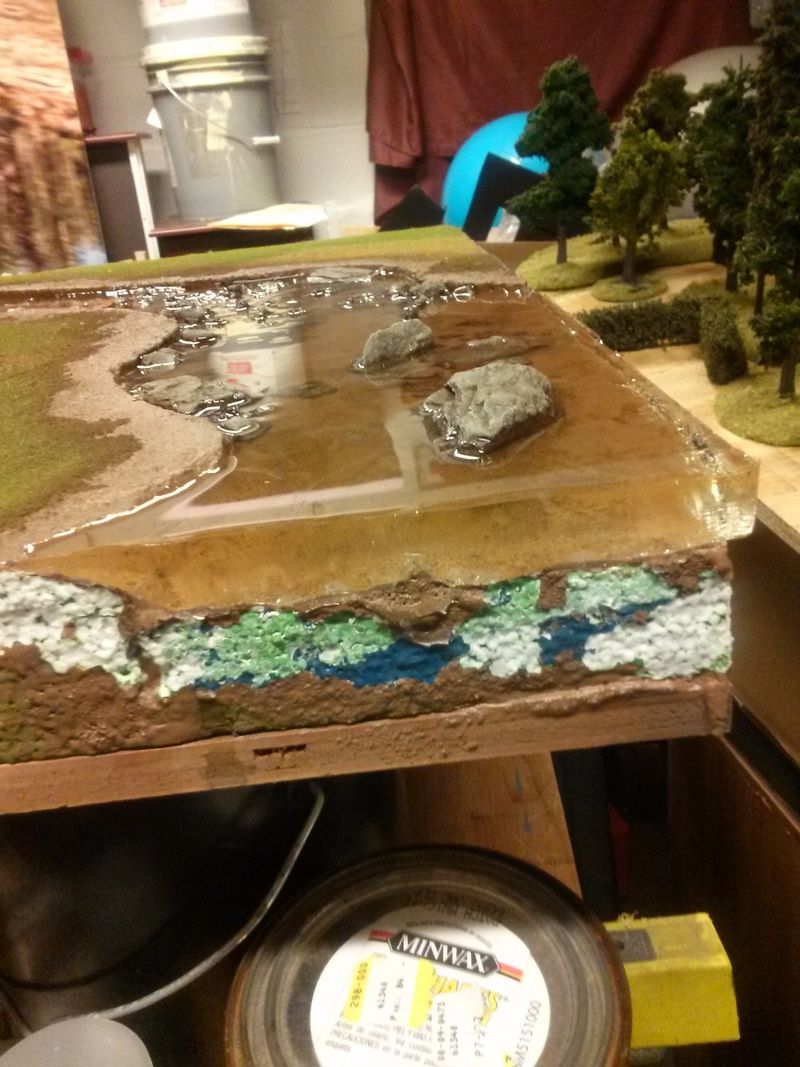
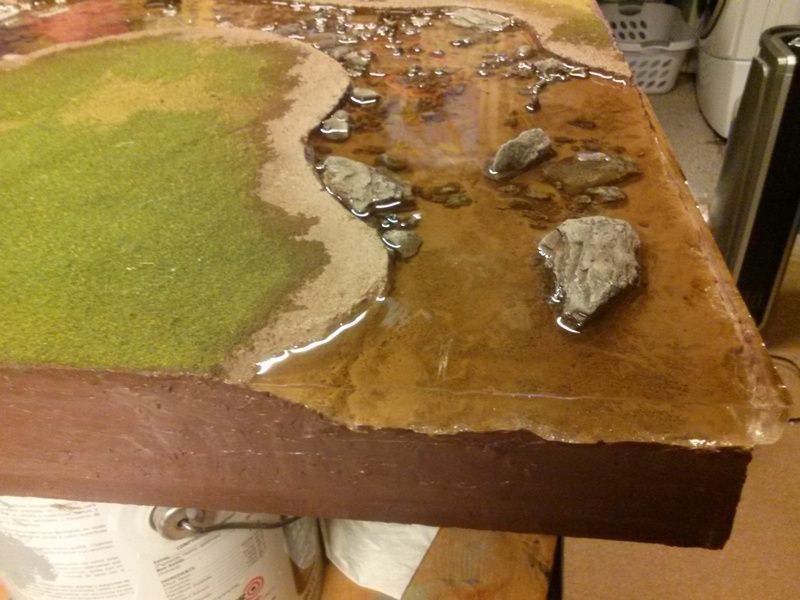
In previous parts of this build I mentioned I had to do a small, second pour on one end of the board, because the initial 33oz didn't quiet fill the whole thing. So I mixed another batch and filled it in. With that cured, the second dam comes off and we can tackle the "facing" or sides and bring the whole thing together by making a nice "show side". For this task you can use wood veneer, foam core or something similar. This time I used brown caulk, since I wanted to clean this up in a fast fashion and not paint it unless I really needed to.
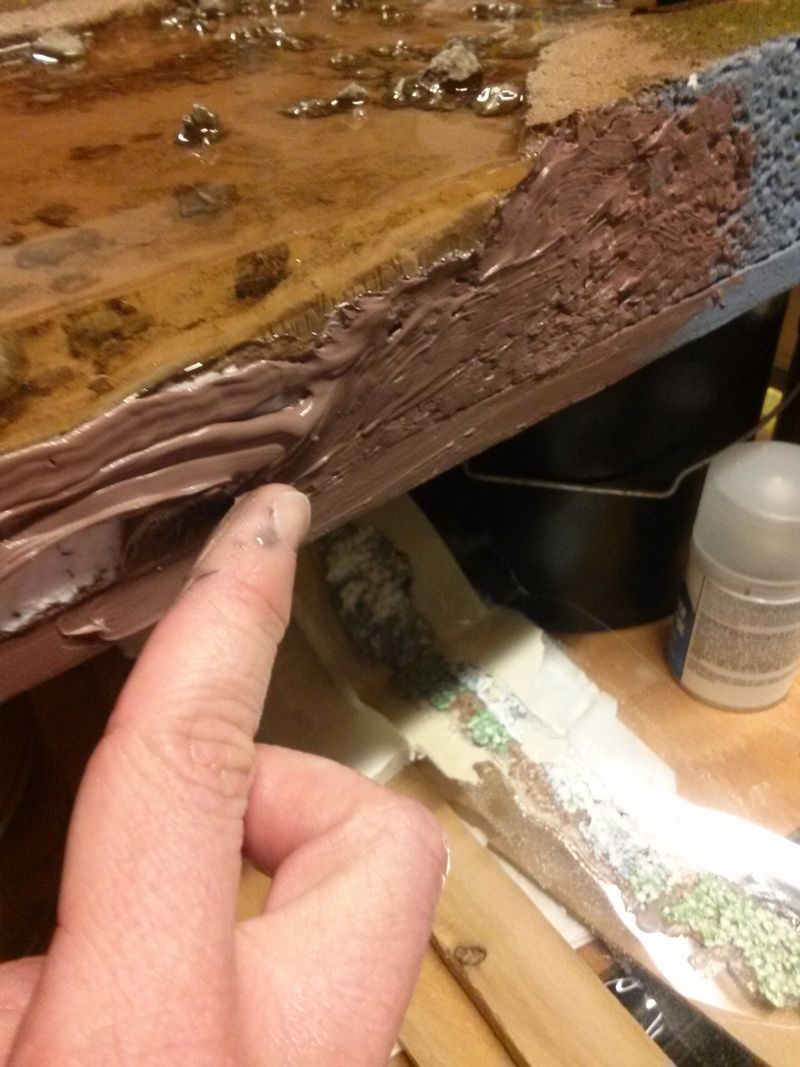
Using a wet wedge of cardboard to skim the caulk once it was applied, I filled in around the resin water sections, making clean lines and smoothing the irregular portions of the foam. In all, this was 30 minutes of work, though I know my way around a tube of caulk. If you are new to that, practice first. Read the "tooling" times listed and mess around with it. I use caulk in MANY terrain builds. I even sculpted a missing brink on a fireplace entirely out of caulk on a construction job... it's versatile stuff so give it a try and keep it handy. You'd be surprised what it can do for miniatures too.
Up next: The Bridge
No comments:
Post a Comment