Wednesday, January 21, 2015

Bushido: Lit Pagoda Terrain


I used 2 Petco aquarium decorations as the basis of some terrain for the Bushido miniatures game. Looking back, I was sorta bummed I couldn't make them more playable than they are but the next round with a few more should get me a bit further with accommodating the various bases used in the game. All told, there were a few solid nights of working on these and figuring out what to let go and what needs addressing. These are powered by battery-operated tea lights, which have batteries that the magnet mounts you add grab on to. Let's let the pics tell the story.

How'd they get like this? Read on. Note the battery operated tea lights to the right, used up in the roofs of the pagodas.


Bushido uses objectives both small and large as well as two different areas of control (per Bushido Tournament pack). I wasn't sure if this piece would work as a large area of control but figured I may as well base it on the 8" circle the game uses. I sourced the 4" and 8" from a great company, Woodcrafter.com. Good prices, great service, give them a try.

I glued textured wallpaper to the circle.
Weight it to dry it flat. Afterwards, sand edge with sanding wedge. Then prime with oil primer. Use oil primer on paper and sponge because the oil penetrates deeper and sets up better once inside. That makes a better barrier against warping, makes the material more resilient and works better for paint in general. I use grey oil based primer.
I cut to fit a wooden wedge to go up into the top of the pagoda. I seated it with Gorilla Glue, which totally fills voids and dries rock hard. After that dried, I glued the magnet to the wedge as a mount for the battery operated tea light.
Once the glue is dry I cleaned up all the mold lines, flash and junk I could find. I knew I'd be sponge painting this so I wanted it as smooth as possible. Note that I started to backfill the rock.
Pull up the included bamboo. Keep it for something later like oh I don't know, a koi pond.
Time to backfill the voids. Oh the voids you'll see. Ok, according to years of construction experience, anything can be made out of caulk. In this case it just needs to be a rock. jam up the void with paper towel. Then, cover with caulk. It will dry and be pretty solid.
On the right, the rock is sealed with brown caulk. The left still needs sealing.
Black foamcore cut into tiles with xacto. Use a lid opener or burnishing tool to press some tiles down to create an uneven look that works for ancient things.
Here we see the floor glued in with Gorilla Glue. Notice the corners loaded with paper towel, ready for caulk.
An caulked. Let that bad boy dry at least a day.
May as well drop in caulk around the floor. At some point soon I glued the pagoda to the base using Gorilla Glue.
Testing the fit of the lights.
Sponge paint mode go. I keep a bag handy for all the packing foam to use for painting. I think all my Warmachine blisters gave me all I'll ever need.
Pro tip: Remove all rings if you are holding something large like this pagoda. Rings will gouge the crap out of what you are painting. Same goes for throwing dough for pizza and pasta.
Painting almost done, adding the moss to stones and nooks.
Test light. With the red clay look, the light looks great.

Now on to basing. Using a bag of dried ferns from the local craft store, soak a frond. This part assumes you painted and flocked the base otherwise.
Dip into Modge Podge.

Here we see a pagoda right before general flocking. After that it is fern time. Find a good spot for the ferns. Anyplace that isn't viable game space that will see figures is a good idea.
Plop that fern down. Do not worry about all that white Mod Podge all over the place. It dries clear. Plop more down if you see it breaking loose. Here I added darker clump foliage where large blobs seem to be able to hold more.
Almost done.
Time for a test-staging. Looks pretty good. Here we see 2 pagodas along with objective counters sorta haphazardly placed.
Temple bushi busy in the temple, uh, ushi.
Okay, so VERY atmospheric and great for Bushido miniatures. As stated, I would like to make them more playable by making the openings at the top of the stairs larger and the stairs themselves elongated. Maybe some of you can with a bit of putty or foamcore.

Well that's all I got for now. I am finishing my Ito clan starter now and hope to get a painted batrep up soon. I am also building a 2'x2' board likely to feature a pagoda like the above and enough bamboo to line 457 Banana Republic stores.

Bushido: Finished Koi Pond


Because why the hell not. The first part of this is here.

The only fail here were the lily pads made out of paper napkin, dyed in green paint. The resin over-penetrated the lily pads, turning them translucent which actually looks kind of cool though impractical for people associating them with what they are. Also, I got greedy and decided to not pour in two layers to add "height" to the swimming fish and elected for one whole pour. After the pour I added moss into the stone work and also covered any resin that crept during curing. Did you know Envirotex creeps through gaps and even up planes as it cures? Now you know.

So, I koied the koi out of this koiing koi. Koi yeah.

Pics from the build plus notes:

Painting this here damn thug pond
Adding foliage
Silicone caulk to anchor the plants. It will dry clear and be invisible down in the resin.
Drying caulk.
Clear as a... clear thing
These are terrible fishes
At first the turtle was on the rock but I figured that that would cut down on the space models could stand upon.. So, turtle went into the water.
Don't be koi.
Make a turtle noise now, outloud.
Mixing the moss for application
You can see the resin that crept up out of the pond into the cracks of the rocks.
Adding the moss
Down to flock
 

Friday, January 16, 2015

Star Wars X Wing: Highjacked Decimator


Sometimes you paint the engine glow on a new ship just in time to see your 10 year old son get inspired by that, take your new ship, run it against you and proceed to destroy you with it.

WIP: Bushido Koi Pond


Just a fast update on a Koi pond I am making for Bushido (& Strange Aeons I guess). This started as a CD, which I loved thrashing up with steel wool to give adhesion a better surface. The hole had a piece of painters tape over it then texture on top. I textured it inside and out then painted it all. The blocks are Hirst Arts castings from molds I own. The reeds were cut and trimmed and attached with clear caulk which has dried in the pic above. That is a better way to anchor these things for the resin pours. It won't show up visually or react to the resin, kills some areas where bubbles may form in the undercuts and stays flexible even as the resin heats up and then contracts. The reeds were from some aquarium plants I picked up.

I sculpted fish and a turtle out of green stuff. I cut out lily pads from paper napkins, using the embosed details to give them some texture. I then soaked them in green paint/water wash and set to dry on cardboard. The plan is to do one initial deeper tinted pour with some fish in that layer, then a clearer pour at the top with one or two more fish at that layer. Lilly pads go on top and the turtle will ride a rock, chilling.

I'll post up more as I go.


Tuesday, January 13, 2015

Hardened Valhallan Vets: Kitbash (and Forge World scanner and GW Objectives)


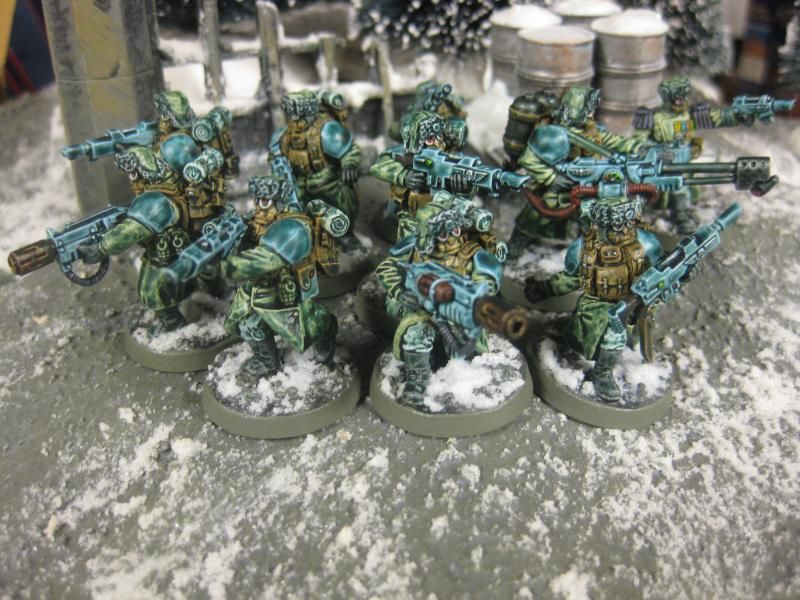
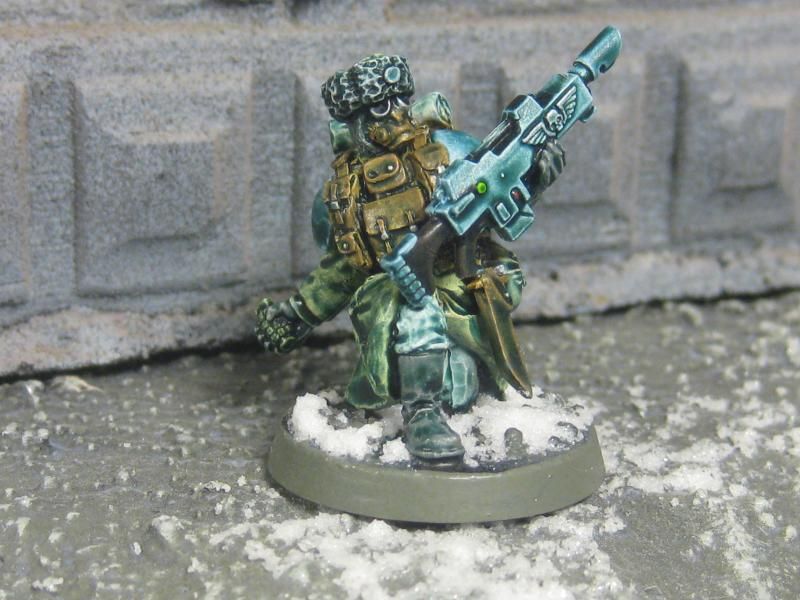
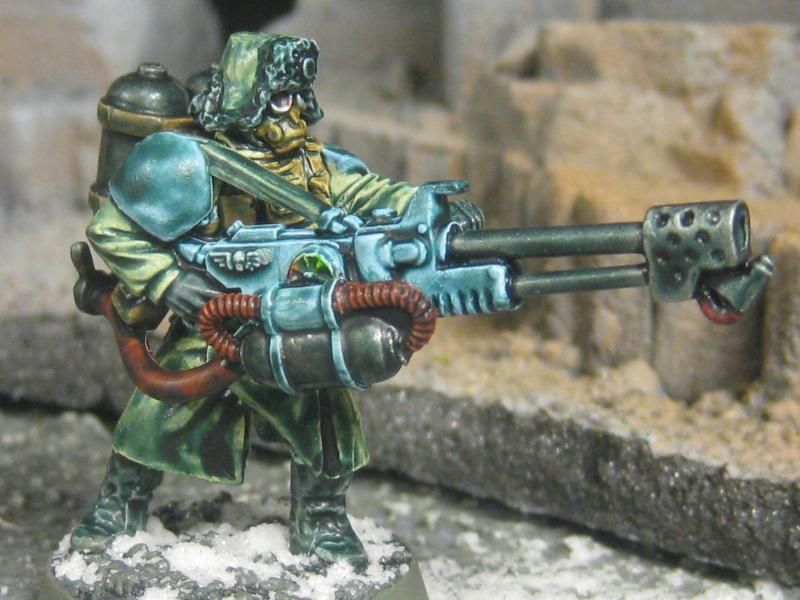
Here are some Hardened Vets I recently made for an event I couldn't attend. Awesome.

These guys are a kitbash of GW Cadian arms, lasguns and metal SM meltas plus some Maxmini torsos that I built backwards so they became what looks like chest rigs facing forward. I had to trim the collars off to make room for the Pig Iron Colony Militia heads and greenstuff neck/cloth.

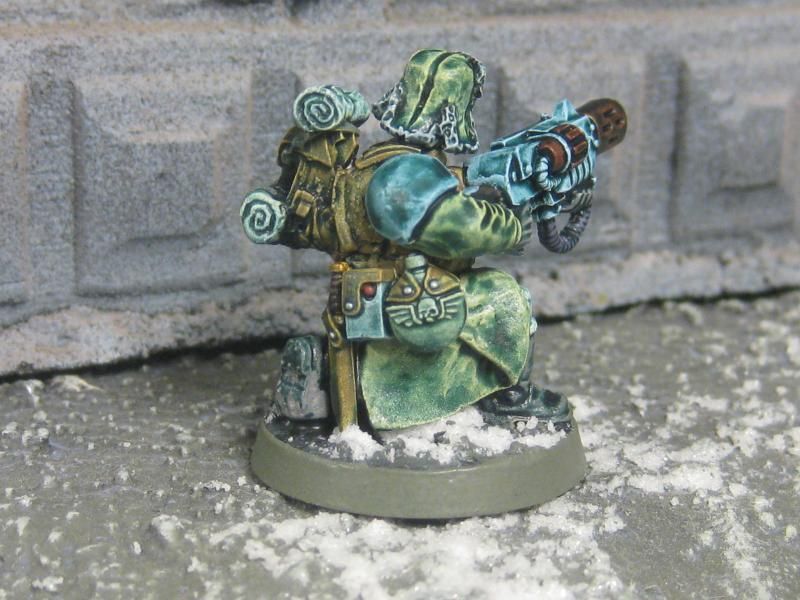
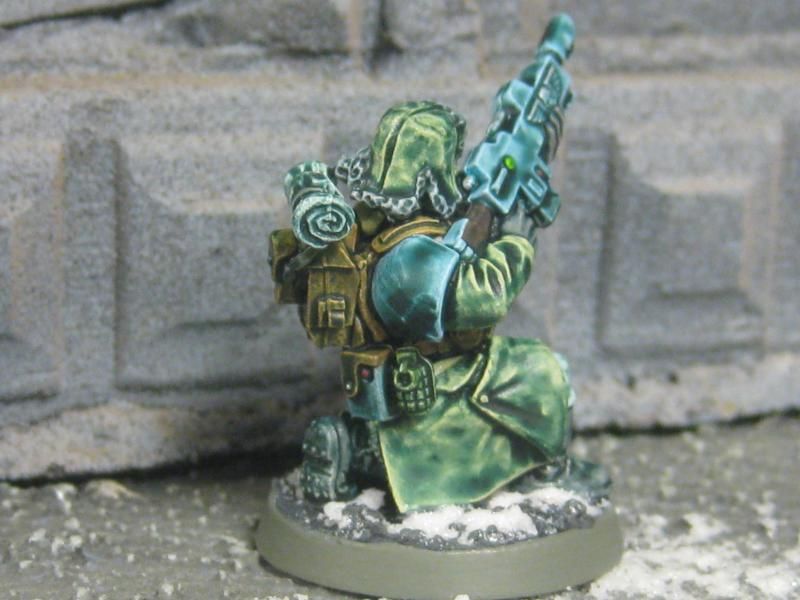
All models needed neck sculpting to give the new head purchase and blend cosmetically
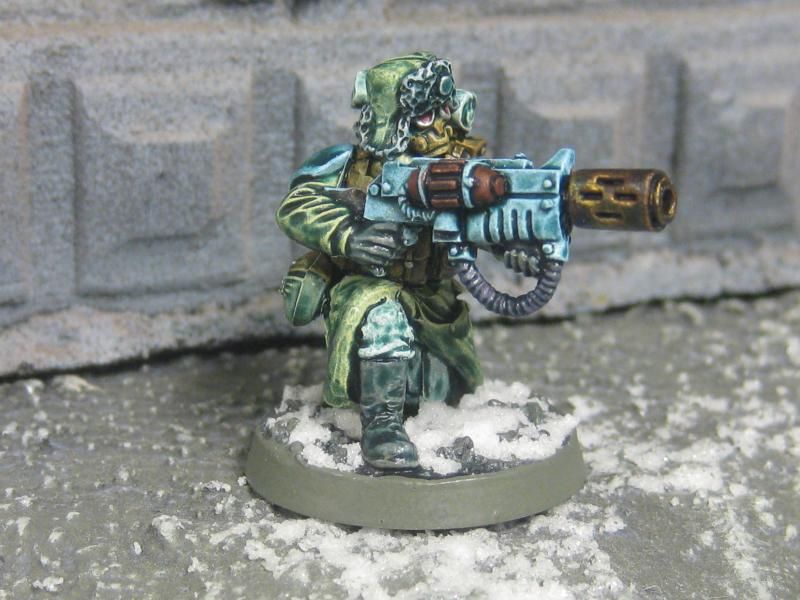
Of the chest pouches and weapons there was much trimming and filing where weapons met the chest as well filling voids with sculpted greentstuff. Torsos were positioned first and either pinned or just gap filled with greenstuff.  The legs are Maxmini Greatcoat legs as well.


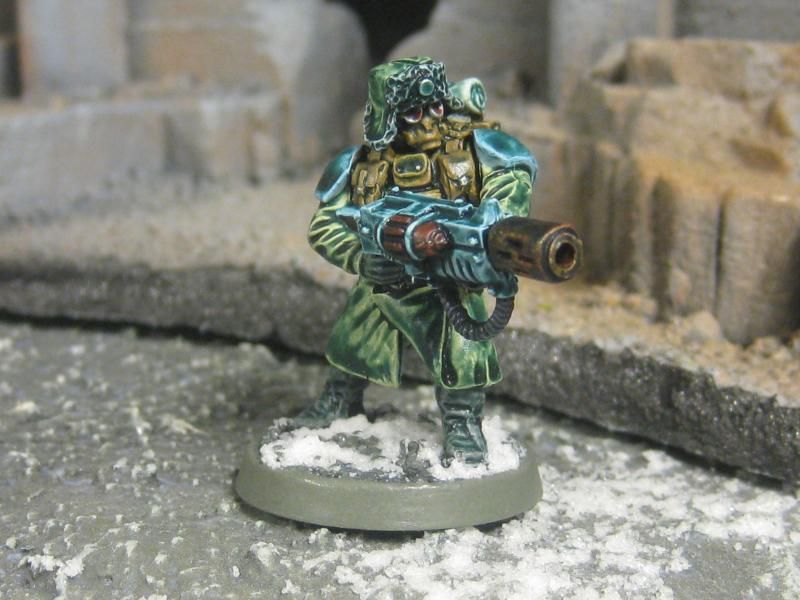
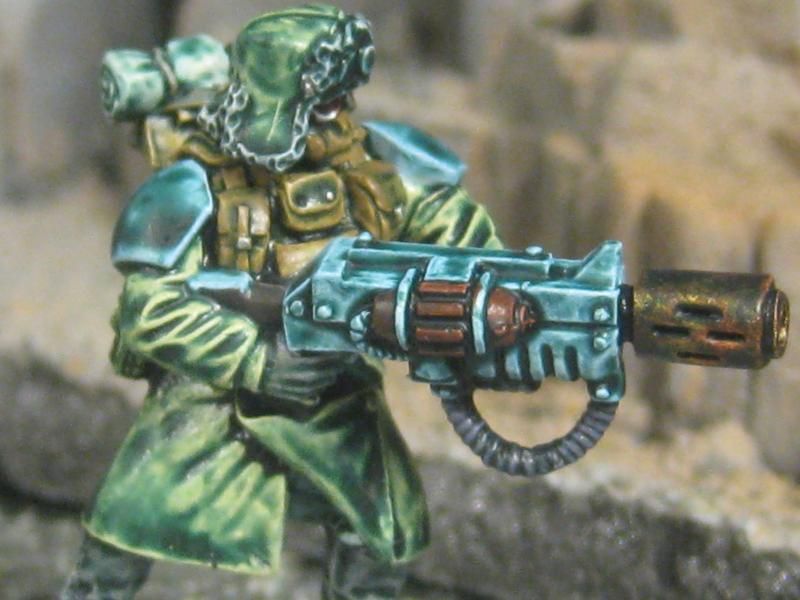
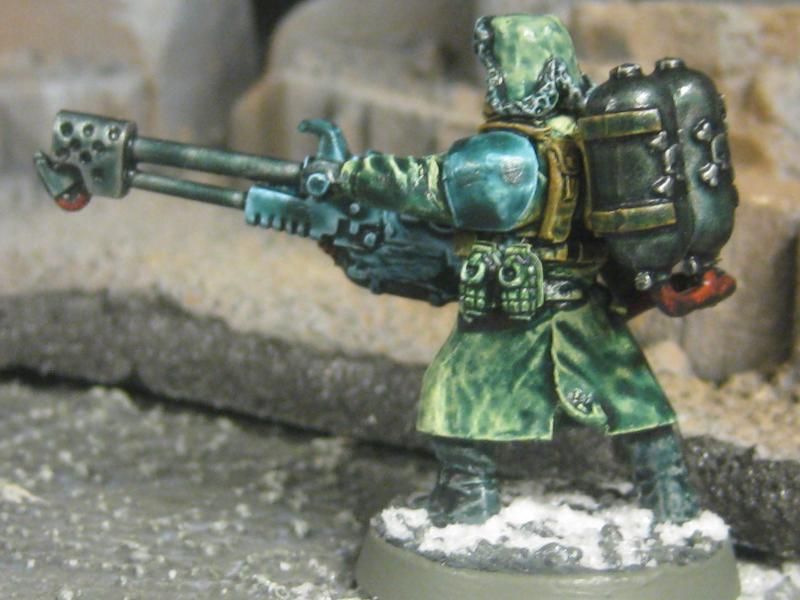
The heavy flamer is part AM unit from sprue married to SM flamer with brass rods and a tank/rebreather on the side as a pump/primer. Most of the packs are Pig Iron, as are some pouches.


The Sgt. is an older GW tank commander with the head removed and replaced with a Pig Iron head. His left hand was removed and replaced with a gripped fist from the side of a flamer on the AM Cadian sprue. I fit a las pistol on there from the older IG tank sprue, I think.

Overall, I really like how they came out though the casts on the legs were probably the worst I've seen on models, maybe ever. Had I noticed that  I may have even chucked them but as it was I put in time and made them passable thanks to a round rasp and Led Zepp on Spotify. These vets scale well with my Valhallans though they trend the slightest bit smaller (hence the extra kit to bulk them up).


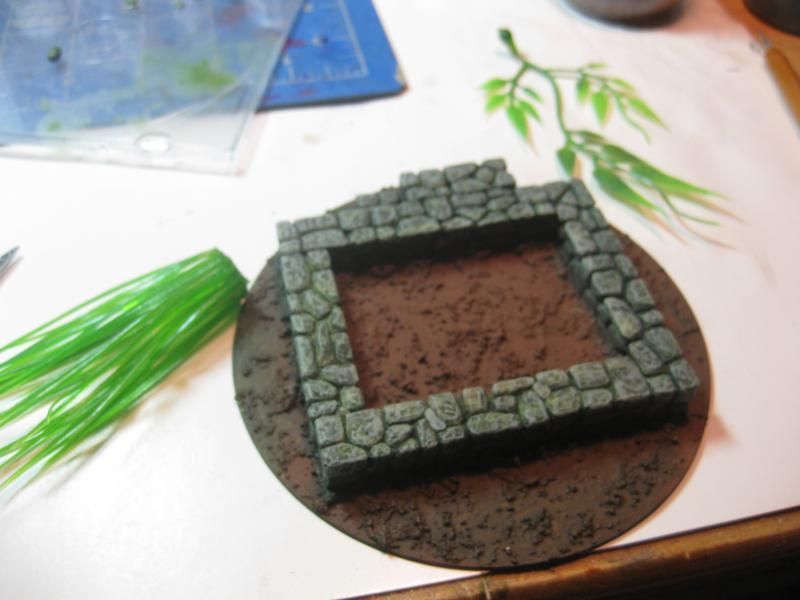
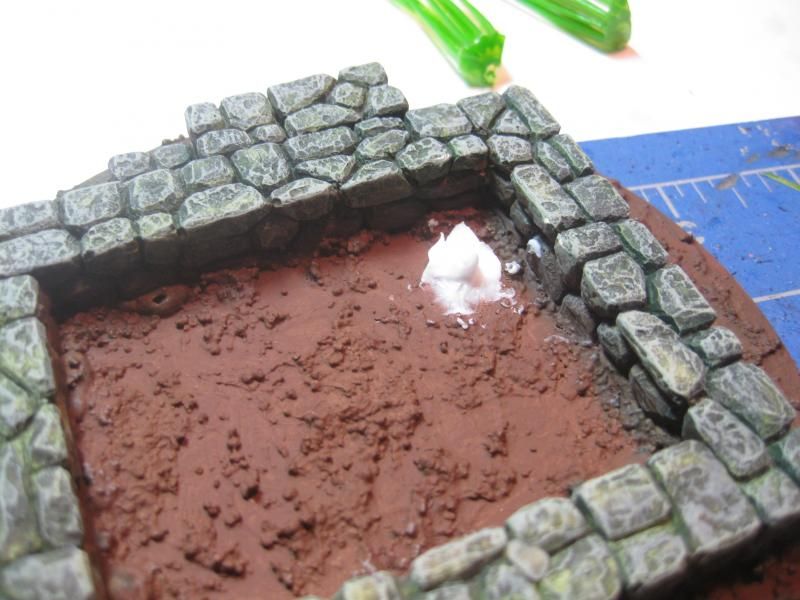
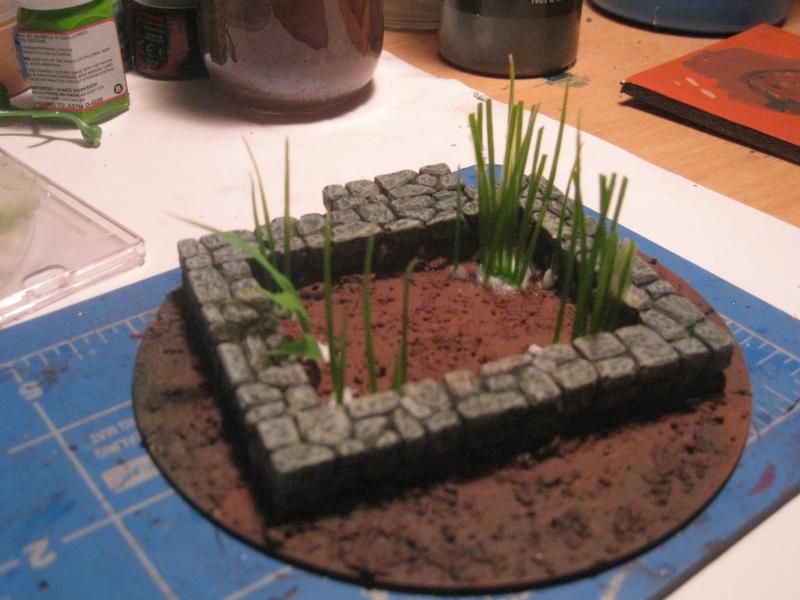
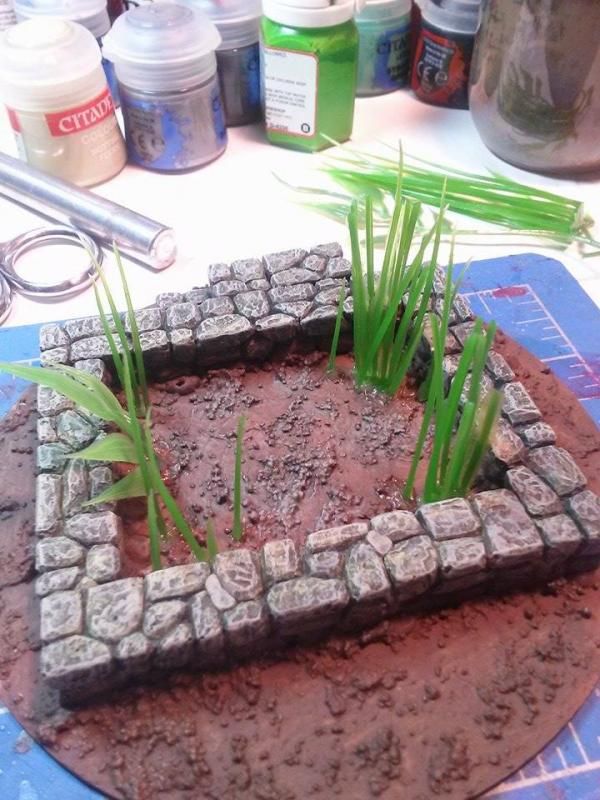
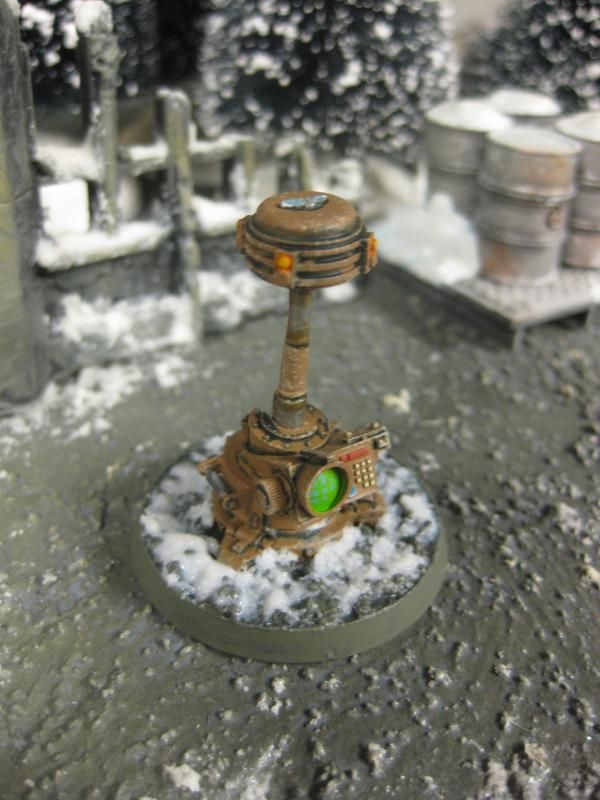
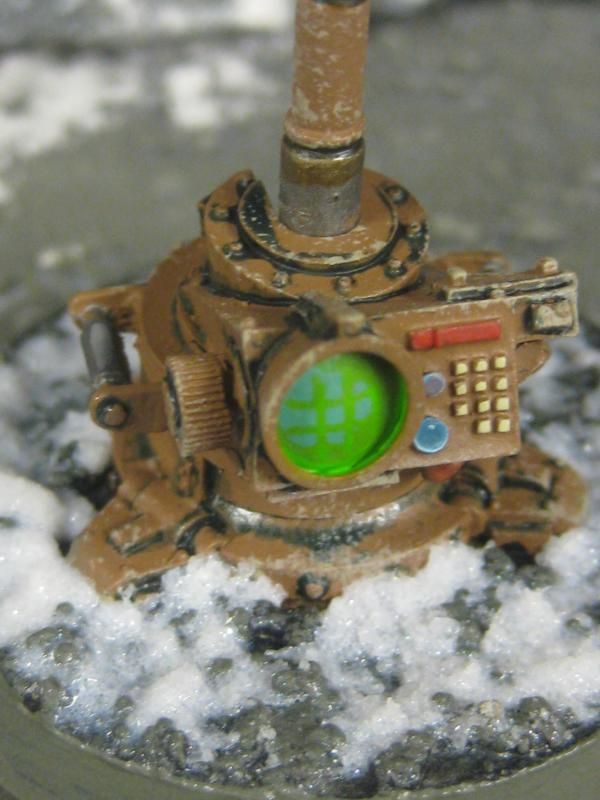
The auspex/master VOX or whatever is Forge World, thrown together at the last minute on a whim, thinking it's be an asset in the game, objective or just nice scenery.


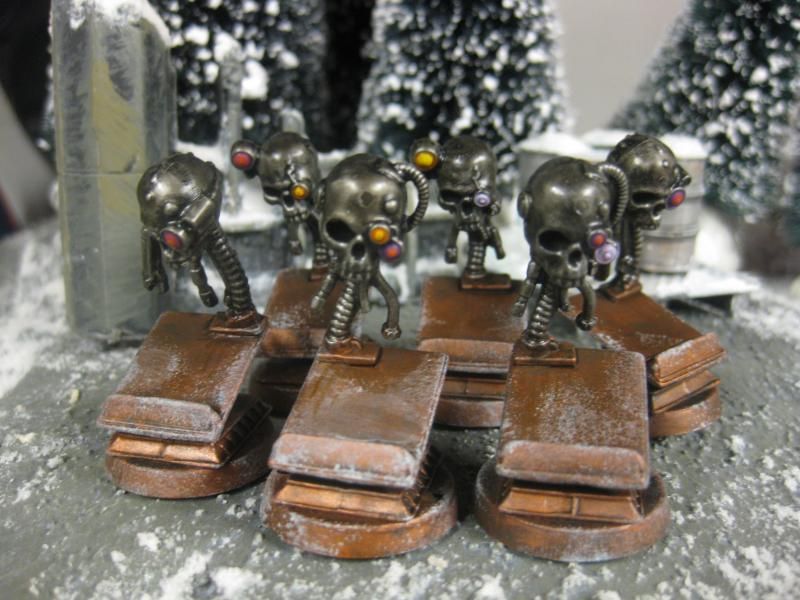
Finally, I mounted the GW objective markers that hold dice onto bases and painted them up.  I boiled the programming outta these servo skulls to soften the plastic and re-bend them to actually grip dice.

That's all the 40k I got for now. Up next some Star Wars X Wing miniatures repaints and some Bushido Ito clan!