In
part 1 of this build I showed how I rehabbed an old board as a sketch for new water techniques through the assembly of a large river section.
Now, in part 2, I wanted to show some WIP pics of the refinishing and painting of the riverbed and the prep for the resin pour, then, the initial resin pour itself.
 |
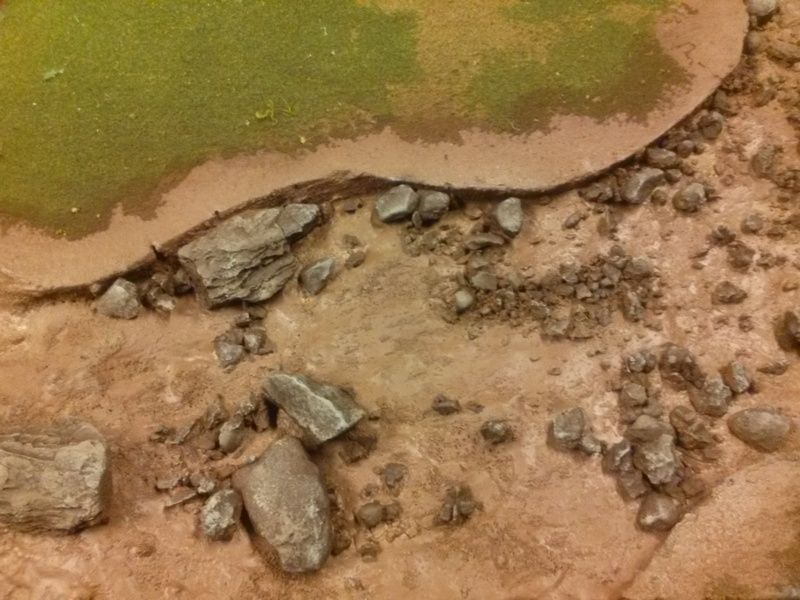
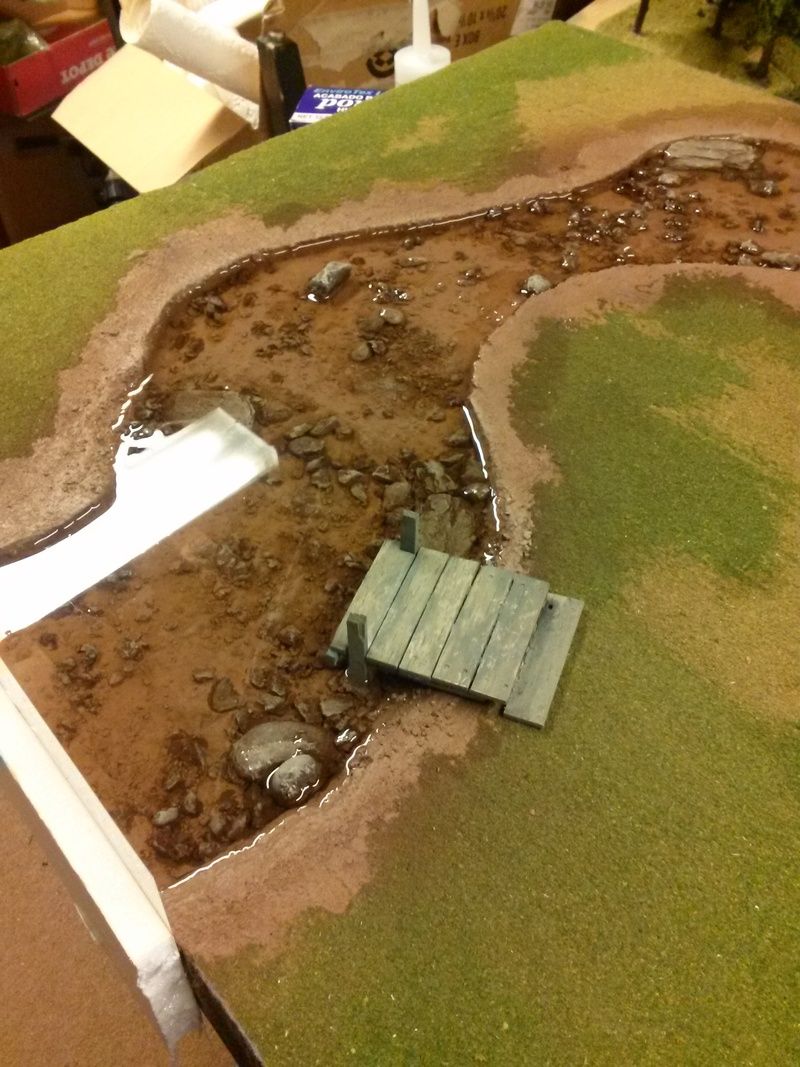
| As mentioned in Part 1, I added rocks and grit, then sponge painted the rocks, using earth tones. I added some washes to the riverbed itself for some contrasts. If you try this you will notice that what is understated painting without resin becomes very prominent under the lustre of gloss resin. If you have painted a miniature somewhat matte and then gloss sealed it then you know what I mean. Saturation and contrast bumps up a few notches so it is best to be subtle. |
 |
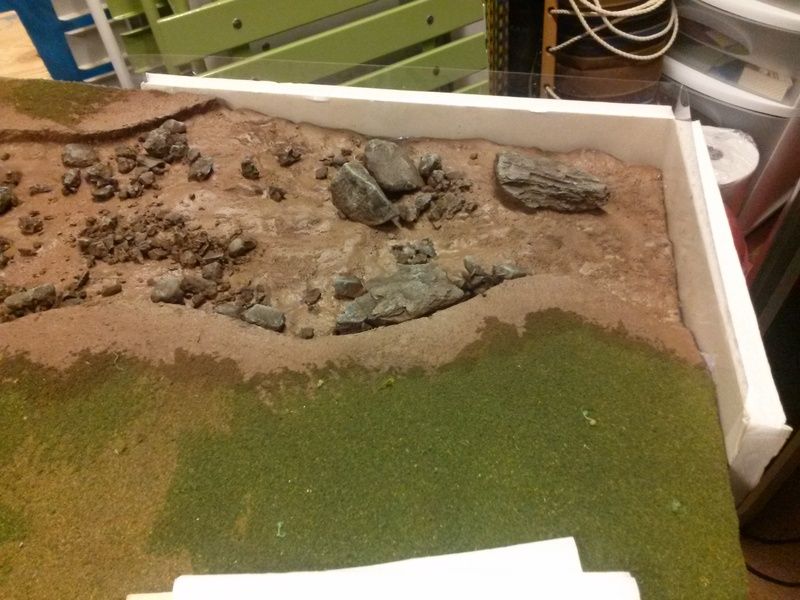
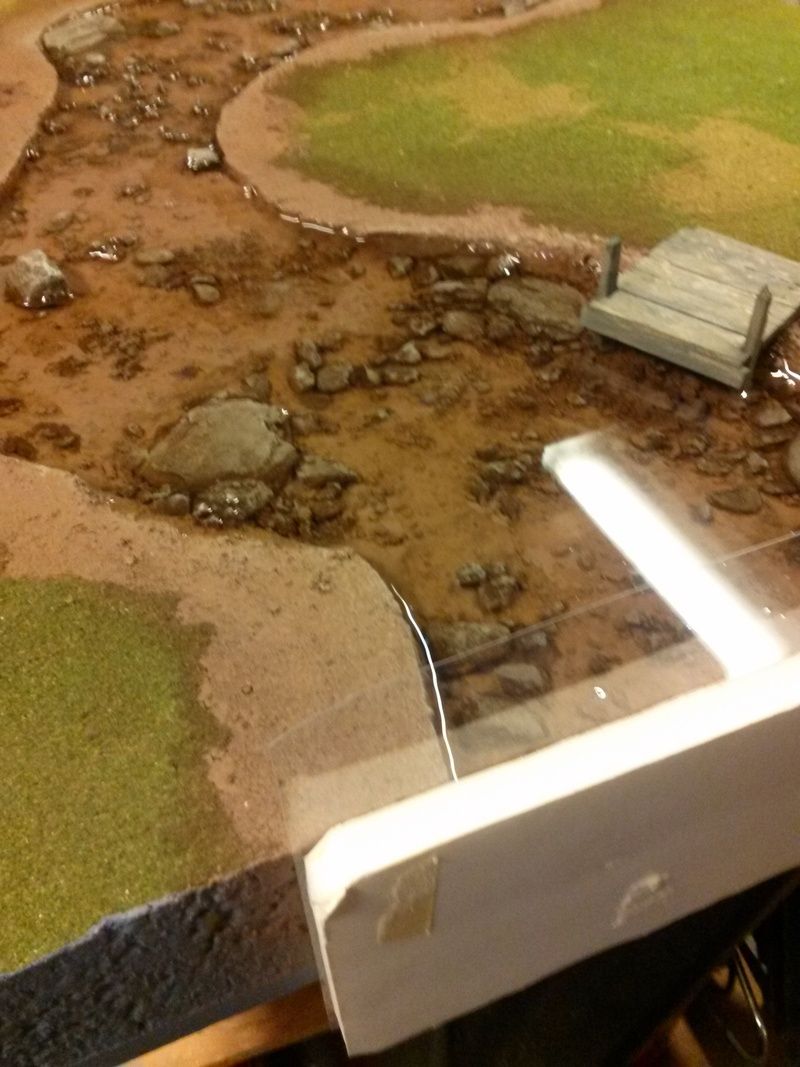
| In this pic we see the Duralar and foam core "dams" that will be used to form the resin. My method uses Duralar facing the resin, backed by thick foam core and attached/sealed with clear silicone. Especially with deep resin pours, the outgassing process will force the hot, molten resin into every nook and cranny on your board and if it hits foam then the gassing becomes dramatic. Whatever silicone remains attached to the resin after the removal of the dams can either be left or scrapped away. |
 |
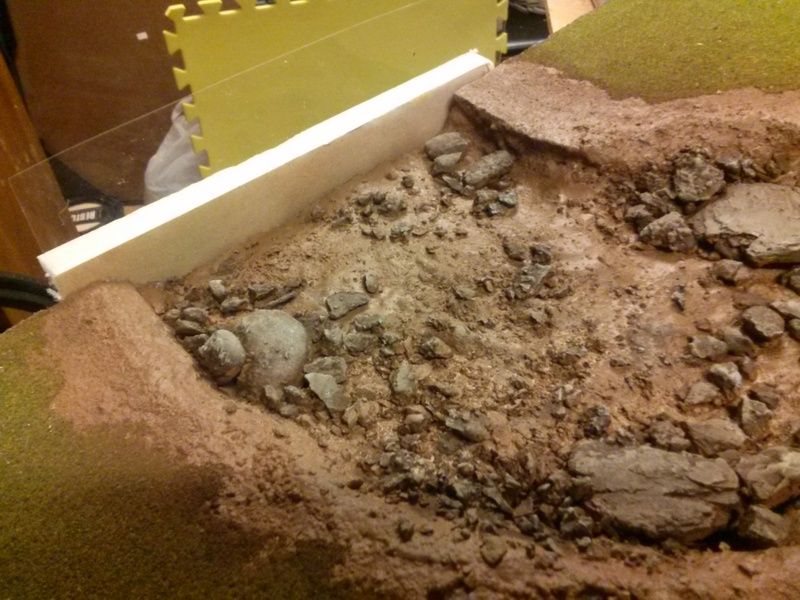
| Here is the dam on the other side of the board. |
 |
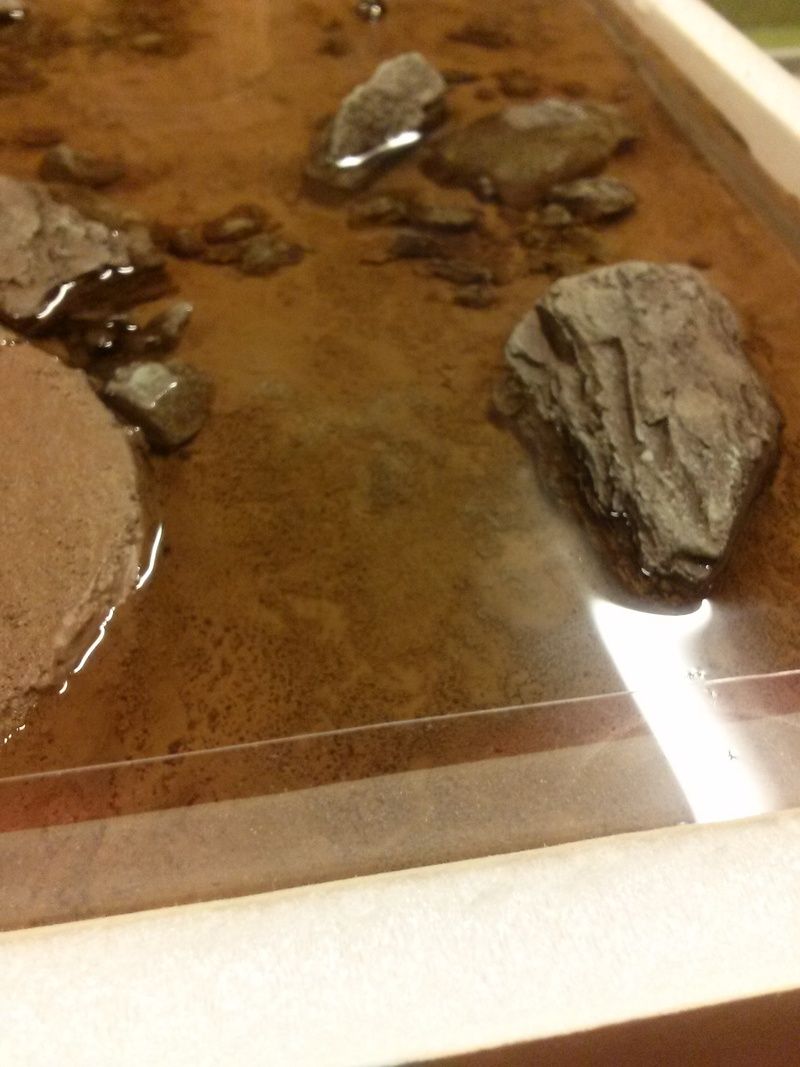
| Here is the first resin pour. This board took more than 33oz.of resin for the entire length and even then I had to fill in the other end in this picture after this first pour with another smaller pour. Note the finished dock, I seated this using clear silicone. The legs, or footers, are attached to the floor of the river bed with silicone which is a great adhesive that is strong, yet is near-invisible in resin and as importantly, won't bleed or be attacked by the resin's chemical reaction. |
 |
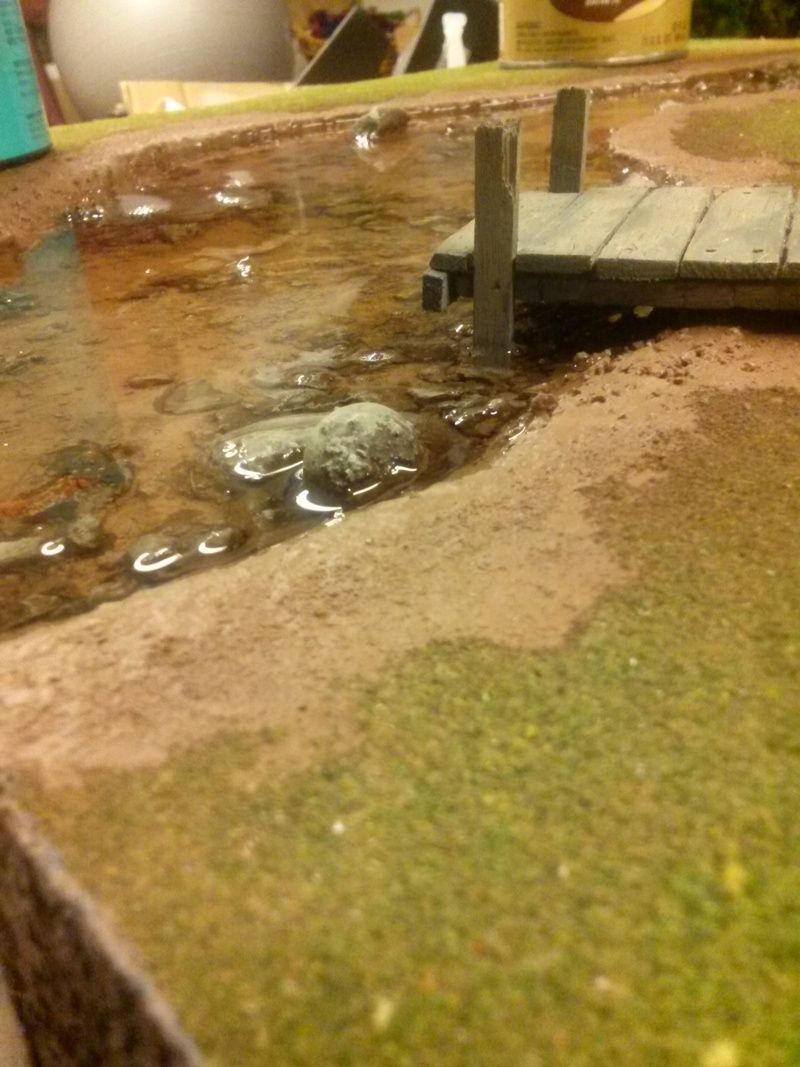
| Another view of the dam and dock section. This is the deepest water on the board, hence the dock for boats. |
 |
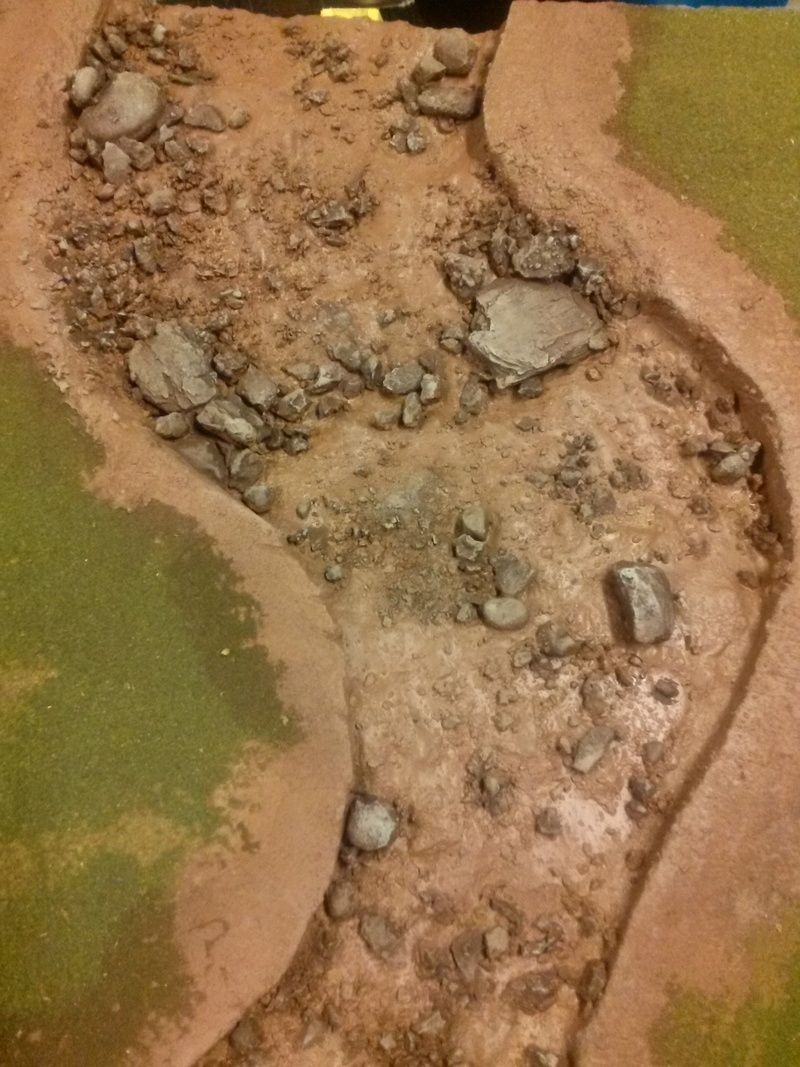
| Some riverbed painting detail. If you texture it right, the painting is easy and natural. See part one for a description of materials used. |
 |
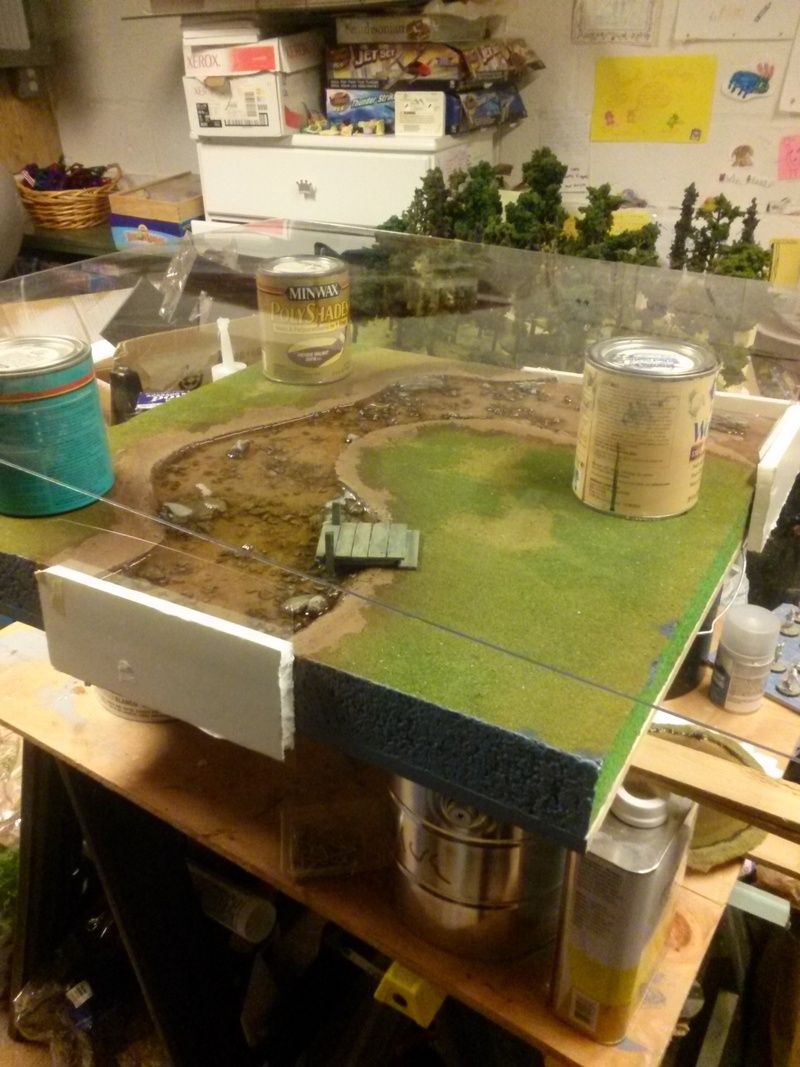
| Here is the whole board curing, with a large plexiglass cover to ward off dust. |
 |
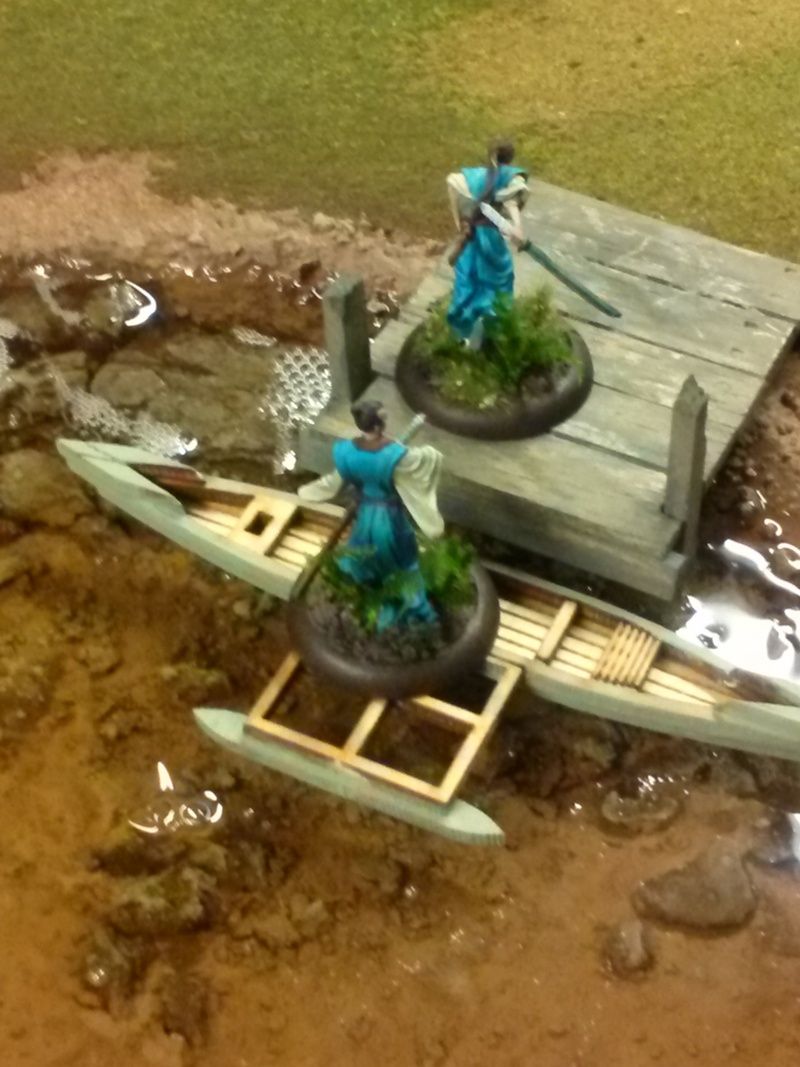
| Checking out the boat with the dock, after the resin has cured. It takes about 24rs for a thorough enough cure for this sort of horseplay but it was fun to put down some figs and see how it is all coming together. Note that I kept all scenery away though, the resin has set and was not impressionable but it could still catch flock and adhere it. Resin is weird. Note the bubble trails from gassing, likely from inside the rocks themselves. |
 |
| A WIP sampan on a WIP board. |
So that is it for this update. I will be back after I remove the dams, finish the facings on the board, add wave elements to the water and flock. After that, I need to finish the aquarium bridge below for the board set, using Apoxy Sculpt and a little ingenuity.
 |
| This set up is the board before the riverbed painting and resin. I wanted to see how the other terrain elements I have been making matched the feel of the board. So far so good I think. Chiyo seems to like it. |


5 comments:
The river looks great.
Well done.
Tony
That looks fantastic. I'm very jealous!
WoW! This looks amazing! How did you get that rain lured so nicely without any bubbles?
Now that you know if comes out so clear it would be worth putting a few orange Koi in there!
Well done indeed- a beautiful bit of terrain worth spilling a lot of lead blood over :-D
Thanks Tony and Barks!
Paul,
I almost poured this as a bunch of smaller layers, where I could paint some fish onto the resin then put more resin on top. As it was, I am trying to have a game with it this weekend so I saved that idea for another project. The other thing I wiffed on was I should have added vegetation underwater. Next time!
Best,
Yeti
Well despite that I think it is a triumph! I once planned to build a 3D river by placing plexiglass over the top but this is far superior and a lot more robust too I would think
Post a Comment