Wednesday, April 26, 2017

TTCombat: Yu Pagoda Build Log 3


Part 2 can be found here.

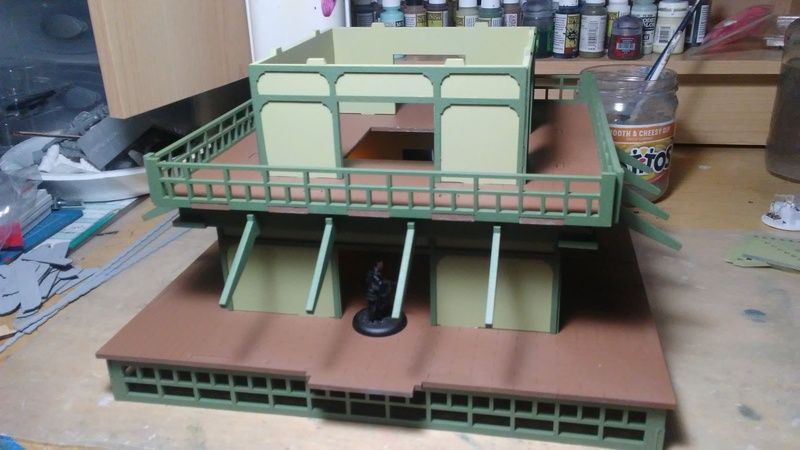
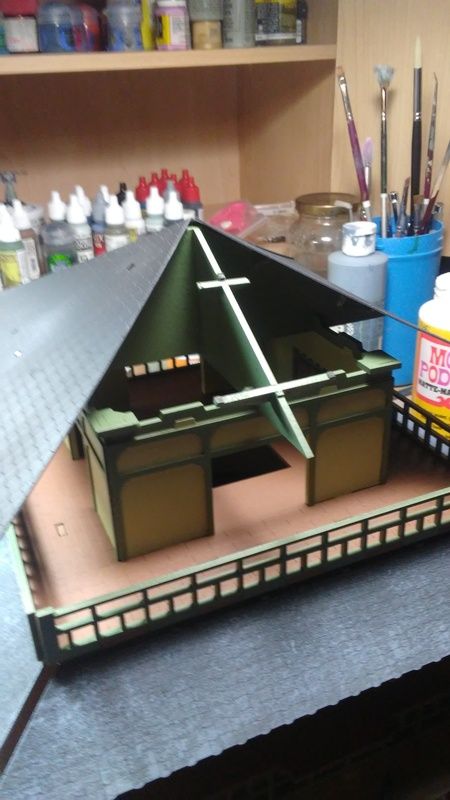
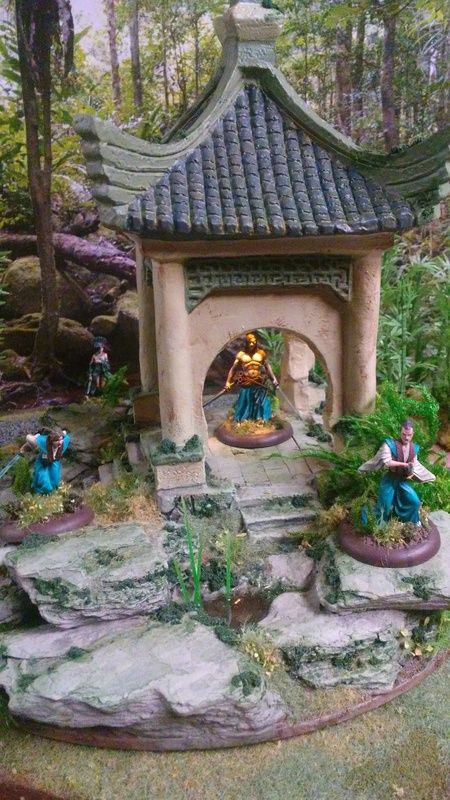
At this point, the Pagoda is very sturdy, mostly together and I admit that I wasted one night moving figures around on it making ninja noises in the basement. Pretty damn exciting for me. The wife probably died a little inside.

The instructions have the doors either glued open or closed. The doors themselves are 2 parts, a front detail layer of laser cut grey board and a backer to make it rigid. I wanted two things with these doors: 1. keep the detail to let light through and 2. Make them movable.


First I tackled the detail/light issue. That was fairly easy, I simply backed the painted detail layer pieces with parchment, glued with matte Mod Podge and left the original second backer off. Sorta flimsy but ok and beautiful with lights showing through.

Then I spent another night finding a way to make the doors move. I prefer a more forgiving design when it comes to making 6 sets of doors movable.


I finally settled on a design where the door hangs via a metal track on the wall, and a magnet attached to the door, allowing the doors to move around and also simply detach when gamer hands smack around inside the buildings.


My design was mostly because I could source all the parts from what I had laying around and reproduce it over 12 doors. The tracks were size 2 jeweler's saw blades, tooth-down, which happen to perfectly span the width of the walls, sorta like a lintel. I used Mineral Spirits to de-grease the blades and then used, you guessed it, matte Mod Podge to glue down the tracks.


I cut a length of the backer to lag over the top of the door and leave a space for a flexible magnet. Getting them all together only needed some trimming by eye to get the magnets on top of the door flush and square. Flexible magnet ribbon is best for this, about US$3.00 from the DIY. I just had to use Mineral Spirits to get the adhesive off for the super glue to adhere.

So that's it for the doors! The lights are simply flickering LED yellow lights from Amazon placed around the inside of the Pagoda, keep it simple.

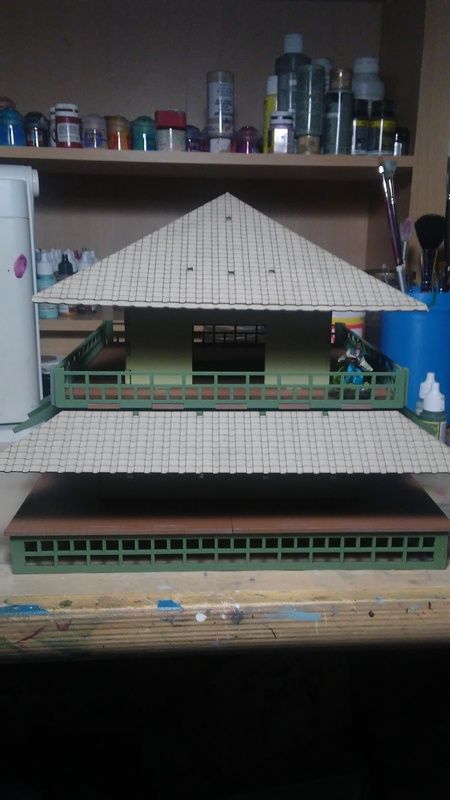
Then I weathered the roof but you see it too much in the pics. It warms the grey sufficiently so it looks good next to the trees and such.


I then set about making some planters of flowers using wooden bobbins primed grey and weathered a bit after drybrushing greys to off-white, Woodland Scenics green sponge and flower flock.

So that is pretty much it for now. I plan on detailing the inside of the pagoda at some point, especially after I get a few games in with it.


Up next: GLAMOUR SHOTS and final thoughts

Tuesday, April 25, 2017

TTCombat: Yu Pagoda Build Log 2


This is a continuation of part one, found here.

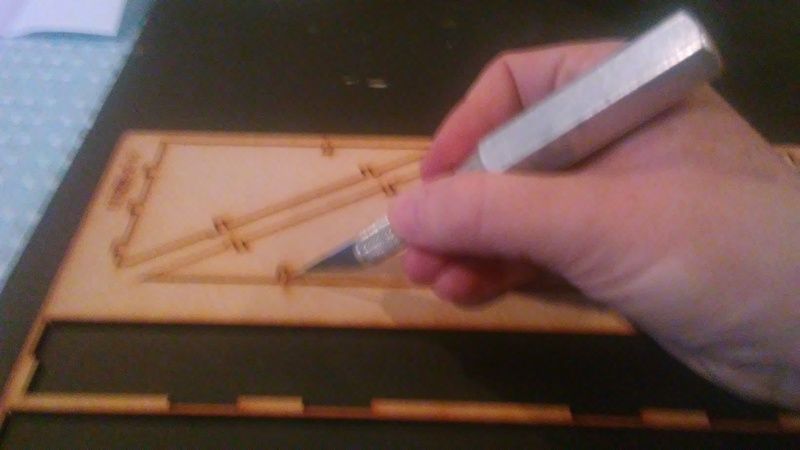
Okay, where we last left off I had the unfinished pagoda separated parts out from sprues, cleaned and wiped with a cheese cloth (aka tack cloth.) This grabs all the soot from the laser cutter and sawdust from sanding parts, which keeps the painting clean.

I marked up the instructions with all my colors
For the record, these downloadable instructions are good overall, just a heads-up that the first floor awning assembly is tricky with the keys for the corners... make sure you dry fit them the right way, they go in a particular order.

Beware. Be read. Be ready.
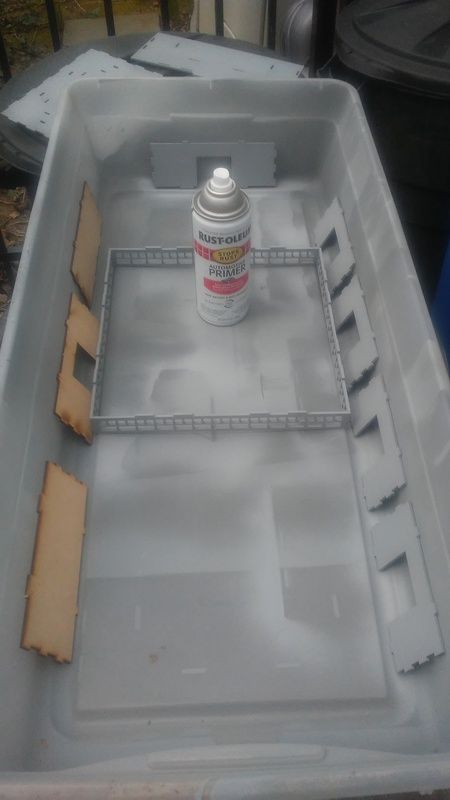
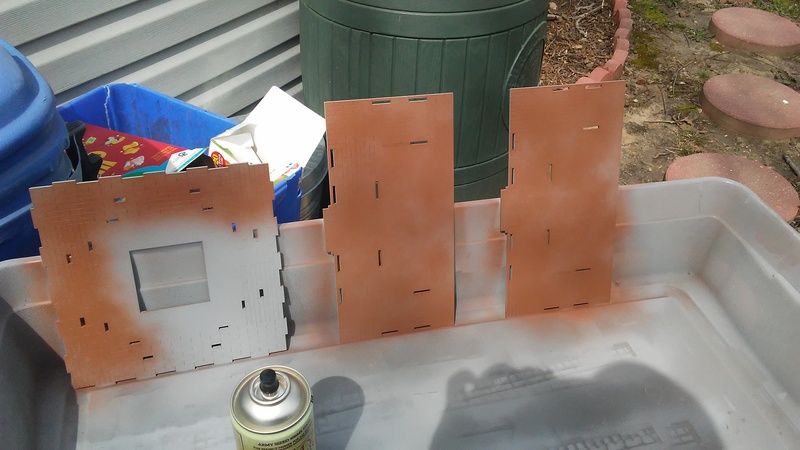
I decided early on to paint these pieces as I went, thinking that the time taken to paint with rattle cans will save a bunch of grief in the long run. So, all prepped, I took several evenings to spray prime all parts with Rustoleum Grey sandable auto primer and then Army Painter spray colors.


Pro tip, if you are spray painting a bunch of stuff and the day is sunny but low humidity, you can put your painted parts in a dry cardboard box and it acts like an oven to speed up total curing. So, spray paint, once dry to touch, throw that stuff in a sunny box and let it do it's thang. Keeps grit off the dry-down too.

I kept the colors on this simple. 3 colors plus weathering at the end (excepting the roof, which was a grey I had laying around.) I used Army Painter colors Army Green, Leather Brown and Necrotic flesh spray with matching brush on paints (which are extremely close matches.) In the end, I used 1.5 cans of spray primer and 1 can of each color, more-or-less.


I used Mod Podge Matte finish to glue everything together, except for the base, which I used Gorilla Glue for extra bond strength. That beautiful base will bear a bit of weight so it is smart to used a stronger glue for that. All parts sprayed together, I proceeded to fit pieces together and glue. Note that with the tabs, it helps to round off the edges to make fitting easier.

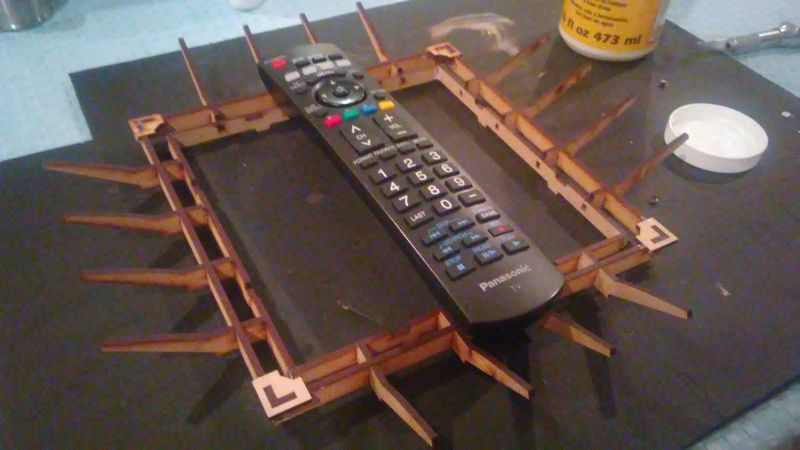
Laying up the parts, facade added as well... painting them separately makes for a clean finish.


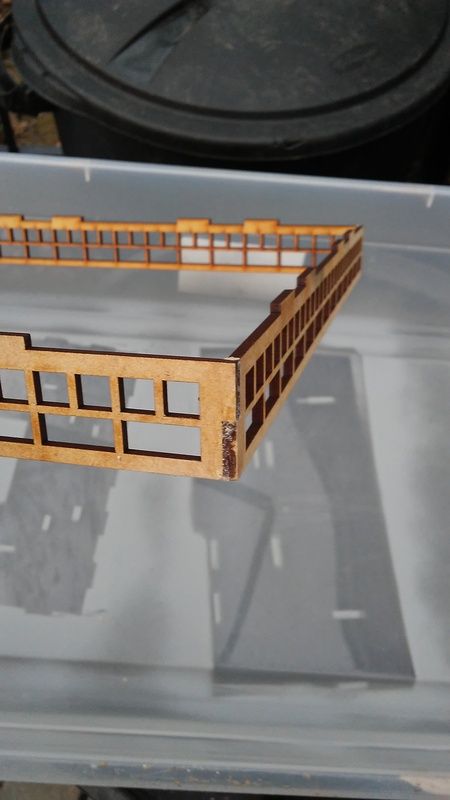
You better cheese cloth the hell out of the gray board. Test fit looks good. Tip: Use blue painters tape when you glue the roof down. Apply glue, adjust roof sections until they are level and use the painters tape to hold the parts together as it dries. Since the roof parts tend to bend and not line up exactly, the tape really helps pull everything square.

Roof parts primed black then sponge/dapple painted with grays.

Up next, modifying the doors so they move, finishing details, lights, final assembly and glamour shots!

-Yeti

Tuesday, April 11, 2017

Bushido: Prefecture of Ryu Starter Set and New Arc Markers


Here is my painted Prefecture of Ryu set. I tried to make the colors more of the popping kind, such as you'd see in a military parade dress than something field worn. No better way to subjugate the populace than to disembark a large boat, burst into their villages quick step march with gleaming lacquer armor and fatigues which hide bleeding wounds, and remind them all who rules Jwar. Right now, they do.

Okay, laying it on thick. Truth is, the metallic blue really looks great in IRL and lends interest to the minis without a lot of effort. So that's the scheme I went with.

Up next, Kappa and Grey Pilgrim to get the Prefecture starter up to 50 rice, then more Ito to get that to 50 rice. After that? Some Savage Wave as long as my asshole friends leave me alone with all of this Shadow War jive :)


Related to friends who are not assholes, my buddy Joe has made a set of arc markers for all base sizes and I gotta say, it sure beats my old way of doing markers. I re-marked all of my Ito and this finished Prefecture set in about 40 minutes, which is pretty damn awesome. A set comes with all the sizes you are likely to need and handles straight and rounded bases. Just fix a model in there with a dollop of blu tac and you are off! Send him an email if you want to get a set, tell him Yeti sent you: tjkopena@gmail.com


Monday, April 10, 2017

TTCombat: Yu Pagoda Build Log 1


Today I received my TTCombat Yu Pagoda. Herein will rest my ongoing thoughts as I raise this beast to the sky for the glory of Clan Ito in GCT's Bushido game. Or for me, to snort. I'll explain.

First Impressions

The pagoda came in a well-sealed flat pack for the flight over the pond to the USA. Looks like everything arrived intact with no breaks.

Instructions were not included so I deduced that they are online somewhere.

Damn this thing smells terrific. Seriously. Laser cut MDF smells like your clothes after camping and I didn't realize I needed it in my life. The off cuts go immediately into a cup so my paint area smells awesome.

Sandable auto primer with Army Painter Necrotic Flesh spray
Army Painter Necrotic Flesh spray without sandable auto primer

One MDF off cut was used to test paint. I sprayed one side with Army Painter primer which the MDF drank right up. Later, I hit that side with some Krylon ultra-flat camouflage paint I had sitting around. Once dried, I coated with Army Painter Necrotic Flesh. Nope! MDF slaked it's thirst through the bottom coat. Closer but no cigar. Facing the inevitable, I ran to the store for some Rustoleum Grey sandable auto primer, same as I use on Forge World models. Sprayed on smooth, calmed to a nice coat and once dry I top coated with Army Painter necrotic flesh. Perfect!


As you can see, models fit on the floor sections well, for the most part. All Bushido models can fit on the wide ground floor level. On the second story only standard or small base models will fit. Given that this building may only see a bit of actual elevated play, I am not totally bummed about that. Seems reasonable that big models hate cardio and skip steps.

The details are good across the pieces so far.

Tomorrow I will start cleaning and laying out parts for glue. Stay tuned!


Monday, March 27, 2017

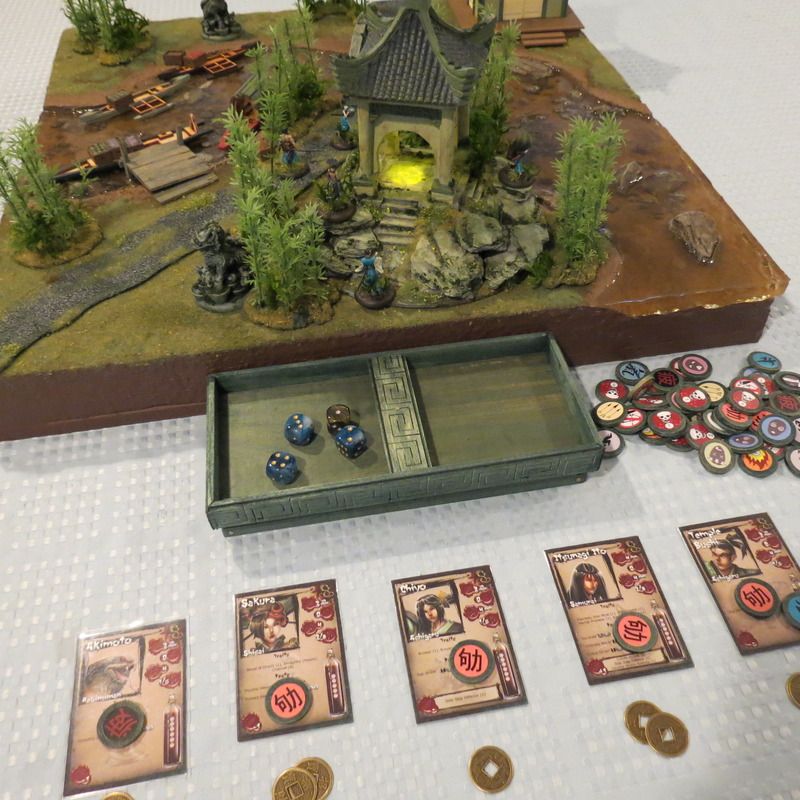
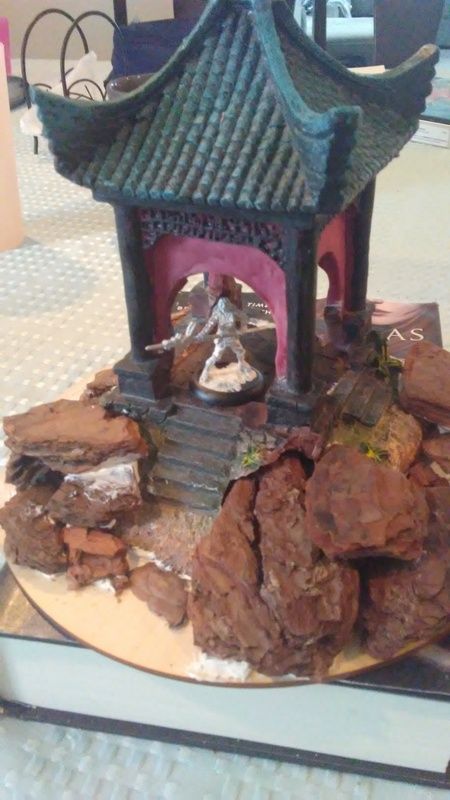
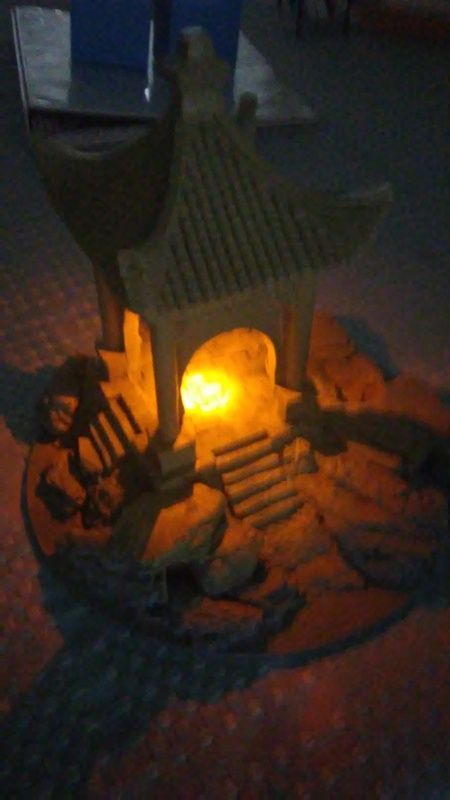
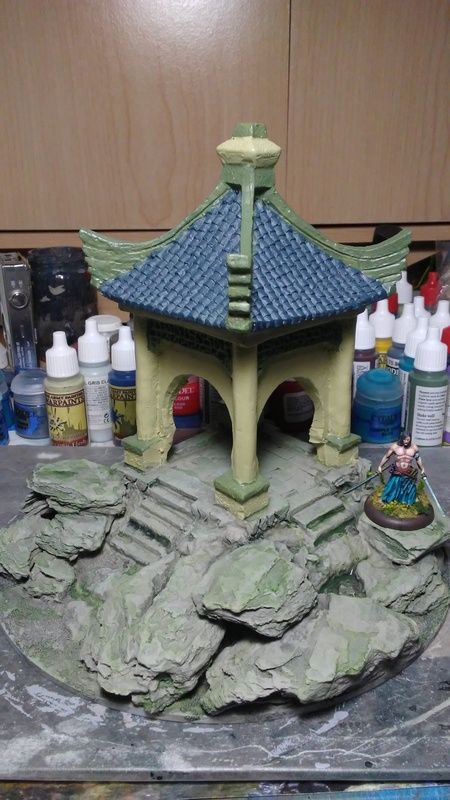
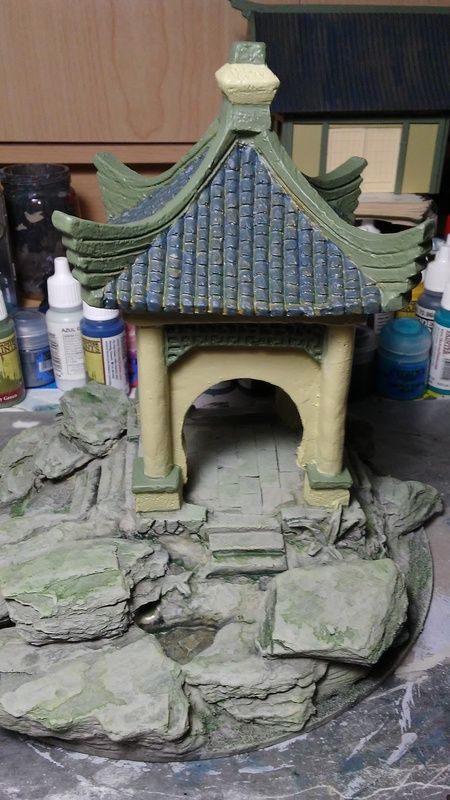
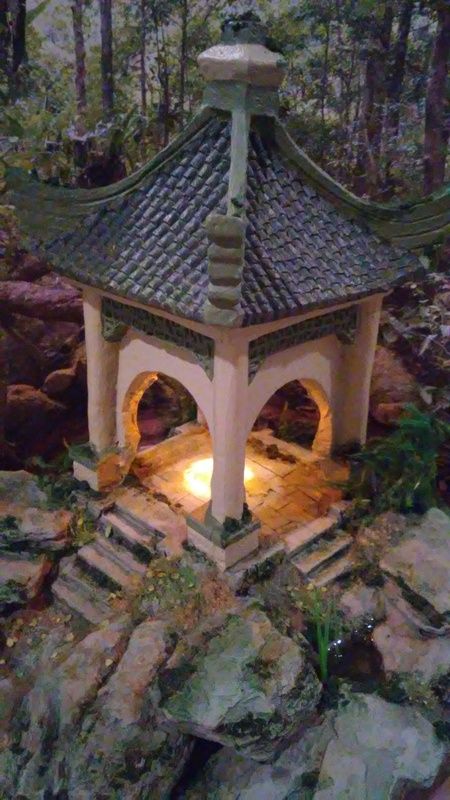
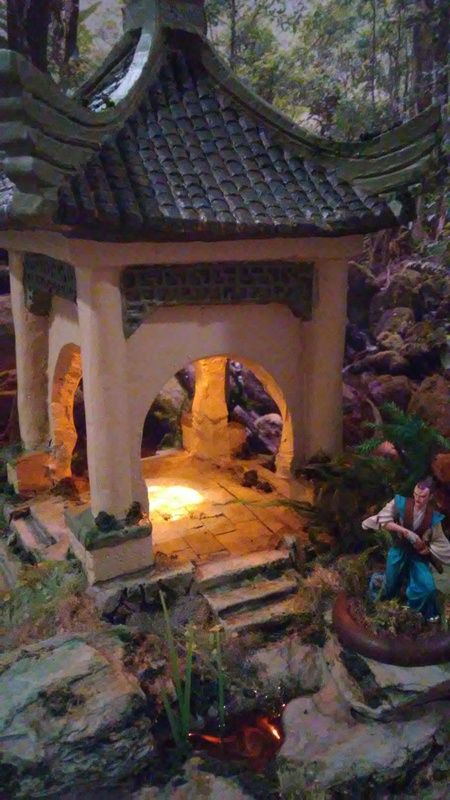
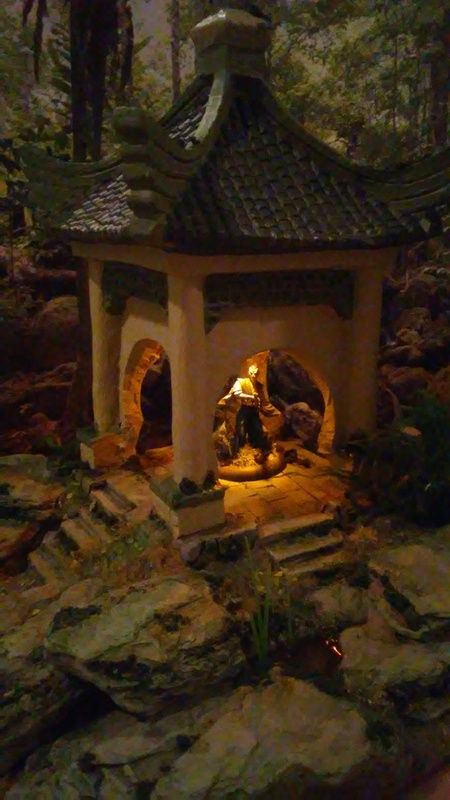
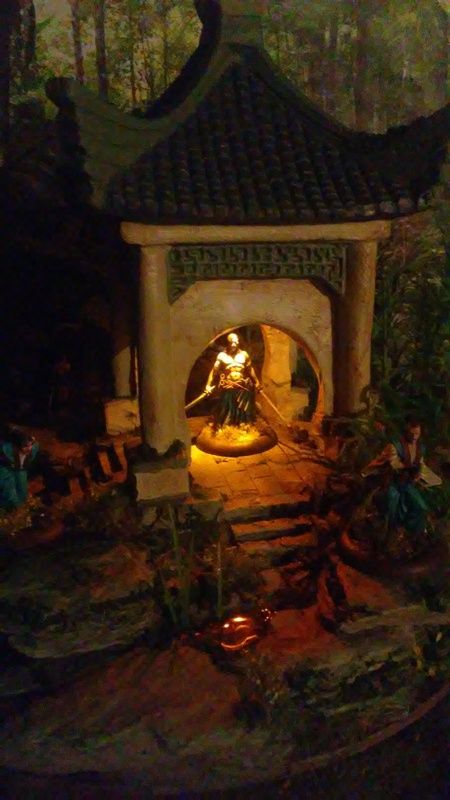
Bushido: Version 2 Lit Pagoda or, Kung Flu Hustle


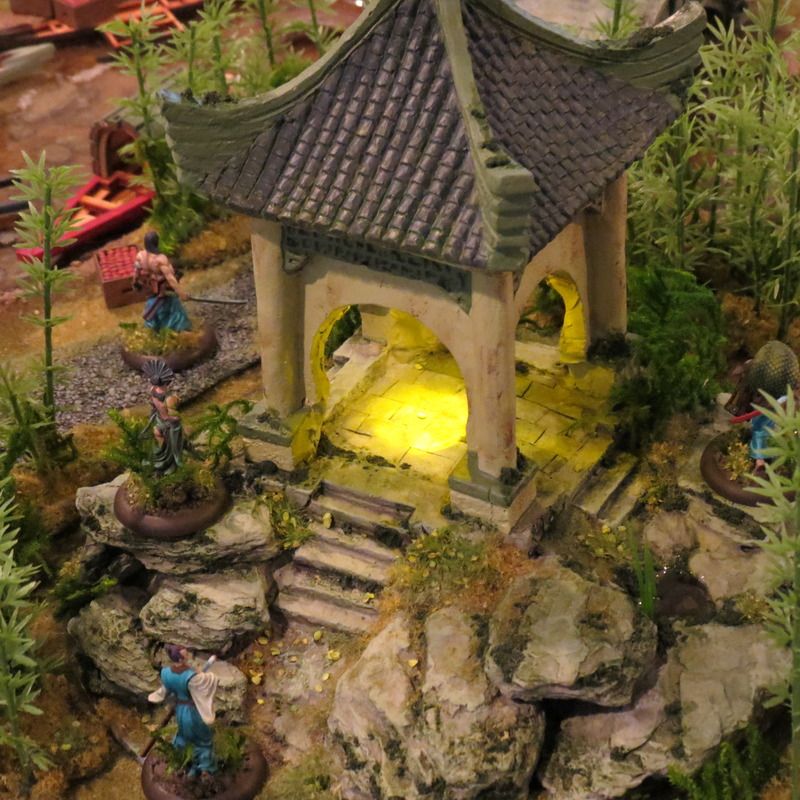
Here’s some notes on my latest Bushido pagoda terrain build using aquarium pieces. Sorry for the delay on this, you might say I was ill. You might also say I had food-fever, eye chills, skin failure, gravity allergies and corpse throat.

2 Christmas’s ago I made two lit pagodas from aquarium pieces that I gave as gifts to my friends. I learned a lot from that build and made notes on things to do better next time, should there be a next time. Next time was last month, where I finally made one for my own Bushido table. You can see the first assembly notes here.


What was different this time with this build, a Version 2 pagoda, if you will? Well, after working and playing on the original Version 1 pagodas I noticed a few things that I could change for Version 2:

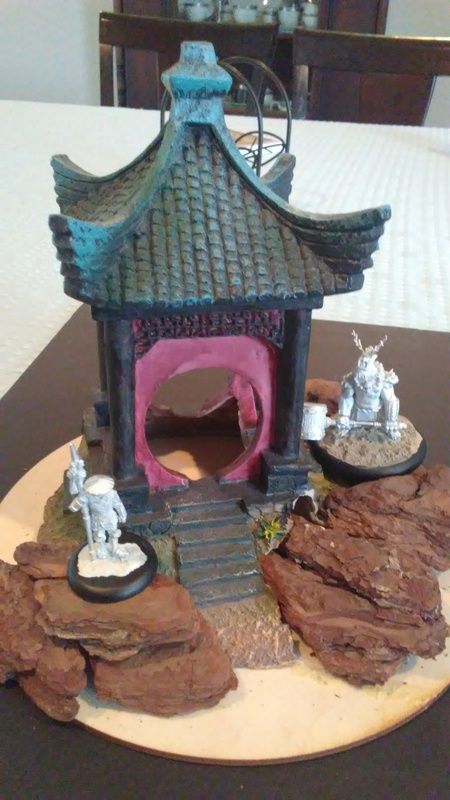
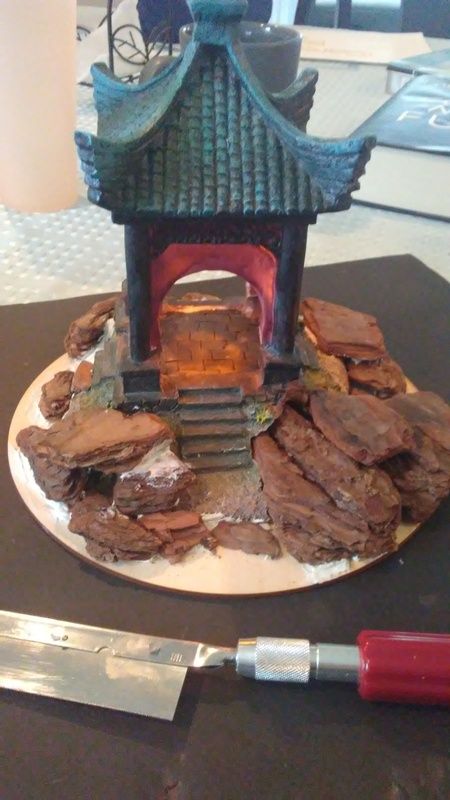
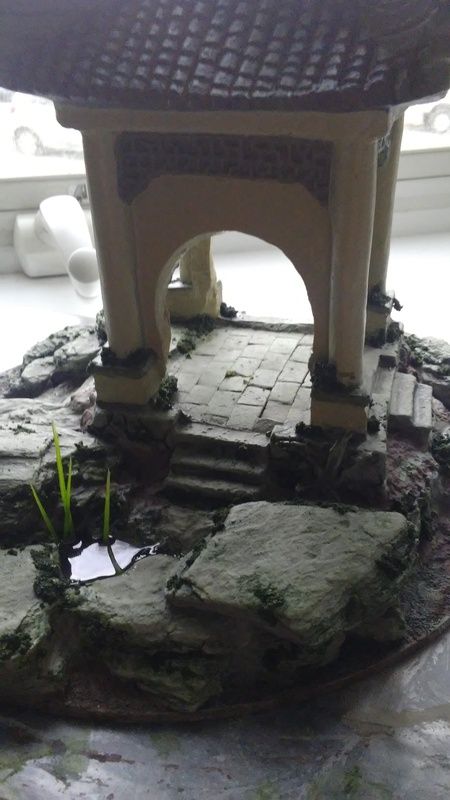
1.       You could add more playability The inside of the Version 1 pagodas was not as playable as I would like for all models.  A small based model would fit fine but multiple models won’t and medium-to-large based models are right out, especially in Bushido, since models can’t easily be placed inside the pagoda to begin with, mostly due to the circular curves of the entrances. This raises the point of having that weirdness where only one model can be placed. World-ending feature? No way, but that piece all lit up screams for more models under the light. Most miniature games run into this physicality stuff so players usually keep blank bases handy for this and that would be fine but I figured I could make it so that more than one model could be placed inside for the truly epic looking last stand moments ala Avengers: Age of Ultron, minus the pouting giga-heroes, weird Godzilla spouses-come-Miracle siblings and Robert California Terminator. Cuts at the entrances were made with a Xacto Razer saw so columns were straight and flush and that was all that was needed for multiple models and various base sizes to fit. It did lose some of the cool style though.  We are gamers, we can take trade-offs, sumus qui sumus. With these cuts, assume the resin on these aquarium pieces are made from unholy poison, so the dust is best kept outside of your lungs and eyes: wear a respirator, cut and trim/clean pieces outside, and wash your face and hands afterwards.


2.       Different runs of product will vary greatly: The resin was really brittle this time. Wow, I was really surprised that with the first two pieces from before that the resin was stronger, a daunting realization when one cuts away a lot more resin in Version 2. It looks to me that these pieces are blow molded in a way that allows for variation in thickness between castings, which affects the strength. Not much you can do after you buy it so keep it in mind when you shop. Thicker is better.


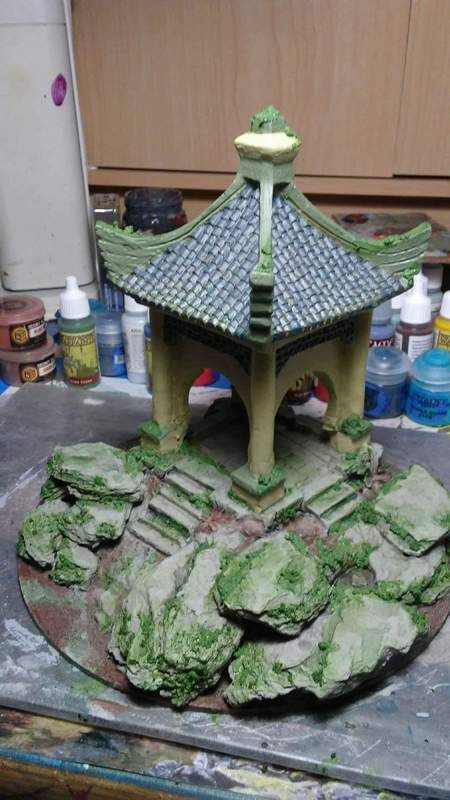
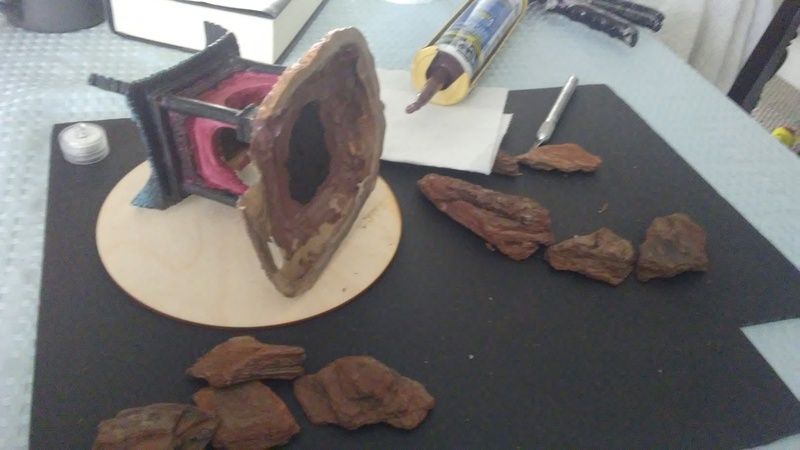
3.       Line of sight: gotta break it up more than before and with that, make it more sexy and scenic. A Version 2 pagoda was a chance to do more scenic stuff, namely, elevation and LOS blocking. Usually more art means less playable space in a game the better looking scenery gets so I tried to strike a balance; this is the most fun part to me, laying out raw, unfinished elements of the build, like the wood chips for rocks and playing around with figures on the mock ups to dial in stability and aesthetics. The Version 1 pagodas are great for a lot of Bushido missions where you may put an objective like an idol under the lamp in the center of the pagoda but the open space around the pagoda, while very flat and playable (you can always add scatter scenery to it) seems like a lost opportunity now. Since my Version 2 pagoda was supposed to be in the heart of the rain forest I made it a bit more rugged and old, but maintained looking. I used a new Gorilla Glue silicone adhesive to glue down the pagoda, after new cuts and same finishing as Version 1, and boy did it work great. Long tool time, quick grab and void-filling. It was forgiving to be able to lay out large masses of adhesive, have it grab the wood nuggets and let me slide, shove and stack them until they looked organic and best, playable for miniatures (given I had made a dry run before hand.) The adhesive did not shrink or crack which is a plus as well. After an overnight, the adhesive was dried and I finished with finger-tooled caulk.


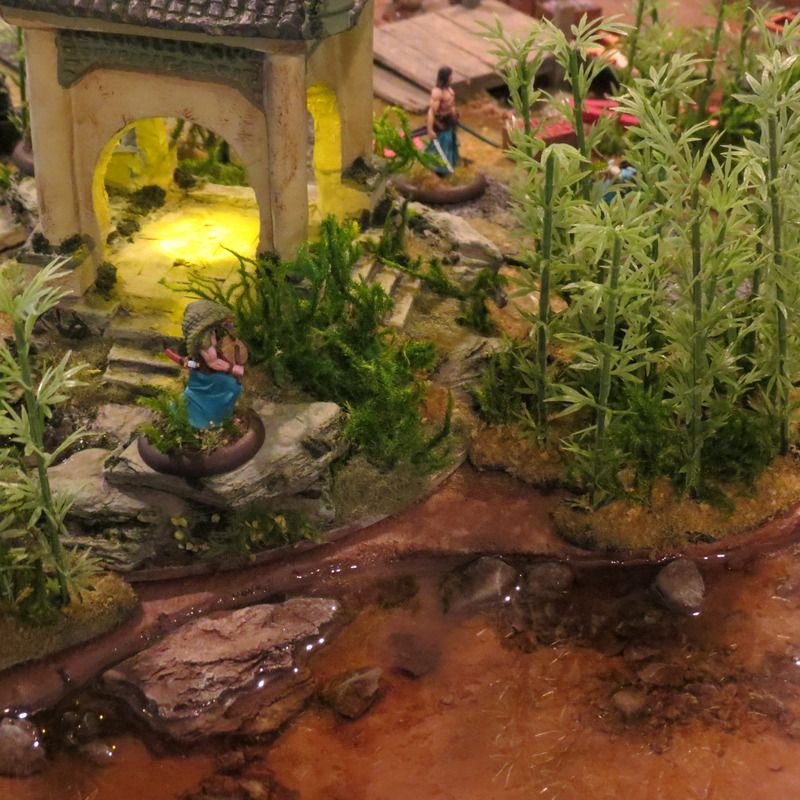
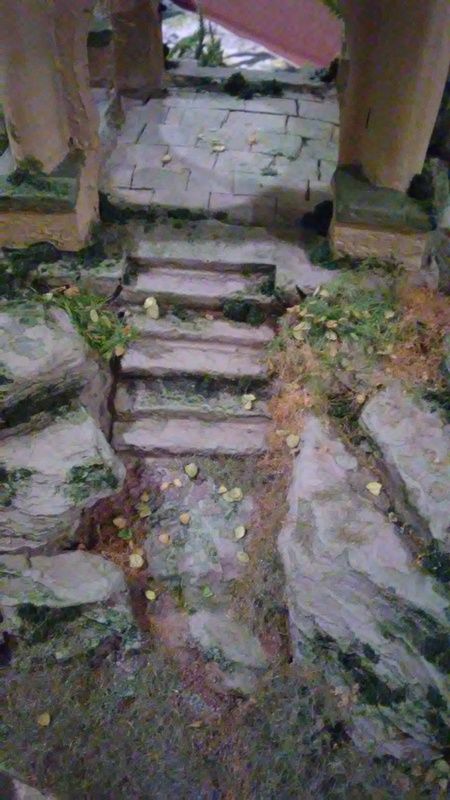
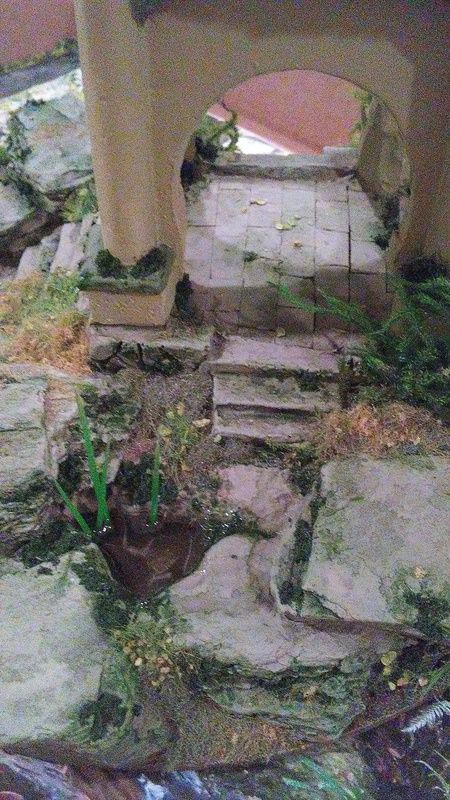
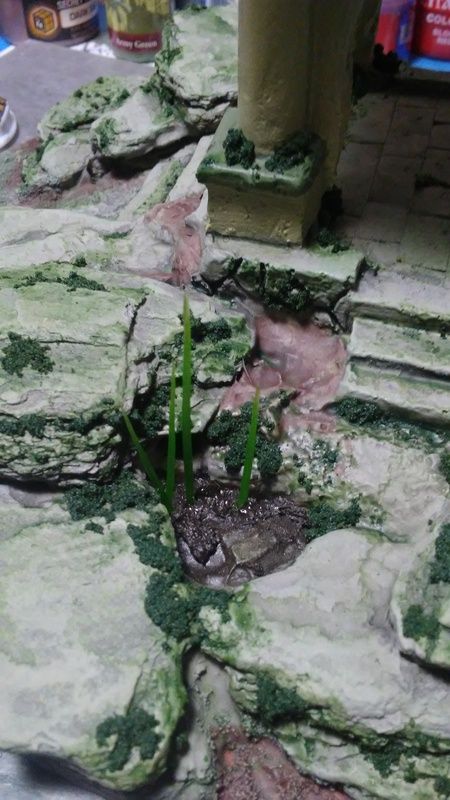
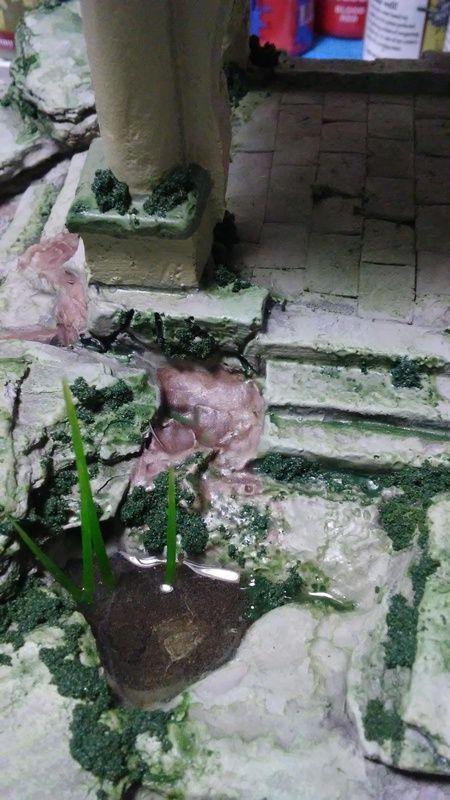
4.       Painting and finishing: Pretty straightforward, I used Army Painter spray and colors to match this to the Plast Craft building I made before, using the same colors. I did add a small spring and pond, using MIG mud on the bottom, silicone caulk to hold some random plastic grass fronds I had in bits, and then Envirotex resin for water. I made a mix of scenic tufts, flocking and scatter leaves compliments the watercolor-like finish I applied to it.

5.       Tea lights: Version 1 pagodas have LED tealights, which look great in yellow. For Version 2 I added a flicker LED light I got on Christmas clearance this year and it looks much better than the always-on LED. The flicker adds a ton of character and is mounted with magnet, just like version 1 pagodas. The only modification I needed to make with the new tealights was to remove their casing since the white plastic covering the light was really big and dimmed the light through the white plastic case too much.
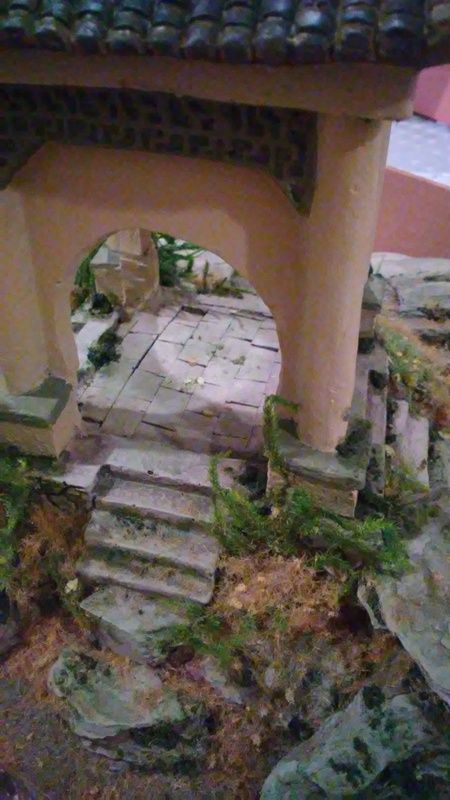

So there you have it! Version 2 pagoda all done. Expect to see it featured in an upcoming Bushido battle report.

Construction pics below.