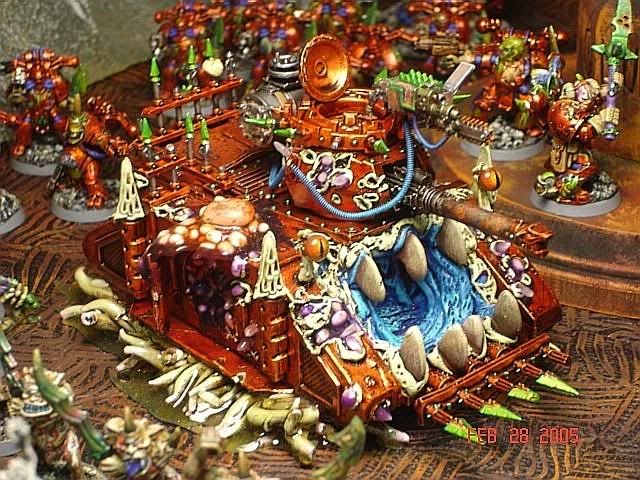
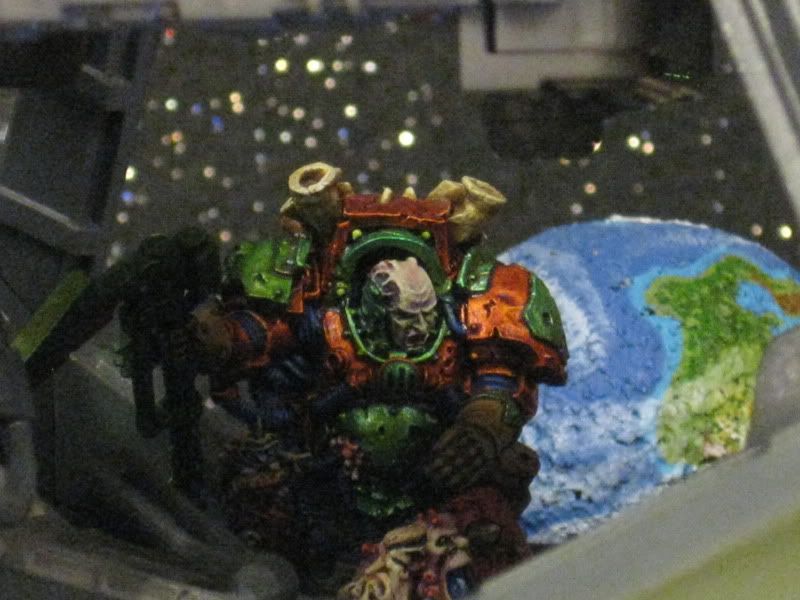
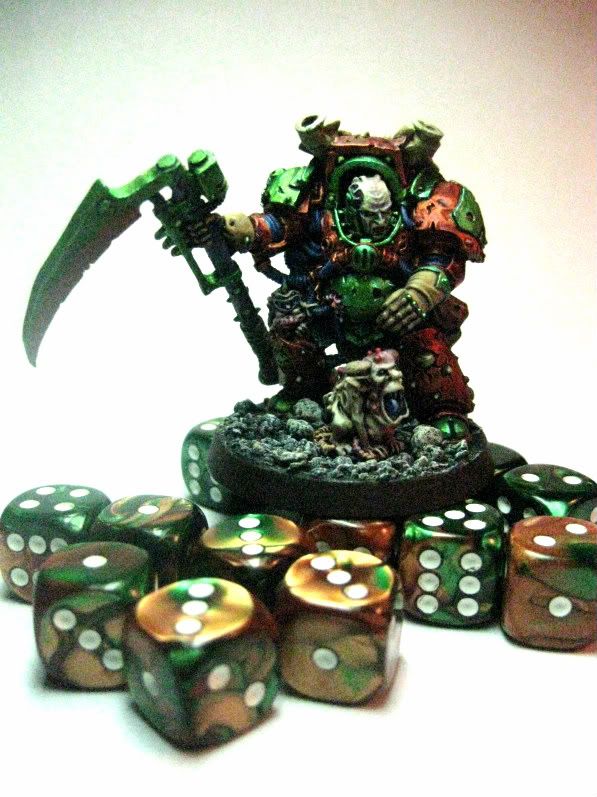
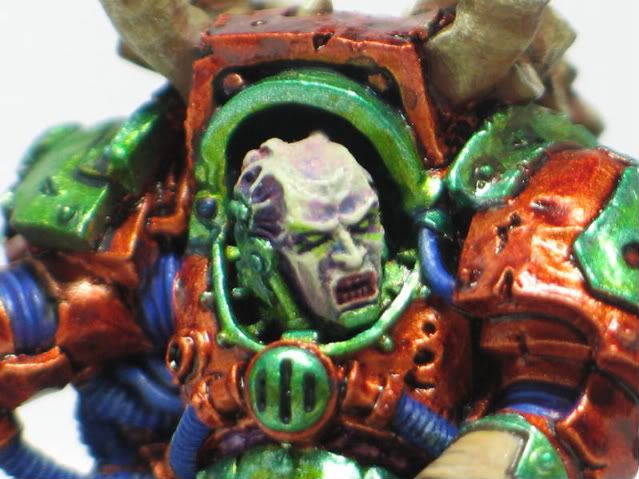
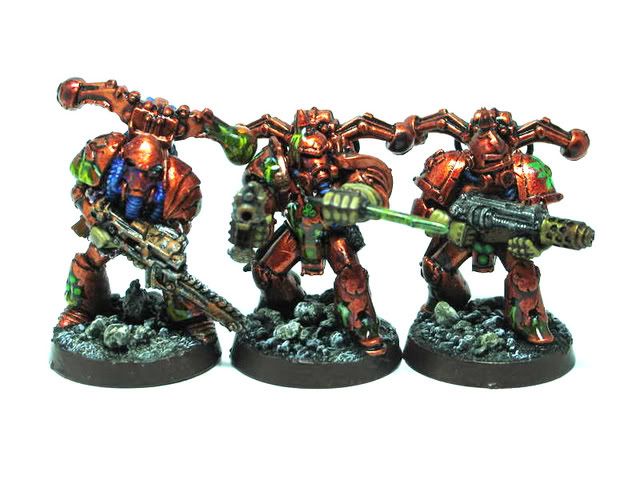
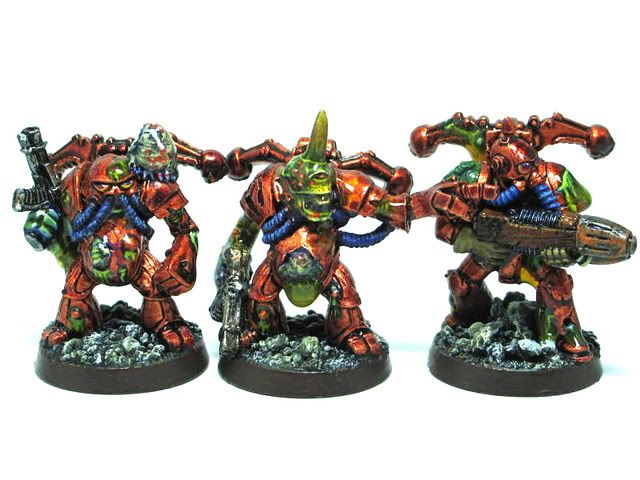
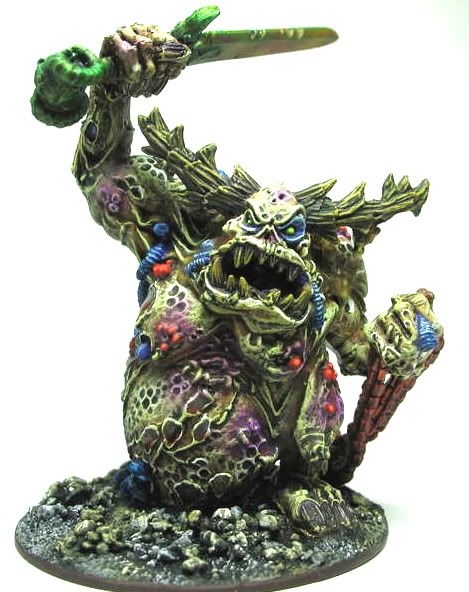
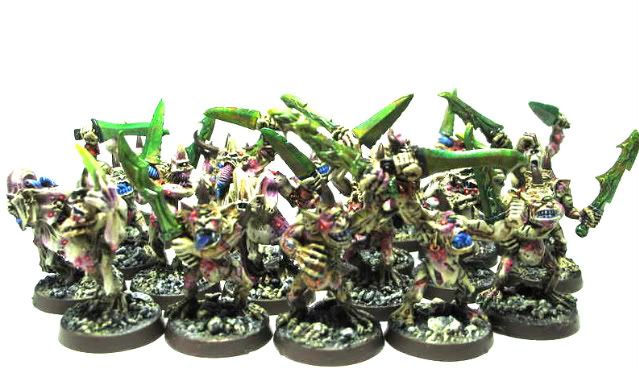
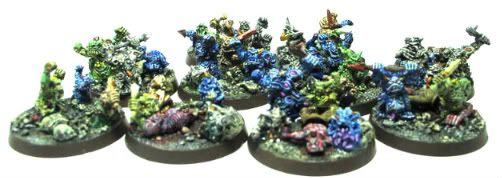
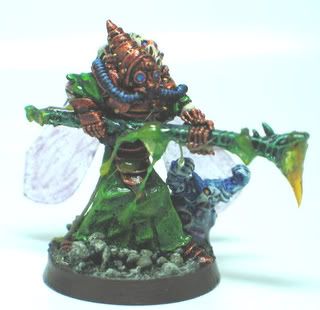
Since my ancient enemy the Kingbreakers recently called me out for felling their Then-Sargent-Now-Captain, it is time to revisit my fetid, foul Nurgle Marines from the shadowlands of time and space.

 |
 |
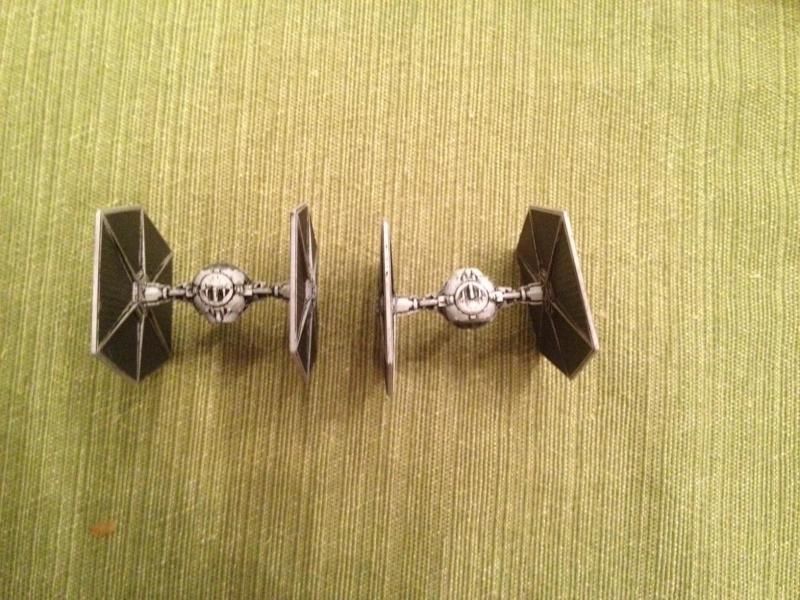
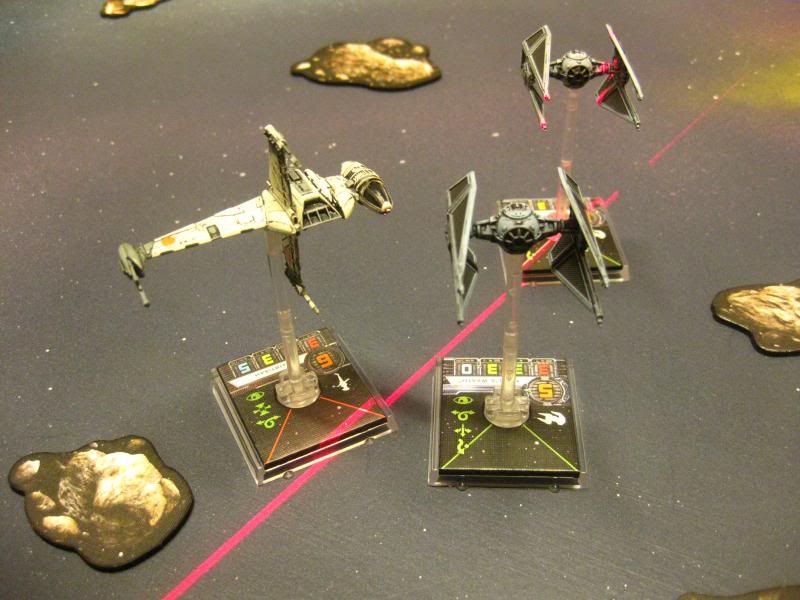
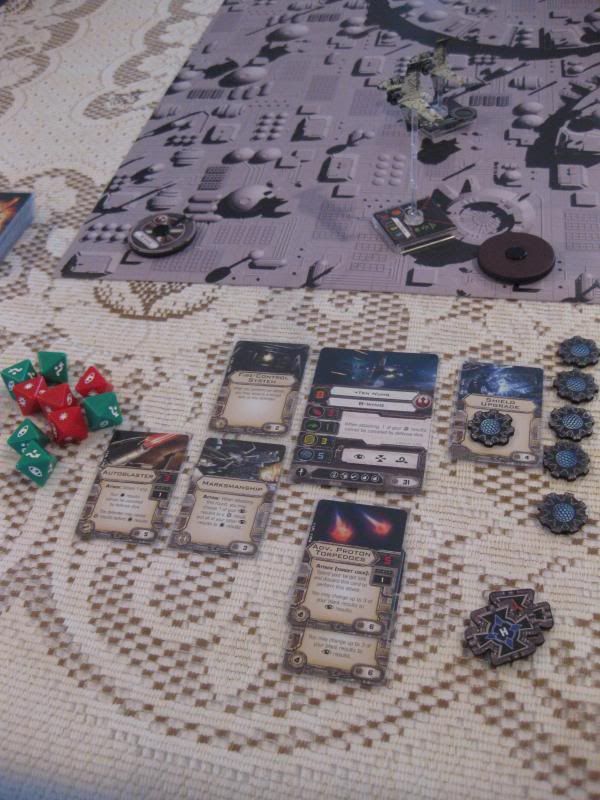
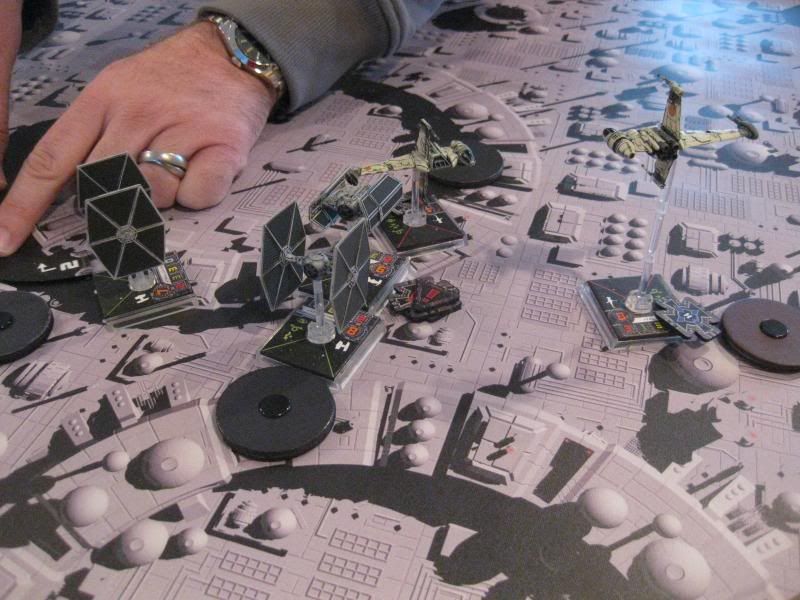
| Well, both are Pilot skill 9 so maybe not the best example of lowest to highest but you can see the rest of the examples mentioned below in this pic. |

 |
| OGRE Designer's Edition, now with 100% more colorful edges and Mod Podge. |
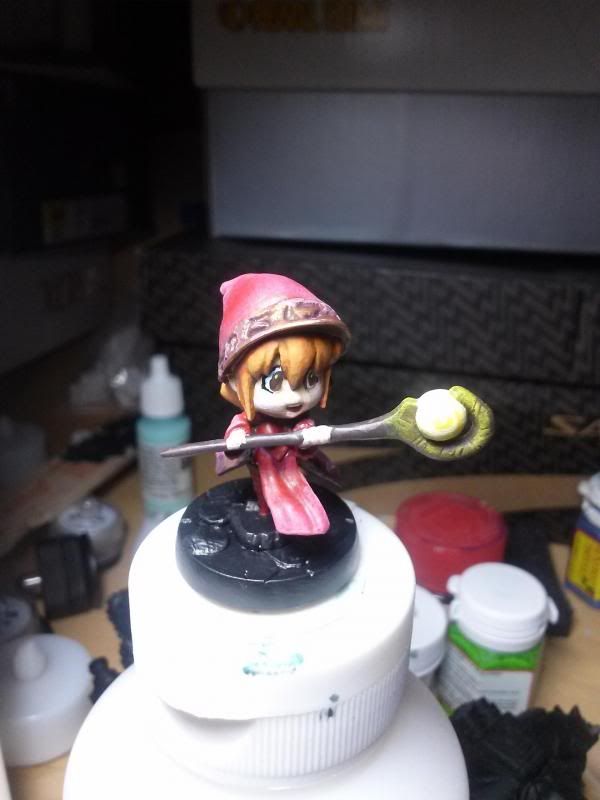 |
| Ember Mage WIP will fight the Polar Vortex with her cutsie-cheeks. When I try to do the same thing people yell at me to put my slacks back on. |

 |
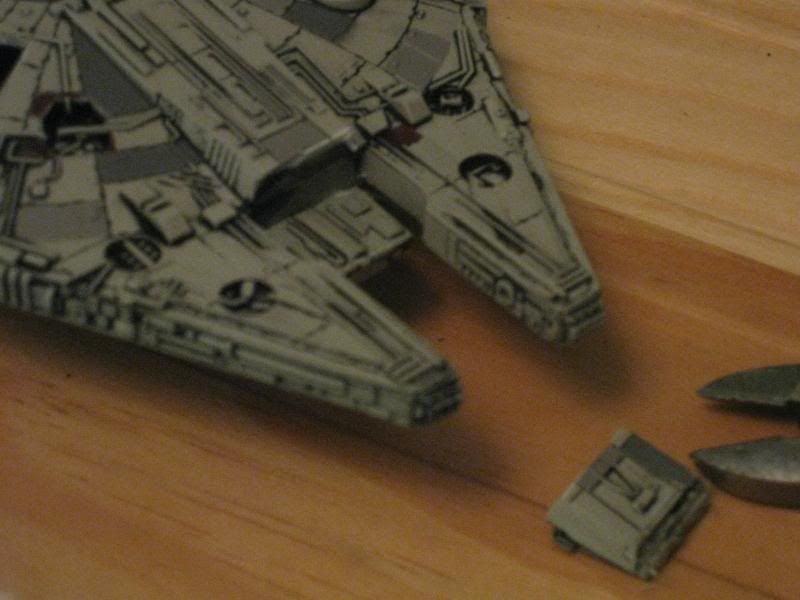
| Pretty rough looking but caulk will smooth it all out. |
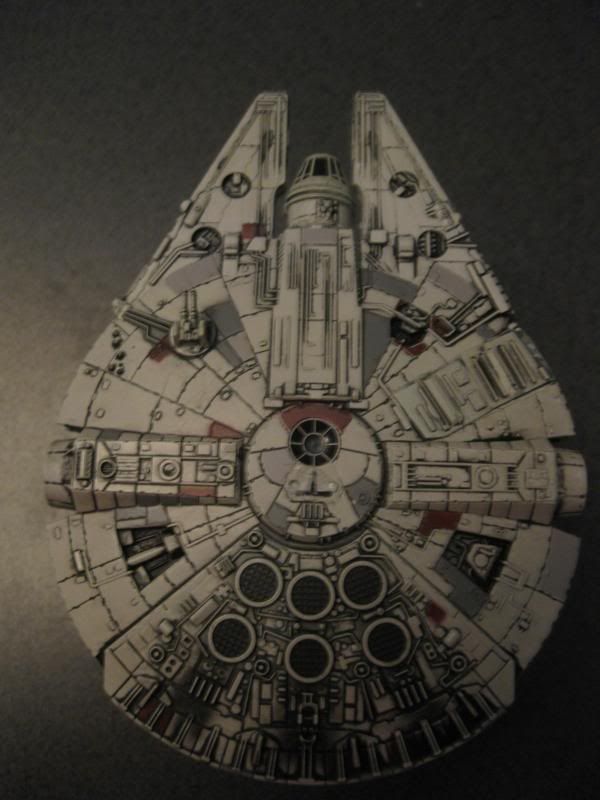 | ||
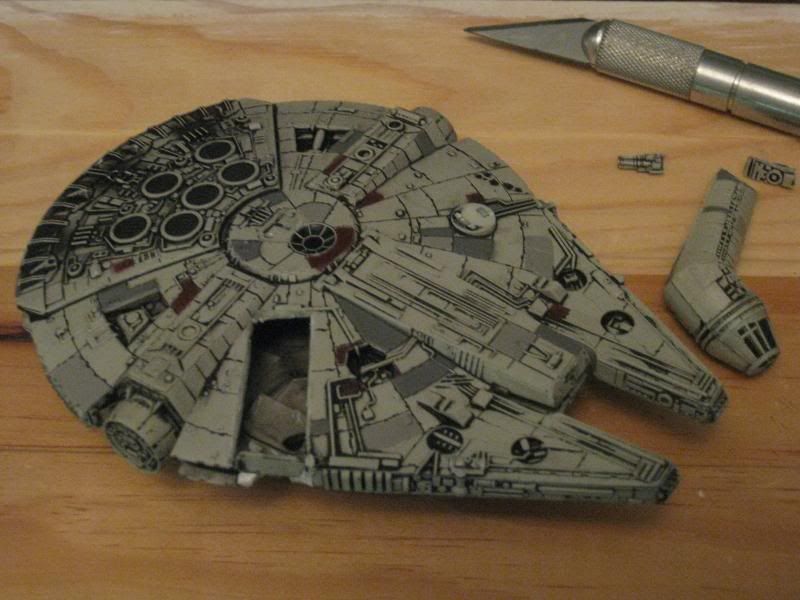
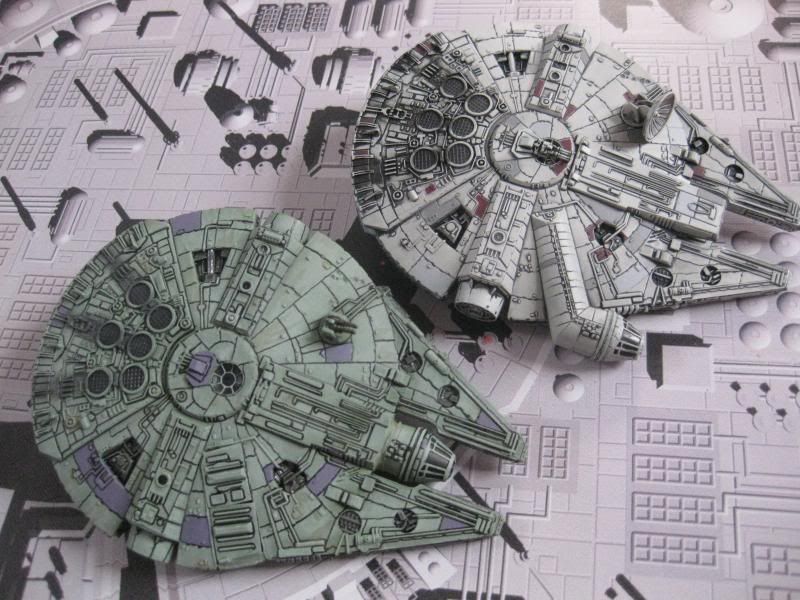
| You could just stop right here and not bother to repaint. |
 |
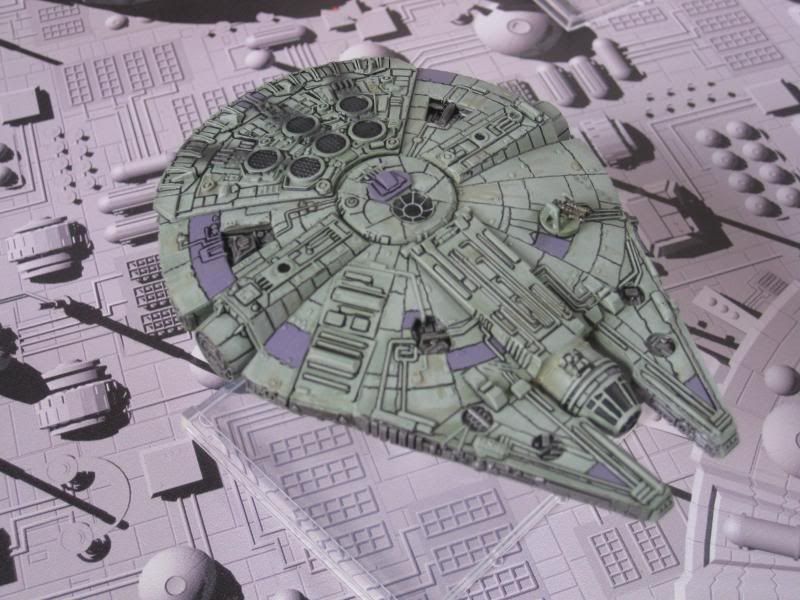
| I could've hid the the seams a bit better but paint will tidy that up. |

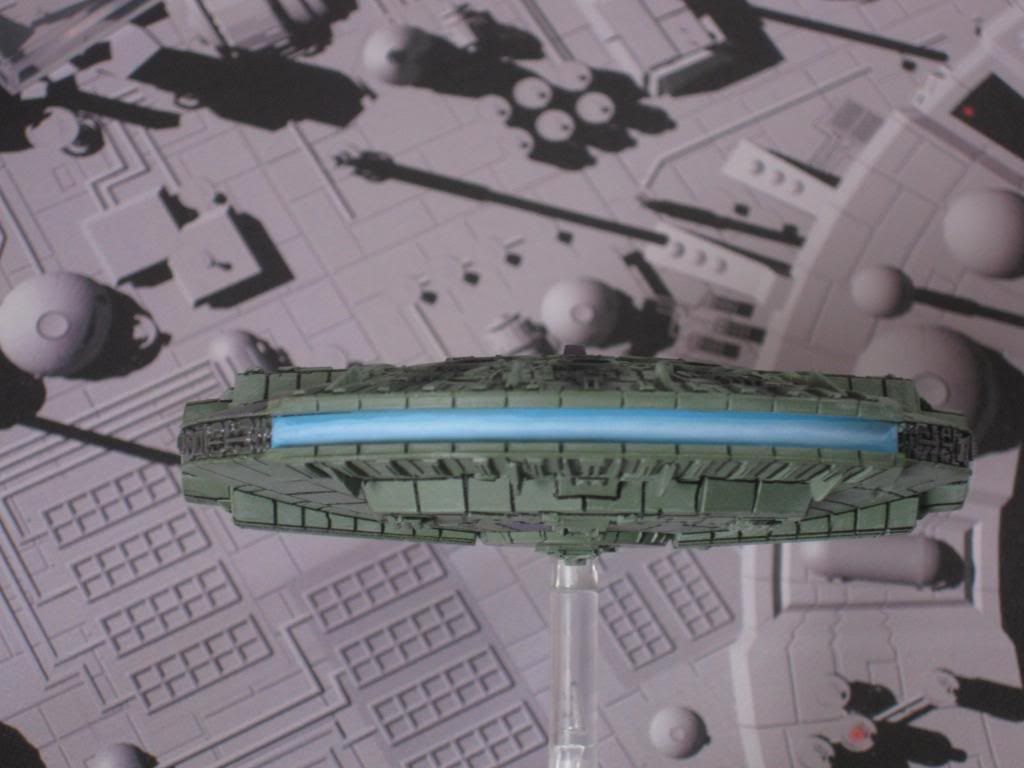 | |
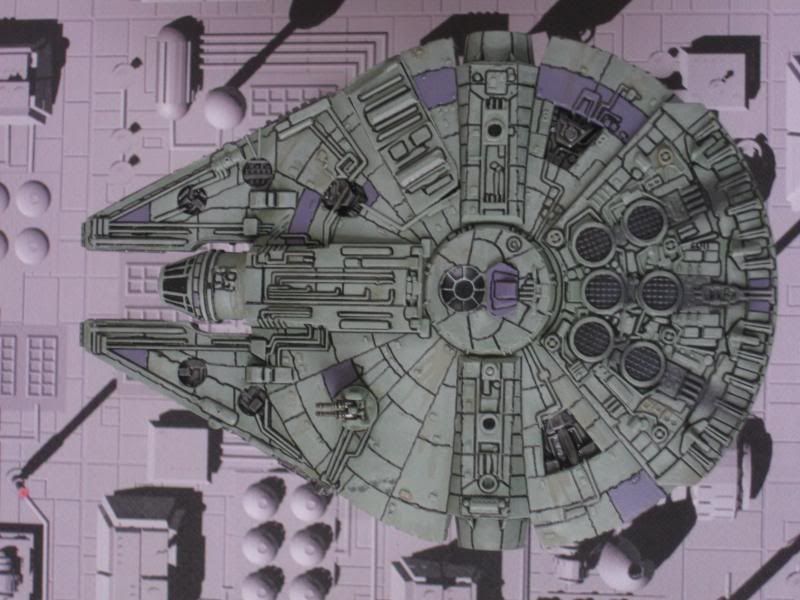
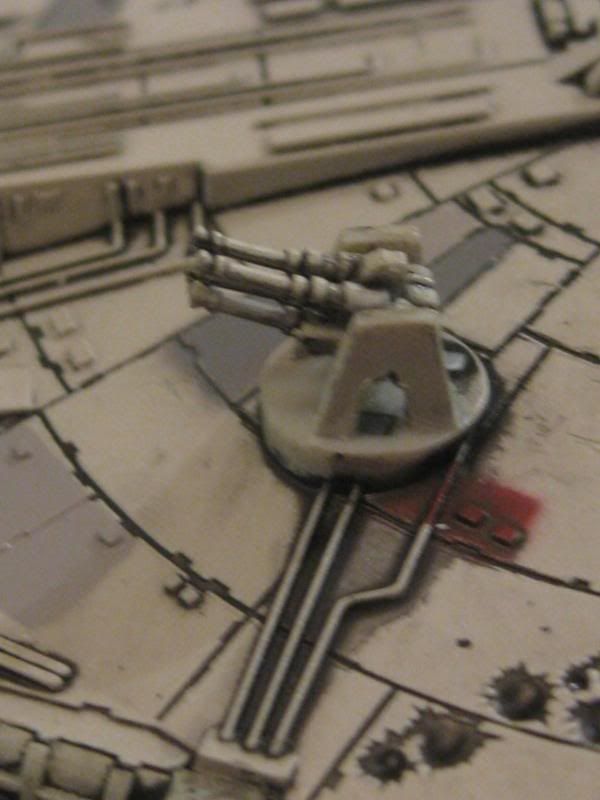
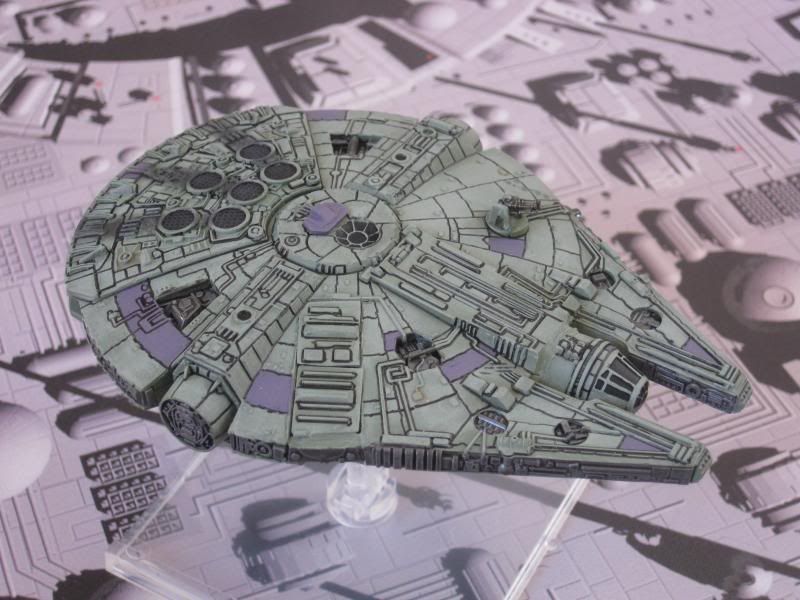
| I wasn't done with the technical pen but wanted to see if the engine glow looked good before I finished the YT's ample aft. She's got it where it counts, kid. |

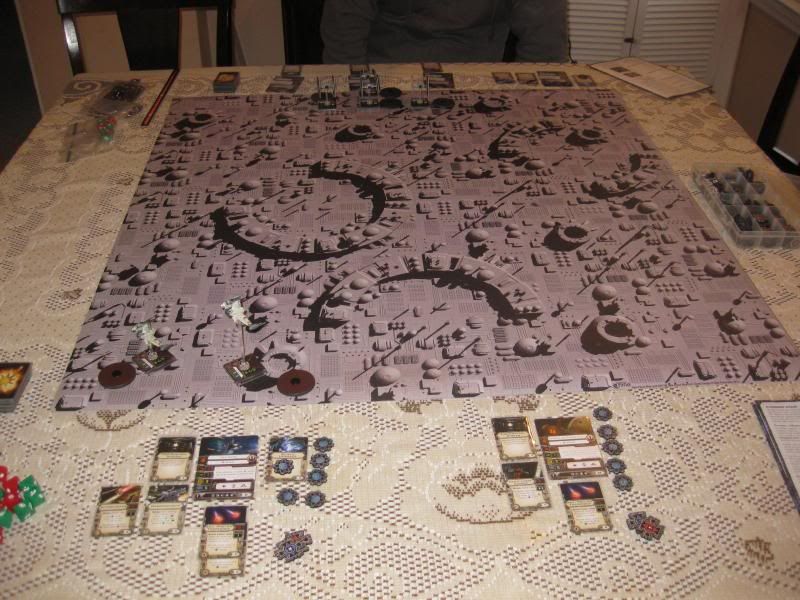 |
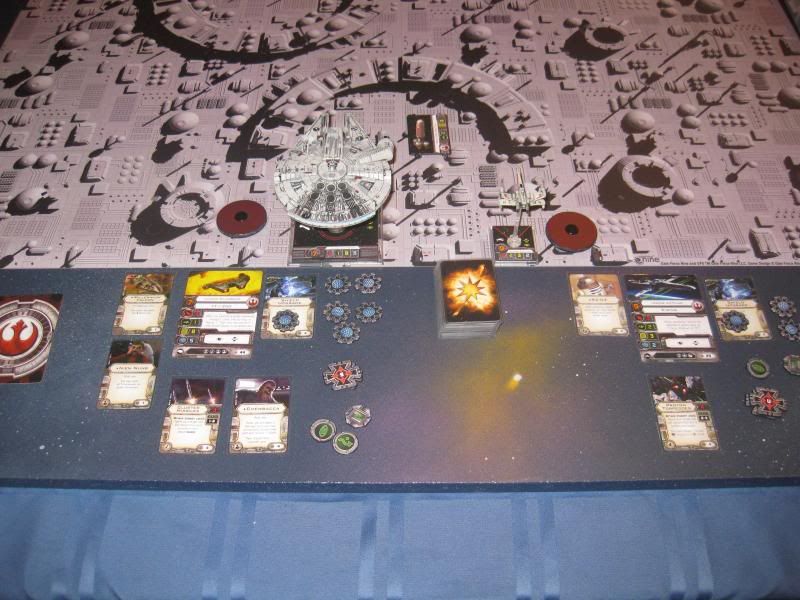
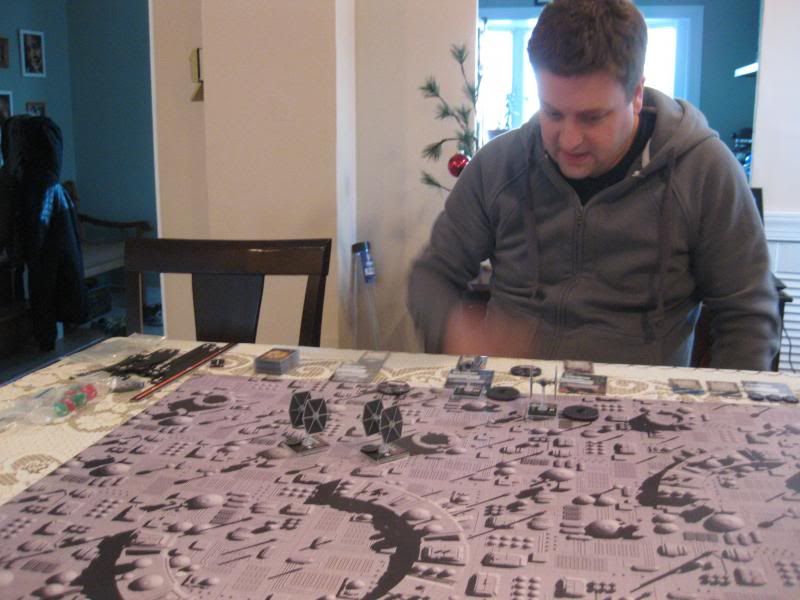
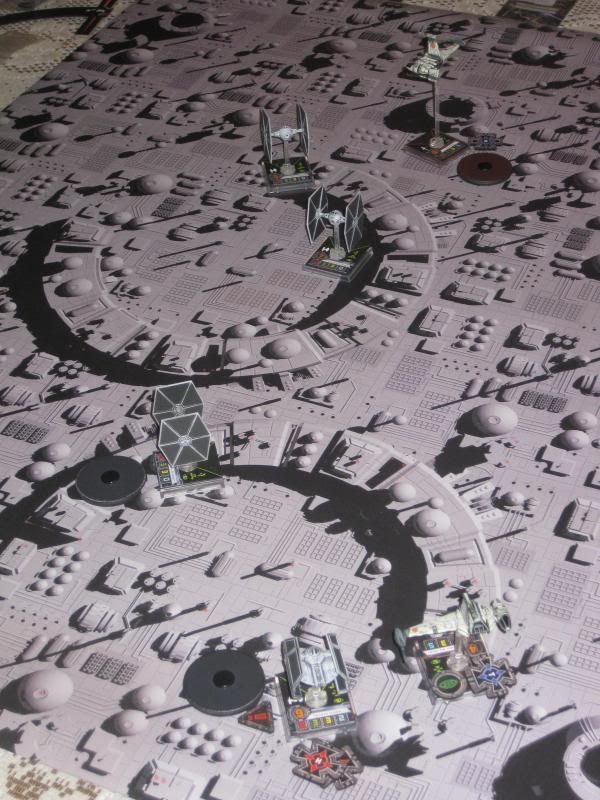
| Game Start |
 |
| B Wing Deployment |
 |
| Imperial Deployment |
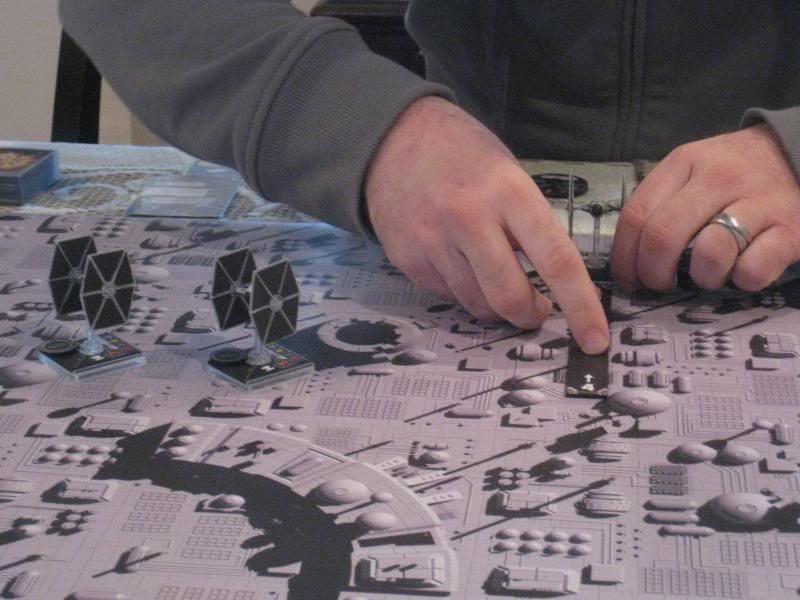 |
| Turn 1 Movements |
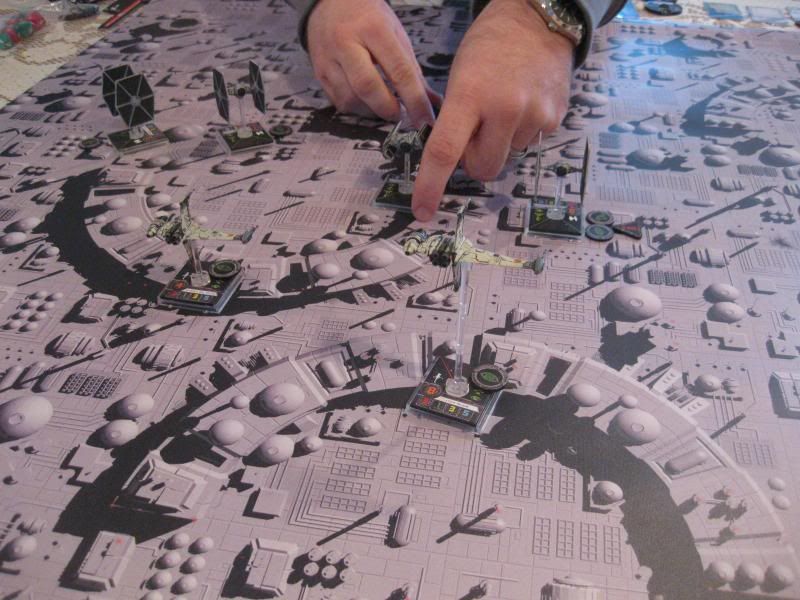 | |
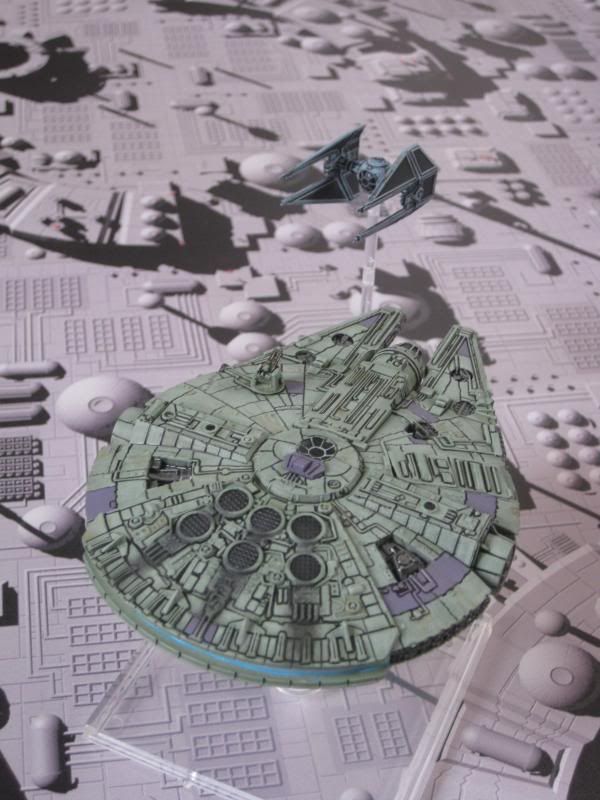
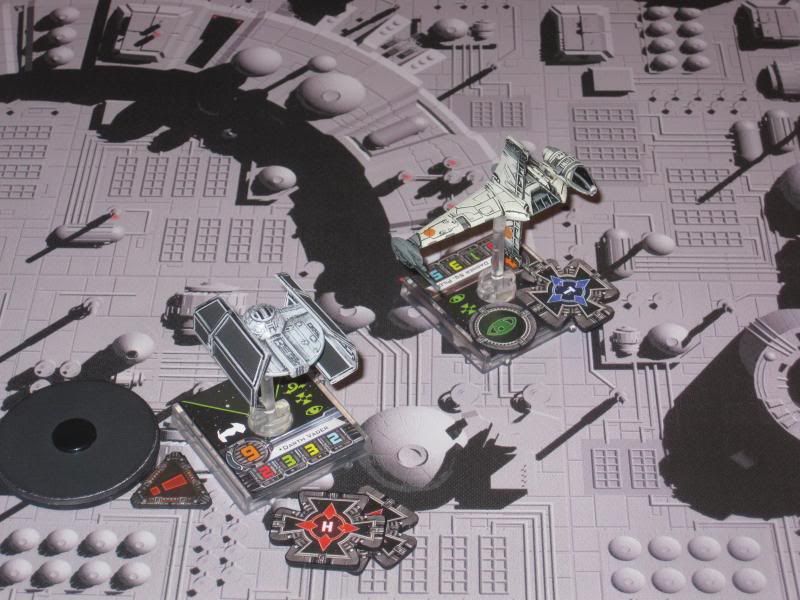
| Turn 3, lines collide as Vader emerges from the group, straight at Ten Numb, who along with Dagger pilot, calibrate their Fire Control Systems to track the elusive TIE Advanced... |

 | |
| The dogfight in earnest |
 |
| Dagger pilot cuts hard to find Vader and opens up with Heavy Laser Cannon, hitting hard but Vader evades most damage. |
 |
| Vader's Kiogran sends him straight past an incredulous Dagger pilot |
 |
| Dagger pilot's bid on for Vader's head failed as Ten Numb banks right into the Imperials, warming up the Advanced Torpedoes but his mark was outside his arc... |
 3
3 1
1 3
3 6
6 


 results cannot be cancelled by defense dice.
 results cannot be cancelled by defense dice. The defender may cancel results before results. Attack value: 3. Range 1.
 results. Attack value: 5. Range: 1. results. Attack value: 5. Range: 1. results to a result and all your other results to results.
3
1
3
6
results to results. Attack value: 4. Range: 2-3. results. Attack value: 5. Range: 1.
results. Attack value: 5. Range: 1. results. Attack value: 5. Range: 1. results to a result and all your other results to results.
3
1
3
6
results to results. Attack value: 4. Range: 2-3. results. Attack value: 5. Range: 1.
Darth Vader
9
2
3
3
3

Unique
During your "Perform Action" step, you may perform 2 actions.
Darth Vader/TIE Advanced (29)
Concussion Missiles (4)
– Attack [Target Lock]: Spend your Target Lock and discard this card to
perform this attack. You may change 1 of your blank results to a
result. Attack value: 4. Range: 2-3.
Swarm Tactics (2)
– At the start of the combat phase, choose 1 friendly ship at Range 1.
Until the end of this phase, treat the chosen ship as if its pilot skill
were equal to your pilot skill.
Shield Upgrade (4)
– Increase your shield value by 1.
|
|
21 points
Howlrunner
8
2
3
3
0
Unique
When another friendly ship at Range 1 is attacking with its primary weapon, it may reroll 1 attack die.
Howlrunner/TIE Fighter (18)
Push the Limit (3)
– Once per round, after you perform an action, you may perform 1 free
action shown in your action bar. Then receive 1 stress token.
|
|
21 points
Mauler Mithel
7
2
3
3
0
Unique
When attacking at Range 1, roll 1 additional attack die.
Mauler Mithel/TIE Fighter (17)
Expose (4)
– Action: Until the end of the round, increase your primary weapon value by 1 and decrease your agility value by 1.
|
|
19 points
Winged Gundark
5
2
3
3
0

Unique
When attacking at Range 1, you may change 1 of your
results to a result.
Winged Gundark/TIE Fighter (15)
Engine Upgrade (4)
– Your action bar gains the
action icon. |