Tuesday, March 21, 2017

Bushido: Homemade Tokens


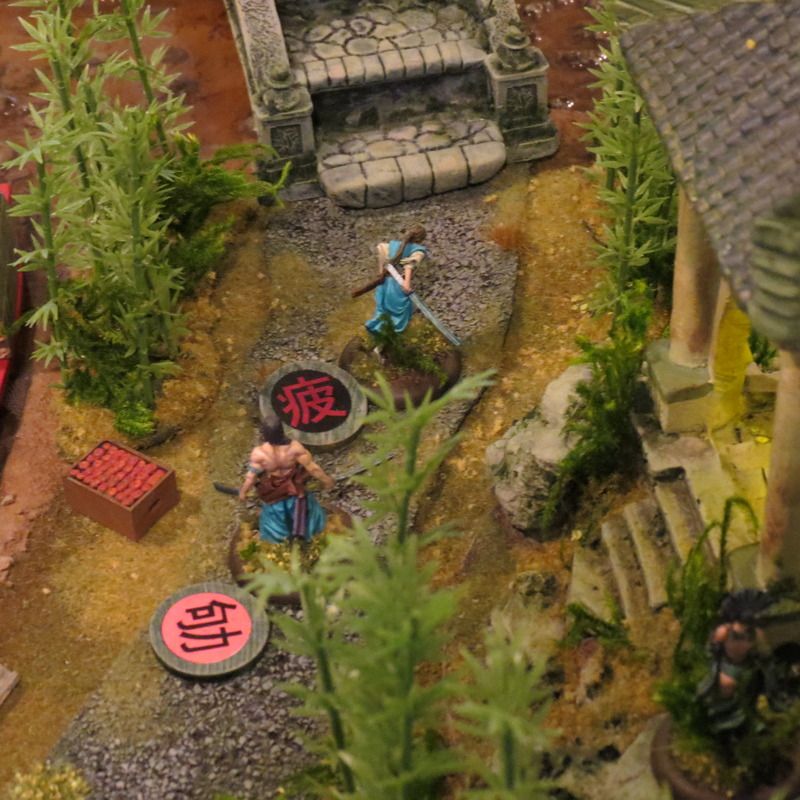
Ah, the dearth of tokens for this game is enough to drive one crazy. Yes, the (free) rules supply a token sheet and they are decent enough to get started, if not long-lasting, but a secret love in a gamer’s life is the damned peripherals. 

At very least, this game needs tokens very badly, where others you might skid by honestly without.
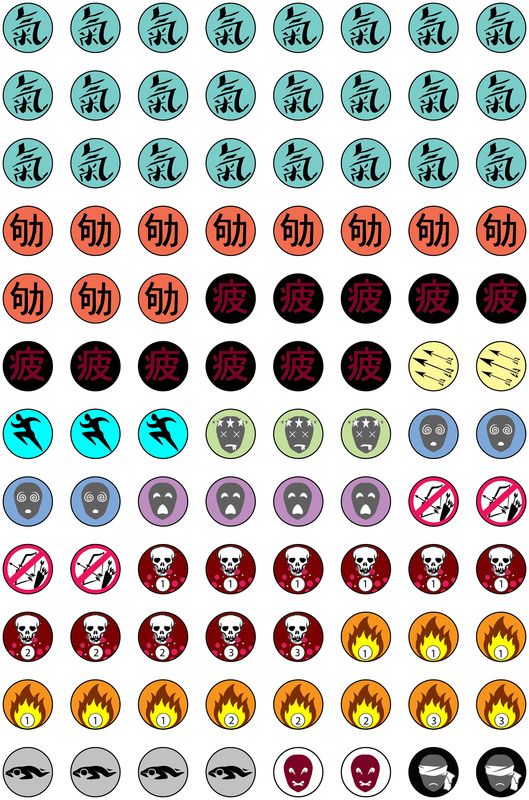
Colorized by Todd Allen Smith

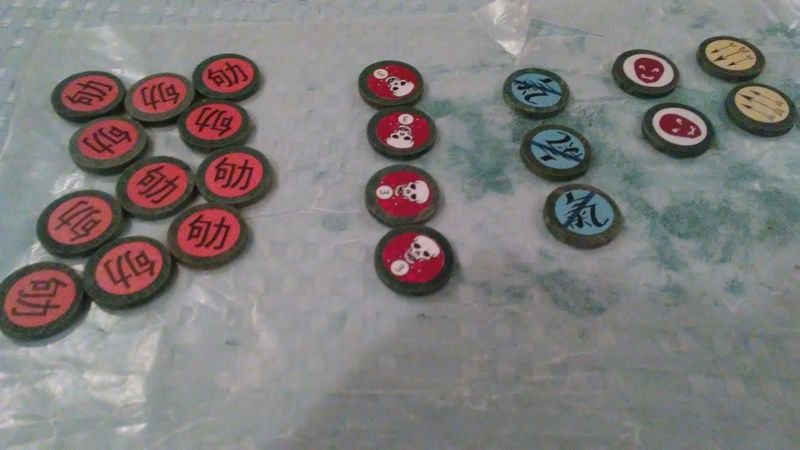
So, time to get crafty and make some tokens my self. These sets I produced aren’t really all that ambitious at about an hour of staining and dry-down overnight, then another evening of sitting to punch, sort and glue the paper to the stained wood tokens. 


The only real experimentation time involved in this was some playing around with paper punch sizes and happening by my friend Todd who could color the PDF token sheet, after which I sourced the rest of the materials. 

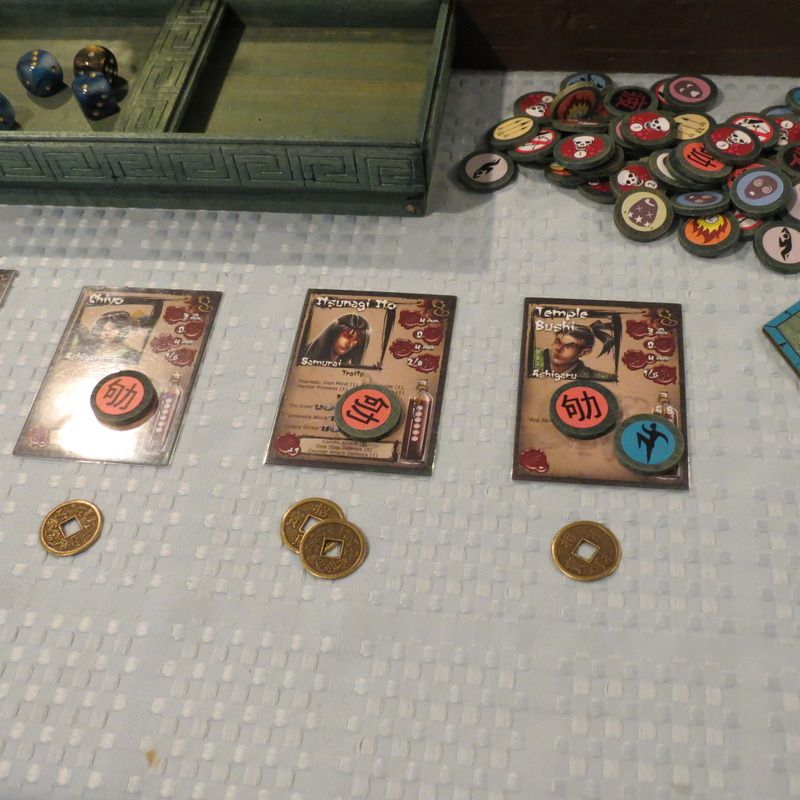
I cut a good corner on the token production side by continuing to use coins I already had as Ki tokens, which:

A. Looks and sounds badass when you use them. 
B. Alleviates the need to make a ton of Ki tokens. 
C. Confuses Silvermoon Syndicate players who feel left out when they watch you using gold coins, as they bloody well should. Filthy animal keepers and carnies, the lot of them.

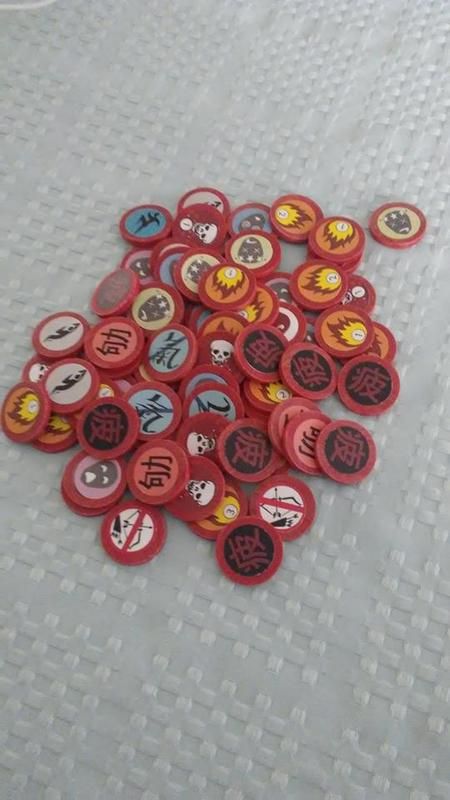
After reading more this week on releases and rules, I noticed the token sheet I used is missing Bleed and Ki Block. I fixed Ki block by taking the token for Ki and just drawing a slash across them, then gluing as normal. Bleed I will probably just make some blank paper tokens and add a bloody fingerprint. 
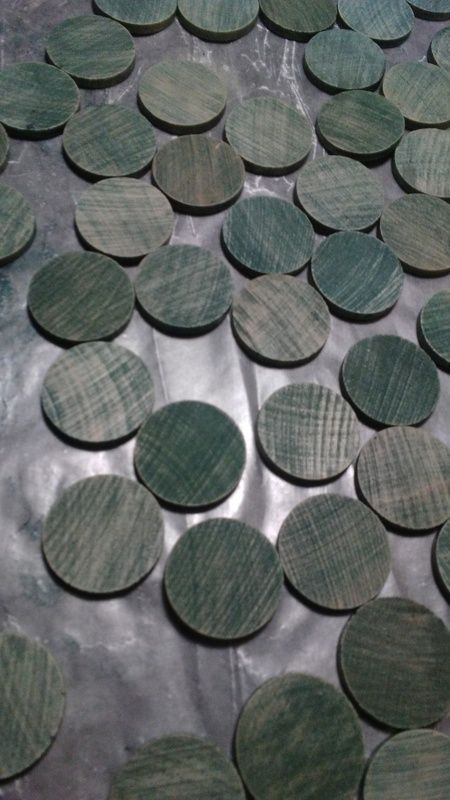

So, the method was simple. Stain the 1"wood tokens (sourced by Amazon.) I use water based stain so I could just use my hands. I dipped the token in stain, wiped off excess with paper towel. 

I put the tokens on wax paper and let dry, flipping them after 30 minutes of dry time to allow both sides to air dry overnight.
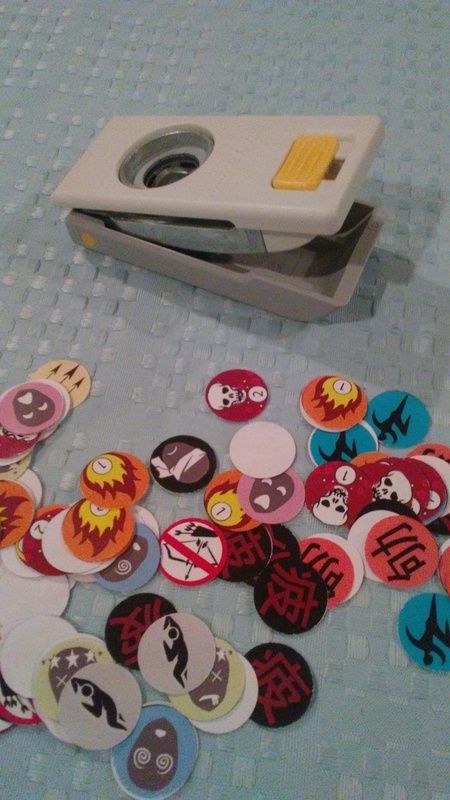


After staining, I punched the tokens out by printing 2 sheets of the PDF at 100% and using a .75 inch punch. I then sorted them out in pairs. I wanted all tokens to be double-sided, so, two sides to Prone, Run and so forth, except for the Tired and Exhausted tokens, as well as the Fire and Poison counters. 

So after punching, ahead of gluing, I sorted 1 tired and 1 exhausted together in 11 pairs. I then sorted Fire 1 with Poison 1, Fire 2 with Poison 2, etc. The logic here is shared by myself and my buddy Pete, where we like oneTired/Exhausted token for each model (just flip it as you go from Tired to Exhausted) and in making the Fire and Poison tokens together, it lends to cleaner play with less errors in how Poison tokens reduces down as models take hits, same for when Fire functions in a game.

Sorting ready, tokens dried, I used a fat round brush to coat the token with matte Mod Podge, added the paper token, smoothed and then topcoated right away with matte Mod Podge. Set aside, let dry. Once the first sides are all the way done you can go right back to the earliest ones you did in that sitting and repeat the gluing and top coating same as before, with the previously sorted paper token. The devil is in the sorting, so take your time. 


So that's it! Pretty simple save for the sorting. I do wish I was able to make these smaller but for the price they were fine and match the other peripherals I've built really well.  

Friday, January 20, 2017

40K: 50K Point Apocalypse (Coverage from my game group PAGE and the Winter Apoc Game)

This is a video review of my game group PAGE and the annual Winter Apocalypse game for 40K. The polar spaceport is my work... just realized I never posted any of that up so I will get on that soon. Also within is all of the crazy amounts of work in terms of figures painted, club terrain and awesome stuff guests brought. If you are in the PA area and want to join us for almost any game, something specific or something different, just reach out. We are active at most area stores including Redcap's and we will also be running some events at NOVA again this year, stay tuned!


Friday, November 18, 2016

Imperial Assault: ATST's Reposed on Clear Litko Bases


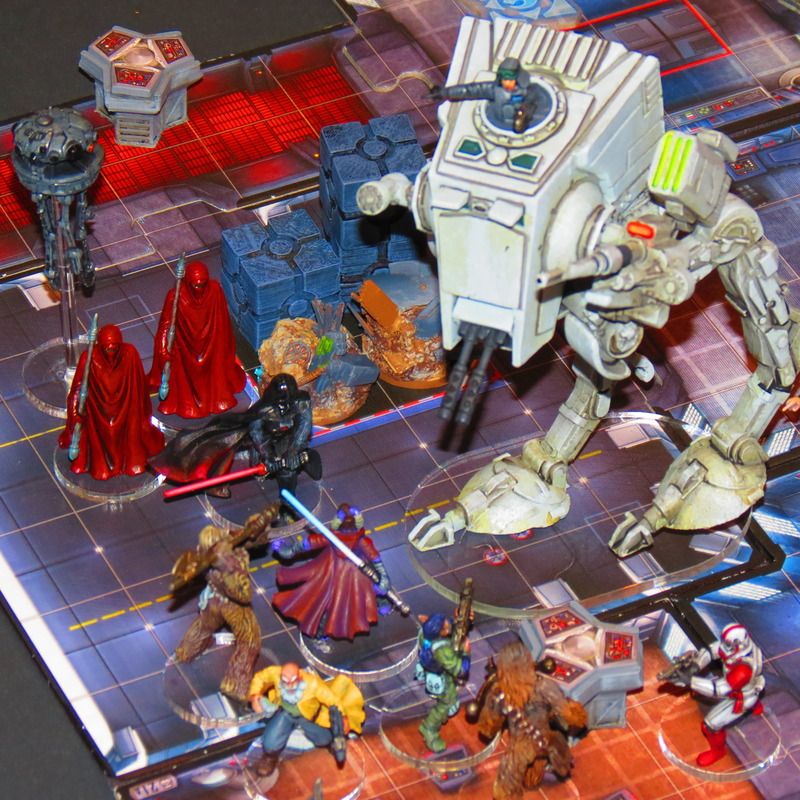
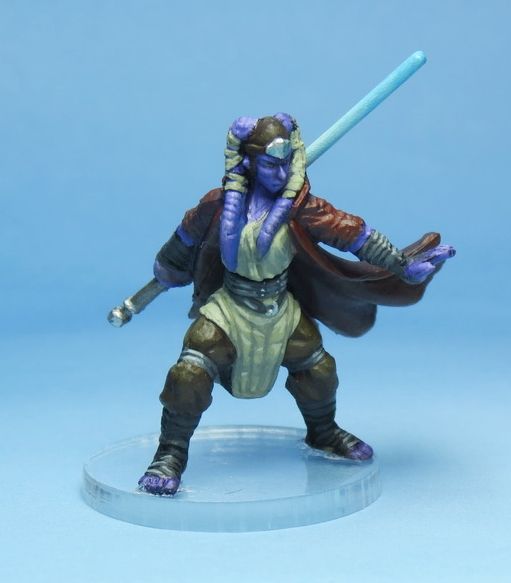
Diala has her hands full.  Bases by Litko. Re-basing by Jeweler's saw and cold water to keep plastic firm to cut. Glue by Formula 33. Adhesive by 10 Minute Zpoxy.
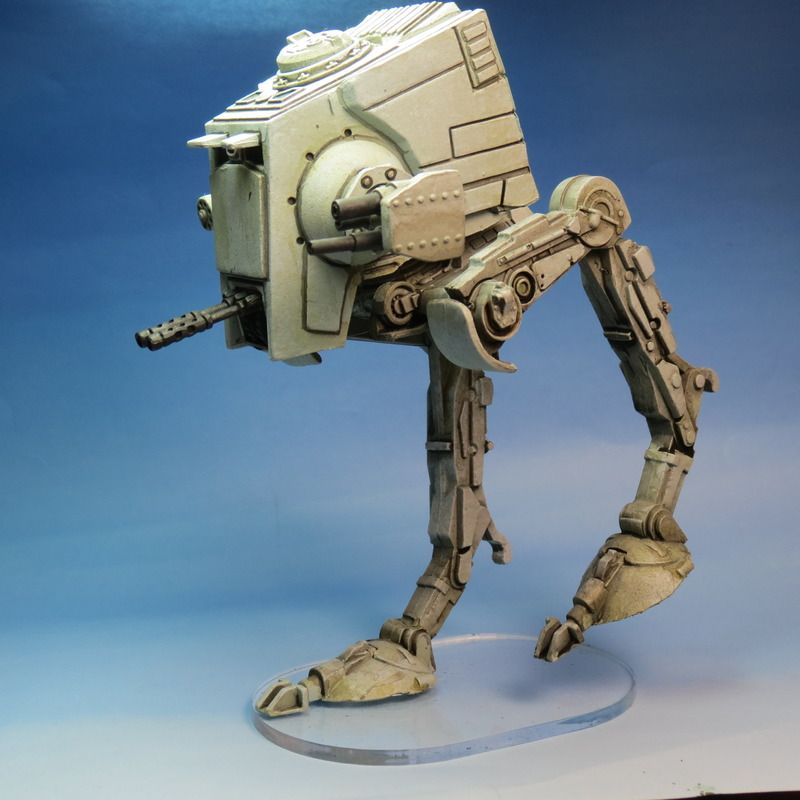
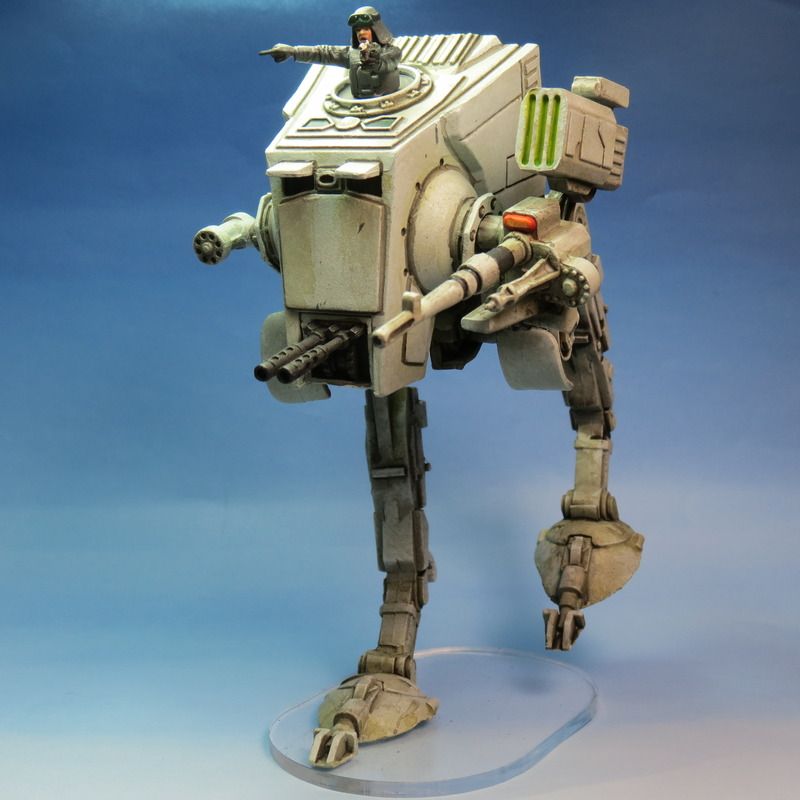
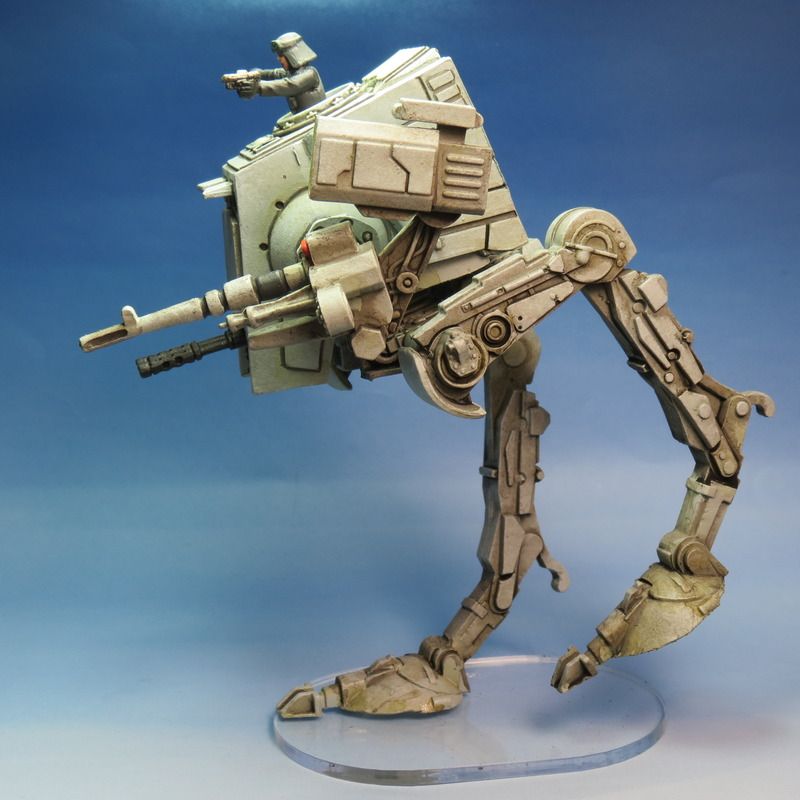
Left ATST has the right leg cut at the knee joint vertically to straighten the leg. Pins and epoxy reinforced the load bearing ability. Weiss' ATST is featured previously. All weapons and copula parts are magnetized because why not.


Tuesday, November 15, 2016

Return of the Yeti

See what I did there? No? Nevermind then. My group just played the Imperial Assault campaign over the last 3 months and it was a blast. That said, I was busy painting and pimping the game but not reporting much because spoilers. Recently I pulled out Bushido again and am slapping paint on them now to get Ito to 50 rice and I have a Savage Wave starter coming in from Ol' Blighty.

So, how about a bunch of pics of stuff I had built and painted from the campaign in no particular order?

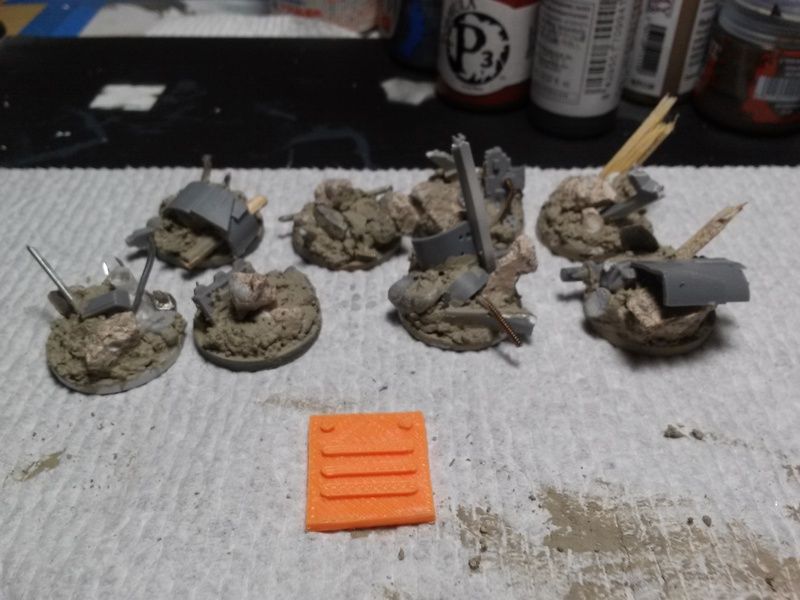
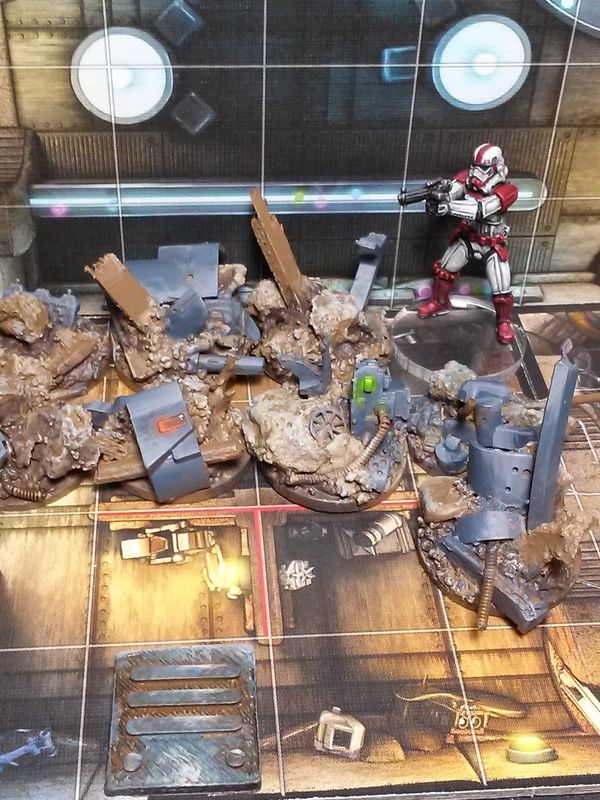
Rubble counters and a 3D printed hatch
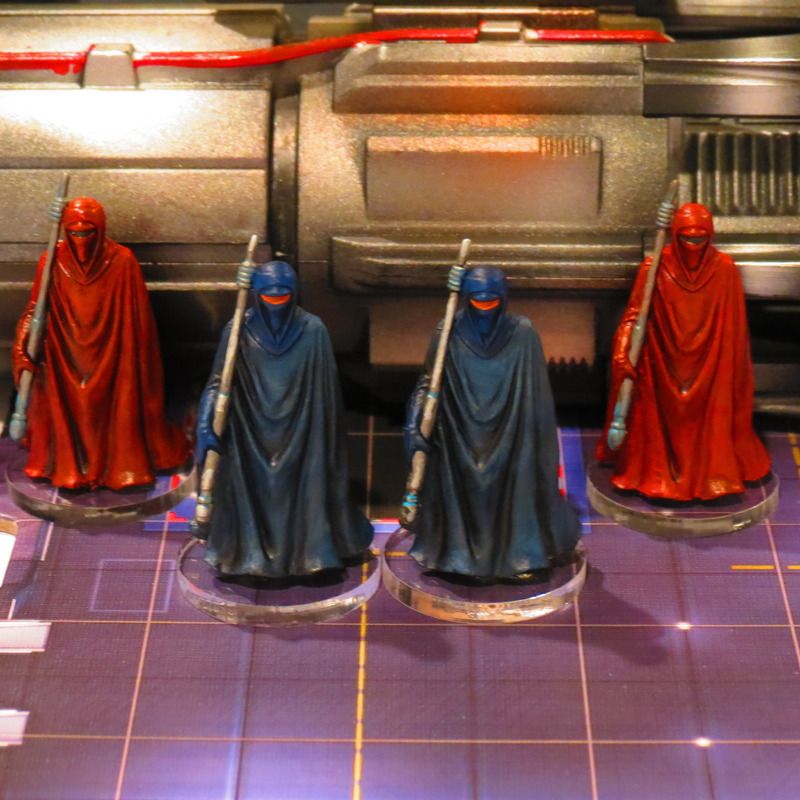
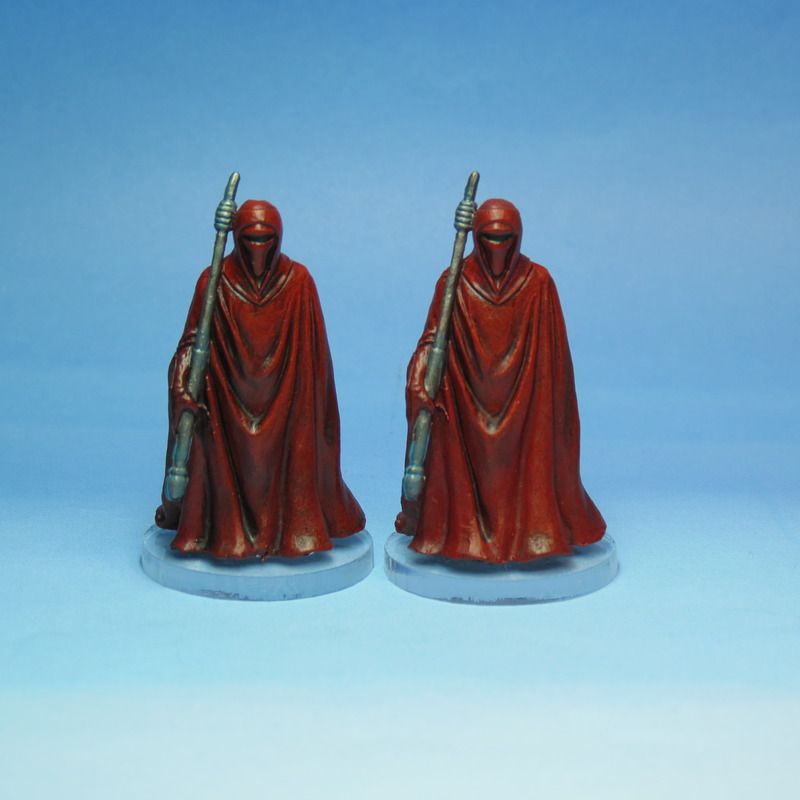
Elite Royal Guard

Tuesday, August 23, 2016

Star Wars Imperial Assault: Han Solo and Shocktroopers


So here is what's great about Imperial Assault from the hobby perspective. The figures have good sculpts and really benefit from some paint... they pop on the board in a really satisfying way. While you can adjust poses and bends with hot water, it doesn't really pay to clean up the models in a complete way that is slightly alarming to a seasoned mini painter; the material is just really hard to work with and trimming flash is like failing a sobriety test. That said, it leaves you in a cool place to challenge yourself to paint fast and try new things since there isn't much to be done about the material used.

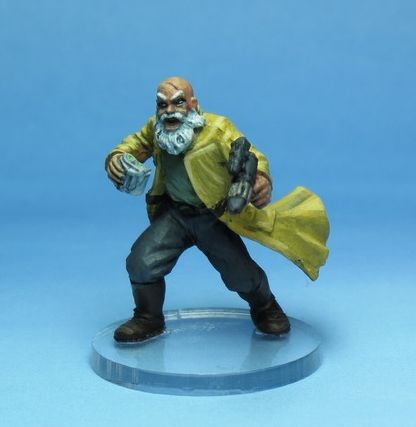
With that in mind I have been letting the campaign dictate my painting schedule and so, as we progress through the campaign I usually tackle a few minis a week. For the side mission, "Sorry About the Mess" I needed Solo and an Elite Stormtrooper unit done up. So I simply put them on the table ahead of the impending game and knocked it out.

There is a ton of source material to paint from and that has been a ton of fun for me, instead of the usual fretting about designing color harmonies and sourcing or mixing colors. For the most part, I toned stock colors and built up highlights again.


I had about 2.5 hours to paint Solo and about another night to get the Elite Stormtroopers-Shocktroopers finished. In all, a ton of fun and they look the part on the board. The only real issue I had was the humidity was bonkers in Philly, so the Troopers and Solo got a bit frosted when primed.

Again, I threw caution to the wind and just got it done... pretty happy with the speed and outcome and I am knocking out a handful of figures every week. I have more Stormtroopers on the table along with Kayne Somos and I am mostly done the box set. I will be done the entire box set plus multiple expansions by mid September.


Tuesday, August 9, 2016

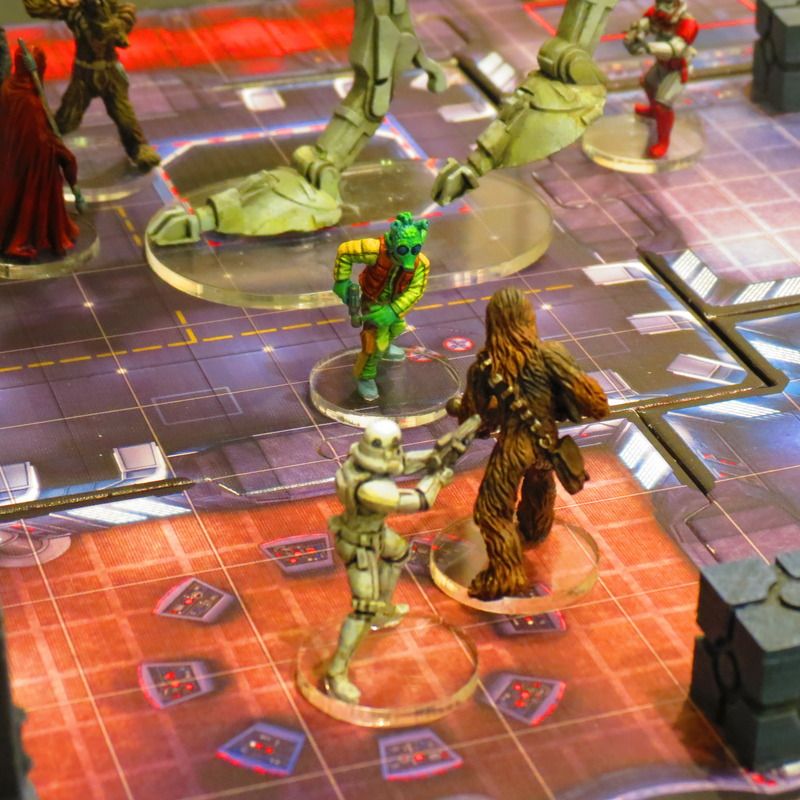
Star Wars Imperial Assault: Chewbacca


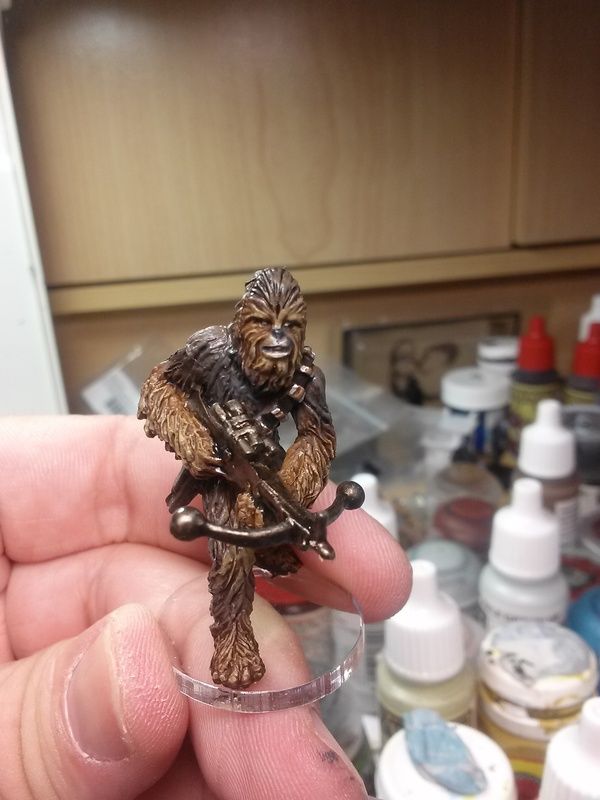
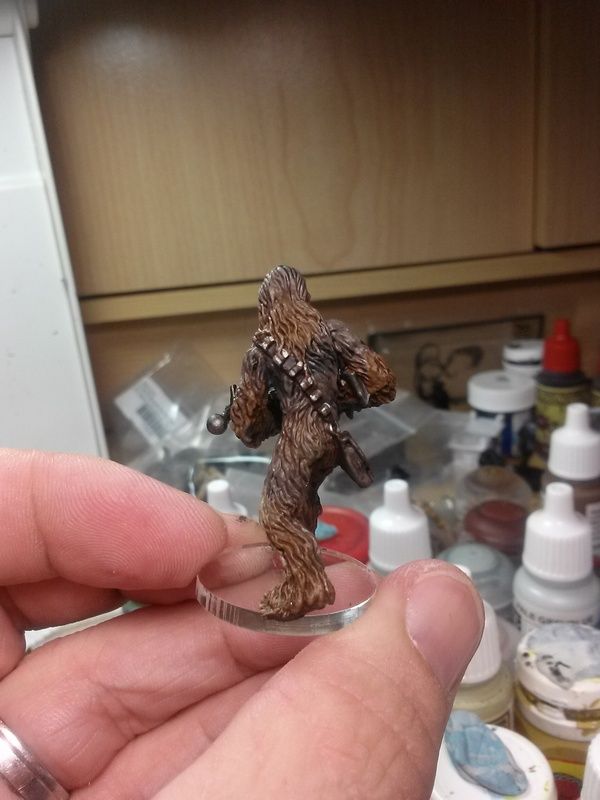
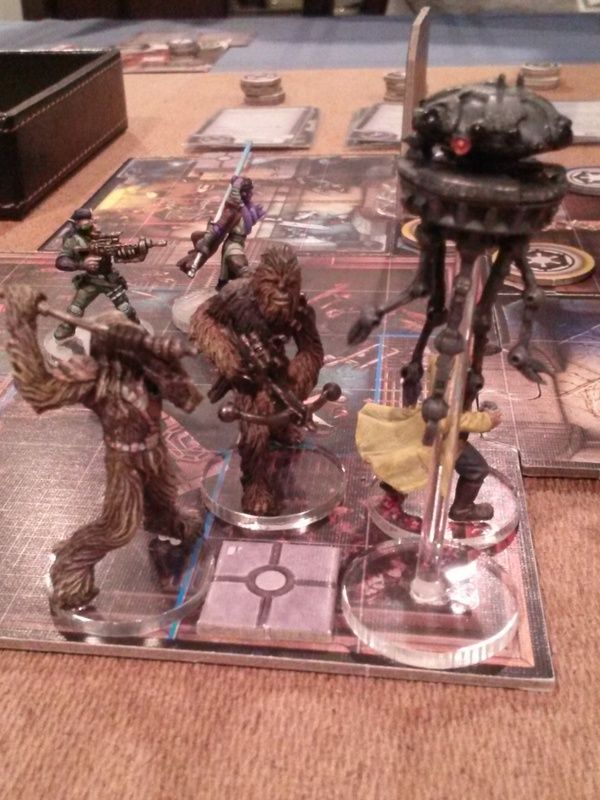
My game group played The Spice Job mission Saturday, so I painted Chewbacca up Friday in anticipation. Many people are saying that painted models win games, so it must be true as Chewie was a walking carpet of destruction in the game and seriously fun to paint.


Wednesday, August 3, 2016

Star Wars Imperial Assault: Painted Figs with Litko Bases and Re-Posed ATST


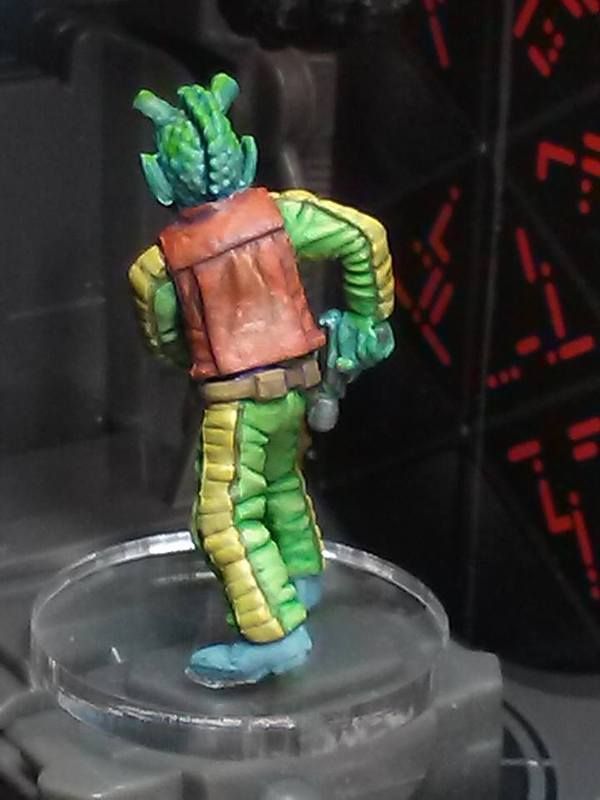
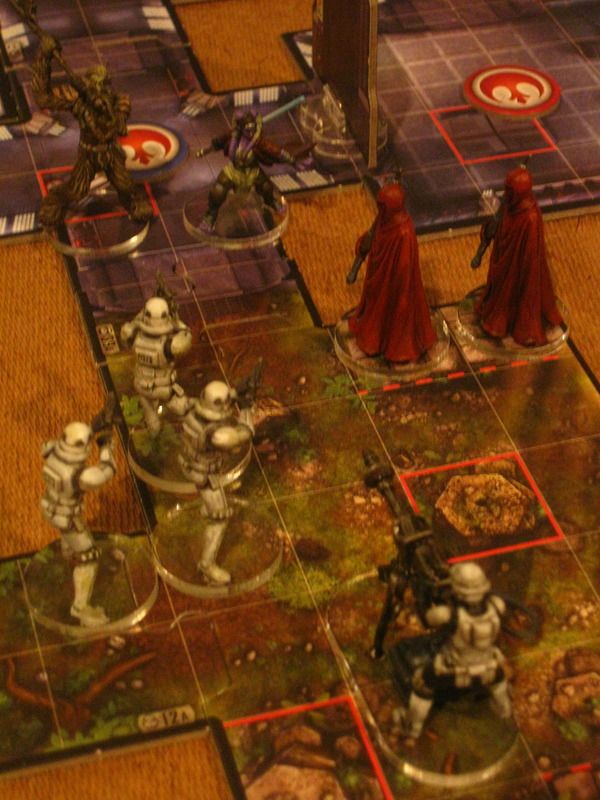
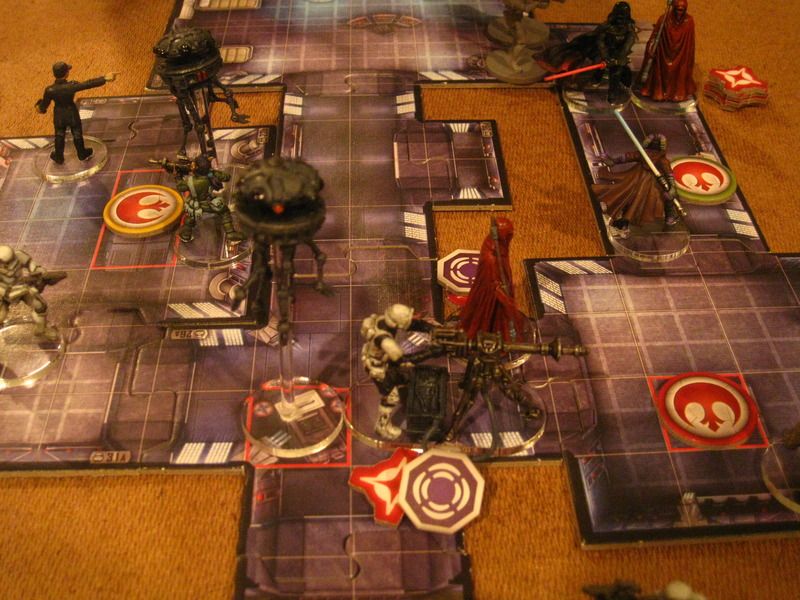
Here is some more painted Imperial Assault I have been working on the last 2 weeks for our ongoing campaign which I am running with my cousins and my son. These sculpts are fun to paint and have decent detail but clean up could be a nightmare with flash if you are counting on making these showcase paint jobs. So, don't bother. Color adds so much to the game and a tabletop painting standard is more than enough to bring it to life. I added Litko clear bases too, which I really like on these models. I used a jeweler's saw to remove the figures from their bases. I'll close this post with a few other in-game shots.

Gideon Argus


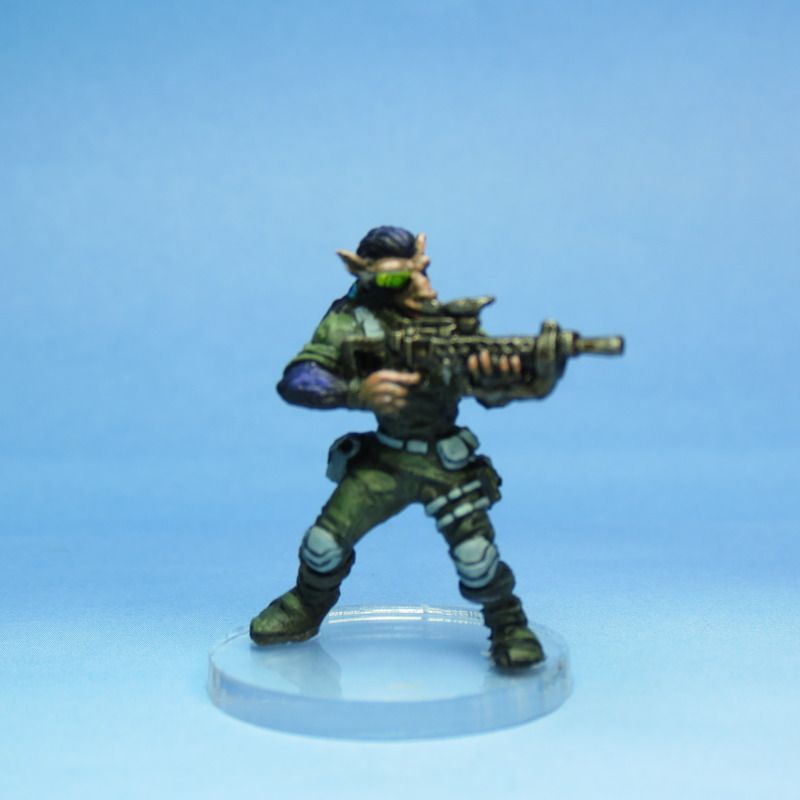
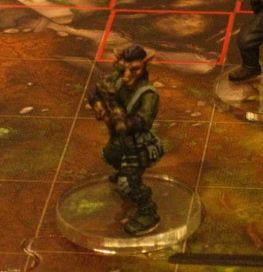
Mak
Diala with brass rod saber blade
Gaar
Stormtroopers and Scout Trooper with EWeb
Imperial Officer
Royal Guard
Darth Vader with brass rod saber blade
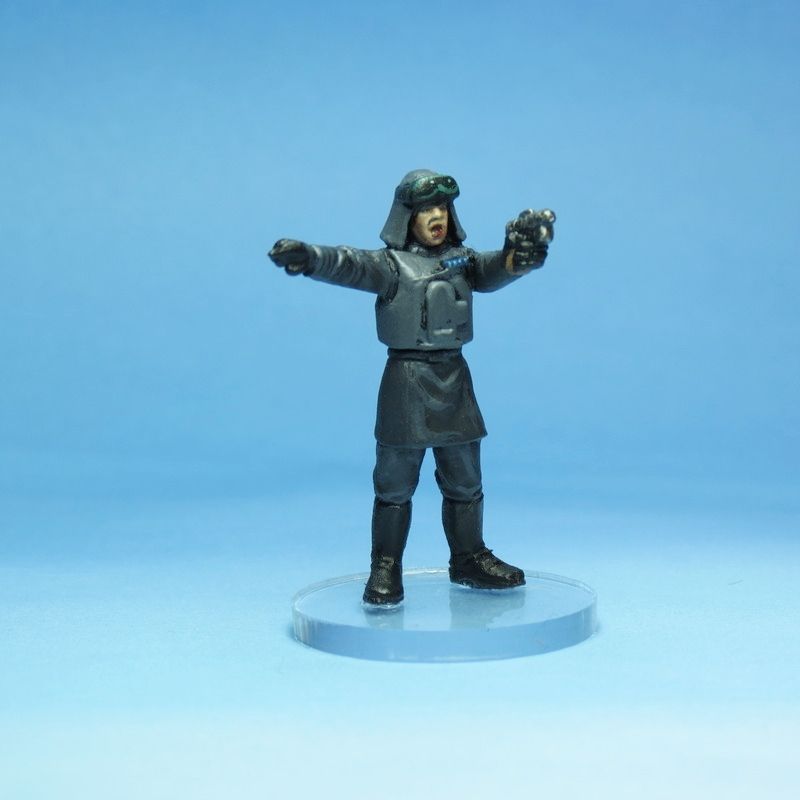
Imperial Officer #2 conversion/General Weiss on Foot (Weiss is magnetized at the waist so he can be mounted in the ATST)

ATST, reposed
Weiss mounted in his Experimental ATST