
This is a continuation of part one, found here.
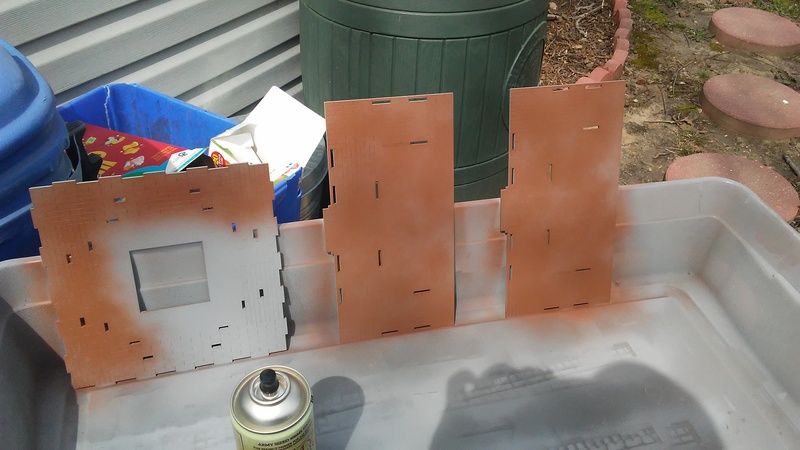
Okay, where we last left off I had the unfinished pagoda separated parts out from sprues, cleaned and wiped with a cheese cloth (aka tack cloth.) This grabs all the soot from the laser cutter and sawdust from sanding parts, which keeps the painting clean.
 |
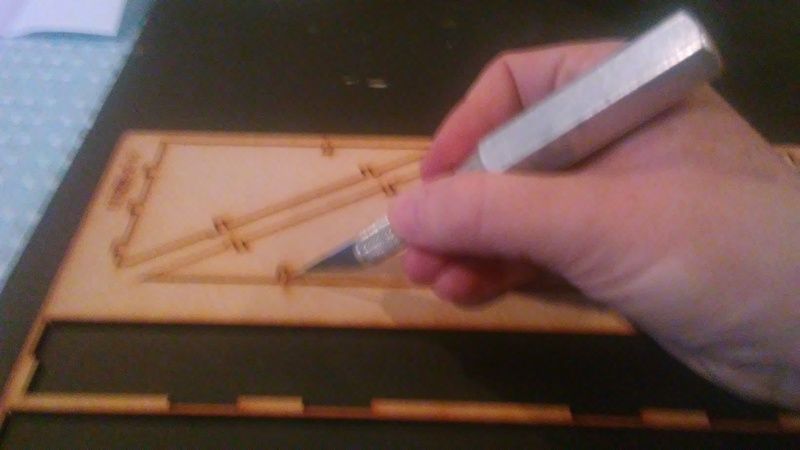
| I marked up the instructions with all my colors |
 |
| Beware. Be read. Be ready. |

Pro tip, if you are spray painting a bunch of stuff and the day is sunny but low humidity, you can put your painted parts in a dry cardboard box and it acts like an oven to speed up total curing. So, spray paint, once dry to touch, throw that stuff in a sunny box and let it do it's thang. Keeps grit off the dry-down too.
I kept the colors on this simple. 3 colors plus weathering at the end (excepting the roof, which was a grey I had laying around.) I used Army Painter colors Army Green, Leather Brown and Necrotic flesh spray with matching brush on paints (which are extremely close matches.) In the end, I used 1.5 cans of spray primer and 1 can of each color, more-or-less.

I used Mod Podge Matte finish to glue everything together, except for the base, which I used Gorilla Glue for extra bond strength. That beautiful base will bear a bit of weight so it is smart to used a stronger glue for that. All parts sprayed together, I proceeded to fit pieces together and glue. Note that with the tabs, it helps to round off the edges to make fitting easier.
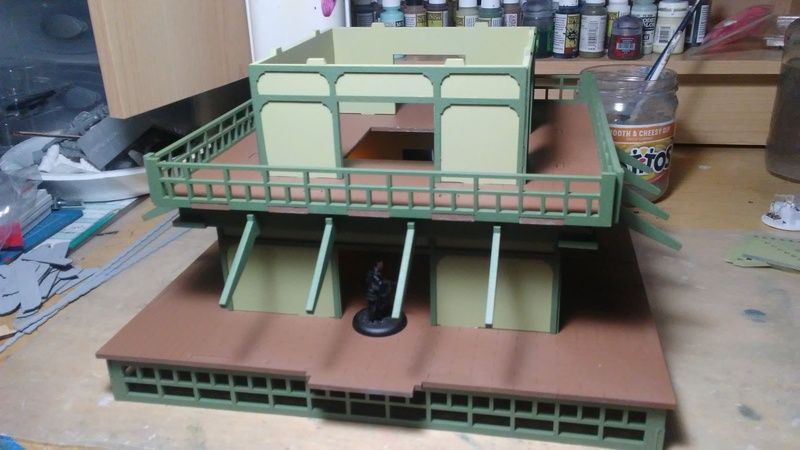 |
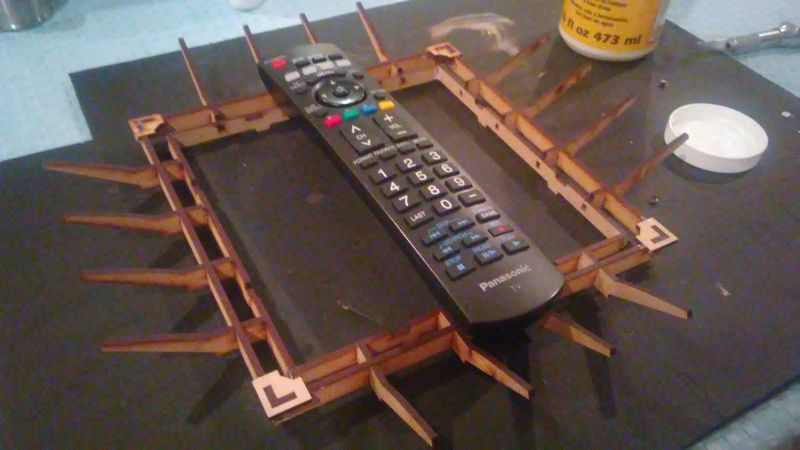
| Laying up the parts, facade added as well... painting them separately makes for a clean finish. |
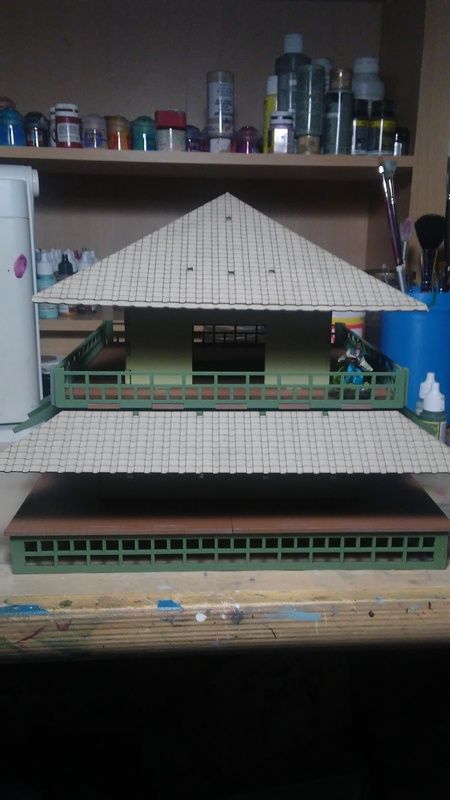 |
| You better cheese cloth the hell out of the gray board. Test fit looks good. Tip: Use blue painters tape when you glue the roof down. Apply glue, adjust roof sections until they are level and use the painters tape to hold the parts together as it dries. Since the roof parts tend to bend and not line up exactly, the tape really helps pull everything square. |
 |
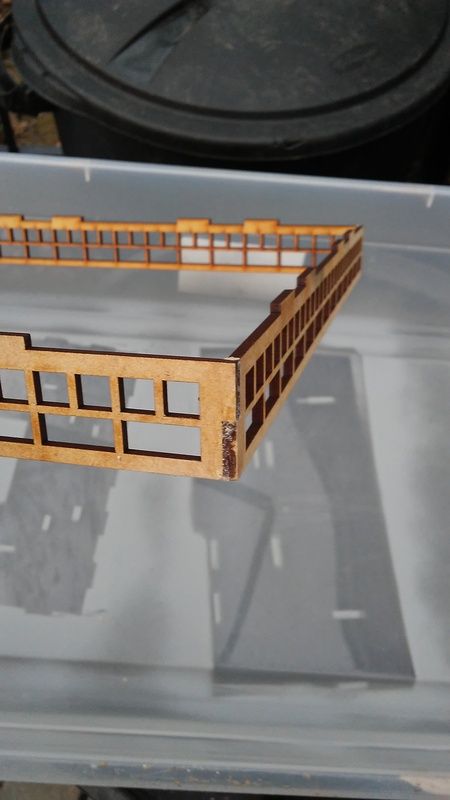
| Roof parts primed black then sponge/dapple painted with grays. |
Up next, modifying the doors so they move, finishing details, lights, final assembly and glamour shots!
-Yeti
3 comments:
That's a big footprint for Bushido!
Yup! As said later, you could simply keep the fight on the first floor to avoid changing the game too much
I enjoyed reading thiis
Post a Comment