
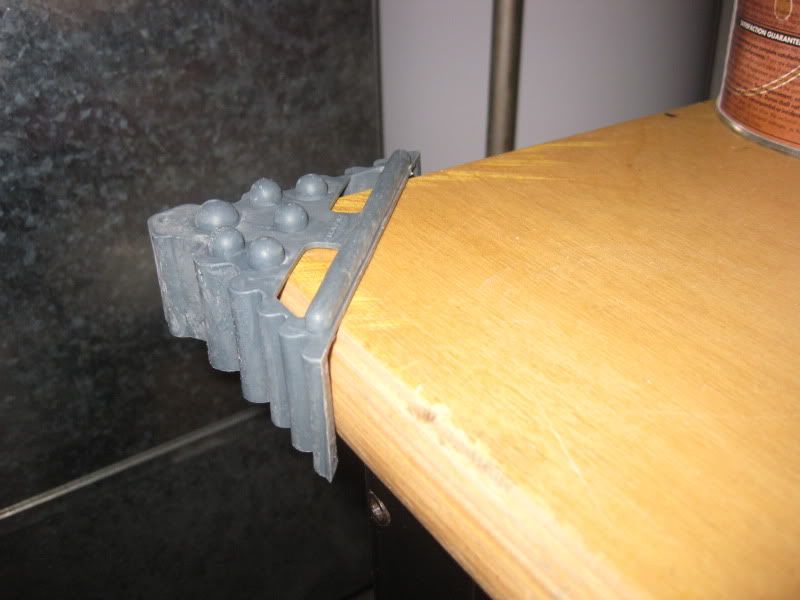
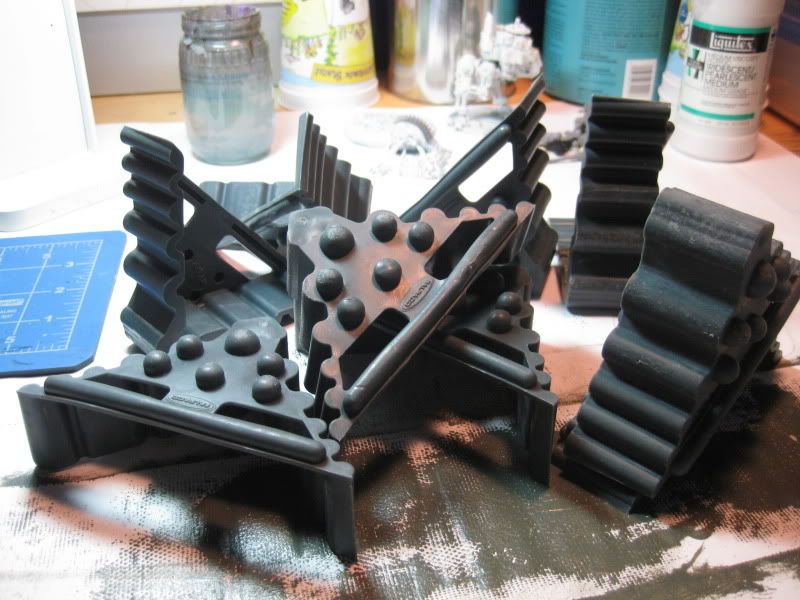
Goal: So I got a new office at work. With the new office came new furniture and with that, these plastic corner guards, protection for the furniture in transit. As soon as I saw them I grabbed as many as I could, eleven in fact. They seemed a good scale and possibly workable as far as material goes, so let’s learn together and see if I can make these things into a group of chevron bunkers. I only wanted to spend about 20 bucks and counted on the other materials I already owned to bring this thing home.
 |
| I'm rich, beyotch!!! |
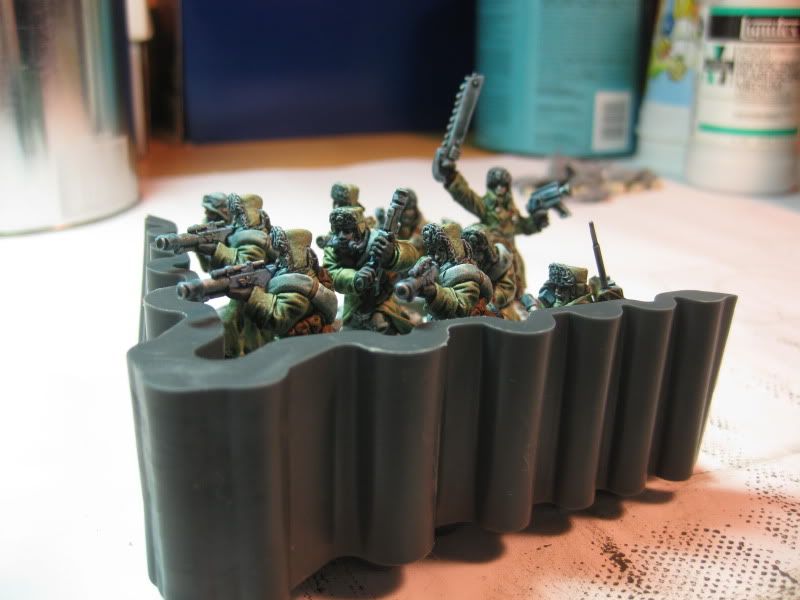
Style: Here you can see that each of these can hold almost a 10 man squad. With a 3"x3" piece of foamcore in it, the bunker holds about 8 or 9, 2" GW based models. Good enough. Without the foamcore "floor", the head of your average GW trooper won't see over the lip. With foamcore, it does. I wrangled with how to tackle this LOS issue and felt that the floor, which elevates the troopers, is better for LOS and more dramatic-looking. I like what these corner guards convey as bunkers, the rounded sides would be a good design for deflecting rounds and would look ok both in 40k and Warmachine, 2 games I play.
 |
| No floor: This sucks! |
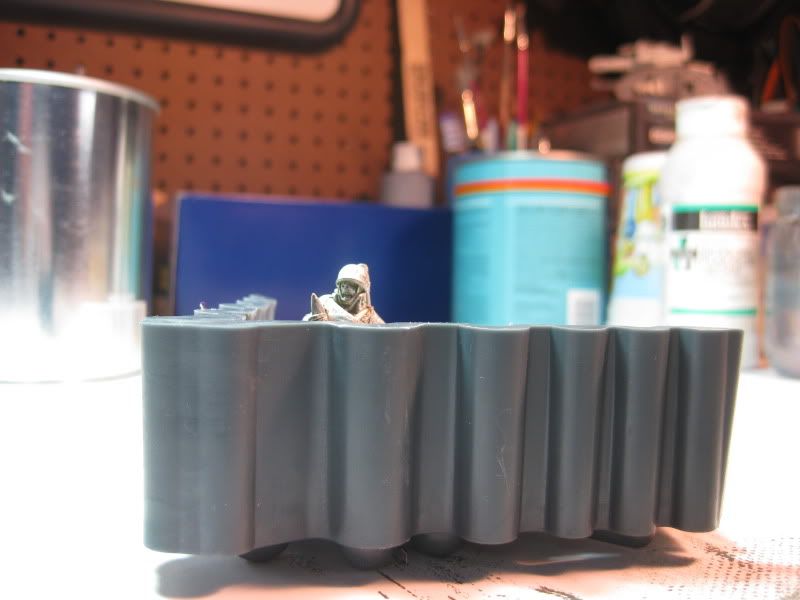 |
| With floor: Much better! Watch me scream!!! |
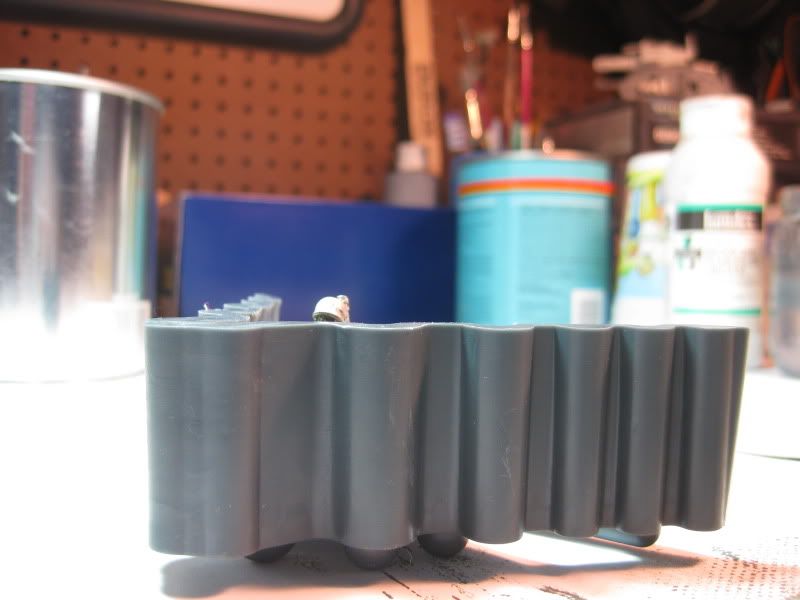
Color: So the Carnifex in the room was the fact that painting plastic is a huge pain in the ass on almost any day of the week. I'm still not convinced these things are more plastic than they are rubber. But, sometimes you just have to be brave, go for it and see what happens. I wanted a sorta weathered iron look or maybe like a lava rock, picturing what the Ad Mech would churn out in droves and plop onto the battlefield. I stopped at the local DIY and picked up some Rust-oleum direct-to-plastic brown spray and a spray texture in a brown-earthen tone. I mistakenly thought I bought a plastic spray-primer and that was not ideal. 1 coat of brown spray undercoat and 2 of the texture went on well enough but probably won't wear very well from what I could see. My tests show that something like a brush-on plastic primer is best for plastics like those I'm using here. Something else I didn't do at first, but did later, is to wipe down the plastic with paint thinner first for best paint adhesion; that made a difference. Scuffing the plastic with fine grain sandpaper may have have helped as well and would be mitigated by the spray texture to an extent. I'm counting on the fact that these bunkers will be handled well (by me) and so I'm not sweating wear too much. So, learn from my first mistake, make sure you get a plastic primer when you need it and don't skimp. Here is a sample of the color on the test bunker...
 |
| While warm, I think the color still works in a "cold"climate |
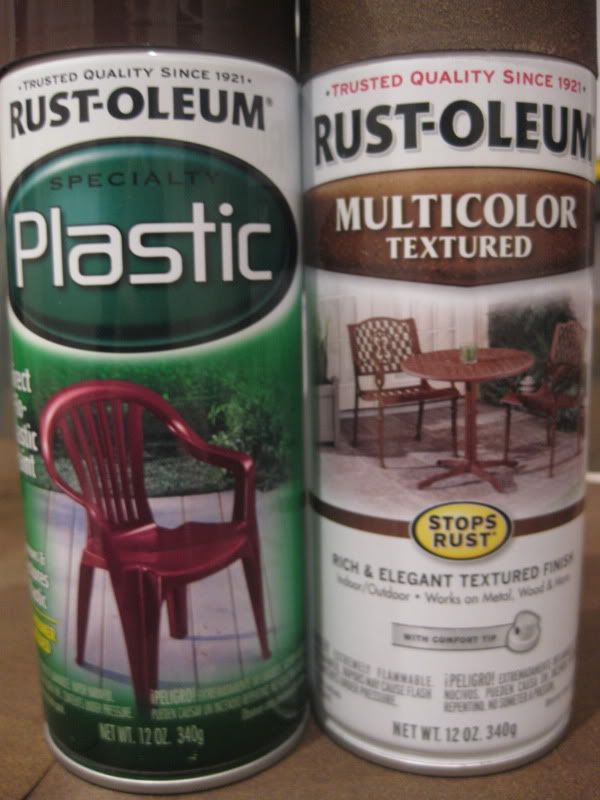 |
| I thought I grabbed plastic primer on the left but it was just direct-to-plastic paint, not as good but it'll have to do. |
Details: I intend on adding some frost, weathering and snow to the bunkers themselves and creating the bases using my Gorilla Glue technique. I'm planning on making two into "command" bunkers with searchlights and maybe an emplaced heavy stubber. Details can eat up the real estate normally occupied by models in play and nice touches like stubbers end up breaking off eventually so I'm weighing my options heavily.
Money spent so far: $9.00US for direct-to-plastic brown paint and spray-on Brown earthen texture.
No comments:
Post a Comment